To install a floor, start by preparing the subfloor—ensure it’s clean, level, and dry, addressing any damage or moisture concerns. Next, pick the right flooring material based on durability and room use. Measure and cut materials precisely to fit. Then, install by applying adhesive or underlayment and laying pieces tightly, allowing for expansion gaps. Finally, finish by sanding and sealing with the suitable product to protect and extend lifespan. Following this process reveals deeper insights into vloeren techniques.
De ondervloer voorbereiden
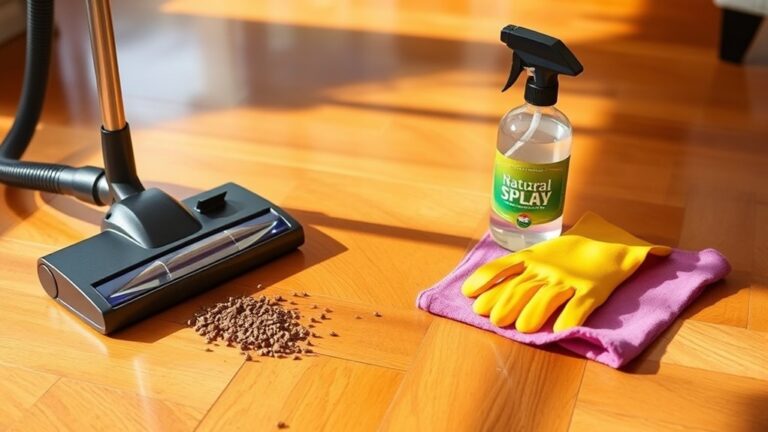
Before installing any flooring material, you’ll need to confirm the subfloor is clean, level, and structurally sound. Subfloor preparation is essential for a durable floor system that offers you freedom from future repairs. Begin by removing debris and checking for any uneven areas; use a leveling compound as necessary. Inspect the subfloor for damage or weak spots and reinforce or replace compromised sections. Next, assess moisture levels since excess moisture can cause flooring failure. Installing a moisture barrier is critical, especially over concrete slabs, to prevent water vapor from penetrating the flooring above. This barrier guarantees dimensional stability and prolongs the life of your floor. Proper subfloor preparation lays the foundation for a successful flooring installation, giving you peace of mind and the freedom to enjoy your space without worry.
Choosing the Right Flooring Material
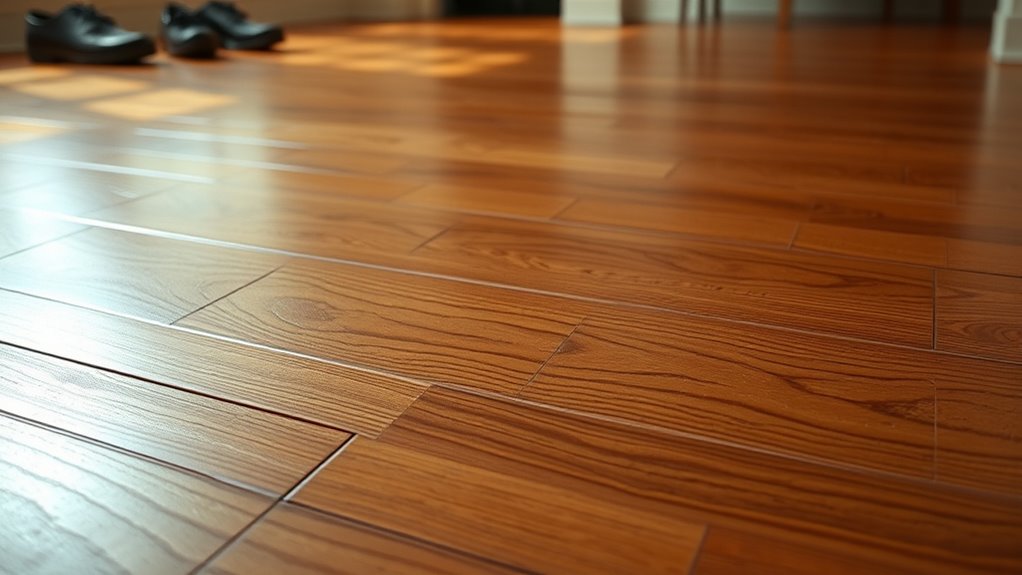
Once your subfloor is properly prepared, selecting the right flooring material becomes the next focus. You’ll want to contemplate durability, aesthetics, and maintenance requirements. Among your hardwood options, choices vary from oak to maple, each offering distinct grain and hardness levels. Tile choices range from ceramic to porcelain, providing water resistance and design versatility. To refine your selection:
Choosing the right flooring balances durability, style, and upkeep, with options from hardwood grains to versatile tile finishes.
- Evaluate room function to match material resilience.
- Consider moisture exposure—tiles suit wet areas better.
- Assess installation complexity and cost implications.
- Reflect on long-term maintenance commitments.
Measuring and Cutting Materials
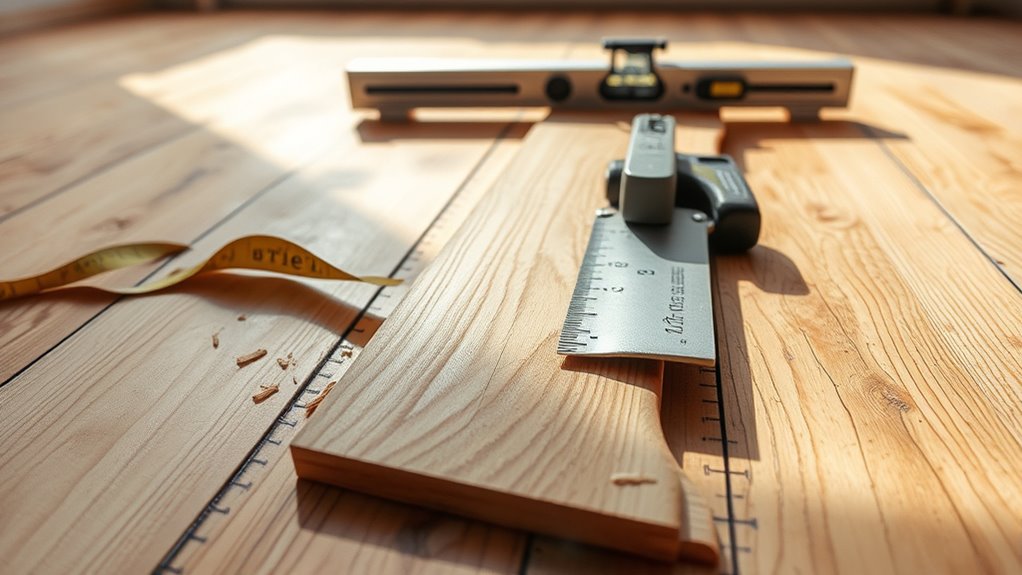
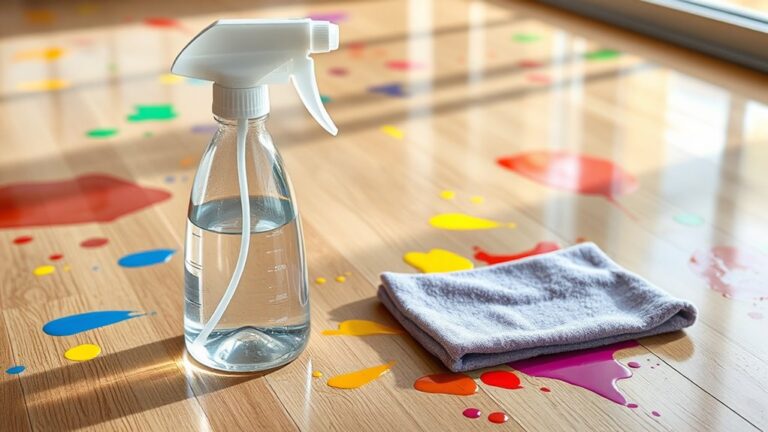
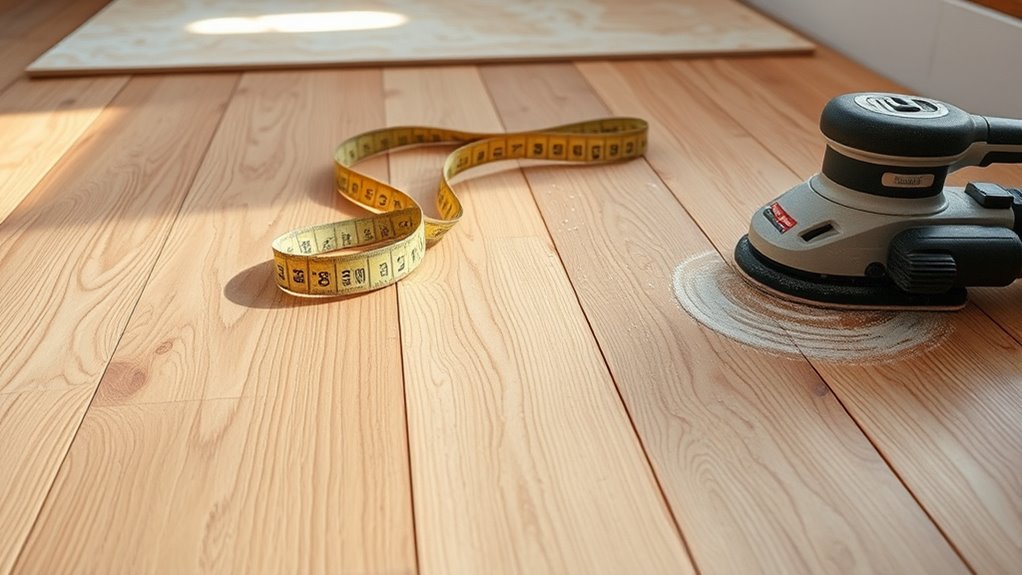
Accurate measurements are critical when cutting flooring materials to guarantee a precise fit and reduce waste. Start by applying effective measuring techniques: use a tape measure to record lengths and widths carefully, and mark cut lines clearly with a pencil or chalk. Double-check all dimensions before proceeding. Choose cutting tools suited to your material—carpet knives for softer floors, utility knives for vinyl, or saws for hardwood and laminate. Ascertain blades are sharp for clean edges and safer cuts. Position materials on a stable surface, use a straightedge as a guide, and cut steadily to maintain accuracy. Mastering these steps gives you control over the process, letting you shape your floor freely without errors or unnecessary material loss.
Installing the Flooring
Having precisely measured and cut your flooring materials, you’re ready to begin installation. Mastering flooring techniques and using proper installation tools guarantees a durable, professional finish. Start by:
With precise cuts and the right tools, you’re set to achieve a flawless, professional flooring installation.
- Preparing the subfloor, confirming it’s clean, level, and dry to prevent future issues.
- Applying adhesive or underlayment as specified by your flooring type for maximum bond and cushioning.
- Laying the flooring pieces carefully, aligning edges tightly and staggering joints for strength and aesthetics.
- Using spacers to maintain expansion gaps, allowing natural movement without buckling.
Finishing and Sealing the Floor
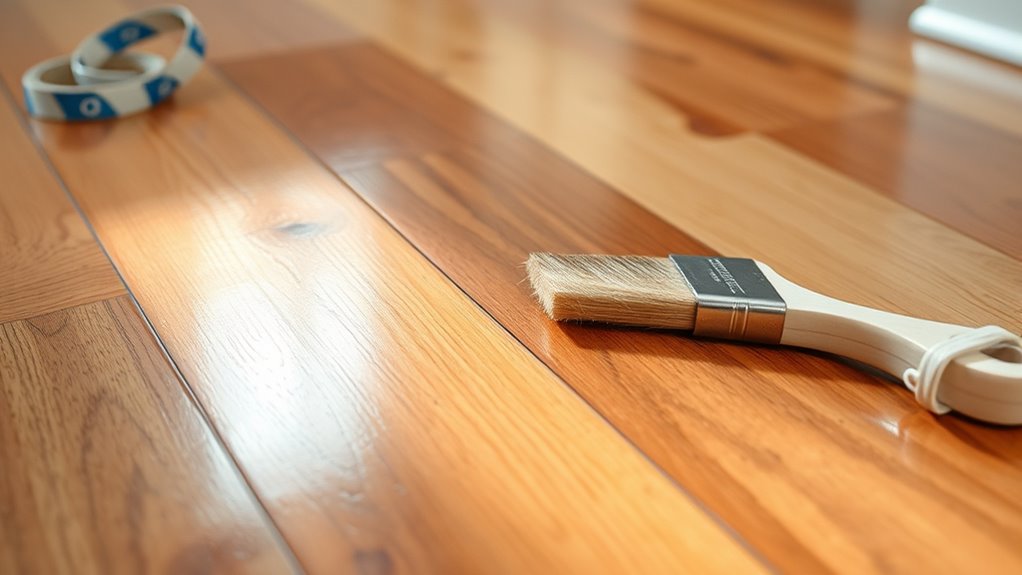
Although the flooring is securely installed, applying a proper finish and seal is essential to protect the surface from wear, moisture, and stains. Start by using precise sanding techniques: progressively sand with finer grits to smooth imperfections and open the wood pores for better sealant adhesion. Clean thoroughly to remove dust before proceeding. Next, evaluate sealant options—polyurethane offers durable, water-resistant protection, while penetrating oils enhance natural grain and provide moderate defense. Apply your chosen sealant evenly using a brush or roller, following manufacturer instructions for drying times and number of coats. Proper finishing not only extends your floor’s lifespan but also preserves its aesthetic. By mastering these steps, you maintain control over your floor’s resilience and appearance, ensuring it withstands daily use while reflecting your personal style.