To use a floor jack, first verify your vehicle is on flat ground with the parking brake engaged and wheels chocked. Position the jack precisely under the manufacturer’s recommended lift point. Pump the handle steadily to hydraulically lift the vehicle. Once raised, secure it with jack stands at proper support points. Lower the vehicle gradually by releasing the jack valve. Proper preparation, positioning, and safety steps are essential for effective operation and maintenance, and understanding these will enhance your tool handling skills.
Preparing the Floor Jack and Vehicle
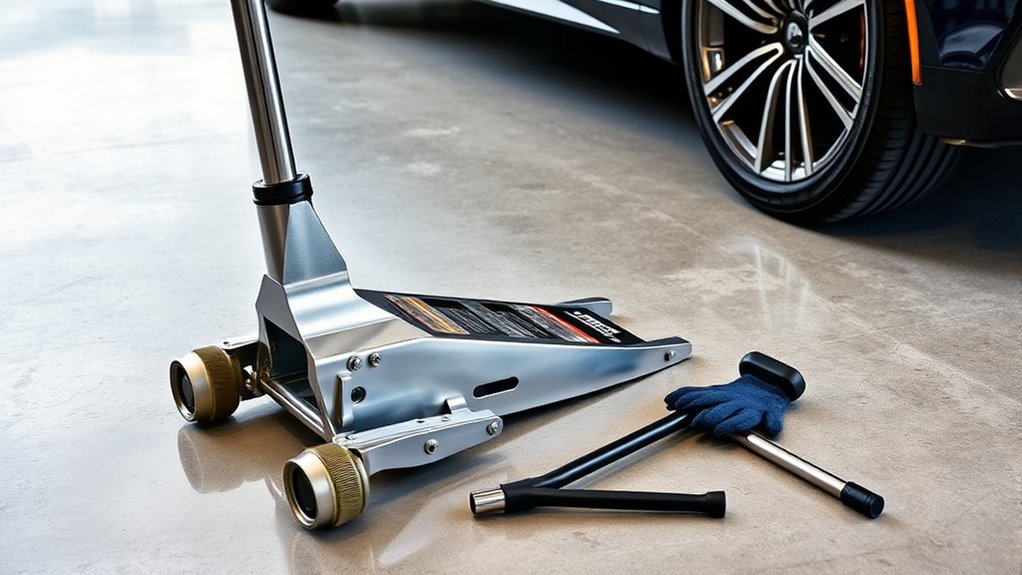
Before you begin lifting, make certain you’ve positioned the vloer jack on a flat, stable surface to prevent any movement. This foundational safety precaution guarantees the jack remains secure under load. Inspect the floor jack for any visible damage or leaks; consistent floor jack maintenance is vital for reliable operation. Check hydraulic fluid levels and lubricate pivot points as specified in the manufacturer’s manual. Confirm the vehicle’s parking brake is engaged, and use wheel chocks to immobilize opposite wheels. These steps minimize risks and provide you with the freedom to operate confidently. Avoid working on inclines or uneven ground, as improper setup compromises safety. By strictly adhering to these preparation protocols, you maintain control, protect yourself, and extend the service life of your floor jack.
Positioning the Floor Jack Under the Vehicle
First, identify the vehicle’s designated jack points using the owner’s manual or markings on the frame. Next, clear any debris or obstacles around these points to guarantee stable contact. Finally, position the floor jack so its saddle aligns precisely under the selected jack point before lifting.
Locate Jack Points
To safely position the floor jack under your vehicle, identify the specific jack point locations recommended by the manufacturer. These points are structurally reinforced areas on the vehicle frame designed to support the weight without damage. Consult your owner’s manual to locate these spots precisely. Align the jack saddle directly beneath the designated jack point, ensuring it contacts the flat, solid surface of the frame. Avoid placing the jack on plastic trim, body panels, or suspension components, as these won’t support the load and may cause damage or instability. Positioning the jack correctly at these reinforced locations not only protects your vehicle but also guarantees safe lifting, giving you the freedom to work confidently beneath your car. Accurate placement is critical—never guess or improvise jack point locations.
Clear Surrounding Area
Although you’ve identified the correct jack points, you’ll need to confirm the area around your vehicle is clear of obstacles and debris before positioning the floor jack. This step is essential for safety precautions and effective workspace organization. A clutter-free environment reduces trip hazards and confirms smooth jack maneuvering. Before you proceed, check that:
- The floor surface is level and free from oil or grease to prevent slipping.
- Tools, parts, and other equipment are stored away to avoid interference.
- Adequate lighting is present to clearly see the jack placement and surrounding area.
Maintaining a clean and organized workspace not only protects you but also allows for precise jack positioning, enhancing your operational freedom and confidence during the lifting process.
Align Jack Properly
One critical step in safely lifting your vehicle is aligning the floor jack precisely under the designated jack point to guarantee stability during operation. Begin by identifying the manufacturer’s recommended jack points, often located near the vehicle’s frame or reinforced areas. Position the jack so that its saddle makes full contact with the jack point, ensuring even pressure distribution. Proper jack alignment is essential to prevent slippage and maintain vehicle stability while elevated. Avoid placing the jack on soft or uneven surfaces that can compromise balance. Once aligned, double-check the position before pumping the handle, as misalignment can cause the vehicle to shift or fall, risking injury. Accurate jack alignment gives you the confidence and freedom to work safely under your vehicle.
Pumping the Handle to Raise the Jack
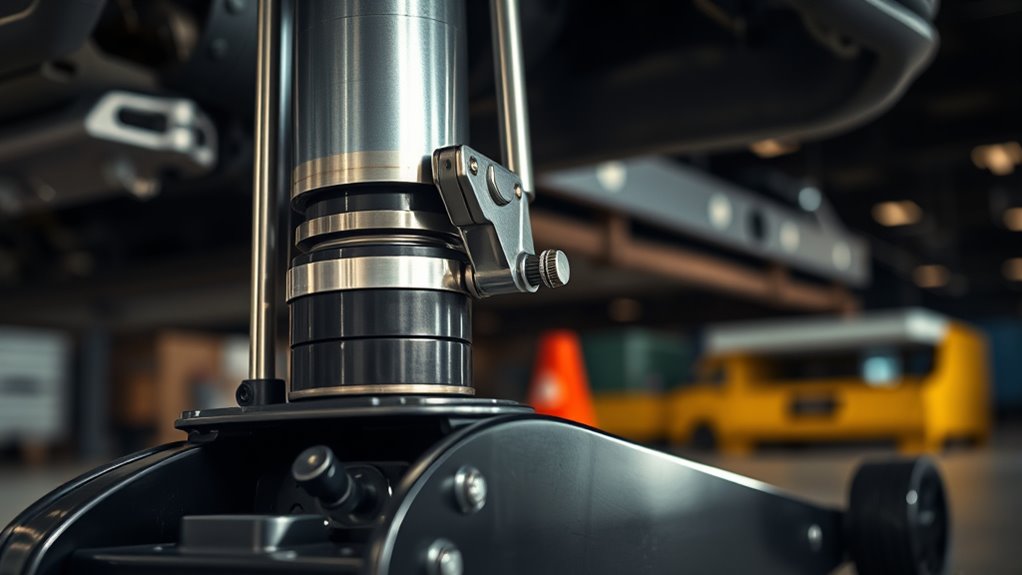
When you start pumping the handle, hydraulic fluid is forced through a one-way valve into the cylinder, increasing pressure and causing the piston to rise. Your pumping technique directly affects how smoothly the jack operates. The handle mechanics translate your manual force into hydraulic pressure, efficiently lifting the load.
To optimize this process:
- Apply consistent, firm strokes to maintain steady pressure buildup.
- Avoid rapid, shallow pumps, which reduce hydraulic efficiency.
- Verify the handle moves fully through its range to maximize fluid displacement.
Mastering these steps grants you precise control over lifting, providing the freedom to work confidently under your vehicle. Understanding the interplay between pumping technique and handle mechanics empowers you to raise the jack safely and effectively.
Securing the Vehicle With Jack Stands

Once you’ve lifted the vehicle with the floor jack, position the jack stands under the manufacturer’s recommended support points. Make sure the stands are on a flat, stable surface to prevent any movement. Lower the vehicle slowly onto the stands, confirming it sits securely before working underneath.
Juiste plaatsingstechnieken
Before you begin lifting, make certain the vehicle is on a flat, stable surface and the parking brake is engaged. Proper jack placement is critical for vehicle safety and effective lifting. Position the floor jack under manufacturer-recommended lift points to avoid damage and guarantee stability. Once raised, always secure the vehicle with jack stands placed at solid frame or suspension points.
Keep these placement principles in mind:
- Confirm lift points with the vehicle’s manual to prevent structural harm.
- Place jack stands symmetrically to evenly distribute weight and maintain balance.
- Avoid soft or uneven ground to reduce risk of jack or stand slippage.
Following these precise steps guarantees your vehicle remains secure, giving you the freedom to work safely and confidently beneath it.
Ensuring Vehicle Stability
Proper jack placement sets the foundation, but securing the vehicle with jack stands is what guarantees stability during maintenance. Once your floor jack lifts the vehicle to the desired height, position jack stands under the manufacturer’s recommended support points. Make sure the stands sit on a firm, level surface to prevent any shifting. Slowly lower the vehicle onto the stands, ensuring full contact and weight transfer. This step is critical for vehicle stability and jack safety—never rely solely on the floor jack to hold the vehicle. Before starting work, gently rock the vehicle to confirm it’s stable and securely supported. Following these procedures allows you to work with confidence and freedom, minimizing risks and maximizing safety throughout your maintenance tasks.
Lowering the Vehicle Safely
Although lifting the vehicle requires careful control, lowering it demands equal attention to avoid sudden drops or damage. You must follow strict safety precautions and precise lowering techniques to maintain control and protect both yourself and the vehicle. Begin by confirming all tools and obstacles are clear from under the vehicle. Then, slowly open the release valve on the floor jack to lower the vehicle smoothly.
Keep these tips in mind:
- Always lower the vehicle slowly to prevent abrupt movements.
- Never place any part of your body under the vehicle until it is fully supported on stable ground.
- Verify that the jack handle is secure and controlled throughout the lowering process to avoid slipping.
Following these steps guarantees you regain freedom safely and efficiently.
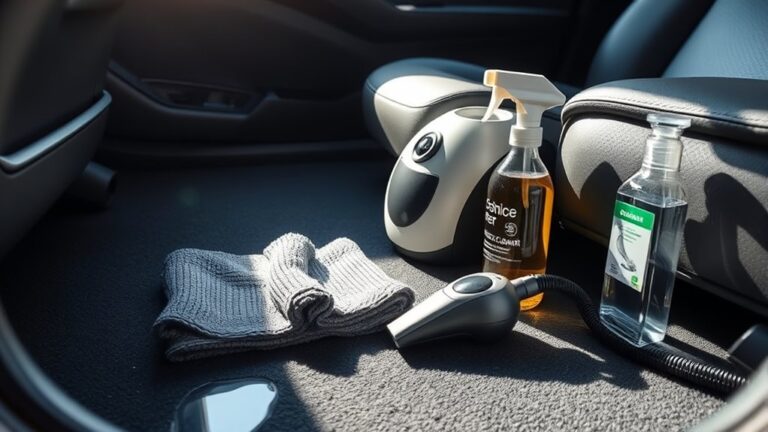
Storing the Floor Jack Properly
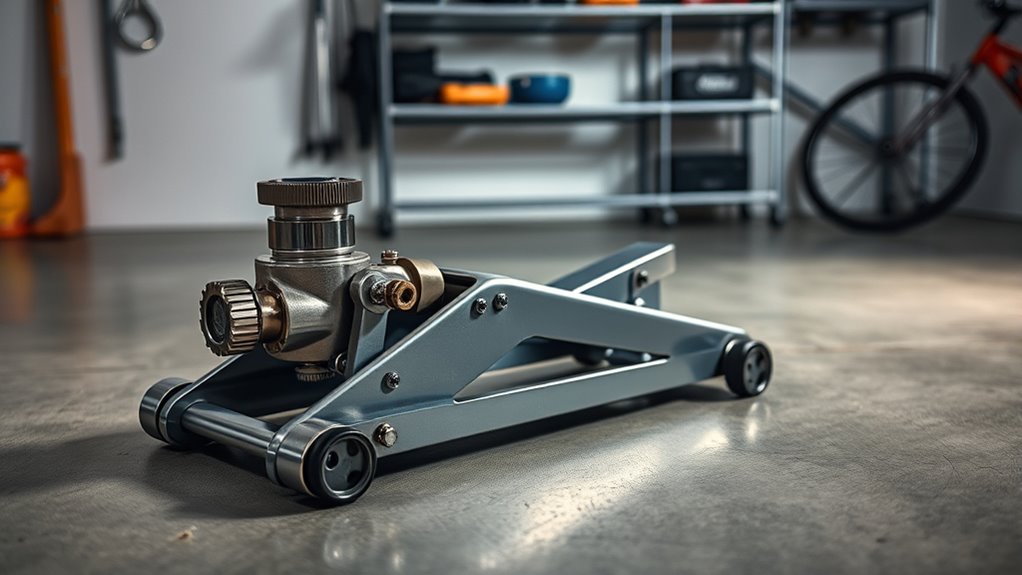
Once you’ve finished using the floor jack, storing it correctly guarantees its longevity and reliability. First, make certain the jack is fully lowered to release any hydraulic pressure, preventing seal damage. Clean off dirt, grease, and debris to avoid corrosion, an essential step in floor jack maintenance. Store the jack in a dry, cool area away from direct sunlight and moisture to prevent rust and hydraulic fluid degradation. Position it on a flat, stable surface to avoid accidental tipping. If possible, cover the jack with a protective cloth or case to keep dust out. Regularly inspect and lubricate pivot points before storage to maintain smooth operation. Following these safe storage practices makes certain your floor jack remains ready for use, giving you the freedom to work efficiently and safely.