Several factors affect how much you’ll pay to lay vinyl flooring. Room shape and size influence cutting complexity and waste. Pattern design and color impact material cost and installation time. You’ll need extra material to cover waste and mistakes. The subfloor’s condition affects prep work and durability, while your chosen installation method changes labor requirements. Allowing space for expansion and future repairs also adds cost. Understanding these details helps you plan a more accurate budget.
Room Dimensions and Layout

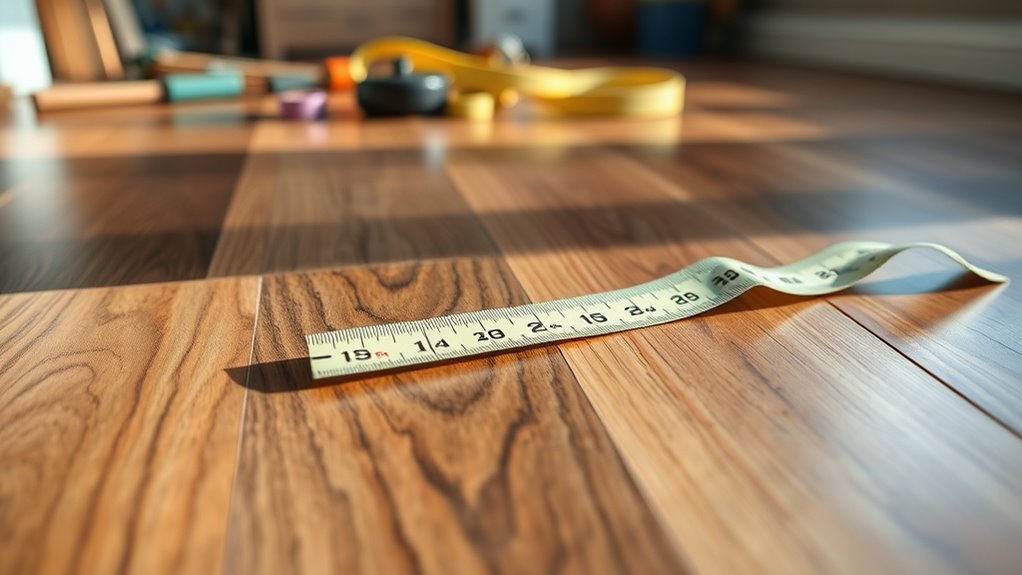
Although vinyl vloeren is priced per square foot, your room’s dimensions and layout greatly influence the total cost. Irregular room shape demands more precise cutting and fitting, increasing labor time and expense. Complex layouts with multiple angles or alcoves require additional material waste allowance, impacting your budget. Flooring connections between rooms also add to costs; each connection strip or threshold installation involves extra material and labor. If your space has multiple doorways or changes in subfloor height, expect higher expenses. Conversely, simple rectangular rooms with minimal connections reduce installation complexity and cost. Understanding how your room shape and flooring connections affect labor and materials helps you plan your budget wisely, ensuring you maintain control over expenses while achieving the flooring freedom you desire.
Vinyl Flooring Pattern and Design
When selecting vinyl flooring, the pattern and design you choose greatly influence both the material cost and installation complexity. Your color selection impacts price; unique or custom colors often cost more. Pattern variation affects waste and fitting time, especially with intricate designs.
Consider these key factors:
- Pattern Complexity: Simple, uniform patterns are easier and cheaper to install. Complex patterns require precise alignment, increasing labor time.
- Color Selection: Standard colors reduce cost, while specialty hues or multi-tone patterns can raise material expenses.
- Directional Patterns: Designs that must run in a specific direction demand careful planning, potentially increasing waste and installation duration.
Waste and Overrun Allowance
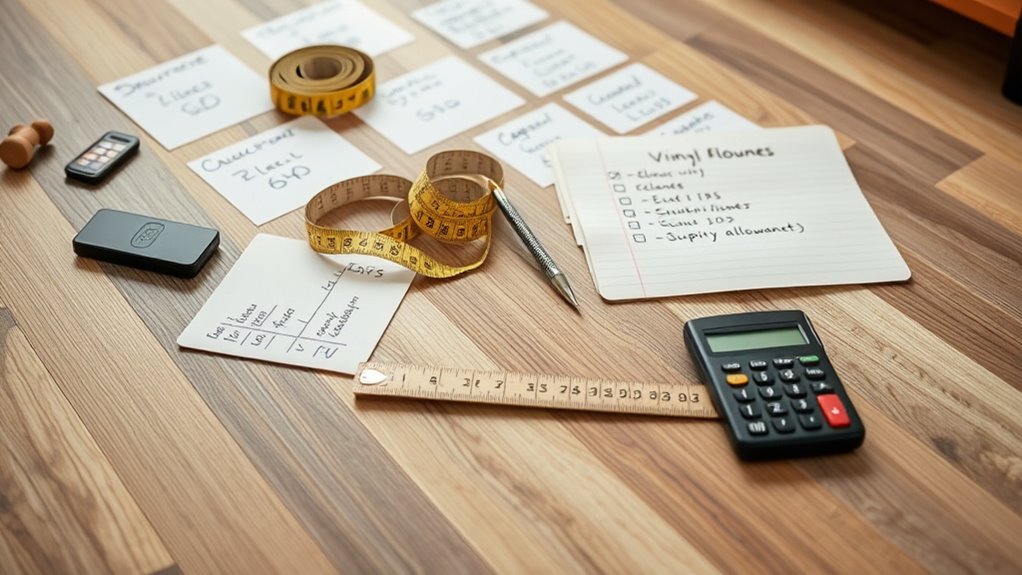
When budgeting for vinyl flooring, you need to account for material waste caused by cutting and fitting. It’s standard to include an overrun allowance, typically between 5% and 10%, to cover these losses. Accurately calculating this percentage helps prevent shortages and unexpected costs during installation.
Calculating Material Waste
Calculating material waste is essential for accurately estimating the total amount of vinyl flooring you’ll need to order. Waste factors depend on room shape, installation pattern, and cutting techniques. To minimize waste, consider these steps:
- Assess Room Complexity: Irregular shapes or multiple corners increase waste factors, requiring extra material to accommodate cuts.
- Choose Efficient Cutting Techniques: Straight cuts reduce scrap, while intricate patterns or curves demand more overage.
- Include a Buffer for Errors: Account for miscuts or damaged pieces by adding a small percentage to your total material estimate.
Overrun Percentage Guidelines
Estimating the right amount of vinyl flooring involves incorporating an overrun percentage to cover waste and unexpected errors. Overrun strategies typically recommend adding 5-10% extra material, depending on room complexity and installation method. For straightforward layouts, a 5% overrun may suffice, while intricate patterns or irregular shapes demand closer to 10%. This buffer accounts for cutting mistakes, matching patterns, and material defects. When planning, you need to balance overrun allowances with budget considerations—ordering too much inflates costs, while too little risks project delays. Accurate overrun calculations help you avoid costly shortages or excessive surplus. By applying precise overrun strategies, you guarantee efficient material use and maintain financial control throughout your vinyl flooring installation.
Subfloor Condition and Preparation
Although vinyl flooring is versatile, the condition of your subfloor plays a crucial role in determining the overall cost. Addressing issues like subfloor moisture and leveling requirements upfront guarantees durability and a smooth finish, ultimately saving you money on repairs.
Here’s what you need to take into account:
- Vocht in de ondervloer: Excess moisture can cause vinyl to warp or delaminate. Testing and remediation may be necessary.
- Leveling Requirements: Uneven surfaces require sanding or applying leveling compounds to create an ideal base.
- Subfloor Integrity: Repair or replacement of damaged sections prevents future flooring problems.
Installation Method and Tools
When deciding on vinyl flooring, the installation method you choose and the tools required will directly impact both labor time and overall cost. You can opt for glue-down, click-lock, or loose lay methods, each demanding specific installation tools. Glue-down requires adhesive application tools, increasing prep time but offering strong durability. Click-lock systems minimize adhesive use and speed up installation, enhancing method efficiency and reducing labor costs. Loose lay is the fastest, often needing only a utility knife and roller, ideal if you want quick, flexible installation. Selecting the right installation tools for your method guarantees precision and reduces errors, saving you money. Efficient methods paired with appropriate tools not only streamline your project but also optimize expenses, giving you the freedom to balance cost with quality and speed.
Expansion Gaps and Movement Space
Beyond choosing the installation method and tools, allowing for expansion gaps and movement space is key to ensuring your vinyl flooring performs well over time. Properly addressing expansion requirements and movement considerations prevents buckling and warping caused by temperature and humidity changes.
- Determine Gap Size: Follow manufacturer guidelines, usually 1/4 inch around edges, to accommodate material expansion.
- Plan Movement Space: Leave space around fixed objects like cabinets and door frames to allow natural flooring shifts.
- Use Connection Strips: Install these at room boundaries to bridge expansion gaps and maintain seamless movement.
Extra Material for Repairs and Future Needs
Since vinyl flooring can suffer damage from daily wear or accidents, you’ll want to keep extra material on hand for repairs and future needs. Having spare planks or sheets guarantees you can quickly address scratches, dents, or small tears without sourcing mismatched batches. It’s wise to store at least 5-10% extra beyond your initial installation amount. This buffer accommodates cutoffs, expansion gaps, and unforeseen damage. Additionally, if you plan future upgrades or room expansions, extra material simplifies seamless integration. Pairing your spare vinyl with appropriate repair kits enables precise fixes, preserving the floor’s appearance and durability. By preparing for maintenance and upgrades, you maintain freedom from costly or time-consuming replacements and guarantee your flooring investment remains protected over time.