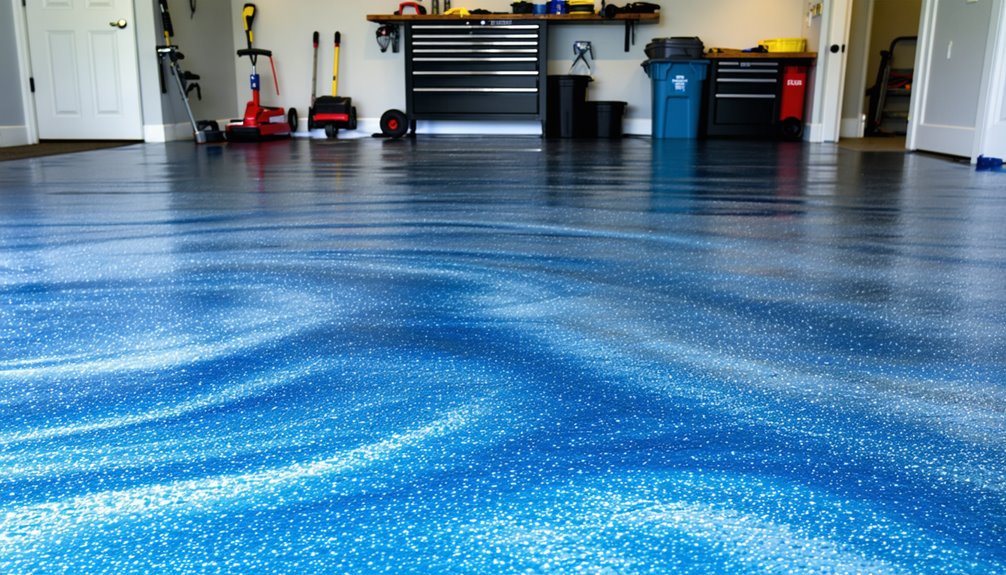
Applying an epoxy garage floor is manageable and rewarding. First, gather essential tools like a concrete cleaner, epoxy resin kit, and safety gear. Start by thoroughly cleaning the surface and conducting moisture tests. If any cracks or holes exist, patch them before lightly grinding the vloer for better adhesion. Mix the epoxy as per the instructions, applying it in sections with a roller, being careful around edges. Allow proper curing time between coats. Once finished, maintain your floor with gentle cleaners to keep it looking fresh. If you follow these steps, you'll create a durable, attractive floor that enhances your garage.
Benefits of Epoxy Flooring
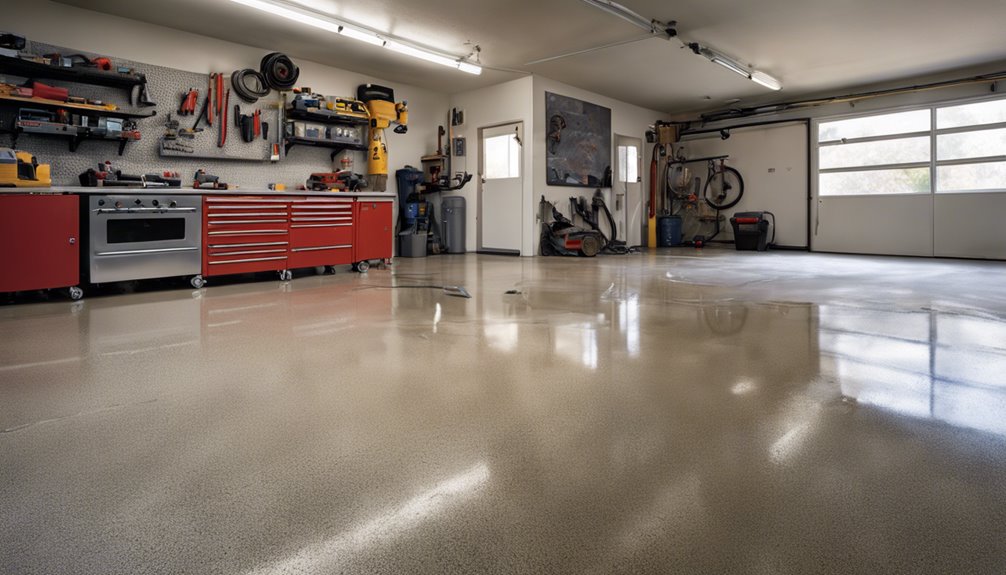
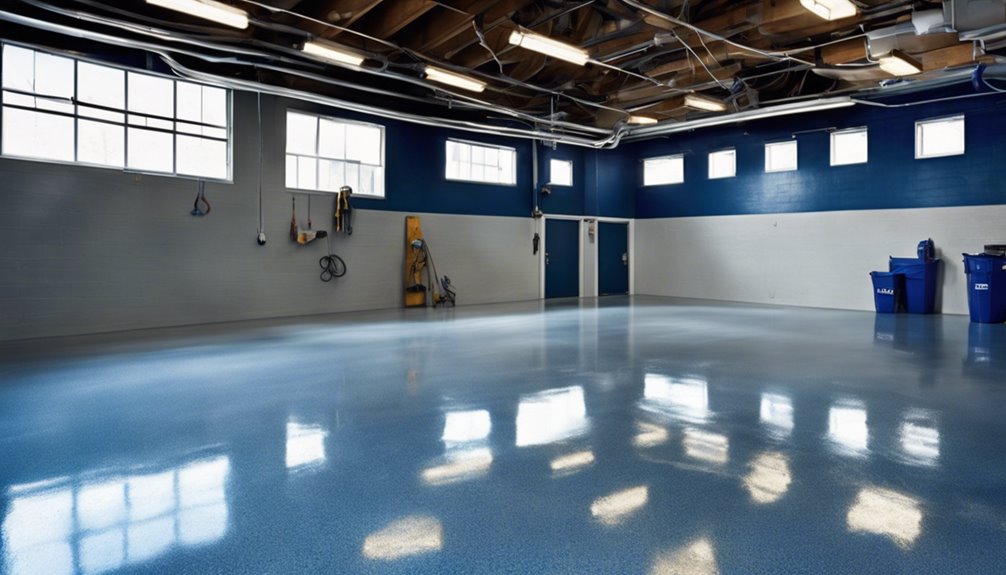
When you consider upgrading your garage floor, it's essential to recognize the numerous benefits epoxy flooring offers. One major advantage is its cost effectiveness. Compared to other flooring options, epoxy provides a durable, long-lasting surface that can withstand heavy wear and tear without frequent replacements. This durability means fewer costs over time, saving you money in the long run.
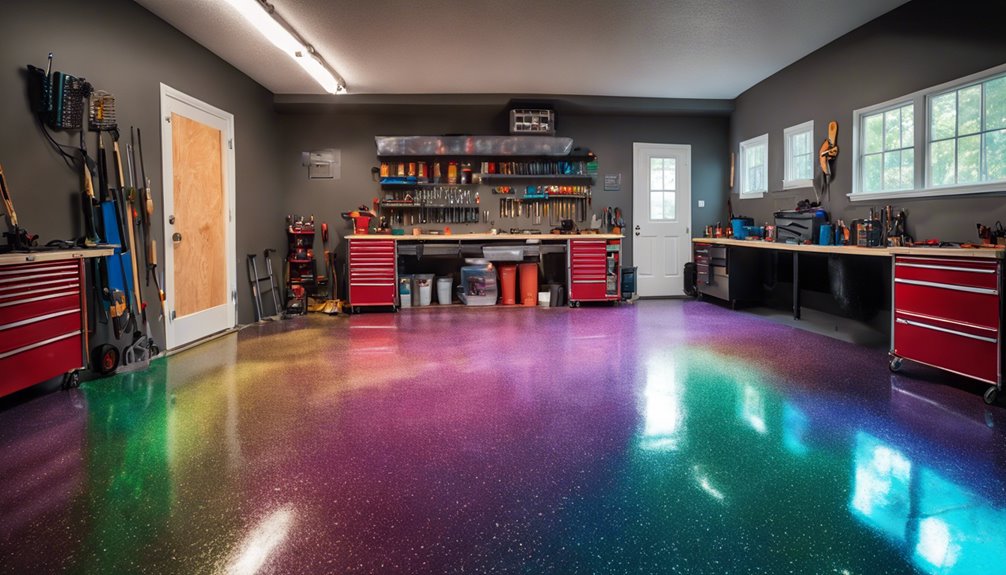
Additionally, epoxy flooring boasts significant aesthetic appeal. With a variety of colors and finishes available, you can customize your garage to match your style, creating an inviting space. The glossy finish not only enhances the overall look but also makes it easier to clean, allowing you to maintain that fresh appearance with minimal effort. Embracing epoxy flooring means enjoying both practicality and beauty.
Essentiële gereedschappen en materialen
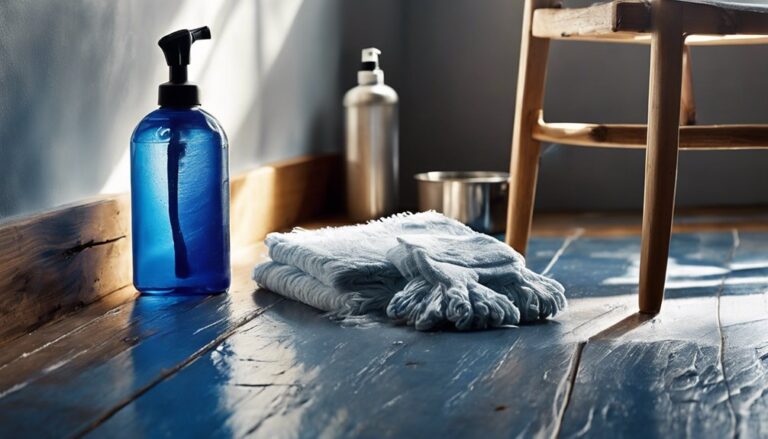
Before you plunge into your DIY epoxy garage floor project, it's crucial to gather the right tools and materials to guarantee a smooth and successful application. Start by selecting your epoxy types—consider whether you want a water-based or solvent-based option depending on your needs. Don't forget to explore the various color options that can enhance your garage's aesthetic.
Here's a quick list of essential items you'll need:
- Concrete cleaner: Prepares the surface for adhesion.
- Epoxy resin kit: Contains the hardener and resin.
- Paint roller and tray: For even application of the epoxy.
- Safety gear: Includes gloves and goggles to protect yourself.
With these essentials in hand, you're ready to tackle your project effectively.
Stappen voor oppervlaktevoorbereiding
Proper surface preparation is essential for achieving a durable epoxy garage floor, and it involves several key steps. Start with surface cleaning; remove any dirt, grease, or oil using a degreaser and a scrub brush. Rinse thoroughly and let it dry completely. Next, perform moisture testing. Tape a plastic sheet to the floor for 24 hours; if moisture collects underneath, you'll need to address it before proceeding. A dry surface is critical for proper adhesion. If the concrete's in poor condition, consider patching any cracks or holes. Finally, lightly grind or etch the surface to create a profile for better epoxy bonding. By following these steps, you'll set the stage for a long-lasting finish.
Application Process
With the surface prepared, you're ready to begin the application process for your epoxy garage floor. Start by mixing the epoxy according to the manufacturer's instructions, ensuring a uniform consistency. Use a roller for even application, and consider these techniques:
- Apply in sections to prevent overlap.
- Use a brush for edges and corners.
- Work quickly to maintain wet edges and avoid visible seams.
- Allow appropriate curing time between coats, typically 6-8 hours.
After the first coat dries, inspect for imperfections and sand lightly if necessary. Once the final coat is applied, let it cure fully before using the garage, as proper curing time is essential for durability. Enjoy your newly transformed space!
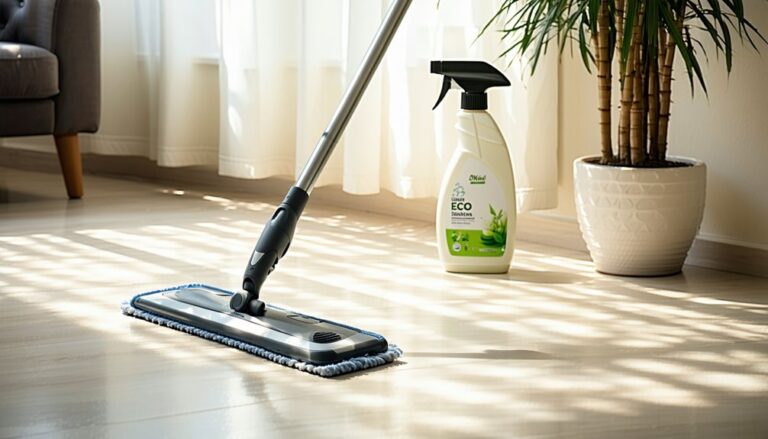
Onderhouds- en verzorgingstips
Although epoxy garage floors are known for their durability, regular maintenance is essential to keep them looking their best and prolong their lifespan. Use gentle cleaning techniques, like a pH-balanced cleaner and a soft mop, to remove dirt and stains without damaging the surface. Avoid abrasive tools that could scratch the epoxy. For spills, clean them immediately to prevent staining; a simple mixture of vinegar and water works wonders. If you notice any chips or cracks, employ repair methods like epoxy fillers to seamlessly restore the surface. Regularly inspect for any wear and tear, addressing issues promptly to maintain that sleek appearance. With consistent care, your epoxy floor can remain a stunning feature of your garage for years to come.
Veelgestelde vragen
How Long Does Epoxy Flooring Typically Last?
Epoxy flooring's like a knight in shining armor for your space, ready to withstand the test of time. Typically, you can expect epoxy durability to last anywhere from 5 to 15 years, depending on usage and application. To guarantee it stands strong, follow some maintenance tips: keep it clean, avoid harsh chemicals, and address any scratches promptly. With a little care, your floor can remain a steadfast companion for years to come.
Can I Apply Epoxy Over Existing Paint?
You can apply epoxy over existing paint, but it's essential to use proper epoxy preparation techniques. First, you'll need to assess the paint's adhesion. If it's loose, consider paint removal methods like sanding or chemical strippers for a clean surface. A well-prepped base guarantees the epoxy bonds effectively. Skipping this step might lead to peeling or bubbling, so take your time to confirm a solid foundation for your new epoxy coating.
What Temperature Is Ideal for Epoxy Application?
Imagine pouring a smooth, glossy layer that reflects light like a calm lake. For ideal epoxy application, you'll want temperatures between 60°F and 90°F. When it's too cold, the epoxy can become thick and hard to work with, while high heat can lead to quick curing, making it tough to spread evenly. Keep your workspace within this range to guarantee a flawless finish and let your creativity flow freely.
How Do I Fix Bubbles in Cured Epoxy?
To fix bubbles in cured epoxy, start by carefully sanding the affected area to promote epoxy adhesion. Then, clean the surface to remove dust and debris. Mix a small batch of epoxy and apply it over the bubbles, ensuring it fills any voids. Use a heat gun or torch to gently pop any remaining bubbles. Finally, allow it to cure fully, ensuring a smooth and durable finish.
Is Epoxy Flooring Safe for Pets?
When considering the well-being of your furry companions, it's important to weigh the pet safety of various flooring materials. Epoxy flooring, while durable and easy to clean, can occasionally present challenges. It's non-toxic once cured, but you should guarantee proper ventilation during application to avoid any lingering fumes. Additionally, its smooth surface might make it slippery for pets, so think about adding textured options for their comfort and stability.