To remove floor wax in 10 easy steps, start by gathering the right supplies like a wax stripper, mop, and gloves. Clear and protect the room, then sweep or vacuum to remove debris. Mix and apply the wax removal solution in small sections, scrubbing gently. Rinse thoroughly with clean water, allowing the floor to dry completely. Finally, inspect for residue and reapply if necessary. Following these steps guarantees a clean, wax-free floor; detailed tips will help you perfect the process.
Verzamel uw schoonmaakbenodigdheden
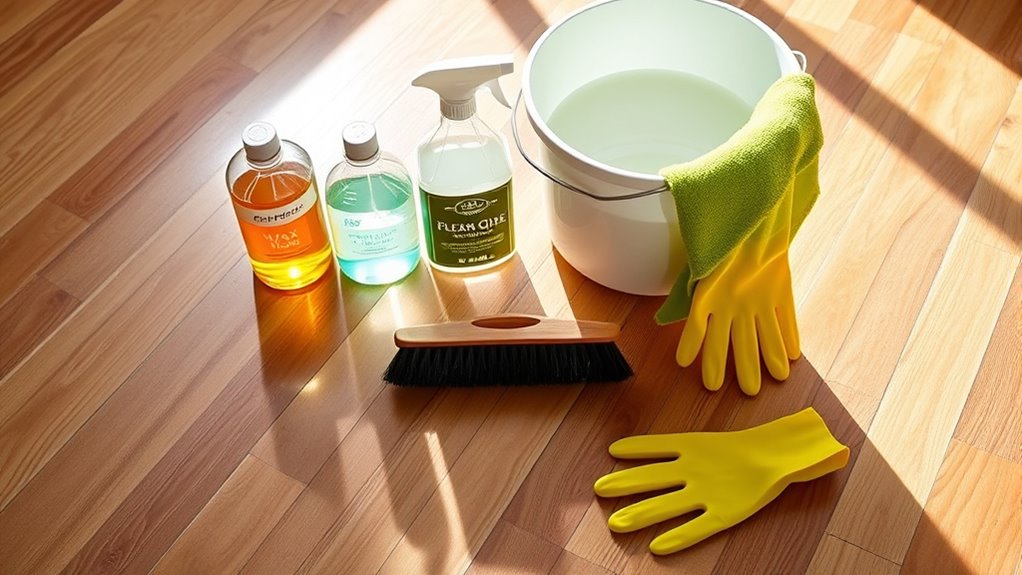
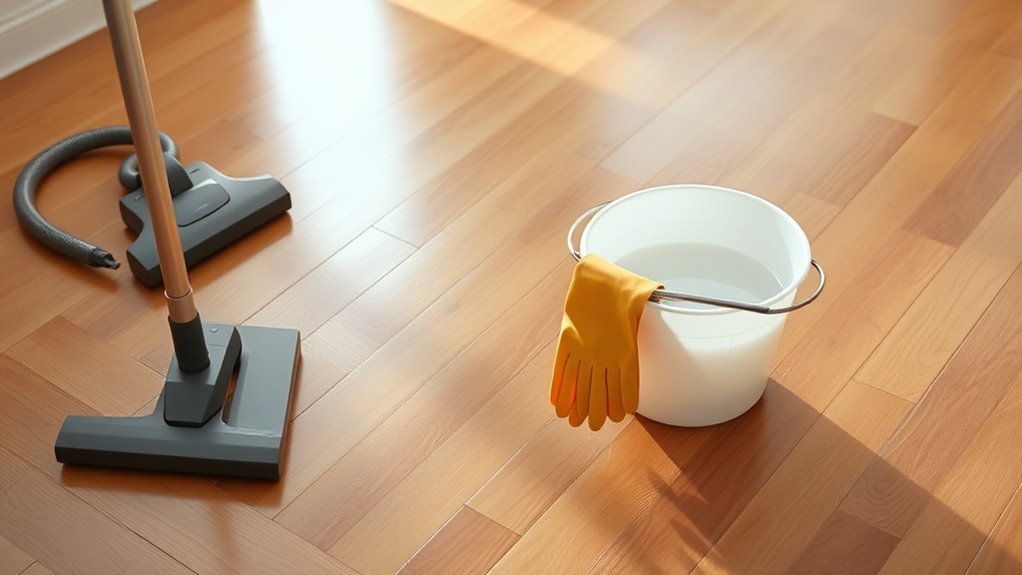
To effectively remove floor wax, you’ll need to gather a few essential cleaning supplies. First, select the right cleaning products designed specifically for wax removal, such as a commercial wax stripper or a solvent-based remover. Avoid harsh chemicals that can damage your vloeren. Next, prepare basic tools: a mop or scrub brush with stiff bristles, a bucket for your cleaning solution, and protective gloves. Having absorbent cloths or rags on hand will help you quickly wipe away loosened wax. These removal techniques require precision and the correct materials to guarantee success without harming your floor. By assembling these supplies in advance, you set yourself up for an efficient, straightforward process that restores your floor’s natural finish and grants you freedom from stubborn wax buildup.
Prepare the Room and Protect Surroundings
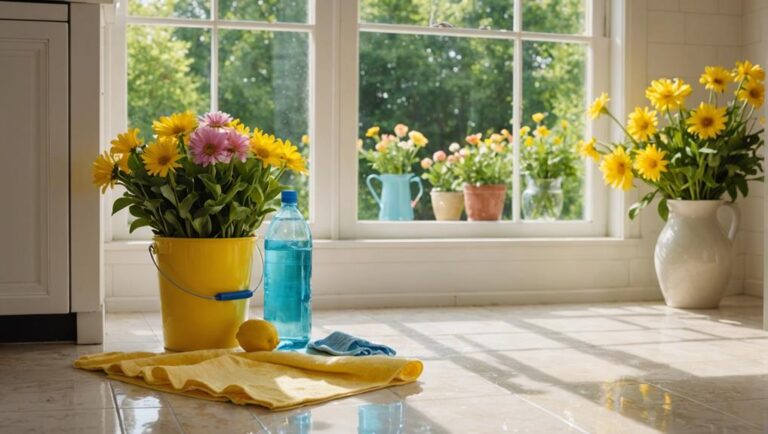
Before you begin applying any wax remover, make certain you clear the room of all furniture and rugs to expose the entire floor surface. Assess the room layout carefully to identify areas prone to splashes or spills. Use protective coverings such as plastic sheets or drop cloths to shield walls, baseboards, and adjacent flooring from potential damage. Tape down coverings securely to prevent shifting during the process. Verify proper ventilation by opening windows or using fans, which protects your freedom to work safely without inhaling fumes. Taking these preparatory steps creates a controlled environment, allowing you to focus solely on effective wax removal without worrying about unintended messes or damage. Proper preparation is essential for a smooth, efficient floor wax removal process that respects both your space and your time.
Sweep or Vacuum the Floor
With the room cleared and protected, you’ll need to remove all loose debris from the floor. This step is essential for effective floor maintenance and sets the foundation for successful waxing removal. Choose between sweeping or vacuuming based on your floor type and personal preference, but be thorough. Consistent cleaning routines prevent buildup that complicates wax removal.
| Taak | Benodigd gereedschap | Voordeel |
|---|---|---|
| Sweep Floor | Bezem | Quick, simple debris removal |
| Vacuum Floor | Stofzuiger | Deep cleaning, captures dust |
| Inspect Surface | Bright Light | Spots missed debris |
Following these precise steps guarantees you maintain freedom from dirt, making the next phase of wax removal efficient and straightforward.
Mix a Floor Wax Removal Solution
Two key ingredients are critical when you mix a floor wax removal solution: a quality stripper and water. Begin by selecting a stripper compatible with the floor wax types present on your surface—whether acrylic, paraffin, or silicone-based waxes. Using the wrong cleaning agents can damage your floor or leave residues. Follow the manufacturer’s instructions carefully, typically diluting the stripper with water in a precise ratio to maximize effectiveness without causing harm. Measure accurately to guarantee the solution is neither too strong nor too weak, preserving your floor’s integrity. Mixing thoroughly guarantees an even solution, ready to break down wax layers efficiently. By preparing the solution correctly, you maintain control over the cleaning process and set the stage for successful wax removal.
Apply the Solution to the Floor
After preparing the floor wax removal solution, you’re ready to apply it to the floor. Proper application techniques guarantee maximum solution effectiveness and a smooth removal process. Follow these steps methodically:
- Pour a small amount of the solution onto the floor in manageable sections.
- Use a clean mop or sponge to spread the solution evenly, covering the entire waxed surface.
- Avoid over-saturating the floor; a thin, consistent layer is sufficient for effective penetration.
- Work systematically from one corner toward the exit to prevent stepping on treated areas.
Scrub the Floor With a Soft Brush or Mop
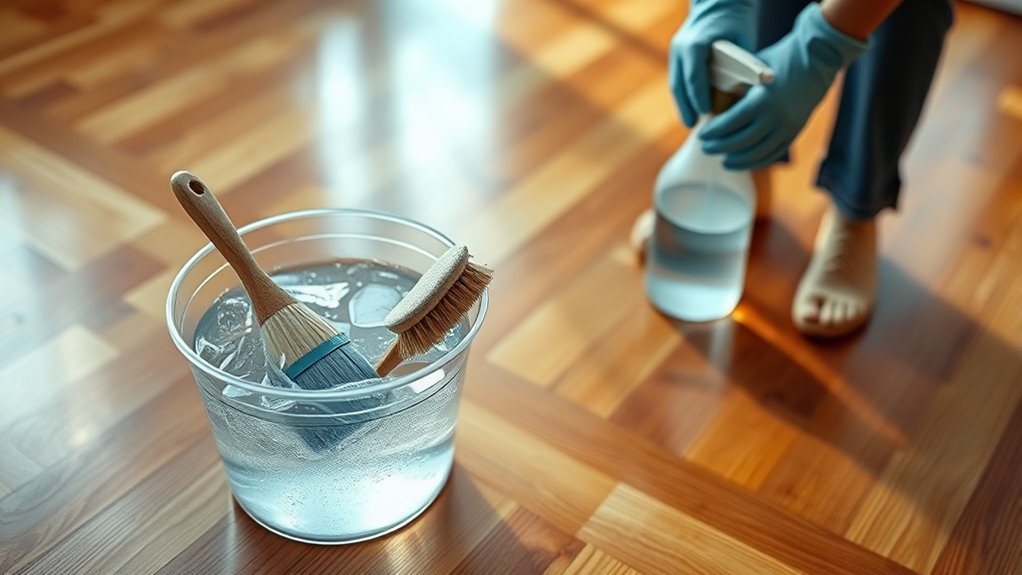
You’ll want to select a soft brush or mop designed for delicate surfaces to avoid damaging your floor. Use gentle, consistent strokes to lift the wax without scratching or wearing down the finish. Avoid abrasive scrubbing, as it can cause permanent harm and make the floor more difficult to clean afterward.
Choose Appropriate Cleaning Tools
Selecting the right cleaning tools is essential to effectively remove floor wax without damaging the surface. Different surface types require specific tools to guarantee you maintain their integrity and achieve the best results. Here’s how you can choose wisely:
- Identify your floor’s surface type—wood, tile, linoleum, or vinyl—to determine the suitable cleaning tools.
- Use a soft-bristle brush for textured or uneven surfaces to reach crevices without scratching.
- Opt for a microfiber mop on smooth surfaces to gently lift wax residues without abrasion.
- Avoid abrasive pads or hard brushes that can harm delicate flooring and complicate your removal task.
Use Gentle Cleaning Motions
Start by gently scrubbing the floor with a soft brush or microfiber mop to loosen the wax without damaging the surface. Employing gentle techniques guarantees you protect your flooring while effectively removing wax buildup. Consistent, careful cleaning habits help maintain freedom from harsh chemical or abrasive damage.
| Tool | Motion | Doel |
|---|---|---|
| Soft brush | Circular, light | Break down wax layers gently |
| Microvezel dweil | Back-and-forth | Lift loosened wax particles |
| Soft cloth | Dabbing, gentle | Final touch-up, residue removal |
Maintain steady pressure and avoid aggressive scrubbing to preserve your floor’s finish. This methodical approach balances effective cleaning with surface protection, empowering you to keep your floors spotless without compromise.
Avoid Abrasive Scrubbing
While gentle motions help protect your floor, it’s equally important to avoid abrasive scrubbing that can scratch or dull the surface. To maintain your floor’s integrity, choose non abrasive alternatives and gentle techniques. Here’s how to proceed:
- Use a soft brush or mop designed specifically for delicate surfaces.
- Apply minimal pressure as you scrub to prevent damaging the finish.
- Avoid harsh scrubbing pads or steel wool that can leave permanent marks.
- Rinse frequently to remove loosened wax without excessive rubbing.
Wipe Away the Wax Residue
You’ll want to select a soft, lint-free cloth to avoid scratching the floor surface. Use gentle, consistent wiping motions to lift the wax residue without spreading it further. Take your time to guarantee all wax traces are thoroughly removed for a clean finish.
Choose the Right Cloth
Selecting the right cloth is essential to effectively wipe away wax residue without damaging your floor. Different cloth materials and cloth types offer varied benefits, so choose wisely to maintain your floor’s integrity.
- Microfiber Cloths – Ideal for trapping wax particles without scratching surfaces.
- Cotton Cloths – Soft and absorbent, suitable for gentle residue removal.
- Terry Cloth Towels – Durable and slightly abrasive, good for tougher wax spots but use cautiously.
- Lint-Free Cloths – Prevent leftover fibers, ensuring a clean, streak-free finish.
Use Gentle Cleaning Motions
Apply gentle, consistent motions when wiping away floor wax residue to avoid scratching or damaging the surface. Using gentle techniques guarantees you protect your floor’s finish while effectively removing wax. Focus on effective motions—slow, circular wipes—that lift residue without excessive pressure. Avoid harsh scrubbing, which compromises your floor’s integrity and freedom to maintain its original look. Use a soft cloth and keep it damp, rejuvenating as needed. Below is a guide to balance pressure, motion, and cloth type for ideal results:
| Pressure Level | Motion Type | Cloth Material |
|---|---|---|
| Light | Circular | Microfiber |
| Gematigd | Linear | Cotton |
| Light | Back & Forth | Terrycloth |
| Very Light | Dabbing | Soft Sponge |
| Gematigd | Circular | Lint-Free |
Adopt these effective motions to confidently restore your floor’s clarity.
Rinse the Floor Thoroughly
Once you’ve loosened the wax residue, rinsing the floor thoroughly is essential to remove any remaining cleaning solution and debris. To guarantee effective rinsing, follow these rinse techniques and maintain appropriate rinse frequency:
- Use clean, warm water with a mop or sponge to rinse the floor evenly.
- Rinse the floor at least twice to prevent any cleaning agent buildup.
- Change rinse water frequently to avoid redistributing wax or dirt.
- Focus on corners and edges where residue tends to accumulate.
Allow the Floor to Dry Completely
Allowing the floor to dry completely is vital before proceeding to any further treatments or finishing touches. Moisture trapped beneath residual wax or cleaning solutions can compromise your floor’s integrity and lead to uneven finishes. To guarantee ideal results, employ effective drying techniques such as using fans, opening windows for ventilation, or applying a dry microfiber cloth to absorb excess moisture. Avoid walking on the surface until it’s fully dry to prevent recontamination or smudging. Proper drying is an essential step in floor maintenance, preserving both the surface and your efforts to restore its original appearance. By taking this deliberate pause, you set the stage for a flawless finish and extend the lifespan of your flooring. Don’t rush—drying is freedom from future complications.
Inspect and Repeat if Necessary
Once the floor is completely dry, carefully inspect the surface for any remaining wax residue or uneven spots. If you notice areas that still appear dull or sticky, you’ll need to repeat the removal process on those sections. Ensuring thorough removal before proceeding will guarantee a clean, smooth finish.
Assess Wax Removal Results
Although you’ve completed the initial wax removal steps, it’s crucial to carefully inspect the floor to evaluate the results. Conducting a thorough wax residue assessment guarantees your cleaning effectiveness evaluation is accurate and complete. Here’s how to proceed:
- Visually scan the floor under bright light to identify any remaining cloudy or sticky wax patches.
- Run your hand over the surface to detect tackiness or uneven texture.
- Use a clean microfiber cloth dampened with water to wipe small sections, checking if wax lifts off easily.
- Document areas that require further attention for targeted re-cleaning.
This methodical approach gives you control over the process, confirming freedom from wax buildup and a pristine finish before moving forward.
Determine Need for Reapplication
After thoroughly examining the floor for any remaining wax, you’ll need to decide if another application of wax remover or cleaning is necessary. Look closely for wax buildup signs such as dull patches, sticky residue, or uneven surfaces. These indicators reveal that the floor hasn’t been fully stripped. Don’t hesitate to perform a second treatment if these signs persist. Keep in mind that reapplication frequency varies depending on wax type and floor condition, so trust your inspection over a fixed schedule. By methodically evaluating and addressing leftover wax, you maintain control over the process and guarantee a clean, smooth surface. This approach lets you achieve freedom from unnecessary steps while ensuring thorough wax removal. Stay precise and repeat only when the floor clearly demands it.