To install porcelain floor tile, start by ensuring your subfloor is clean, level, and free of debris. Choose the right thinset mortar and tools, like a notched trowel sized for your tile thickness. Plan your layout carefully, marking reference lines and dry-laying tiles to avoid narrow cuts. Spread thinset evenly in small sections, pressing tiles firmly for full adhesion. After setting, grout the joints and seal them once cured. Follow these steps closely, and you’ll be ready to master finishing techniques.
Preparing the Subfloor for Tiling
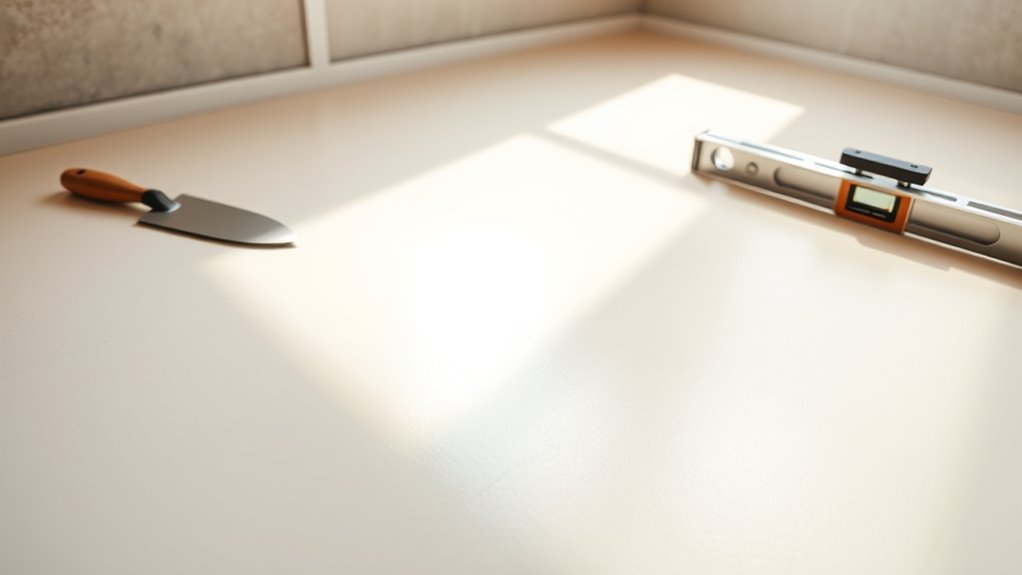
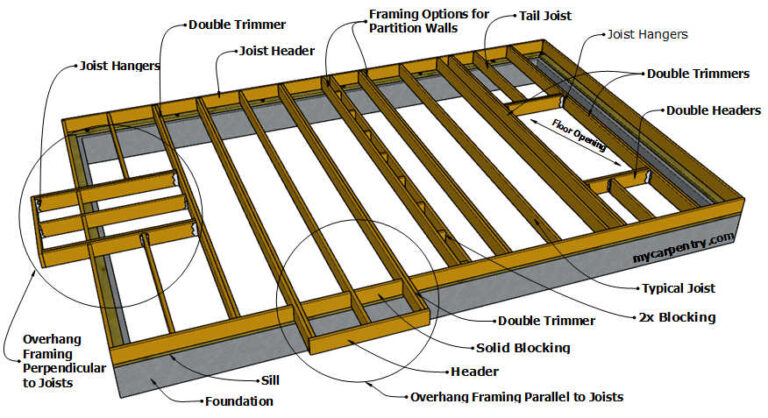
Before laying porcelain vloer tiles, you need to verify the subfloor is clean, level, and structurally sound to provide a stable base that prevents tile cracking or shifting. Begin with a thorough subfloor inspection, checking for damage, uneven surfaces, or loose sections. Remove debris, dust, and old adhesives to verify proper tile adhesion. Measure flatness using a straightedge; any deviation greater than 1/8 inch over 10 feet requires leveling. Next, install an appropriate moisture barrier, especially over concrete subfloors or in moisture-prone areas, to prevent water infiltration that can compromise tile integrity. Secure the barrier without wrinkles or gaps. These preparatory steps verify your tile installation will remain durable and stable, granting you the freedom to enjoy a flawless, long-lasting porcelain floor.
Choosing the Right Tools and Materials
When selecting tools and materials for installing porcelain floor tile, you’ll need to focus on quality and compatibility to guarantee a successful application. Understanding the tile types is vital since porcelain demands specific handling and suitable adhesive options. Choose materials that secure durability and proper bonding.
Essential tools and materials include:
- Notched trowel: Select size based on tile thickness for even adhesive spread
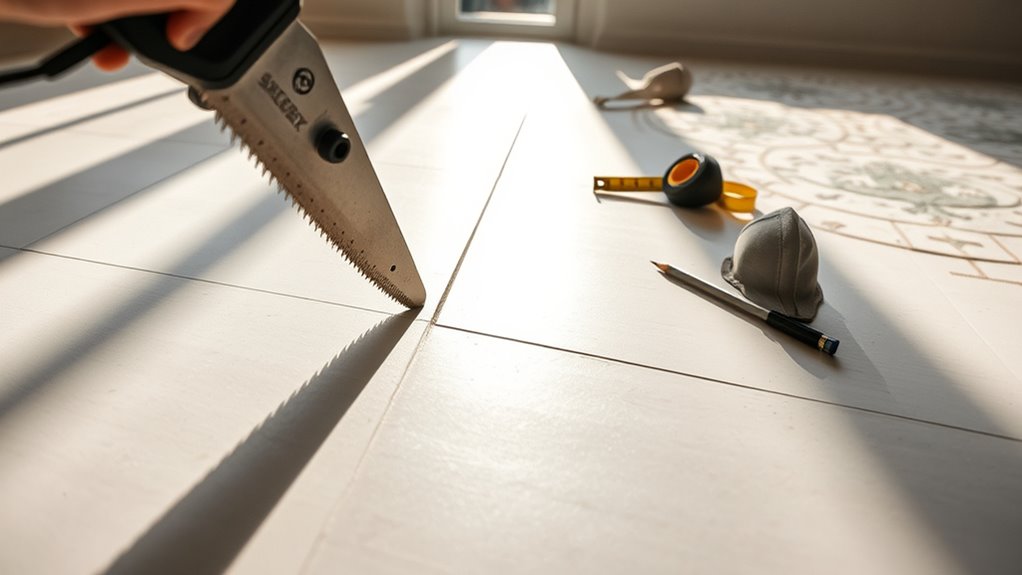
- Tile cutter or wet saw: Enables precise cuts, essential for fitting
- High-quality thin-set mortar: Tailored for porcelain’s density and low porosity
- Spacers and leveling system: Maintain consistent grout lines and flatness
Using the right combination lets you work efficiently and achieve a long-lasting, professional finish that matches your freedom to create.
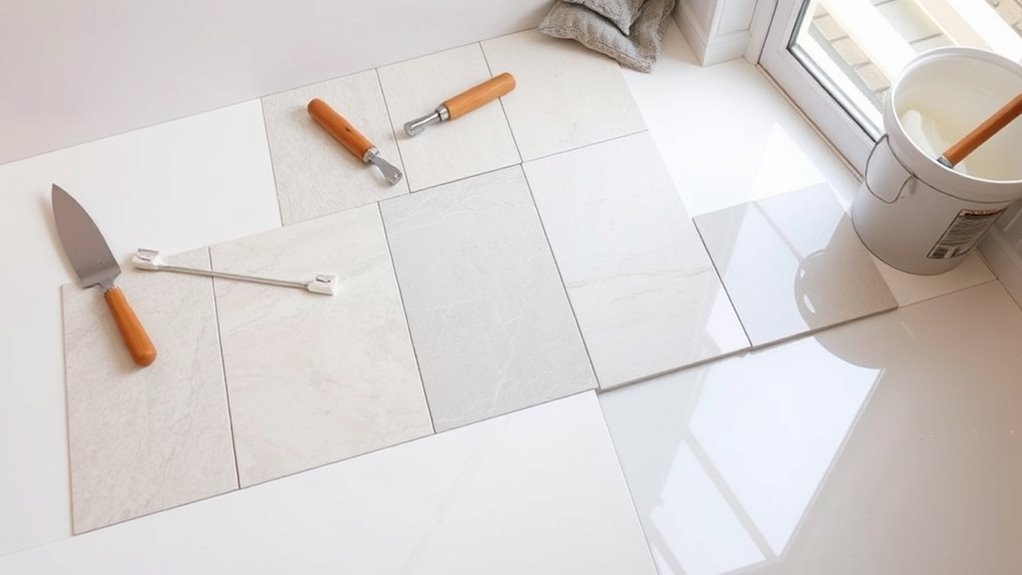
Planning the Tile Layout

Selecting the right tools and materials sets the foundation, but thoughtful planning of your tile layout determines the final appearance and efficiency of your installation. Start by measuring your space accurately to establish a central reference point. Choose a tile design and layout patterns that complement your room’s dimensions and style. Dry-lay tiles along your reference lines, adjusting spacing to minimize narrow cuts at edges. Consider symmetry and balance to maintain a professional look. Use spacers to simulate grout lines, ensuring consistency. Mark your guidelines clearly with a pencil or chalk line for precise placement. By meticulously planning your tile layout, you gain control over the installation process, reduce material waste, and create a visually appealing floor that aligns with your personal freedom in design choices.
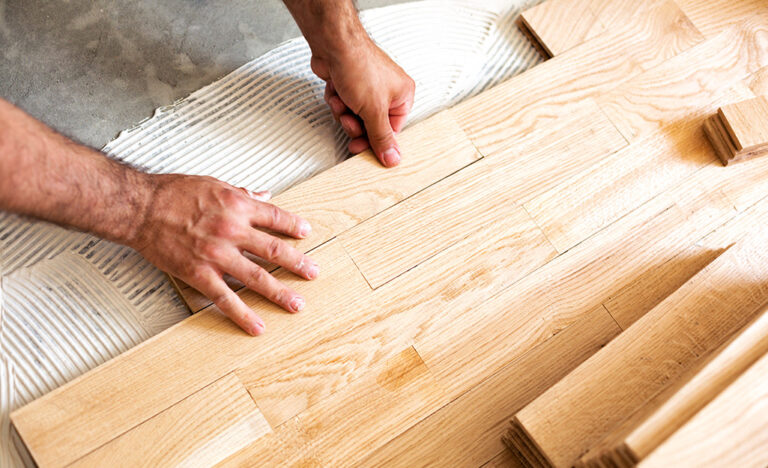
Applying Thinset Mortar and Setting Tiles
Though careful planning sets the stage, applying thinset mortar accurately is essential for a durable tile installation. Begin by mixing thinset to a creamy consistency, avoiding lumps for ideal thinset application. Use a notched trowel to spread mortar evenly, creating ridges that promote superior tile adhesion. Set each tile firmly with a slight twisting motion to guarantee full contact.
Key steps to follow:
- Mix thinset consistently to manufacturer specifications.
- Apply thinset in small sections to prevent drying before tile placement.
- Use a notched trowel sized for your tile dimensions.
- Press tiles evenly to avoid air pockets and guarantee adhesion.
Mastering thinset application empowers you to secure porcelain tiles firmly, achieving a flawless, long-lasting floor.
Cutting Tiles to Fit Edges and Corners
Accurately cutting porcelain tiles to fit edges and corners requires the right tools and techniques to guarantee clean, precise cuts without damaging the tile. Start by measuring the space carefully where the tile will fit. Mark your tile with a pencil or grease pencil, outlining the cut line for exact tile cutting. Use a wet saw with a diamond blade for straight cuts; this minimizes chipping and guarantees smooth edges. For intricate corner fitting, a tile nipper or angle grinder allows you to shape tiles to tight spots. Always wear safety goggles and gloves during tile cutting. Take your time to test-fit the cut tile before setting it. Mastering these steps gives you freedom to create a flawless porcelain floor with tight corner fitting and professional results.
Grouting and Sealing the Tile Floor
Once your tiles are cut and securely placed, the next step is to fill the gaps between them with grout. Choose from grout types like sanded, unsanded, epoxy, or urethane based on your floor’s needs. Apply grout using a rubber float, pressing firmly to fill joints completely. After 15-30 minutes, wipe excess grout with a damp sponge, reshaping joints as you go.
Fill tile gaps with grout using a rubber float, then wipe excess with a damp sponge after 15-30 minutes.
Next, apply sealing techniques to protect grout and tile from stains and moisture. Seal grout lines after they cure, usually 72 hours post-application. Use a high-quality penetrating sealer for best results. Proper sealing maintains your porcelain floor’s durability and aesthetics.
- Select grout type for your floor’s use
- Use a rubber float for even application
- Wipe and shape grout joints promptly
- Apply penetrating sealer post-curing for protection