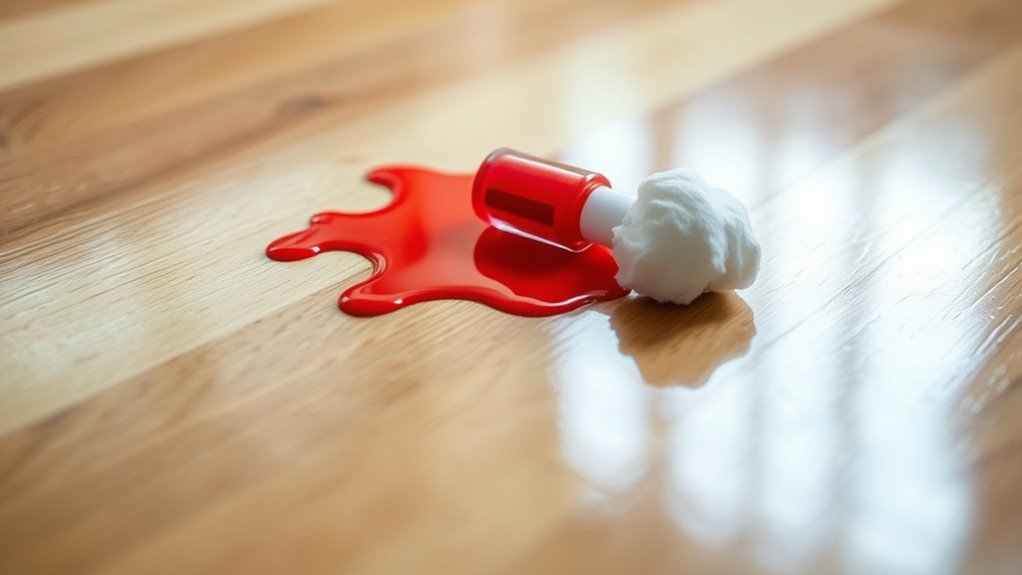
To get nail polish off hardwood floors, first identify your floor’s finish and test nail polish remover on a hidden spot to avoid damage. Use acetone-free remover or rubbing alcohol applied sparingly with a soft cloth, gently blotting the stain without rubbing. Clean the area with warm soapy water afterward, then dry thoroughly. Acting quickly prevents permanent stains, and polishing the vloer can restore its shine. For detailed steps and prevention tips, you’ll find helpful guidance ahead.
Assessing the Type of Hardwood Floor Finish
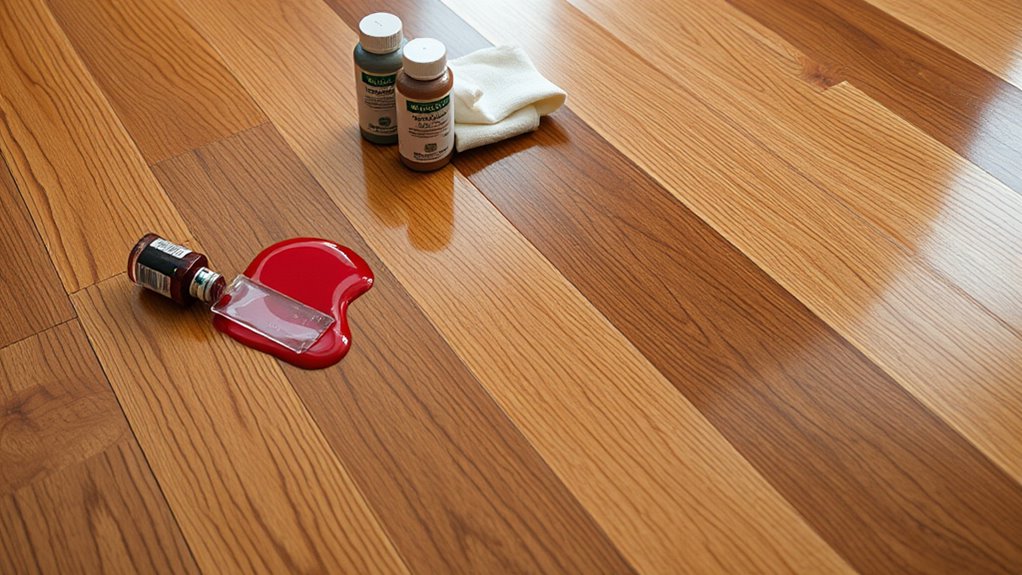
Before you start removing nail polish, you’ll need to identify the type of finish on your hardwood floor. Hardwood floor finishes vary, and knowing your finish type guarantees you pick the safest, most effective removal method. Common finish types include polyurethane, wax, shellac, and oil-based finishes. Polyurethane finishes are durable and water-resistant, while wax finishes feel softer and can be more sensitive to harsh chemicals. Shellac and oil-based finishes require gentle handling to avoid damage. You can test your finish by applying a small amount of water or alcohol on an inconspicuous spot; if it darkens or softens, it’s likely a shellac or wax finish. Understanding your hardwood floor finishes gives you the freedom to clean confidently without risking costly damage.
Gathering Necessary Cleaning Supplies
Since nail polish can be stubborn and potentially damaging, you’ll want to gather the right cleaning supplies to tackle the stain effectively and safely. Start with a soft cloth or cotton balls, which are gentle on hardwood surfaces. You’ll also need nail polish remover—preferably acetone-free to minimize damage—or rubbing alcohol for safer stain removal options. Have a small bowl of warm water mixed with mild dish soap ready for cleaning afterward. Keep a plastic scraper or an old credit card nearby to gently lift dried polish without scratching. Finally, grab a clean towel to dry the area once the stain is gone. Having these cleaning supplies on hand guarantees you’re prepared to remove nail polish quickly while protecting your hardwood floors.
Testing Nail Polish Remover on a Hidden Spot
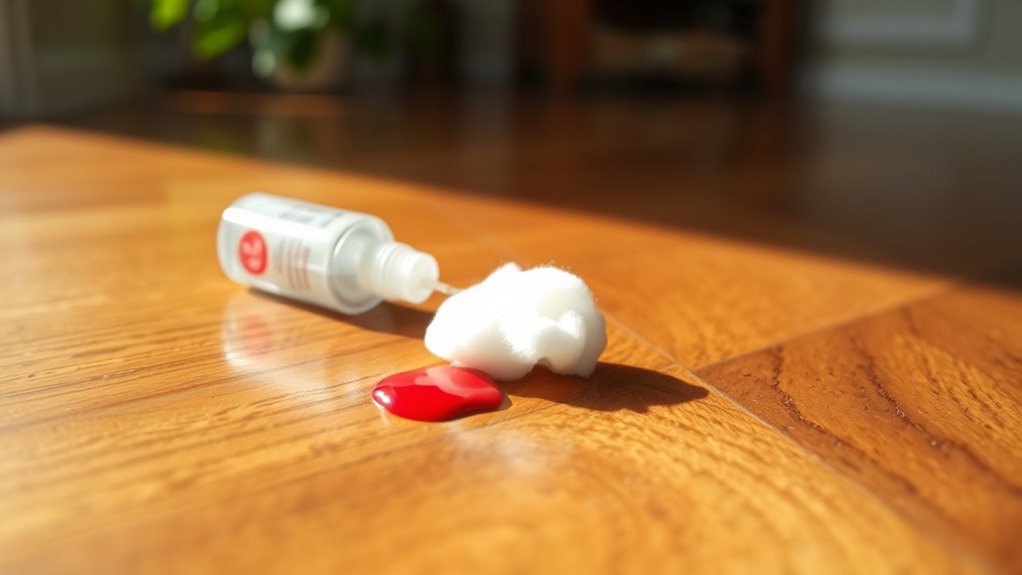
Before using nail polish remover, pick a hidden spot on your hardwood floor to test it. This helps you see if the remover affects the wood finish or causes discoloration. If the area looks unchanged after a few minutes, you can proceed safely with cleaning.
Select Inconspicuous Area
A small test spot on your hardwood floor can save you from unwanted damage when using nail polish remover. Before tackling the visible stain, select an inconspicuous area to perform spot testing. This helps you check how your specific floor type reacts without risking noticeable harm. Here’s how to choose wisely:
- Pick a hidden corner, under furniture, or inside a closet where damage won’t be obvious.
- Verify the spot matches the floor type and finish of the affected area for accurate results.
- Apply a small amount of remover and wait a few minutes to observe any discoloration or finish deterioration.
Assess Wood Finish Reaction
Even if you’ve chosen a hidden spot carefully, you’ll want to see how your hardwood floor’s finish reacts to the nail polish remover. Different wood finish types—like polyurethane, shellac, or wax—respond differently to chemicals. Apply a small amount of remover with a cotton swab and wait a few minutes. Check for discoloration, dullness, or softening. If the finish remains intact, you’re good to proceed; if not, consider a gentler method or a specialized product. This simple test protects your floor’s integrity while keeping floor maintenance manageable. Taking this step guarantees you don’t accidentally damage your hardwood during nail polish removal, letting you maintain your floor’s beauty and your freedom to fix spills confidently.
Using Acetone-Based Nail Polish Remover Safely
When using acetone-based nail polish remover, you’ll want to protect your floor’s finish by applying it sparingly and wiping it up quickly. Make sure the area is well-ventilated to avoid inhaling strong fumes. These steps help keep your hardwood safe while effectively removing the polish.
Protecting Floor Finish
Using acetone-based nail polish remover on hardwood floors requires caution to avoid damaging the finish. You want to maintain your floor care routine while protecting the finish maintenance. Here’s how to do it safely:
- Eerst testen: Apply a small amount of acetone on an inconspicuous spot to check for any adverse reaction.
- Use Sparingly: Dampen a soft cloth with remover instead of pouring it directly on the floor, minimizing exposure.
- Immediate Cleanup: Wipe the area quickly with a damp cloth after treatment to remove residue and prevent finish erosion.
Proper Ventilation Tips
Because acetone-based nail polish remover emits strong fumes, you’ll want to confirm proper ventilation to protect your health and keep the air fresh while cleaning. Start by opening windows and doors to encourage natural air circulation. If possible, use fans to direct fumes outside, enhancing ventilation techniques. Avoid working in confined spaces where fumes can build up. Wearing a mask can add an extra layer of protection but never rely on it alone. Keep pets and children away from the area during cleanup. After finishing, continue ventilating for at least 30 minutes to clear residual vapors. By prioritizing these ventilation techniques, you confirm a safer, more comfortable environment while removing nail polish from hardwood floors, letting you enjoy your freedom without compromising health.
Alternative Methods: Rubbing Alcohol and Vinegar
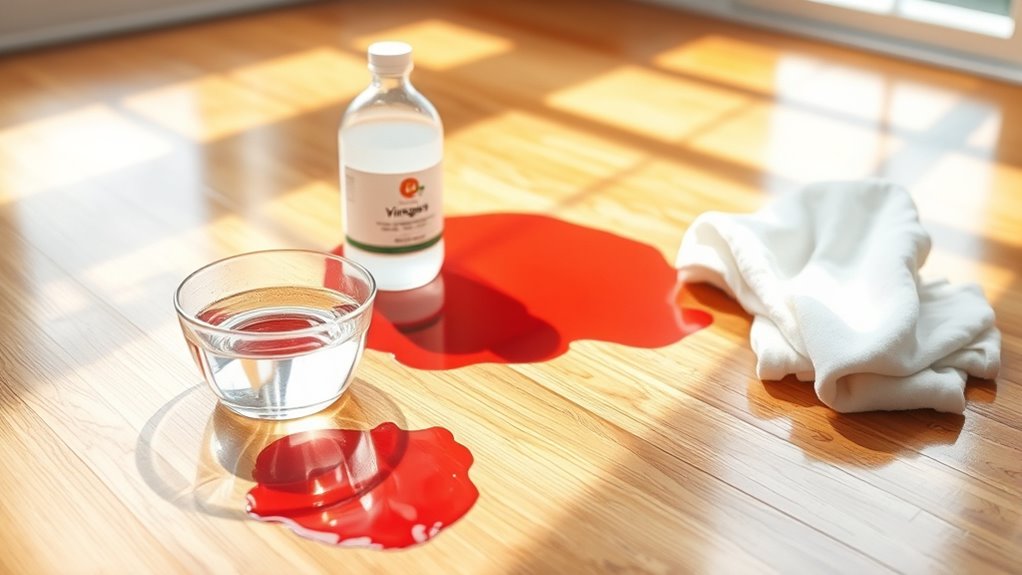
Two common household items, rubbing alcohol and vinegar, can be surprisingly effective at removing nail polish from hardwood floors. Before you start, test a small hidden area to verify these won’t damage the finish. Here’s how to use them:
- Dampen a clean cloth with rubbing alcohol and gently blot the nail polish. Avoid rubbing hard to protect your floor.
- If rubbing alcohol isn’t available, mix a vinegar solution by combining equal parts white vinegar and water.
- Apply the vinegar solution with a cloth, letting it sit for a few minutes before gently wiping away the polish.
These alternatives give you freedom from harsh chemicals while effectively loosening nail polish. Just remember to dry the area thoroughly afterward to prevent moisture damage.
Gentle Scrubbing Techniques for Stubborn Stains
If rubbing alcohol or vinegar don’t fully lift the nail polish, gentle scrubbing can help remove stubborn spots without damaging your hardwood floors. Start by dampening a soft cloth or sponge with warm water and a mild dish soap solution. Apply gentle scrubbing motions directly on the stubborn stains, avoiding harsh pressure that could scratch the finish. For tougher areas, use a soft-bristled toothbrush to carefully work the polish loose. Always test your scrubbing method on a hidden spot first to verify it won’t harm the floor’s surface. Remember, patience is key—steadily work on the stain instead of rushing. This approach lets you tackle stubborn stains effectively while preserving the natural beauty and freedom of your hardwood flooring.
Cleaning and Polishing the Floor After Stain Removal
Once you’ve removed the nail polish stain, you’ll want to thoroughly clean and polish the affected area to restore your hardwood floor’s shine and protect its finish. Start by choosing appropriate cleaning techniques to avoid damage.
Thoroughly clean and polish the area after removing nail polish to restore shine and protect your hardwood floor.
- Use a damp microfiber cloth with a mild wood floor cleaner to gently remove any residue. Avoid harsh chemicals that can strip the finish.
- Dry the area completely to prevent moisture absorption, which can warp the wood.
- Apply a suitable polishing method—either a commercial hardwood floor polish or a natural oil-based product—to revive the luster and add a protective layer.
Preventive Tips to Avoid Future Nail Polish Spills
Although accidents happen, taking simple precautions can help you avoid future nail polish spills on your hardwood floors. Start by designating a specific area for your nail polish application, ideally over a washable surface or a protective mat. This is a key prevention strategy to contain any spills before they reach your floors. Always keep the bottle tightly closed when not in use to prevent accidental tipping. Consider using spill containment trays or silicone mats that catch drips instantly. If you’re multitasking, avoid distractions that might cause you to knock over polish. Finally, store nail polish bottles in secure, stable places out of high-traffic zones. Implementing these prevention strategies will save you time and protect your floors, giving you the freedom to enjoy your space without worry.

