To fix buckling wood floors, first identify and eliminate moisture sources like leaks or high humidity. Use dehumidifiers to dry the floor and subfloor thoroughly, guaranteeing moisture levels drop below 12%. Inspect and replace warped or damaged boards carefully, then sand and refinish the area for a smooth finish. Improve room ventilation and maintain proper expansion gaps during installation to prevent recurrence. For persistent issues or extensive damage, professional assessment may be necessary to guarantee lasting repair. Learn effective strategies to restore and protect your vloeren.
Identify the Cause of Buckling
Before you can effectively fix buckling wood floors, you need to identify the underlying cause. Buckling occurs when wood expands beyond its capacity to accommodate moisture or stress. Common causes of buckling include high humidity, water leaks, improper installation, or subfloor issues. Different types of wood react uniquely; solid hardwood tends to expand more than engineered wood due to its natural composition. To diagnose, inspect for visible moisture sources and assess ventilation around the flooring. Also, evaluate the type of wood—some species like oak or maple are more prone to buckling under moisture stress. Understanding these factors enables you to target the root cause precisely, preventing recurrence. Accurate identification guarantees that your floor repair is durable, restoring your freedom to enjoy a stable, beautiful wood floor.
Remove Excess Moisture From the Floor
To stop wood floors from buckling, you need to identify all sources of moisture contributing to the problem. Use dehumidifiers strategically to lower humidity levels, and guarantee your ventilation system promotes adequate air circulation. These steps are essential for removing excess moisture and preventing further damage.
Identify Moisture Sources
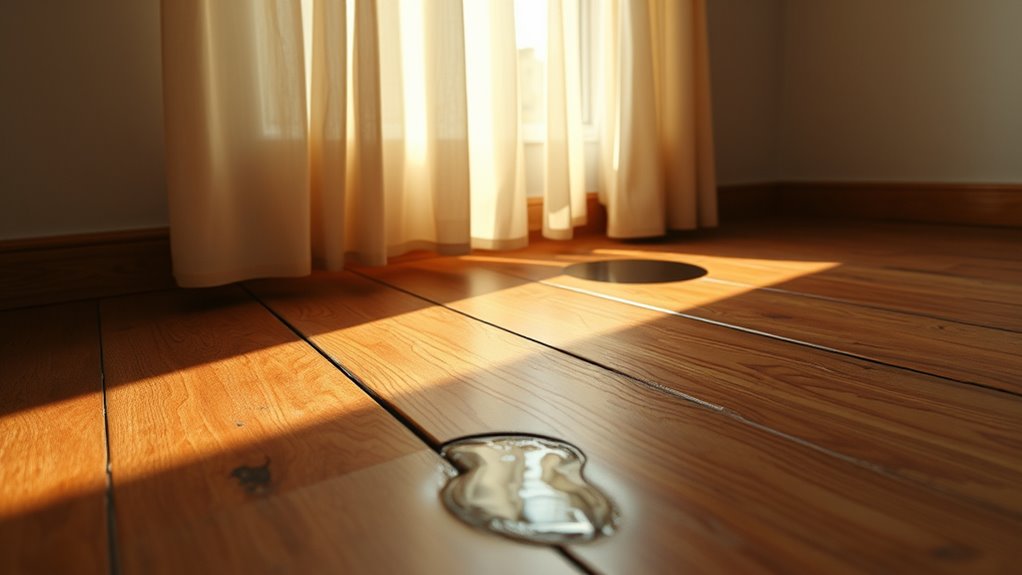
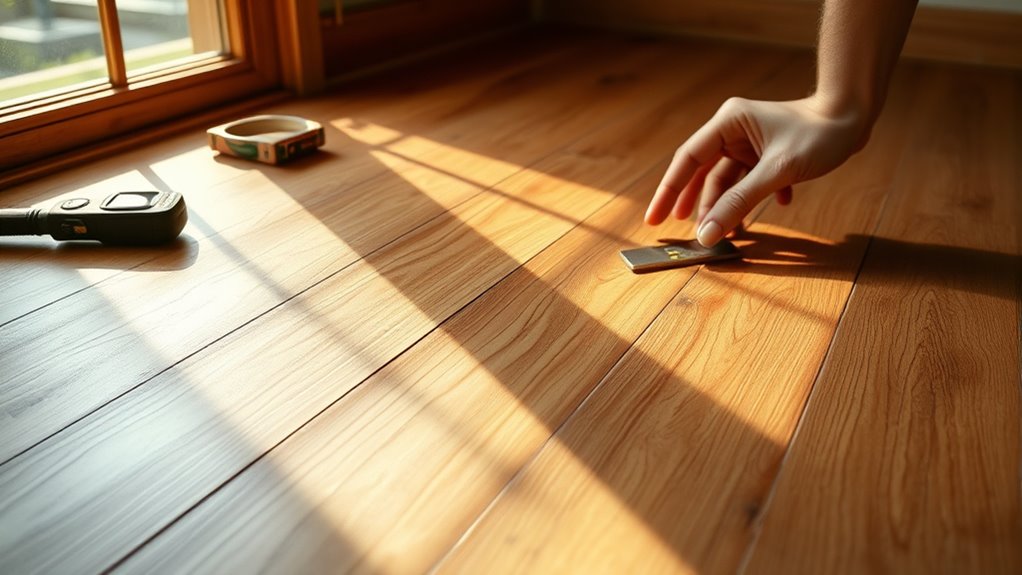
Although buckling wood floors are often caused by moisture, pinpointing the exact source is critical to effectively remove excess moisture and prevent further damage. Start by conducting moisture detection using a reliable moisture meter across the floor and subfloor to map damp areas. Inspect potential water sources such as leaking pipes, faulty appliances, or poor drainage around the foundation. Check for high indoor humidity levels that can also contribute to moisture accumulation. Don’t overlook hidden water sources like condensation under the floor or groundwater seeping through the slab. Once you identify these sources, you can take targeted actions to eliminate moisture entry, ensuring your wood floors dry properly and maintain structural integrity. Accurate identification is your first step toward restoring freedom from damaging buckling floors.
Use Dehumidifiers Effectively
Once you’ve identified and addressed moisture sources, the next step is actively removing excess moisture from the wood floors. To do this effectively, set up a dehumidifier in the affected room, ensuring it’s sized appropriately for the space. Adjust the dehumidifier settings to maintain relative humidity between 30% and 50%, ideal for moisture control without over-drying the wood. Position the unit where airflow is unobstructed to maximize efficiency. Monitor humidity levels regularly using a hygrometer, and recalibrate settings as needed to prevent further buckling. Run the dehumidifier continuously until moisture readings stabilize within the target range. This precise moisture control not only halts ongoing damage but also restores wood floor integrity, giving you the freedom to enjoy a durable, stable surface.
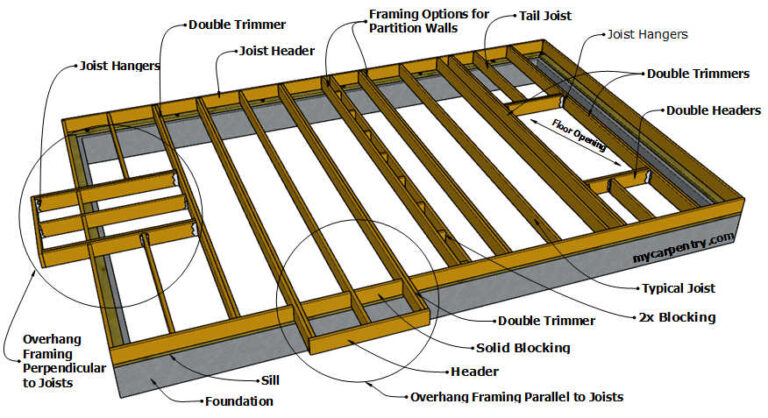
Improve Ventilation Systems
When you’re dealing with buckling wood floors, improving ventilation systems is essential for removing excess moisture and preventing future damage. Enhancing air circulation reduces humidity levels beneath and around the flooring, stabilizing the environment. You can implement ventilation techniques like installing vents, fans, or air exchangers to maintain ideal airflow. Consistent air movement helps wood dry evenly, preventing warping and buckling.
| Ventilation Technique | Doel |
|---|---|
| Subfloor Vents | Allow moisture escape |
| Afzuigventilatoren | Expel humid air |
| Air Exchangers | Circulate fresh air |
Dry the Subfloor Thoroughly
Before installing new flooring or repairing the buckled boards, you need to verify the subfloor is completely dry. Use a moisture meter to measure moisture levels; ideal readings should be below 12% for wood subfloors. If moisture is present, employ dehumidifiers and fans to accelerate drying. Avoid rushing this step—installing flooring materials over a damp subfloor risks recurring buckling and structural damage. Once dry, install an appropriate moisture barrier between the subfloor and your flooring materials to prevent future moisture infiltration. Be sure to select a barrier compatible with your flooring type to maintain breathability and protect your investment. Thorough drying guarantees a stable base, giving your wood floors the freedom to expand and contract without warping or buckling.
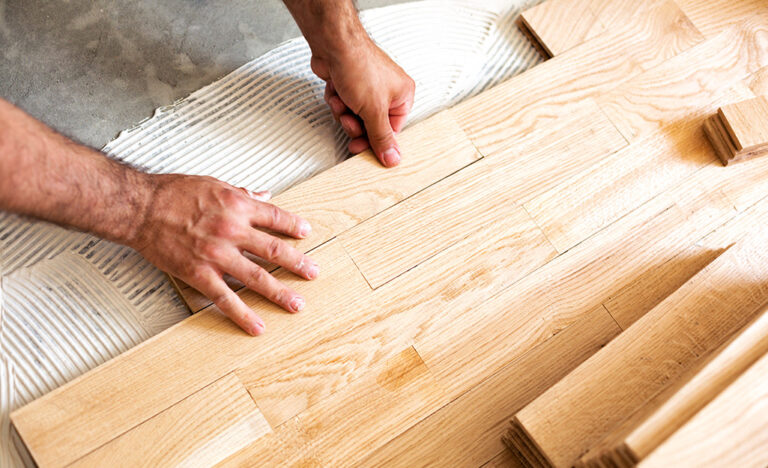
Inspect and Repair Damaged Floorboards
Start by carefully inspecting each floorboard for signs of damage such as warping, cracking, or cupping. Conduct a thorough damage assessment to determine the extent of deterioration and identify which boards require floorboard replacement. Use a moisture meter to confirm dryness and verify no hidden moisture remains. Mark affected boards and evaluate if they can be repaired through localized fixes or if full replacement is necessary. Remove damaged boards by carefully prying them up without causing harm to adjacent planks. Prepare the subfloor beneath by cleaning and leveling it before installing new floorboards. Secure replacements with appropriate fasteners, making sure they align flush with existing flooring. This methodical approach guarantees structural integrity and preserves the freedom to enjoy your restored, stable wood floor without future buckling issues.
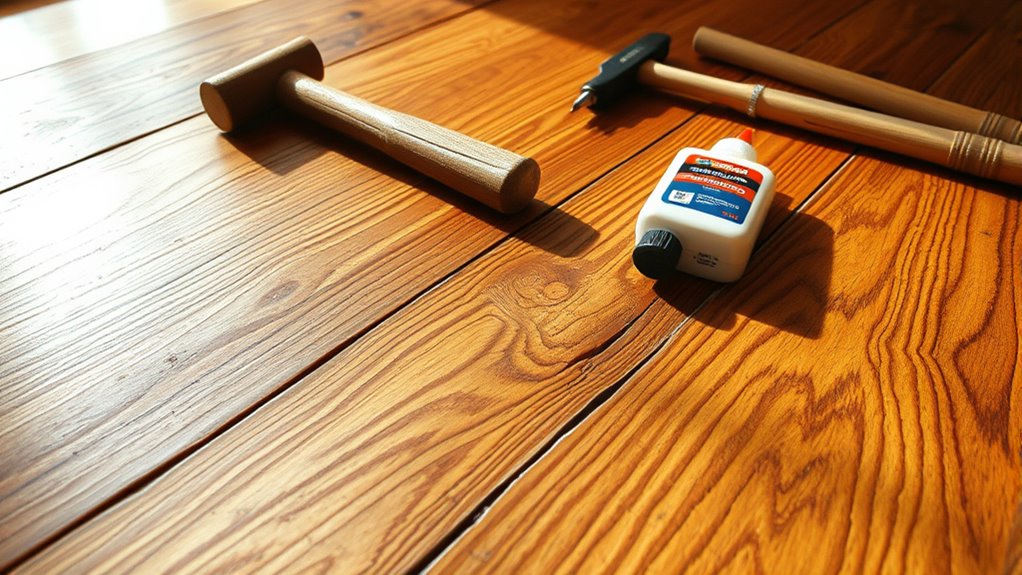
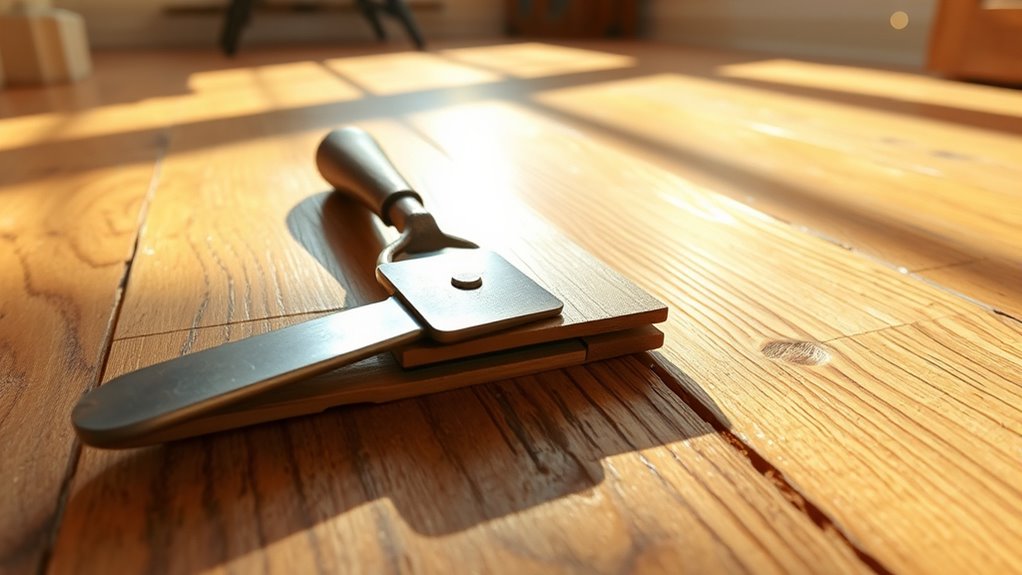
Sand and Refinish the Affected Area
Start by thoroughly cleaning and drying the repaired area to guarantee proper adhesion. Select sandpaper with a grit that matches the floor’s current condition, typically starting with medium grit and finishing with fine grit for a smooth surface. Finally, apply the finish evenly using a brush or applicator to prevent streaks and guarantee consistent protection.
Het oppervlak voorbereiden
Three key steps are involved in preparing the surface for sanding and refinishing the buckled area: thoroughly cleaning the floor, carefully sanding down the raised boards to a smooth, level finish, and removing all dust and debris before applying any finish. Begin with surface cleaning—vacuum and mop to eliminate dirt and grime, ensuring ideal floor preparation. Next, sand the buckled boards evenly, focusing on the high spots to restore flatness without damaging surrounding wood. After sanding, use a tack cloth or vacuum to remove all dust particles; any residue could compromise finish adhesion and durability. Following these precise steps guarantees a stable, clean surface ready for refinishing, allowing you the freedom to restore your floor’s integrity and appearance effectively.
Choosing the Right Sandpaper
When sanding and refinishing the buckled area, selecting the appropriate sandpaper grit is essential to achieve a smooth, even surface without causing further damage. Different sandpaper types and grits serve specific purposes during the process. Follow these guidelines:
- Start with coarse sandpaper grit (40-60) to remove high spots on the buckled wood.
- Progress to medium grit (80-100) to smooth out scratches and prepare the surface.
- Finish with fine grit (120-150) to create a clean base for refinishing.
- Choose sandpaper types suitable for hardwood floors, like aluminum oxide, for durability and consistent abrasion.
Applying Finish Evenly
Applying an even finish requires careful attention to technique and product choice to guarantee a uniform appearance and ideal protection. Begin by thoroughly cleaning the sanded area to remove all dust. When applying stain, use a high-quality brush or cloth, moving consistently along the wood grain to prevent blotches. Allow the stain to penetrate evenly, wiping off excess promptly to avoid uneven coloration. After the stain has dried completely, proceed with applying sealant. Choose a sealant compatible with your stain type, and apply thin, uniform coats using a fine brush or roller. Maintain steady pressure and overlap strokes slightly to eliminate streaks. Allow each coat to dry fully before applying the next. This precise method assures your refinished floor restores its natural beauty and durability without imperfections.
Improve Room Ventilation and Humidity Control
Although buckling often results from moisture buildup beneath your wood floors, you can prevent further damage by improving room ventilation and controlling humidity levels. Managing air circulation and humidity is essential to maintain floor integrity. Follow these steps:
- Use dehumidifiers to maintain indoor humidity between 30-50%, preventing excessive moisture.
- Open windows regularly to promote natural air circulation and reduce trapped humidity.
- Install exhaust fans in high-moisture areas like bathrooms and kitchens to expel humid air.
- Position air vents and registers to optimize airflow across the floor surface, minimizing stagnant air pockets.
Prevent Future Buckling With Proper Installation
Since improper installation is a leading cause of wood floor buckling, guaranteeing correct techniques during installation is critical to preventing future issues. You need to follow precise installation techniques, starting with acclimating the wood to your room’s environment for at least 72 hours. Always maintain proper expansion gaps—typically 1/4 to 1/2 inch—around the perimeter and any fixed objects. These gaps allow the floor to naturally expand and contract without causing stress. Use appropriate fasteners and adhesive methods recommended for your flooring type, and guarantee the subfloor is clean, dry, and level before installation. Proper alignment and securing of boards prevent movement that leads to buckling. By mastering these technical steps, you’ll safeguard your wood floor’s integrity and enjoy the freedom of a stable, lasting surface.
Wanneer u professionele hulp moet zoeken
If you notice persistent or severe buckling despite following proper installation and maintenance guidelines, it’s time to consult a flooring professional. Consulting professionals guarantees accurate diagnosis and prevents further damage. When evaluating situations, consider these key indicators:
- Buckling covers a large floor area or worsens rapidly.
- Moisture sources like leaks or high humidity aren’t easily identified or controlled.
- DIY repairs have failed or caused additional issues.
- Structural damage to subflooring or joists is suspected.
Professionals use specialized tools to assess moisture levels, structural integrity, and flooring condition. They’ll recommend precise remediation steps, from moisture mitigation to partial or full replacement, freeing you from guesswork and costly errors. Knowing when to seek expert help lets you maintain your freedom to enjoy a safe, stable wood floor.