If your vinyl plank flooring is lifting, first inspect for moisture or subfloor issues causing adhesion loss. Remove furniture, clean the area thoroughly, then carefully lift loose planks. Apply the correct adhesive evenly on the plank and subfloor, press the plank back in place, and weight it down for at least 24 hours to guarantee a strong bond. Replace any warped planks when necessary. For detailed methods and preventative tips, there’s more to explore to restore your flooring properly.
Common Causes of Vinyl Plank Flooring Lifting
Although vinyl plank flooring is designed for durability, several factors can cause it to lift over time. Understanding the primary causes of lifting helps you address vinyl flooring issues effectively. Moisture intrusion is a leading cause, as water seeps beneath planks, weakening adhesive bonds. Improper subfloor preparation, such as uneven or dirty surfaces, prevents proper adhesion and leads to lifting. Temperature fluctuations can cause material expansion and contraction, stressing joints and adhesives. Using incorrect adhesives or installation methods also results in poor bonding. Additionally, heavy foot traffic or furniture movement may dislodge planks. By identifying these causes of lifting, you gain the freedom to tackle repairs confidently, ensuring your vinyl flooring remains securely in place and performs efficiently for years to come.
Tools and Materials Needed for Repair
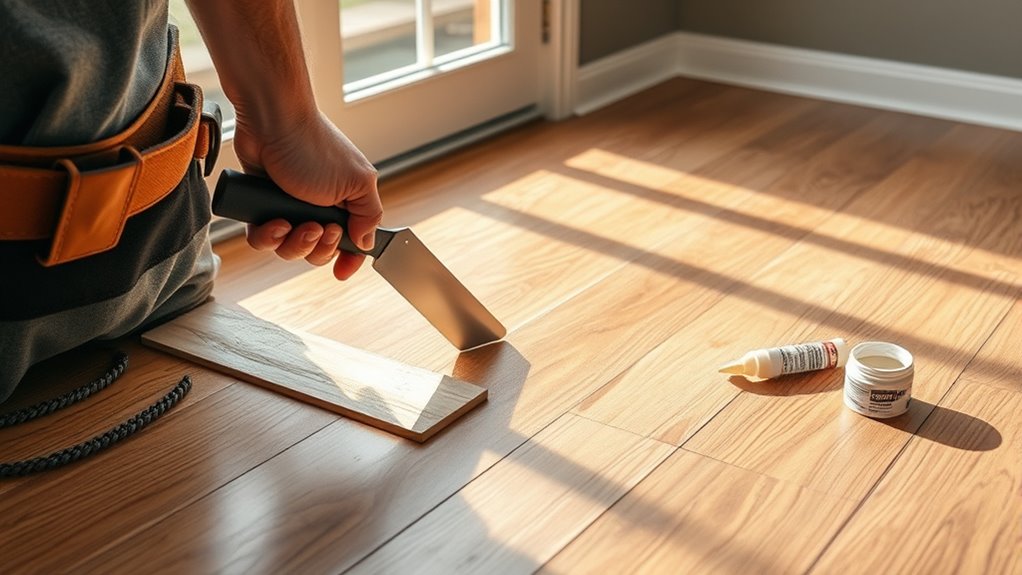
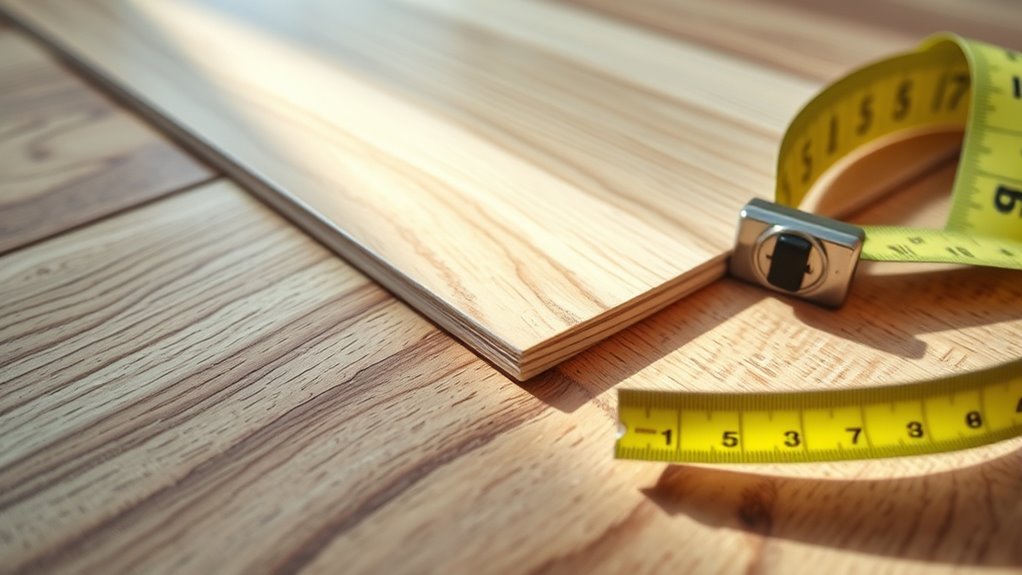
Addressing vinyl plank flooring lifting requires specific tools and materials to guarantee a proper and lasting repair. You’ll need a utility knife for precise cutting, a pry bar or putty knife to lift affected planks carefully, and a rubber mallet to tap planks back into place during flooring installation. A high-quality vinyl flooring adhesive is essential for re-bonding loose planks, while a roller will assure even pressure and adhesion. Additionally, keep a measuring tape and chalk line handy for accurate alignment. For vinyl plank maintenance, having a moisture meter helps detect subfloor moisture levels that could affect repairs. Finally, gloves and safety glasses protect you during the process. Using these precise tools and materials assures your repair is durable, restoring both function and appearance efficiently.
How to Identify the Extent of the Problem
You’ll want to start with a thorough visual inspection to pinpoint where the vinyl planks are lifting and note any patterns. Next, check for moisture beneath the flooring, as excess dampness often causes lifting. Finally, assess the subfloor’s condition to determine if structural issues are contributing to the problem.
Visual Inspection Techniques
A thorough visual inspection is essential to accurately determine the extent of lifting in vinyl plank flooring. Begin by closely examining the entire vloer surface, focusing on any raised edges, gaps, or buckling areas. Use a bright light source at a low angle to highlight subtle irregularities that may indicate underlying issues. During your flooring assessment, document the locations and sizes of lifted planks, noting whether the lifting is isolated or widespread. Pay attention to the direction of the lift and any patterns that may suggest structural problems or installation flaws. This precise visual inspection helps you map out affected zones and plan targeted repairs, ensuring you address the root cause efficiently while preserving the floor’s integrity and your freedom to move confidently on a stable surface.
Controleer op vocht
Three key methods can help you accurately detect moisture beneath vinyl plank flooring, which is often the primary cause of lifting. Start with a thorough flooring inspection, visually checking for discoloration, warping, or bubbling. Next, use a moisture meter designed for flooring to measure moisture levels at multiple points, focusing on areas showing lifting or damage. For more precise moisture detection, consider performing a calcium chloride test, which quantifies moisture vapor emission rates from the subfloor. Combining these approaches lets you identify both surface and subfloor moisture issues accurately. This information is vital—you’ll know exactly how extensive the moisture problem is, allowing you to plan the right repair strategy. Proper moisture detection prevents ineffective fixes and guarantees your vinyl plank flooring regains lasting stability.
Beoordeel de conditie van de ondervloer
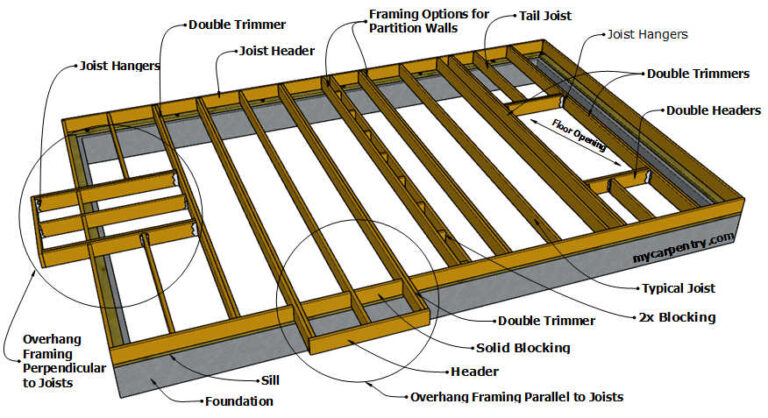
Before proceeding with repairs, it’s essential to assess the subfloor condition thoroughly to determine the extent of damage causing the vinyl plank flooring to lift. Begin with a detailed subfloor inspection, looking for signs of warping, rot, or structural weakness. Use a moisture meter to check for elevated moisture levels, as poor moisture control often leads to subfloor deterioration. Pay close attention to any areas where the subfloor feels soft or uneven underfoot, which indicates compromised integrity. Identifying the exact locations and severity of damage helps you decide whether partial repair or full replacement is necessary. Thorough subfloor assessment guarantees your repair strategy addresses the root cause, preventing recurring lifting and maintaining the freedom to enjoy a stable, long-lasting vinyl plank floor.
Preparing the Area for Repair
Before starting the repair, clear the floor around the affected area to guarantee unobstructed access. You’ll also need to gather essential tools such as a utility knife, adhesive, a roller, and cleaning supplies. Proper preparation sets the foundation for an effective and lasting fix.
Clear the Floor
To effectively address lifting vinyl plank flooring, you’ll need to clear the floor area completely to guarantee unobstructed access to the affected planks. Start by removing all furniture and movable objects from the repair zone, making sure nothing obstructs your workspace. This furniture removal prevents accidental damage and allows precise inspection. Next, perform thorough floor cleaning to eliminate dust, debris, and residue that could interfere with adhesion during repair. Use a vacuum followed by a damp mop with a mild cleaner suited for vinyl surfaces. Avoid excess moisture, which can worsen lifting issues. By clearing and cleaning the floor meticulously, you create an ideal environment for effective plank repair and guarantee lasting results without compromising the flooring’s integrity or your freedom to move around during the process.
Verzamel de benodigde hulpmiddelen
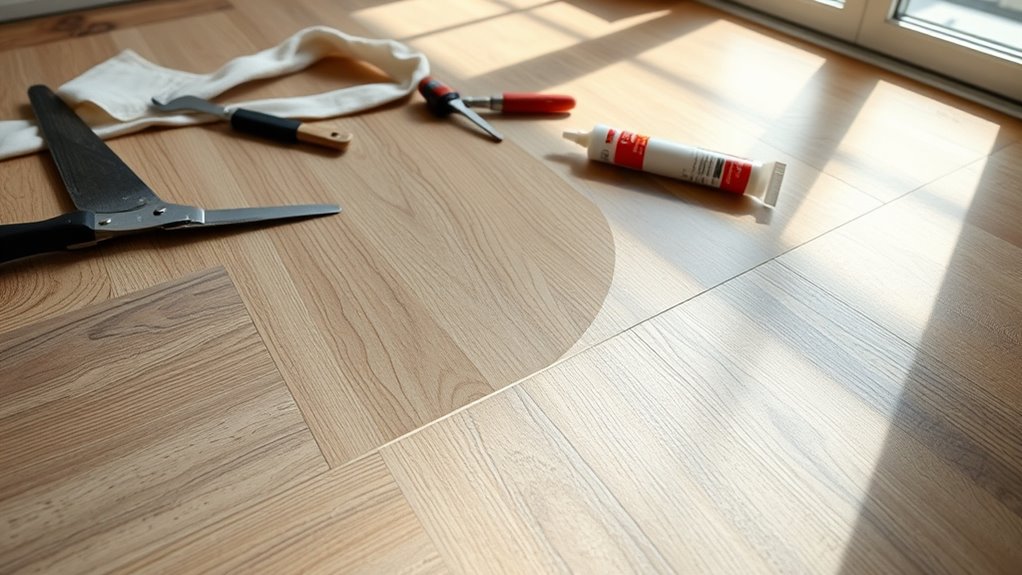
A successful vinyl plank flooring repair hinges on having the right tools at hand. Before you start, perform a thorough tools overview to guarantee your tool selection aligns with the repair’s technical demands. Precision matters here; choosing inappropriate tools could worsen the lifting or damage adjacent planks. For effective preparation, gather these essentials:
- Utility knife for cutting damaged planks
- Pry bar to gently lift affected flooring
- Flooring adhesive suited for vinyl planks
- Rubber mallet to secure planks without damage
- Cleaning cloths and adhesive remover
This concise toolkit empowers you to address lifting efficiently, providing the freedom to restore your floor with confidence and accuracy. Proper tools not only facilitate the repair but also protect your investment in quality flooring.
Reapplying Adhesive to Loose Vinyl Planks
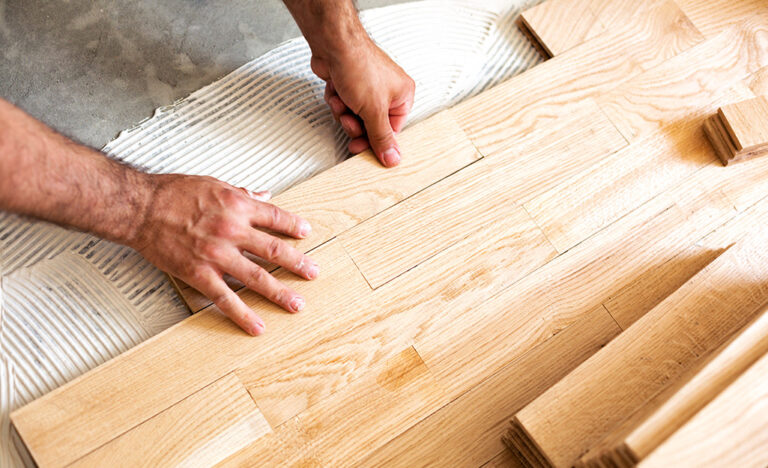
When you notice vinyl planks lifting, it’s crucial to address the issue by carefully reapplying adhesive to guarantee a secure bond. First, identify the appropriate adhesive type—pressure-sensitive or wet-set—based on your flooring specifications. Clean the plank and subfloor surfaces thoroughly to remove dust or old adhesive residues. Use a notched trowel to apply the adhesive evenly, ensuring full contact without excess that could seep out. Precision in application techniques is critical; avoid gaps or air pockets that compromise adhesion. Once applied, firmly press the plank back into place, aligning it with surrounding planks. This method restores stability and prevents future lifting, offering you the freedom to enjoy your floor without worry.
Using Weights to Secure the Planks While Drying
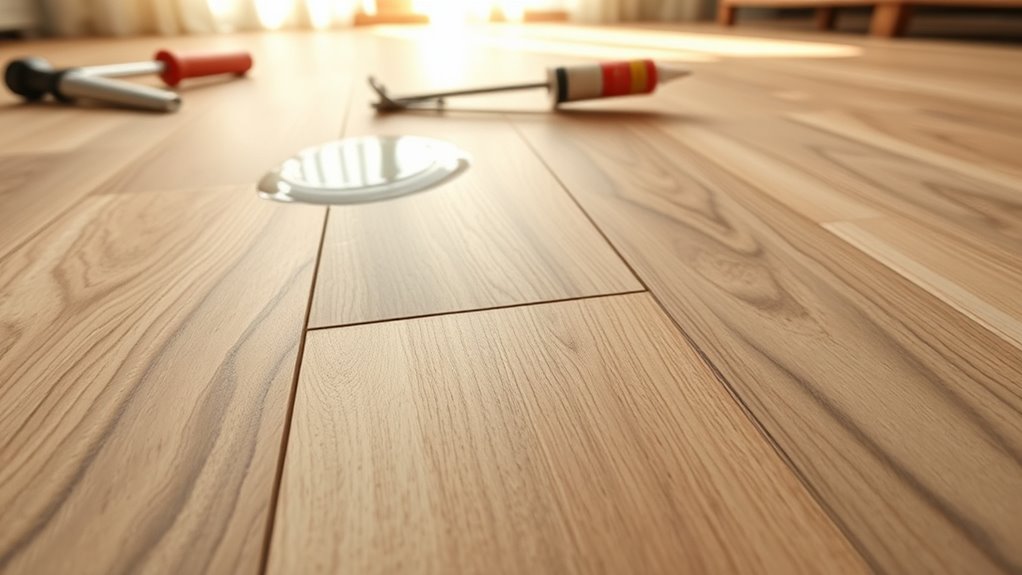
Place weights strategically over the vinyl planks immediately after reapplying adhesive to guarantee firm contact during drying. Proper weights placement guarantees the adhesive bonds effectively, preventing future lifting. Use evenly distributed weights to apply consistent pressure across the plank surface. Consider these tips for ideal results:
- Use flat, heavy objects like books or bricks.
- Avoid point loads that could damage the vinyl.
- Cover weights with a soft cloth to prevent surface marks.
- Maintain weights in place for the entire drying time (usually 24 hours).
- Check manufacturer guidelines for specific drying time requirements.
Replacing Damaged or Warped Vinyl Planks
If you notice vinyl planks that are damaged or warped beyond simple repair, you’ll need to replace them to maintain both the floor’s integrity and appearance. Start by carefully removing the affected plank using a utility knife to cut along the edges, avoiding damage to adjacent planks. Use plank replacement methods such as loosening locking mechanisms or gently prying up glued planks, depending on your flooring type. When installing the new plank, make certain the subfloor is clean and dry to prevent future issues. Align the replacement plank precisely, locking it securely or applying adhesive as required. Follow flooring installation tips like acclimating new planks to room temperature beforehand. This approach guarantees a seamless repair, restoring your floor’s function and aesthetics efficiently.
Preventative Measures to Avoid Future Lifting
Although vinyl plank flooring is designed for durability, taking specific preventative measures is essential to minimize the risk of future lifting. Proper floor maintenance and moisture control are critical to preserving the integrity of your flooring. To guarantee your vinyl planks remain secure:
- Maintain consistent indoor humidity levels between 35-55% to prevent expansion.
- Use a dehumidifier in moisture-prone areas to control excess dampness.
- Clean spills immediately to avoid water infiltration beneath planks.
- Avoid harsh cleaning agents that can degrade adhesive bonds.
- Allow flooring to acclimate 48 hours before installation to stabilize dimensions.
When to Call a Professional for Help
When you notice persistent lifting despite your preventative efforts, it’s crucial to recognize when the issue exceeds DIY repair capabilities. Signs indicating professionals include widespread warping, moisture damage, or subfloor instability. Hiring experts guarantees precise diagnosis, access to specialized tools, and lasting repairs.
| Signs Indicating Professionals | Benefits of Hiring Experts | Your Advantage |
|---|---|---|
| Extensive plank separation | Accurate moisture assessment | Saves time and reduces frustration |
| Visible subfloor damage | Proper material replacement | Guarantees structural integrity |
| Failed adhesive repairs | Advanced repair techniques | Frees you from trial-and-error |
| Recurring lifting after fixes | Extended warranty options | Protects your investment |
Knowing when to call a pro empowers you to maintain the freedom of a flawless vinyl plank floor.