First, identify your hardwood’s finish type and gather gentle cleaning supplies like non-acetone remover, soft cloths, and a plastic scraper. Test remover on a hidden spot to avoid damage. Blot excess polish immediately without rubbing. Apply remover carefully, then gently scrape residue with a plastic tool. Clean the area with warm soapy water, dry it thoroughly, and buff the surface. Finish by applying vloer polish or wax for protection. Follow these steps precisely to restore your floor and prevent further damage.
Assess the Type of Hardwood Finish
Before you try removing fingernail polish, you need to assess the type of hardwood finish on your floor. Different hardwood finishes react differently to cleaning agents. Common finish types include polyurethane, wax, shellac, and oil-based finishes. Polyurethane finishes are durable and water-resistant, making them more forgiving during cleaning. Wax finishes, however, are delicate and can be damaged by harsh solvents. Shellac finishes dissolve quickly with alcohol-based products, so avoid those. Oil-based finishes absorb stains easily, requiring gentler methods. To identify your finish type, check your floor’s appearance and feel: glossy surfaces usually mean polyurethane, while a softer, matte surface may indicate wax or oil. Knowing your hardwood finishes precisely lets you choose removal methods that protect your floor while freeing it from polish stains.
Verzamel de benodigde schoonmaakmiddelen
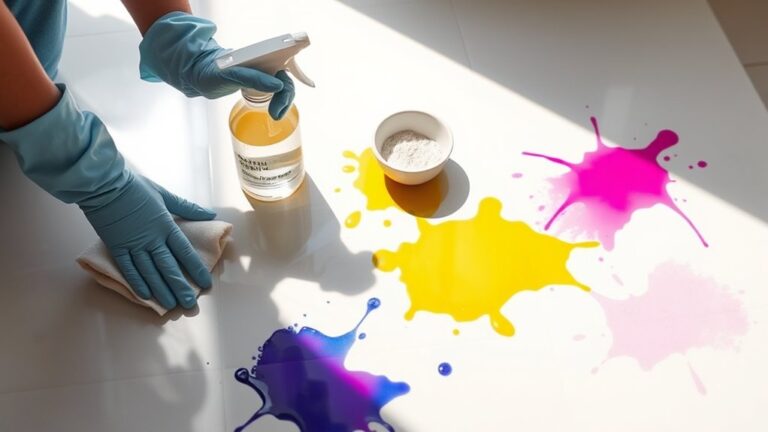
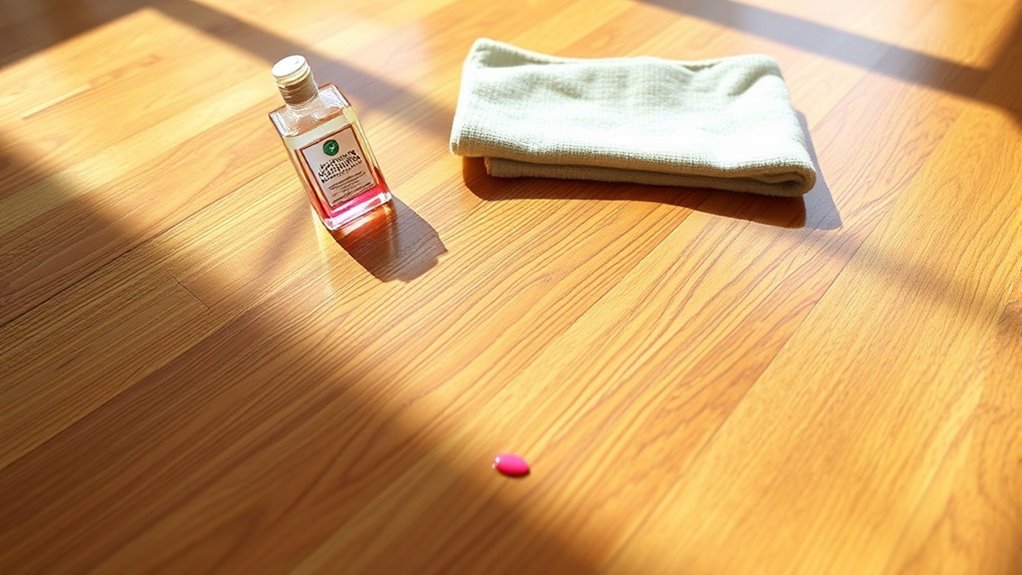
Gathering the right cleaning supplies is crucial to safely and effectively remove fingernail polish from your hardwood floors. Start by collecting gentle cleaning tools like soft cloths, cotton balls, and a plastic scraper or old credit card to lift polish without scratching. You’ll also need a non-acetone nail polish remover or rubbing alcohol, as acetone can damage the floor finish. Have a small bowl of warm water mixed with a few drops of mild dish soap ready for aftercare cleaning. Don’t forget to protect surrounding areas with floor protection like painter’s tape or old towels to prevent accidental damage. Preparing these supplies beforehand guarantees you work efficiently and maintain the integrity of your hardwood floors while reclaiming your freedom from polish stains.
Test a Small Hidden Area First
Before you start removing the polish, pick a small hidden spot on the floor to test your cleaning method. Watch closely for any changes to the finish or discoloration. If you notice any damage, adjust your approach to protect the wood.
Choose Discreet Spot
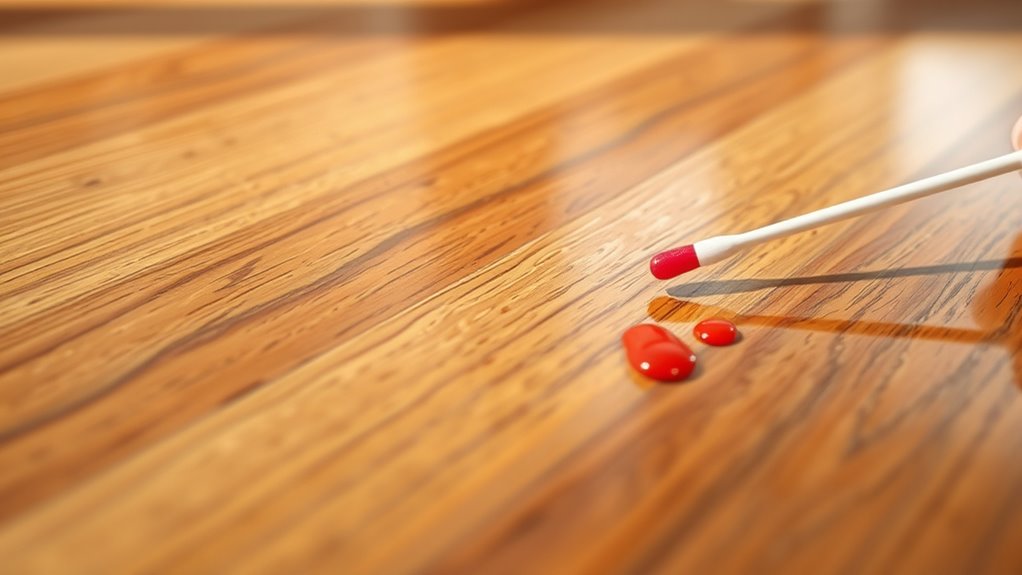
Pick a small, hidden area on your hardwood floor to test any nail polish remover or cleaning solution first. Choosing a discreet location guarantees you won’t accidentally damage visible parts of your floor. Look for spots like under furniture edges, inside closet corners, or behind rugs—places where any potential damage won’t catch the eye. Apply the remover with careful placement using a cotton swab or a small cloth to avoid spreading it beyond the test area. This cautious approach lets you see how the finish reacts without risking your floor’s overall appearance. Taking this simple step gives you the freedom to proceed confidently with removing polish, knowing you won’t compromise your beautiful hardwood floors.
Observe Finish Reaction
Once you’ve selected a discreet spot and applied the remover, watch closely how the finish reacts. This step guarantees you protect your hardwood’s finish durability while dealing with various polish types. Look for any changes like discoloration, softening, or dullness. Take note of these signs:
- Surface haze or cloudiness
- Finish peeling or lifting
- Color alteration on the wood
- Sticky or tacky residue
- No visible damage or change
Testing small areas lets you gauge the remover’s impact before tackling the visible stain. If your finish shows no adverse reaction, you’re clear to proceed confidently. This careful observation helps you avoid irreversible damage and maintain your floor’s original beauty. Your freedom to clean effectively starts with this simple but essential step.
Adjust Removal Method
Adjust your removal method by testing a small hidden area first to confirm it won’t harm your hardwood floor. This vital step helps you evaluate how the finish reacts before applying any technique broadly. Use adjustment techniques like dab testing with cotton swabs soaked in your chosen solvent or gentle scraping tools. Observe any discoloration, dulling, or damage. If you notice negative effects, explore method variations—switch solvents, dilute solutions, or reduce application time. Each floor finish may respond differently, so tailoring your approach guarantees safe, effective polish removal. This cautious testing grants you the freedom to adapt without risking permanent damage. Prioritize these adjustment techniques to confidently restore your hardwood’s appearance while preserving its integrity.
Blot Excess Nail Polish Immediately
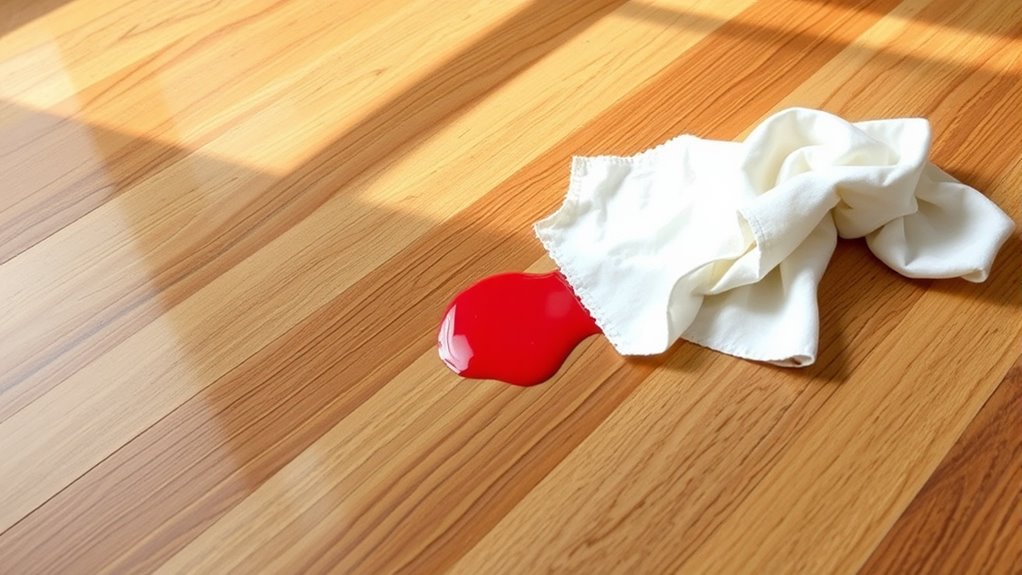
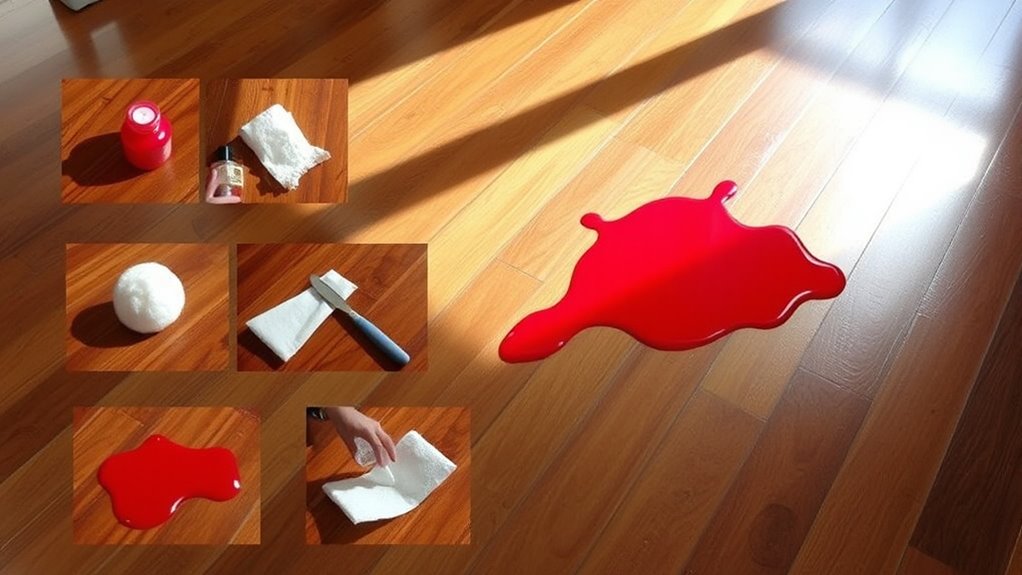
Several minutes can make a big difference when dealing with spilled nail polish on hardwood floors. Taking immediate action is vital for effective stain prevention. As soon as you notice the spill, grab a clean, absorbent cloth or paper towel and start blotting—don’t rub, as that spreads the polish and worsens the stain.
To blot excess nail polish immediately:
- Use a soft, white cloth to avoid color transfer
- Apply gentle pressure to soak up the polish
- Replace the cloth frequently to prevent re-deposition
- Avoid scrubbing, which damages the wood surface
- Act swiftly before the polish dries for best results
Use Non-Acetone Nail Polish Remover Carefully
You’ll want to pick a gentle, non-acetone nail polish remover to avoid damaging your hardwood floors. Always test it first on a hidden spot to guarantee it doesn’t discolor or harm the finish. Apply the remover carefully using a soft cloth, gently blotting the stain without rubbing.
Choose Gentle Removers
Although acetone-based removers are effective, they can damage your hardwood floors, so it’s best to opt for a non-acetone nail polish remover when tackling stains. Choosing gentle solutions helps protect your floor’s finish while still lifting polish. You want remover alternatives that won’t strip or discolor the wood.
Consider these tips for selecting and using gentle removers:
- Pick a non-acetone remover labeled safe for delicate surfaces
- Avoid harsh chemicals like alcohol or paint thinner
- Use a small amount on a soft cloth, not directly on the floor
- Work patiently, blotting gently instead of scrubbing
- Always have a clean, damp cloth ready to wipe away residue
These steps help you remove polish effectively without risking damage or loss of freedom to enjoy your floors.
Test on Hidden Area
How can you be certain the non-acetone remover won’t harm your hardwood floor? Before applying it broadly, perform hidden testing on a small, inconspicuous spot. Proper area selection guarantees you protect your floor’s finish while effectively removing polish.
Choose a hidden area like under furniture or inside a corner. Apply a small amount of remover and wait a few minutes. Check for discoloration or damage. If safe, proceed confidently.
| Locatie | Remover Amount | Reaction Time |
|---|---|---|
| Under Sofa | Small drop | 5 minutes |
| Behind Door Frame | Tiny dab | 3 minutes |
| Baseboard Corner | Minimal smear | 4 minutes |
This careful hidden testing protects your floor and gives you freedom to clean safely.
Apply With Soft Cloth
Once you’ve confirmed the non-acetone remover won’t damage your floor, it’s time to apply it carefully. Choose the right cleaning cloth type—preferably a soft, lint-free cloth—to avoid scratches. Use soft cloth techniques for controlled application; never pour remover directly on the floor. Instead, dampen the cloth lightly, then gently blot or rub the polish spot. Follow these steps:
- Use microfiber or cotton cloths for gentle absorption
- Avoid abrasive towels that can harm wood finish
- Apply remover sparingly to prevent saturation
- Work in small sections to control the process
- Replace cloth frequently to avoid spreading polish
This method preserves your hardwood’s integrity while effectively lifting polish. Taking these precautions lets you clean freely without risking damage.
Apply Baking Soda and Water Paste
Mix a small amount of baking soda with water to create a thick paste. This baking soda and water paste acts as a gentle abrasive to lift fingernail polish without damaging your hardwood floor’s finish. Apply the paste directly onto the stained area using your fingers or a soft cloth. Let it sit for about 5 to 10 minutes, allowing the mixture to break down the polish. Avoid soaking the floor; a thin layer is enough. The paste’s mild abrasiveness helps loosen the polish, making it easier to remove. After waiting, you can wipe the area clean with a damp cloth. Using baking soda and water paste gives you a safe, natural method to tackle polish stains, keeping your freedom intact without harsh chemicals.
Gently Scrape With a Plastic Scraper
Although the baking soda paste helps loosen the polish, you’ll need to gently scrape off the residue with a plastic scraper next. Using plastic scraper techniques guarantees you protect your hardwood floors while removing the polish effectively. Follow these safe scraping methods:
Gently scrape polish residue with a plastic scraper to protect and preserve your hardwood floors effectively.
- Hold the scraper at a low angle to avoid gouging the wood.
- Use slow, gentle strokes to lift polish without damaging the surface.
- Avoid metal tools, which can scratch or dent the floor.
- Focus on small areas to maintain control and precision.
- Wipe away loosened polish frequently to monitor progress.
Clean the Area With Warm Soapy Water
Rinse the scraped area with warm, soapy water to remove any remaining polish residue and baking soda paste. Use a mild dish soap mixed with water at a comfortable water temperature—neither too hot nor cold—to avoid damaging your hardwood floors. Dip a soft cloth or sponge into the solution and gently wipe the surface, applying just enough pressure to lift leftover polish without scratching the wood. This cleaning technique guarantees that the floor is free of any chemical traces that could affect its finish. Afterward, rinse the cloth and repeat if needed until the area looks clean and feels smooth. Using warm, soapy water as a final step gives you control, restoring the floor’s natural beauty without harsh chemicals or excessive scrubbing.
Dry and Buff the Hardwood Surface
Once the area is thoroughly cleaned, you’ll want to dry the hardwood surface completely to prevent moisture damage. Proper drying techniques guarantee the wood stays healthy and ready for buffing. Use a clean, dry microfiber cloth to absorb any remaining moisture without scratching the floor. After drying, apply gentle buffing methods to restore the floor’s natural shine and smoothness.
To dry and buff effectively:
- Use a lint-free microfiber towel for drying.
- Avoid excessive water; blot rather than wipe.
- Buff in circular motions with a soft cloth.
- Apply light pressure to avoid damaging the finish.
- Work in small sections for even results.
These steps help maintain your hardwood’s integrity while removing polish residue, giving you freedom from stains and a polished look.
Apply Hardwood Floor Polish or Wax for Protection
After drying and buffing your hardwood floor, you’ll want to apply a protective layer to keep it looking its best. Choose a high-quality hardwood floor polish or wax designed for your floor’s finish. Apply it evenly with a soft cloth or applicator pad, following the grain of the wood. This step is essential for hardwood care, as it restores shine and adds a durable barrier against future stains and scratches. Let the polish or wax dry completely before walking on the floor. Regular application as part of your floor maintenance routine will preserve your floor’s beauty and extend its lifespan. Taking this extra step guarantees your hardwood stays protected, freeing you from constant worry about damage or dullness.