Start by removing the mats, releasing any retention clips if needed to avoid damage. Shake them outdoors to dislodge debris, then rinse thoroughly with water. Apply a diluted cleaner evenly, let it sit for a few minutes, then scrub with a stiff brush. Rinse all residue off, dry completely to prevent mold, and optionally apply a rubber protectant. Finally, reinstall mats carefully, ensuring secure fastening and no interference with pedals. Follow these precise steps to maintain your mats’ condition and safety.
Remove the Floor Mats From Your Car
To begin, locate the rubber vloer mats inside your car and carefully lift each one from its position. Different mat types require specific removal techniques; for example, custom-fit mats may have retention clips or fasteners that need disengagement. Examine the edges to identify any securing mechanisms. Use your fingers or appropriate tools to release clips without damaging the mat or car interior. Standard universal mats, lacking attachments, can be lifted directly. Always remove mats one at a time to maintain control and prevent dirt from spreading inside the vehicle. Handle each mat methodically to preserve its shape and integrity. By applying these removal techniques, you guarantee a smooth shift to the next cleaning phase while maintaining your car’s interior freedom and cleanliness.
Shake Off Loose Dirt and Debris
Once you’ve removed the mats, firmly grasp each one and give it several sharp shakes to dislodge loose dirt and debris. This initial step in rubber mat care is essential for effective dirt removal, as it prevents particles from embedding further during subsequent cleaning stages. Stand over a designated outdoor area or trash receptacle to contain the displaced debris. Confirm you shake each side thoroughly, using controlled but forceful movements to maximize the detachment of dust, gravel, and other contaminants. This methodical approach reduces cleaning time and preserves the mat’s surface integrity. By mastering this straightforward technique, you maintain your mats’ condition while reclaiming your freedom from dirt buildup, setting a solid foundation for the next steps in your cleaning routine.
Rinse the Mats With Water
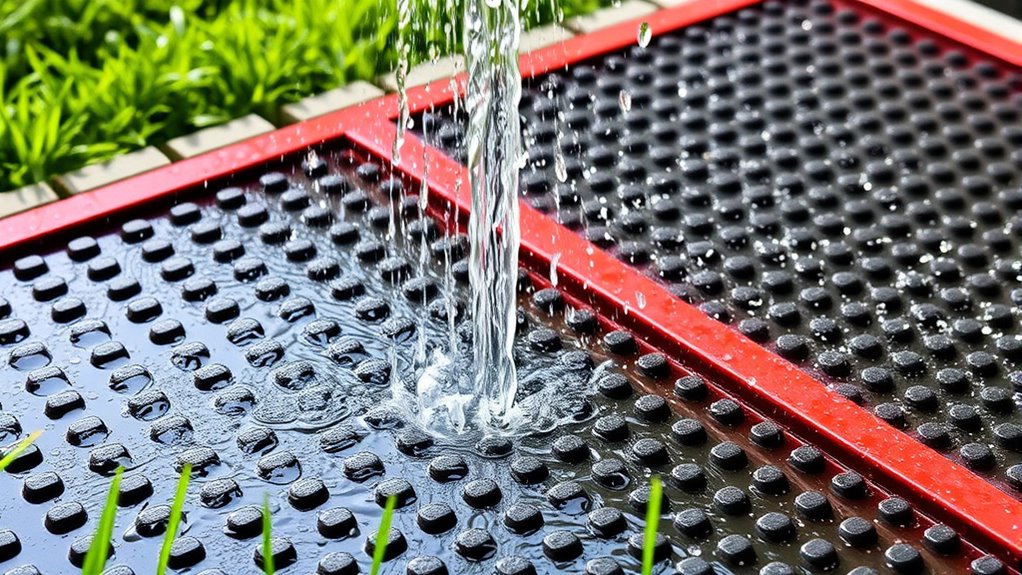
After shaking off loose debris, you’ll want to thoroughly rinse the rubber mats with water to remove remaining dirt particles. Use a hose or a bucket of clean water, applying steady pressure to flush out contaminants trapped within grooves and textured surfaces. This step is essential for effective cleaning techniques, as it prevents dirt from embedding further when you later apply cleaning agents. Pay attention to the mat materials—rubber’s durability allows for vigorous rinsing without damage. Make certain water reaches all edges and undersides to dislodge grime fully. Avoid stagnant water accumulation by positioning mats at an angle to facilitate runoff. This precise rinsing process sets the foundation for deeper cleaning, making sure the mats are free from loose particles and ready for the subsequent application of cleaning solutions.
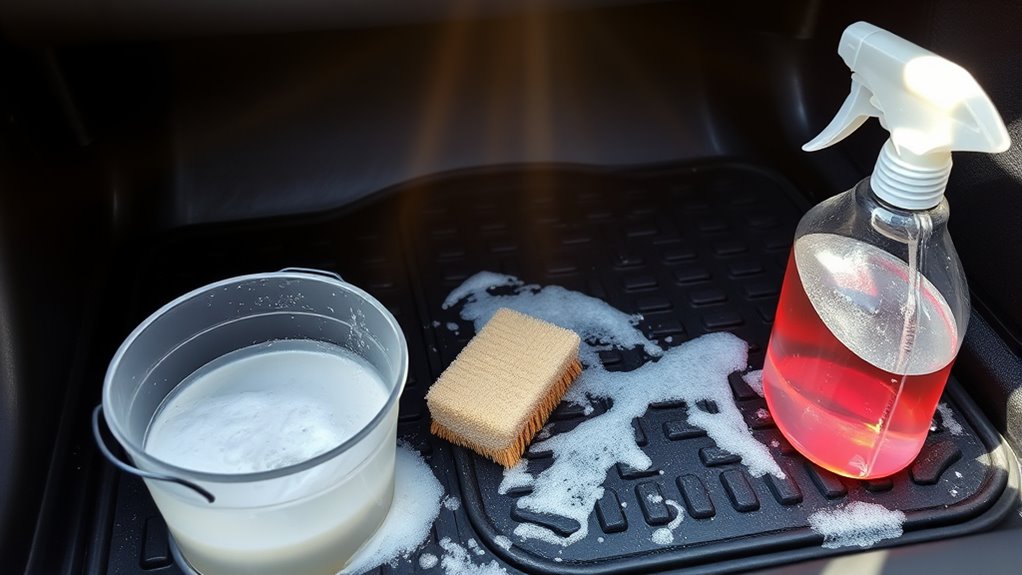
Apply a Suitable Cleaning Solution
Selecting the right cleaning solution is essential for effectively breaking down grime without damaging the rubber mats. You’ll want to choose products that are specifically designed for rubber or all-purpose cleaners that won’t degrade the material. Consider eco friendly options to minimize environmental impact while maintaining performance.
Choose cleaning products made for rubber to effectively clean without causing damage or environmental harm.
Here’s how to apply the cleaning solution properly:
- Dilute concentrated cleaning solutions according to manufacturer instructions for ideal strength.
- Spray or pour the solution evenly across the mat’s surface to guarantee full coverage.
- Allow the solution to sit for 3–5 minutes to penetrate dirt and oils.
- Avoid letting the solution dry on the mats to prevent residue buildup.
Scrub the Mats Thoroughly
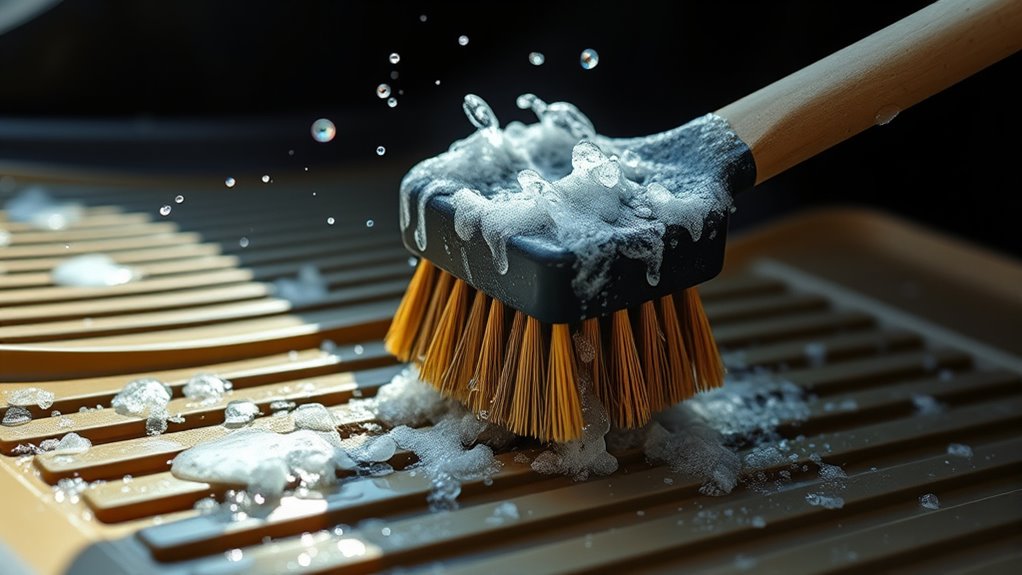
Grab a stiff-bristled brush to scrub the mats thoroughly, focusing on areas with embedded dirt and stains. Using effective brushes designed for rubber surfaces enhances dirt removal without damaging the mat’s texture. Employ scrubbing techniques involving firm, circular motions to dislodge grime trapped in grooves and textured patterns. Apply consistent pressure, but avoid excessive force that could degrade the rubber. Work systematically across the entire surface, ensuring no spot is overlooked. Pay attention to edges and crevices where debris accumulates. Rinse the brush frequently to prevent reapplying dirt. This methodical approach maximizes cleaning efficiency, restoring the mats’ appearance and functionality. Mastering these scrubbing techniques grants you control and freedom over your car’s maintenance, ensuring your rubber mats remain durable and clean for daily use.
Focus on Stubborn Stains and Spots
Once you’ve scrubbed the mats thoroughly, it’s time to address stubborn stains and spots that resist general cleaning. Effective stain removal requires targeted spot treatment to restore your mats’ appearance without damaging the rubber.
- Identify the stain type to select an appropriate cleaner—oil, grease, or mud require different solvents.
- Apply a small amount of specialized rubber mat cleaner or a mild degreaser directly to the spot.
- Use a soft-bristle brush to agitate the area gently, breaking down the stain without abrading the surface.
- Let the solution sit for 5–10 minutes to penetrate deeply before moving on.
This precise approach guarantees maximum stain removal while maintaining the integrity and flexibility of your rubber mats, granting you freedom from persistent blemishes.
Rinse Off the Cleaning Solution
After you’ve treated all the stains and scrubbed the mats thoroughly, it’s essential to rinse off the cleaning solution completely. Begin by using a hose or bucket to apply a steady stream of water at a moderate temperature—lukewarm water works best to dissolve residue without damaging rubber. Avoid hot water, which can degrade the mat material, and cold water, which may not remove oils effectively. Direct the flow systematically, ensuring every inch is rinsed, focusing on crevices where cleaning supplies tend to linger. Use your hands or a soft brush to gently agitate areas if necessary, promoting thorough removal. This step prevents slippery surfaces and maintains the mats’ grip, ensuring your car’s interior stays safe and clean while preserving the freedom to enjoy a spotless ride.
Dry the Mats Completely
Ensuring the mats are dried completely is essential to prevent mold, mildew, and lingering odors. Proper drying techniques are a vital part of mat maintenance, preserving both hygiene and material integrity. Follow these steps:
- Shake off excess water thoroughly before drying.
- Hang the mats vertically in a well-ventilated area to expose both sides to air circulation.
- Use a fan or place the mats under direct sunlight to expedite evaporation, avoiding high heat that can warp rubber.
- Confirm mats are fully dry by pressing a paper towel against the surface; no moisture should transfer.
Optional: Apply a Rubber Protectant
While applying a rubber protectant isn’t mandatory, it can greatly enhance the longevity and appearance of your car mats by preventing cracking and fading. Following essential rubber maintenance tips, you’ll preserve flexibility and resist UV damage. Use a soft cloth to apply the protectant evenly, avoiding excess buildup.
| Voordeel | Effect | Emotion Evoked |
|---|---|---|
| Protection | Prevents cracking | Confidence |
| Verschijning | Restores deep black | Satisfaction |
| Duurzaamheid | Extends lifespan | Freedom to roam |
Applying a protectant offers clear protectant benefits: it safeguards your investment and maintains the mats’ resilience. You’ll enjoy the freedom of a clean, durable interior without constant replacements.
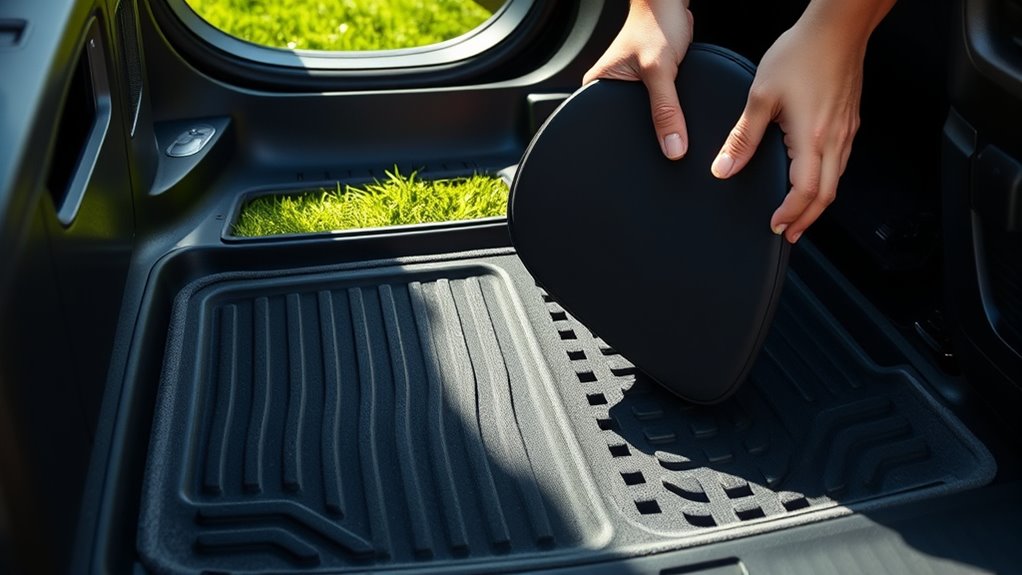
Place the Mats Back in Your Car
Once the rubber protectant has been applied and allowed to dry thoroughly, you can position the mats back into your vehicle. Ensuring proper placement and mat alignment is critical to maintain safety and enhance floor protection.
After drying, carefully reposition mats to ensure safety and optimal floor coverage.
- Start by aligning each mat with its corresponding floor area, matching contours precisely.
- Verify that the mats sit flat without any folds or wrinkles that could interfere with pedals.
- Secure any retention clips or fasteners designed to hold mats in place, preventing slippage.
- Double-check the driver’s side mat for ideal alignment to avoid obstruction of pedal operation.