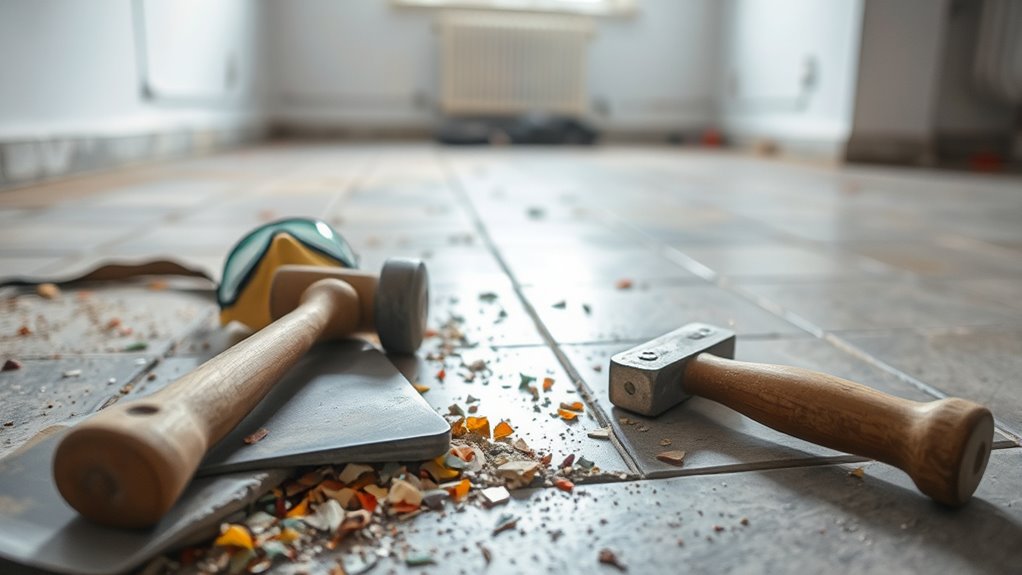
To remove tile flooring from concrete, first gather tools like a chisel, hammer, grout saw, and safety gear such as goggles and gloves. Next, clear and protect the area to minimize dust and hazards. Score grout lines with a grout saw to weaken tile bonds. Carefully loosen tiles using a chisel and hammer, avoiding damage. Remove any adhesive residue, then clean the concrete thoroughly. Finally, inspect for cracks and fill them before installing new flooring. Follow these steps closely to guarantee a smooth process and solid foundation for your next project.
Gather Necessary Tools and Safety Gear
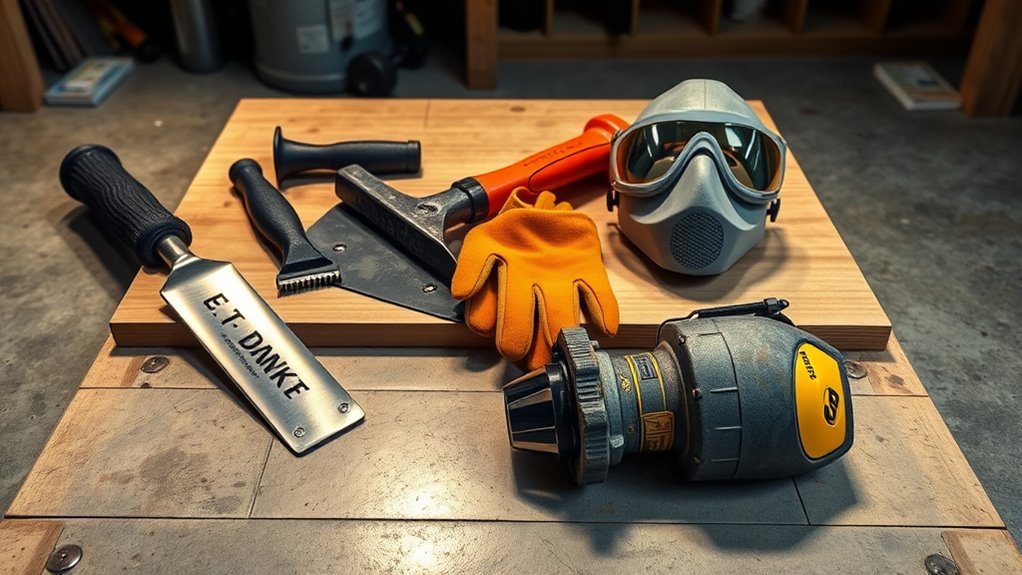
Before you begin removing tile flooring from concrete, you’ll need to gather the right tools and safety gear to guarantee the job is efficient and safe. Different tile types require specific removal methods, so prepare a hammer, chisel, and a pry bar for ceramic or porcelain tiles. For sturdier options like quarry tile, an electric chipping hammer or rotary hammer with a chisel attachment is vital. Always wear safety goggles, heavy-duty gloves, and a dust mask to protect against flying debris and dust inhalation. Knee pads provide comfort during extended work periods. Additionally, have a sturdy trash container nearby to dispose of tile fragments promptly. Equipping yourself properly guarantees you maintain control and freedom throughout the removal process, reducing risk and maximizing efficiency.
Prepare the Work Area
Clearing and organizing the work area is essential to guarantee safe and efficient tile removal from concrete. Proper work area organization minimizes hazards and streamlines your workflow, letting you focus on the task.
A clear, organized workspace ensures safe, efficient tile removal and keeps your focus on the job.
To prepare the workspace:
- Remove all furniture and obstacles to create an open, clutter-free environment.
- Cover vents and doorways with plastic sheeting to contain dust and debris.
- Confirm adequate lighting and ventilation to maintain workspace safety.
- Lay down drop cloths to protect surrounding surfaces from damage and dust.
Score the Grout Lines
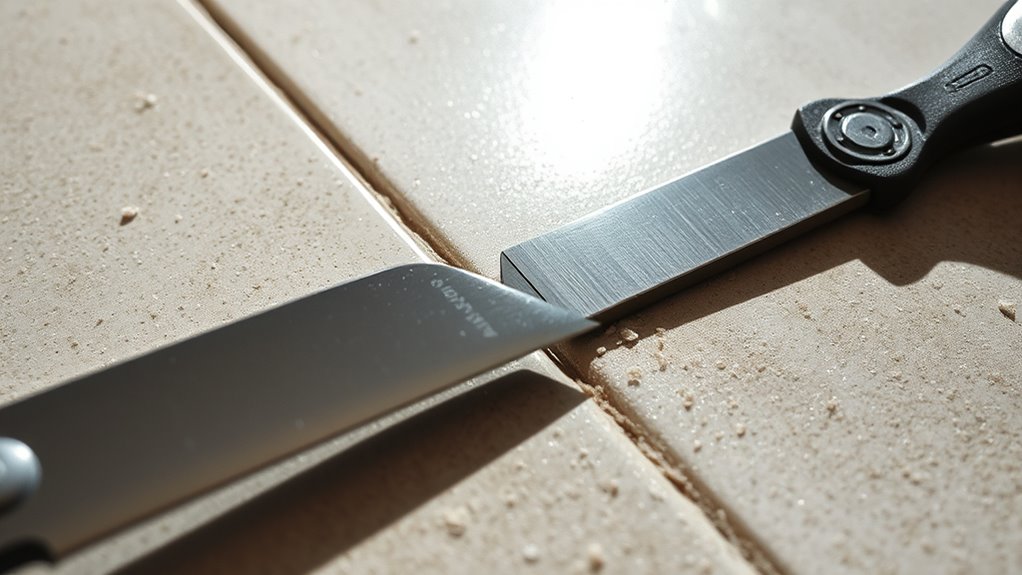
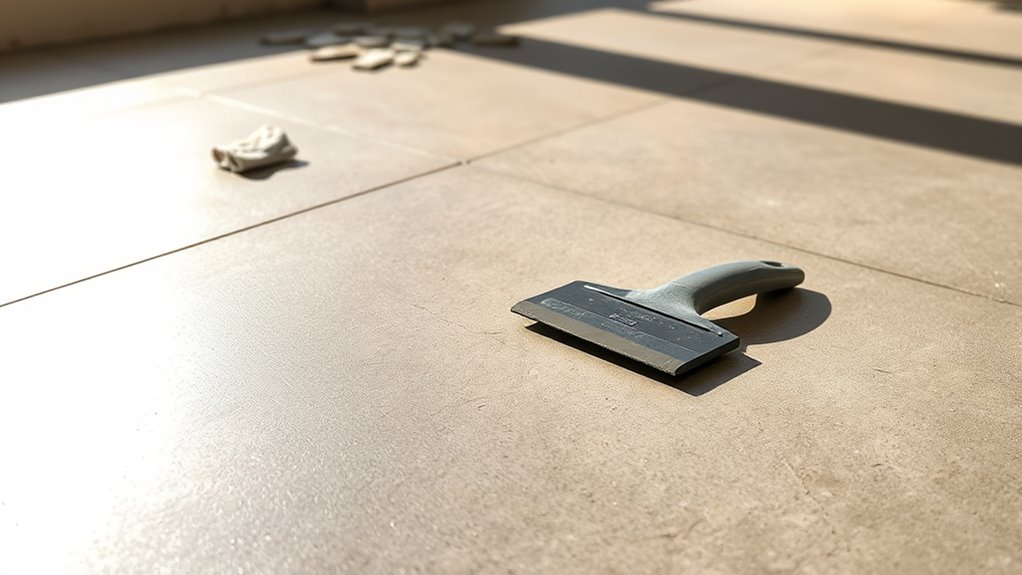
Start by scoring the grout lines between the tiles using a grout saw or an oscillating tool equipped with a grout removal blade. This step is crucial for effective grout removal, as it weakens the bond holding the tiles in place. Carefully guide the tool along each grout line, applying consistent pressure to avoid damaging the concrete slab beneath. Precision here guarantees you preserve the integrity of the surface for any future tile installation. Take your time to score all grout joints thoroughly, as incomplete scoring can make tile removal more difficult and increase the risk of surface damage. Proper grout removal not only streamlines the tile removal process but also leaves you with a cleaner, more manageable substrate to work with when you’re ready to install new flooring.
Loosen the Tiles Using a Chisel and Hammer
You’ll need a sturdy chisel with a flat blade and a hammer designed for demolition to begin loosening the tiles. Position the chisel at the scored grout line and strike it gently with the hammer, angling it to pry the tile without damaging the concrete. Always wear safety goggles and gloves to protect yourself from flying debris and sharp edges during removal.
Choosing the Right Tools
Although tile removal can be labor-intensive, selecting the right tools will make the process more efficient and less damaging to the concrete substrate. To master tile removal techniques, you need tools designed for precision and durability. Here’s what to focus on:
- Chisel: Choose a cold chisel with a sharp, flat edge to effectively loosen tiles without gouging concrete.
- ハンマー: A claw or sledgehammer with balanced weight provides ideal impact control.
- Protective Gear: Safety glasses and gloves protect you from debris and sharp tile fragments.
- Tool Maintenance: Keep chisels sharp and handles secure to maintain efficiency and reduce fatigue.
Investing time in tool maintenance guarantees your tools perform reliably, granting you the freedom to remove tiles cleanly and confidently.
Proper Hammer and Chisel Technique
Begin by positioning the chisel at a low angle against the grout line or edge of a tile. Maintaining the correct chisel angle is essential; it allows you to loosen tiles without damaging the concrete beneath. Use a controlled hammer technique—strike the chisel with moderate force to lift tiles gradually. Avoid excessive blows, which can crack tiles or concrete.
| ステップ | アクション |
|---|---|
| 1 | Position chisel at 15° angle |
| 2 | Target grout line or tile edge |
| 3 | Tap chisel with moderate force |
| 4 | Pry tile gently once loosened |
| 5 | Repeat systematically |
This precise method grants you freedom to remove tiles efficiently while preserving the concrete surface.
Safety Precautions During Removal
Before loosening tiles with a chisel and hammer, make certain you’re equipped with proper safety gear, including eye protection, gloves, and sturdy footwear. Injury prevention is essential when working with sharp tools and flying debris. Follow these safety precautions:
- Always wear safety goggles to protect your eyes from chips and dust.
- Use heavy-duty gloves to shield your hands from sharp edges and impact.
- Confirm your footwear has a reinforced sole to prevent injury from dropped tools or tile fragments.
- Work in a well-ventilated area to avoid inhaling dust, and consider a dust mask for additional respiratory protection.
Remove Adhesive Residue From the Concrete
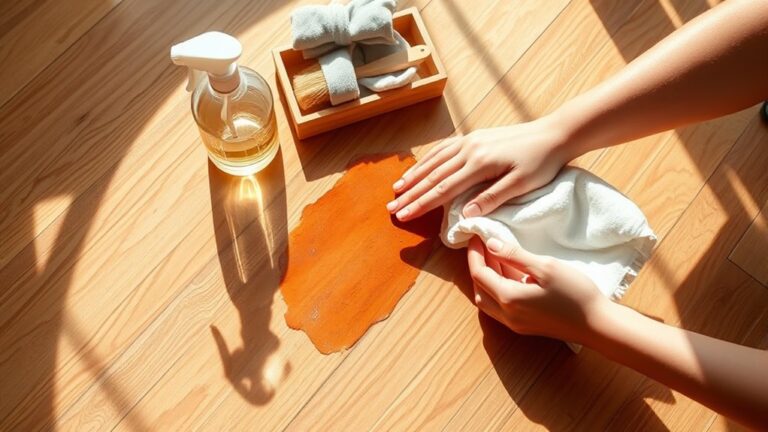
To effectively remove adhesive residue from concrete, you’ll need to select the appropriate solvent or mechanical method based on the adhesive type. For water-based adhesives, warm water and a stiff brush can suffice. For stronger epoxy or urethane adhesives, use chemical solvents specifically designed to break down these compounds. Always test the solvent on a small, inconspicuous area first to avoid surface damage. Mechanically, you can employ a 床 scraper or an oscillating multi-tool with a scraper attachment for stubborn residue. Be cautious to avoid gouging the concrete. After loosening adhesive, scrape thoroughly to expose clean concrete. This precision in concrete cleaning guarantees a smooth, residue-free surface, paving the way for your next flooring step. Matching the removal technique to adhesive types optimizes efficiency and protects your concrete’s integrity.
Clean the Concrete Surface Thoroughly
A clean concrete surface is essential for ensuring proper adhesion of any new flooring materials. To achieve this, you must eliminate all dust, debris, and chemical residues left from tile removal and adhesive stripping. Follow these steps for effective concrete maintenance using appropriate cleaning solutions:
- Sweep the surface thoroughly to remove loose dirt and particles.
- Apply a pH-neutral cleaning solution designed specifically for concrete, avoiding harsh chemicals that can damage the substrate.
- Scrub the surface with a stiff-bristle brush or use a floor scrubber for larger areas to remove ingrained residues.
- Rinse the concrete with clean water, ensuring no cleaning agents remain, then allow it to dry completely.
This precise cleaning process prepares your concrete for ideal bonding with new flooring, granting you lasting freedom in design choices.
Inspect and Repair the Concrete Before New Flooring
After cleaning, closely inspect the concrete for any cracks or uneven areas. You’ll need to fill these cracks with a suitable patching compound and use a leveling agent to create a smooth surface. Proper repair guarantees your new flooring adheres correctly and lasts longer.
Check for Cracks
Before installing new flooring, you’ll want to thoroughly inspect the concrete surface for any cracks or damage. Effective crack detection is critical during your concrete assessment to guarantee a stable base. Here’s how you can proceed:
- Visually scan the entire surface under bright light to identify visible cracks or fissures.
- Use a magnifying glass or crack gauge for precise measurement of crack width and depth.
- Tap the concrete surface lightly with a hammer; hollow sounds may indicate hidden voids or delamination.
- Document all findings systematically, noting crack locations and severity for future reference.
Fill and Level
Once you’ve identified and documented any cracks or surface irregularities, your next step is to fill and level the concrete to guarantee a uniform substrate. Begin by cleaning the concrete thoroughly to remove dust and debris, ensuring proper adhesion. Use an appropriate concrete patching compound to fill gaps and minor cracks, applying it with a trowel for precision. For larger depressions or uneven areas, utilize a self-leveling compound to level the surface effectively. Follow manufacturer instructions for mixing and curing times to achieve ideal strength and durability. Properly filling gaps and leveling the surface is critical to prevent future flooring issues and to provide a stable base for your new floor installation, granting you the freedom to select any flooring type with confidence.