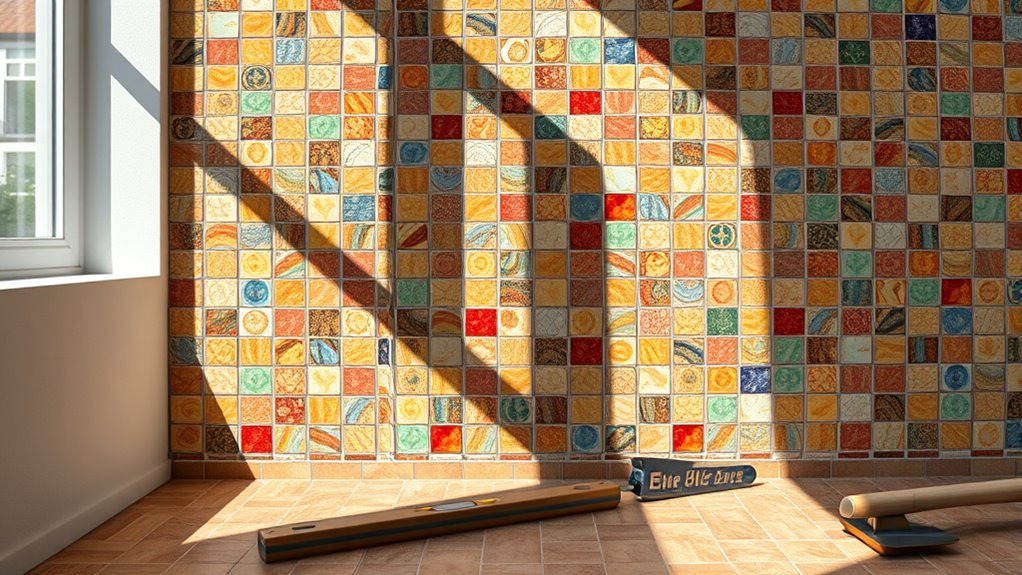
When using floor tiles on walls, first choose durable, moderately thick tiles like porcelain or ceramic in a color and texture that suits your aesthetic. Prepare your wall by cleaning, repairing, sanding, and priming to guarantee strong adhesion. Gather essential tools: notched trowel, tile cutter, spacers, and strong adhesive. Apply adhesive evenly, press tiles firmly with precise alignment, and maintain consistent grout lines. Finish with grout and sealant to protect your installation. Explore further to master each step seamlessly and artistically.
Selecting the Right Floor Tiles for Your Walls
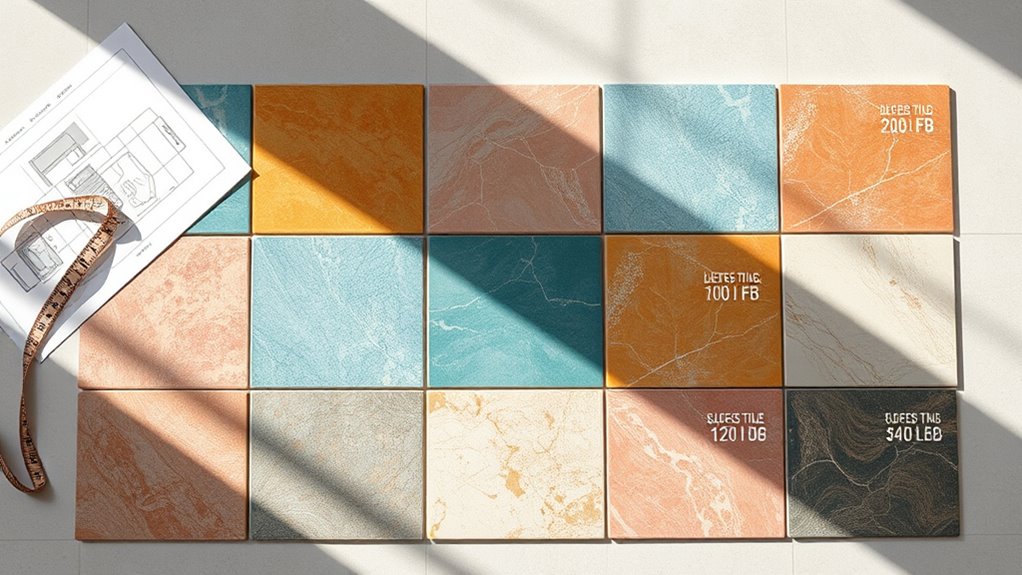
選択する場合 床 tiles for your walls, you’ll want to prioritize durability and weight since wall installations require tiles that can securely adhere without sagging. Choose tiles with a moderate thickness to balance sturdiness and manageable weight. Consider tile color thoughtfully; lighter tones can create an airy, expansive feel, while darker shades add depth and drama. Texture options are equally important—matte finishes offer subtle sophistication, whereas glossy or textured surfaces can enhance visual interest and play with light. Porcelain and ceramic floor tiles are excellent for walls due to their strength and versatility. Remember, your choice should reflect your personal style while ensuring the tiles can withstand vertical application. This freedom in design lets you craft a wall that’s both resilient and visually enchanting.
Preparing the Wall Surface for Tiling
Before you start laying tiles, guaranteeing your wall surface is impeccably prepared is essential for a lasting, flawless finish. Mastering wall surface preparation techniques means removing dust, grease, and old paint, then repairing cracks or holes. Surface priming importance can’t be overstated; a quality primer boosts adhesion and prevents moisture damage, vital when using floor tiles on walls.
| ステップ | 目的 |
|---|---|
| Clean Surface | Remove dirt and oils |
| Repair Imperfections | Smooth out cracks and holes |
| Sand the Wall | Create a slightly rough texture |
| Apply Primer | Seal and enhance adhesion |
| Dry Completely | Guarantee stable base for tiles |
Gathering Essential Tools and Materials
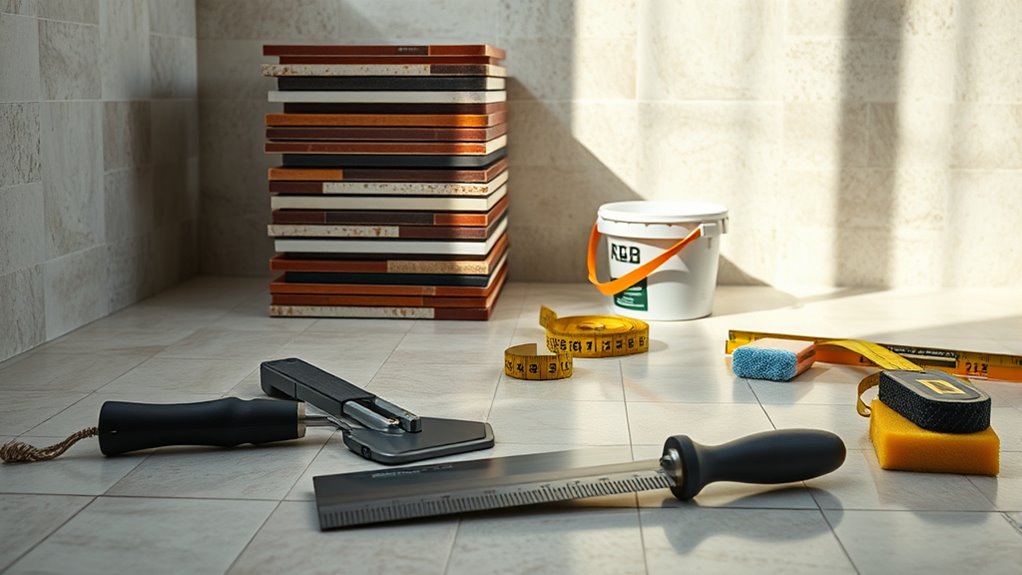
With the wall surface meticulously prepared to confirm ideal adhesion, the next phase involves assembling the right tools and materials tailored for using floor tiles on walls. Start by choosing tool types essential for precise work: a notched trowel for even adhesive spread, a tile cutter or wet saw for clean edges, and a level to maintain perfect alignment. Don’t forget spacers to confirm consistent grout lines and a rubber float for grout application. Regarding material options, select high-quality floor tiles suited for vertical installation—consider thickness and weight for wall safety. Opt for a strong, flexible adhesive designed for heavy tiles on walls. Together, these tools and materials empower you to create a stunning, durable tile surface that balances technical demands with your creative freedom.
Applying Adhesive and Positioning the Tiles
Start by applying adhesive to the wall using your notched trowel, guaranteeing an even, consistent layer that will securely hold the heavy floor tiles in place. Achieving perfect tile adhesion requires precision; spread the adhesive in a controlled motion, creating ridges that improve grip. As you press each tile onto the wall, maintain careful tile alignment to preserve clean lines and aesthetic harmony.
| ステップ | 詳細 |
|---|---|
| 接着剤を塗る | Use notched trowel evenly |
| Position tile | Press firmly, check alignment |
| Adjust tile | Use spacers for consistent gaps |
| Verify adhesion | Confirm no air pockets |
This method guarantees your floor tiles sit flawlessly on the wall, blending technical skill with artistic freedom.
Grouting and Sealing the Tiled Wall
Now that your tiles are perfectly set, it’s essential to select the grout that complements both your tile color and wall environment for a seamless finish. You’ll want to apply the grout evenly, pressing it firmly into the joints to avoid gaps or air pockets. Finally, sealing the grout protects your work from moisture and stains, preserving the wall’s pristine look and durability.
Choosing the Right Grout
Although selecting grout might seem straightforward, choosing the right type is essential for both the durability and appearance of your tiled wall. You’ll want to evaluate grout types carefully: cementitious grout is common, but epoxy grout offers superior stain resistance and flexibility, ideal for high-moisture areas. When deciding grout colors, think about whether you want your grout to blend seamlessly with the tiles for a sleek, uniform look or contrast boldly to accentuate the tile pattern. Lighter grout colors can brighten spaces but may require more maintenance, while darker shades hide dirt better. Also, pay attention to the grout’s joint width compatibility, ensuring it complements your tile size and layout. Selecting the perfect grout balances technical performance with your aesthetic vision, giving your tiled wall lasting beauty and strength.
Applying and Sealing Techniques
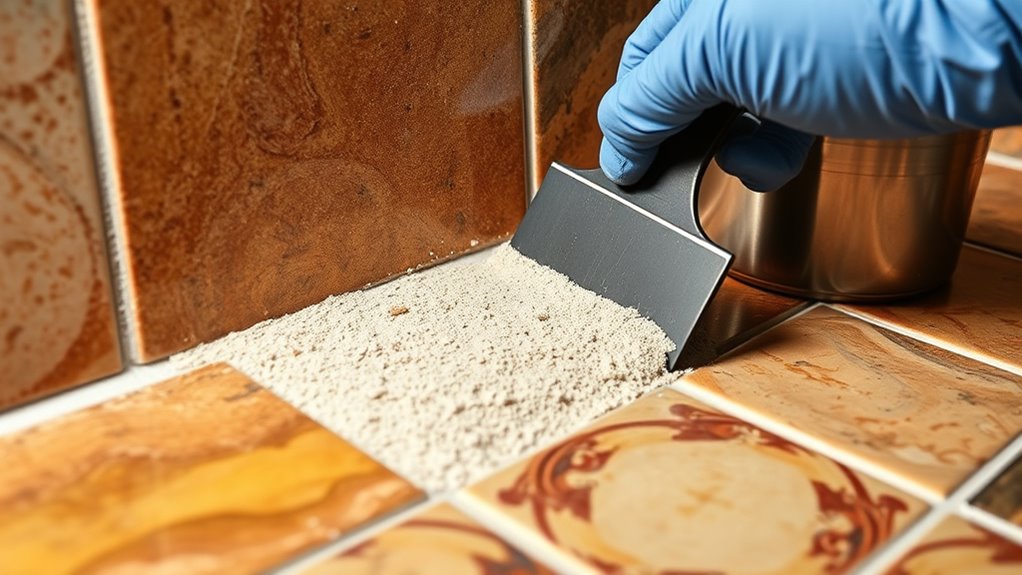
Once your tiles are firmly set and the adhesive has fully cured, you’ll want to apply grout carefully to fill the joints, ensuring both structural integrity and a polished finish. Selecting the right adhesive types initially influences how well your grout bonds and lasts. After grouting, sealing methods become essential to protect your tiled wall from moisture, stains, and wear, especially in high-traffic or humid areas.
- Use a rubber float to press grout evenly into joints, removing excess promptly.
- Allow grout to dry before applying a penetrating sealer that enhances durability without altering tile aesthetics.
- Reapply sealant periodically to maintain resistance and prolong tile life.
Mastering these steps will give your wall a flawless, enduring surface that celebrates both freedom and precision.
Cleaning and Maintaining Your Tiled Wall
Because your tiled wall is both a functional and decorative element, keeping it clean and well-maintained maintains its longevity and preserves its visual appeal. Start tile cleaning by gently wiping down surfaces with a pH-neutral cleaner to avoid damaging grout or tile finish. Avoid abrasive tools; instead, use a soft sponge or microfiber cloth to maintain the tile’s texture and sheen. For wall maintenance, inspect grout lines regularly for cracks or discoloration—addressing these early prevents water infiltration and tile loosening. Seal grout annually to guard against stains and moisture. If you spot stubborn stains, apply a specialized tile cleaner following manufacturer instructions carefully. By adopting these precise techniques, you guarantee your tiled wall remains a stunning, durable feature that reflects your free-spirited design ethos without compromising on technical integrity.