Are you tired of staring at that outdated vinyl floor in your home? Does the thought of replacing it seem daunting and expensive?
You’re not alone. Many homeowners find themselves in the same predicament, wanting a fresh look without breaking the bank. The good news is, removing vinyl flooring doesn’t have to be a complex or costly endeavor. Imagine transforming your space with a new 床 that elevates the entire room’s aesthetic.
Picture yourself walking into a space that feels brand new, all because you took a simple, manageable step. In this guide, we’ll walk you through the process of removing your old vinyl floor, providing you with practical tips and easy-to-follow steps. By the end, you’ll feel confident and ready to take on this project, saving money and time while achieving the stylish home you’ve always wanted. So, why wait? Let’s dive into the details and get you one step closer to your dream floor.
Preparing For Removal
Start by gathering all the necessary tools. You will need a utility knife, scraper, and pliers. A heat gun or a hair dryer will help with stubborn glue. A pry bar and a floor scraper can make the job easier. Having all tools ready saves time later.
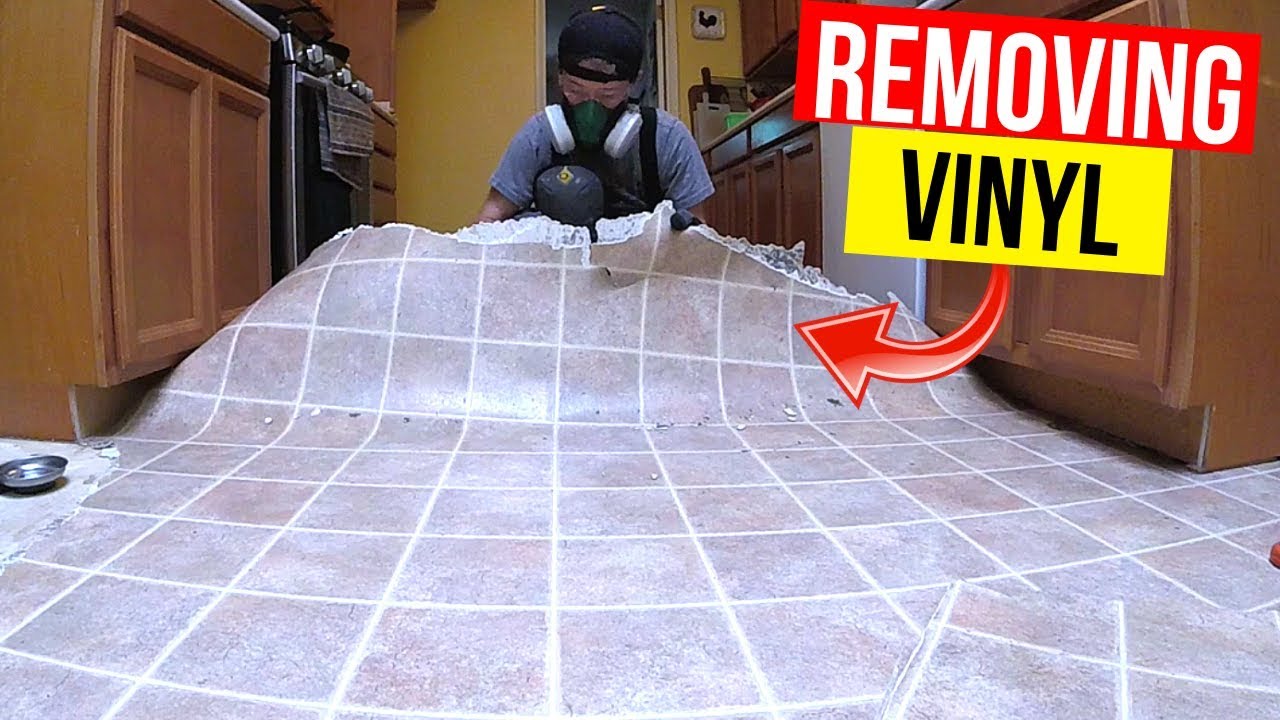
Always wear protective gear. Safety goggles keep your eyes safe from dust. Wear gloves to protect your hands from sharp edges. Ventilate the room to avoid inhaling dust. Safety is very important.
Remove all furniture and objects from the room. This makes space to work freely. Sweep the floor to remove loose dirt. A clean area helps avoid accidents. Keep all tools nearby for easy access.
Assessing The Vinyl Floor
Different types of vinyl flooring exist. Some are sheet vinyl、他の人は vinyl tiles. Knowing the type helps in removal. Sheet vinyl covers larger areas. Vinyl tiles come in smaller pieces. This makes them easier to handle. Use a flashlight. Look for seams and patterns. They tell the type of vinyl. Understanding this is key to removal.
Adhesive holds vinyl in place. Some adhesives are strong. Others are weak and easy to remove. Check the edges of the vinyl. See how tightly it sticks. Use a putty knife. Slide it under the vinyl. Feel the resistance. Strong adhesives require more effort. Knowing the adhesive helps in choosing tools. Be careful to not damage the floor.
Initial Detachment Process
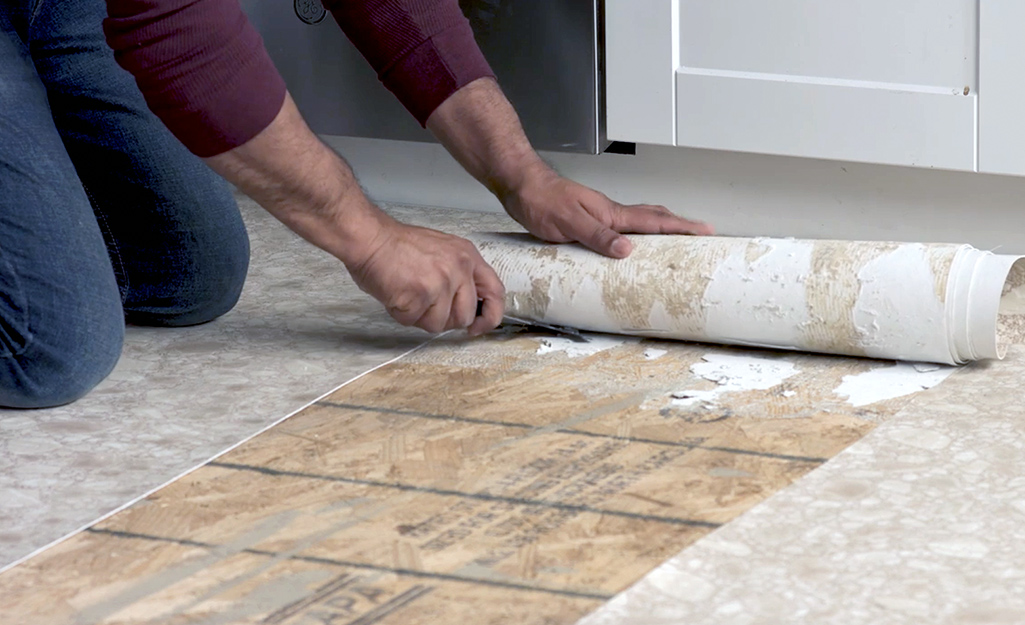
Use a putty knife to find the vinyl edges. Slide the knife under the edge. Try to lift it gently. Be careful not to damage the floor underneath. Work slowly to avoid tearing the vinyl. This helps in removing the vinyl smoothly.
A hairdryer can make the vinyl more flexible. Warm the vinyl with the hairdryer. Heat softens the glue below. Hold the dryer close, but not too close. Move the dryer in small circles. This makes the vinyl easier to peel away.
Removing Adhesive Residue
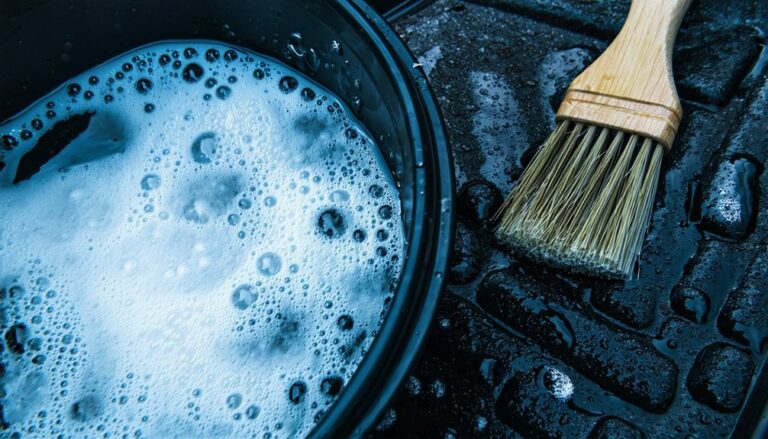
Adhesive remover helps make sticky floors clean again. Pour the remover on the sticky spots. Let it sit for a few minutes. This softens the sticky glue. Next, use a scraper to scrape off the residue. Be gentle when scraping. You do not want to damage the floor. If the residue is stubborn, apply more remover. Let it sit again before scraping.
Sometimes, sticky spots need extra care. Using a scraper is useful. Hold the scraper at an angle. This helps lift the glue off the floor. Use small strokes to remove the residue. Repeat the steps until the floor is clean. Patience is key to a clean floor.
Handling Stubborn Areas
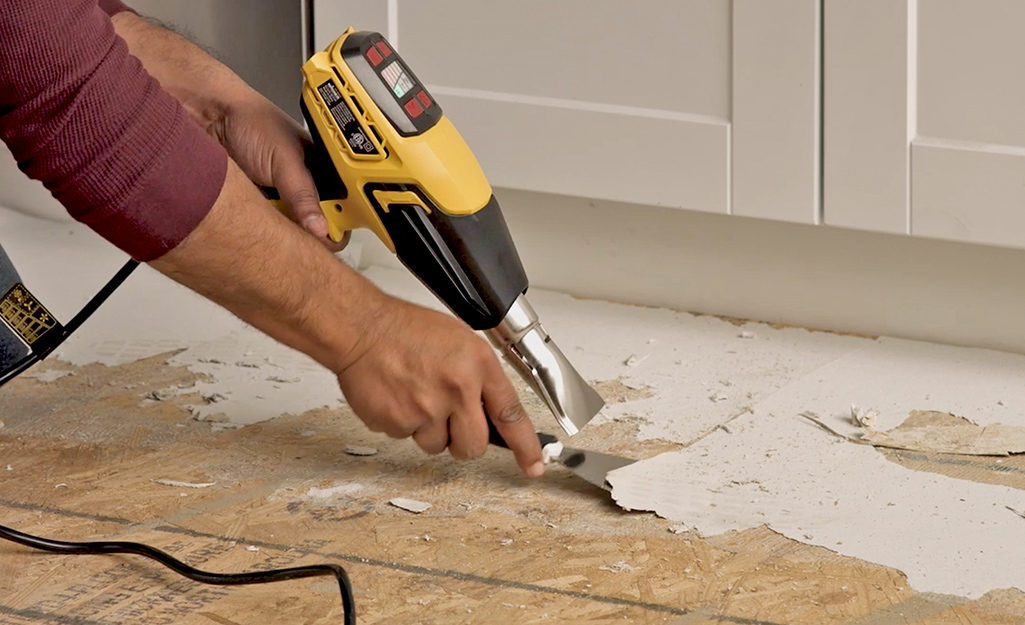
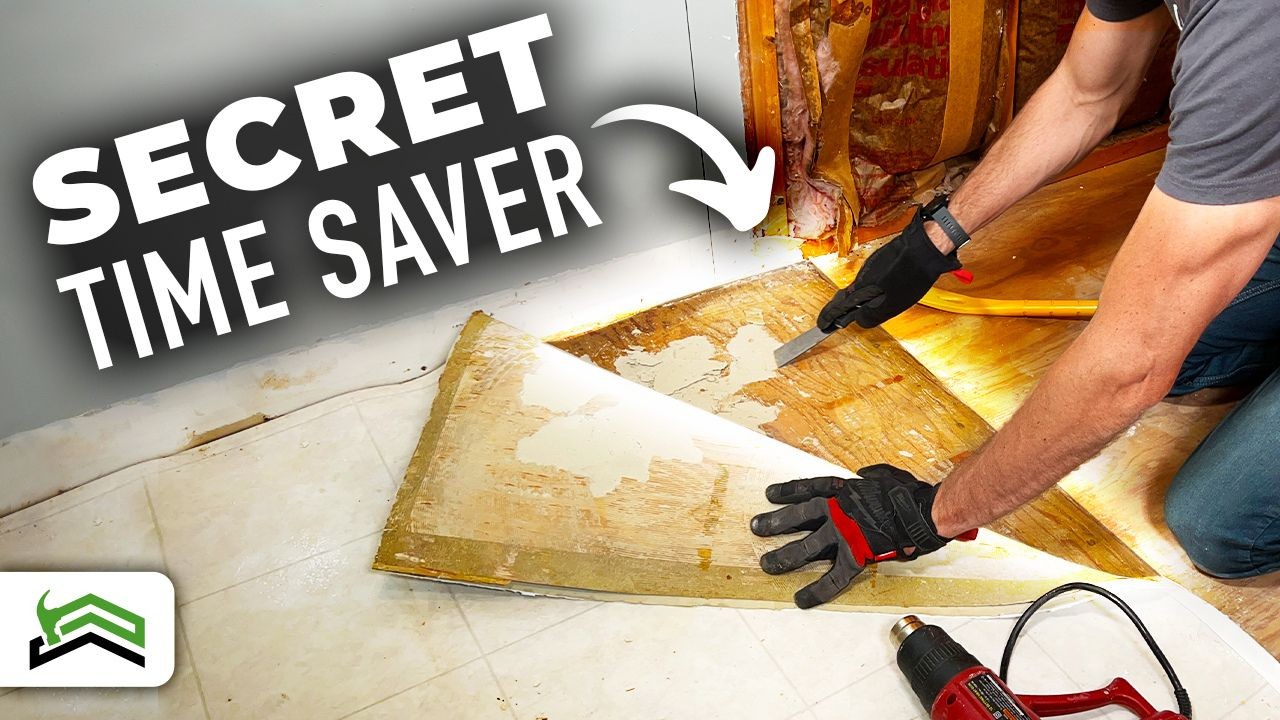
Removing vinyl floors can be tricky, especially with stubborn areas. Use a heat gun to soften the adhesive. Then, gently scrape the vinyl with a putty knife. This method helps to lift the flooring without causing damage.
Utilize Solvents
Some spots on vinyl floors stick hard. Solvents can help with these areas. Apply a small amount first. Test the solvent on a hidden spot. This ensures it won’t harm the floor. Once safe, pour a little on the stubborn area. Wait for a few minutes. This lets the solvent work. Use a cloth to rub the spot. The vinyl should start to lift. If needed, add a bit more solvent. Repeat the process if the area still resists. Safety is important. Use gloves and keep the room airy.
Employ Mechanical Tools
Sometimes hands are not enough. Mechanical tools make the job easier. A scraper can be very helpful. Gently slide it under the vinyl. Be careful not to damage the floor below. Heat guns can also assist. They soften the vinyl, making it easier to lift. Always keep tools away from kids. Using tools safely is key. It helps avoid accidents. Work slowly for the best results. Patience is important when removing vinyl. Take your time and do it right.
Cleaning The Subfloor
Begin by using a broom. Sweep the floor gently. Remove all dust and dirt. Next, use a vacuum cleaner. Vacuum the corners and edges well. This helps in getting rid of hidden debris. Ensure every spot is clean. A clean floor helps in better inspection.
Look closely at the subfloor. Check for any cracks or holes. Damage may cause problems later. Small holes should be fixed. A flat, even floor is important. If damage is found, fix it before moving on. A well-maintained floor ensures better results.
Preparing For New Flooring
Subfloor problems need fixing first. Check for any damaged areas. Cracks or holes must be filled. Use a good filler to do this. Let it dry well. A smooth subfloor is key. It helps the new floor last longer. Also, look for any 水害. Wet spots can cause trouble later. Dry them out completely.
The floor must be level. Use a long board or level tool. Find any high or low spots. Sand down the high areas. Fill low areas with a leveling compound. This makes the floor even. A flat surface is important for laying new flooring. No bumps should be there. It will make the floor look nice and smooth.
よくある質問
How Do You Start Removing Vinyl Flooring?
Begin by clearing the room of furniture and obstacles. Use a utility knife to cut the vinyl into manageable strips. Peel the strips off the floor, using a scraper for stubborn areas. Ensure safety by wearing gloves and goggles. Proper preparation makes the removal process smoother and faster.
What Tools Are Needed To Remove Vinyl Floors?
You’ll need a utility knife, scraper, and heat gun. A floor stripper can help with adhesive residue. Gloves and goggles ensure safety during removal. Having the right tools makes the process efficient and reduces effort. Investing in quality tools can save time and provide better results.
Can I Remove Vinyl Flooring Myself?
Yes, you can remove vinyl flooring yourself with the right tools and preparation. Ensure safety by wearing protective gear. Follow steps carefully to avoid damaging the subfloor. Patience and attention to detail are key. DIY removal can save money and give you control over the process.
How Long Does Vinyl Floor Removal Take?
The time varies based on room size and flooring type. A small room might take a few hours, while larger areas require more time. Proper preparation can speed up the process. Efficient use of tools also reduces time spent. Plan accordingly to avoid unexpected delays.
結論
Removing vinyl floors can seem tough, but it’s manageable with patience. Start by gathering tools like a utility knife and floor scraper. Next, cut and peel the old vinyl away. Use the scraper to remove remaining adhesive. Be careful not to damage the subfloor.
Clean the area thoroughly once the vinyl is gone. This process prepares your space for new flooring. Remember, safety first. Wear gloves and goggles to protect yourself. With these steps, your floor will be ready for a fresh look. Enjoy your new space and the transformation it brings.