To install tile on your kitchen floor, first guarantee the subfloor is clean, level, and free of old flooring or adhesive. Choose durable, water-resistant tiles like porcelain or ceramic, and select grout and adhesive compatible with your materials. Measure precisely, plan your layout using the room’s center as reference, then spread adhesive evenly with a notched trowel. Lay tiles with spacers, check alignment, and once set, grout and seal for protection. Following these steps carefully guarantees a lasting, professional finish.
Preparing the Kitchen Floor for Tile Installation
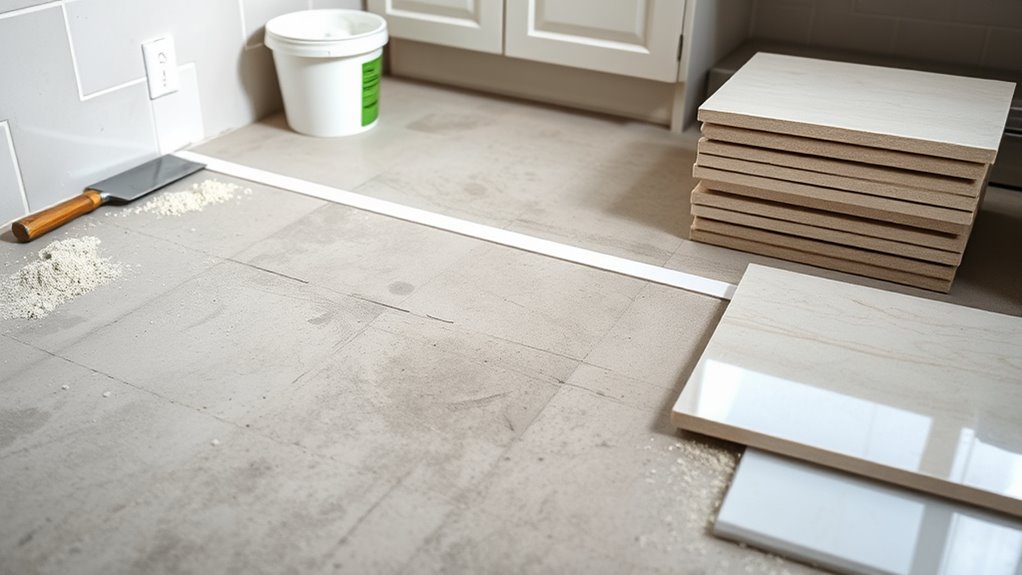
Before you begin laying tile, you need to confirm the kitchen 床 is completely clean, level, and structurally sound. Start by removing old flooring—whether it’s vinyl, laminate, or tile—to expose the subfloor. Use appropriate tools like a scraper or pry bar, guaranteeing all adhesive residues are eliminated to create a smooth base. Next, inspect the subfloor meticulously for damage: look for rot, water stains, or weak spots. Repairing subfloor damage is vital; replace compromised sections with plywood of equal thickness, securing it firmly to joists to maintain structural integrity. Finally, check the floor’s levelness using a straightedge or level; sand down high spots or fill low areas with a leveling compound. These steps confirm your tile installation will be durable and flawless, offering you freedom from future repairs.
Choosing the Right Tile and Materials
Selecting the right tile and materials involves evaluating factors like durability, water resistance, and compatibility with kitchen traffic. You’ll want to choose tile types that withstand heavy footfall and potential spills—porcelain and ceramic are top choices due to their hardness and impermeability. Consider your kitchen’s style when selecting color options; lighter hues can amplify space, while darker tones add depth and hide stains. Additionally, matte finishes offer slip resistance, essential for safety. Don’t forget to select appropriate grout and adhesive compatible with your tile type and subfloor conditions. By balancing technical specifications with your aesthetic preferences, you guarantee a tile floor that’s not just visually appealing but also long-lasting and practical, giving you the freedom to enjoy your kitchen without constant maintenance worries.
Measuring and Planning Your Tile Layout

Once you’ve chosen your tile and materials, accurately measuring your kitchen floor is essential to confirm precise tile placement and minimize waste. Begin by using a tape measure to determine the length and width of the space in multiple spots, noting any irregularities. Apply advanced measuring techniques, such as marking the center point of the room to establish a reference grid for your tile layout. This approach guarantees symmetry and balance, preventing awkward cuts near walls. Sketch a scaled floor plan, indicating obstacles like cabinets or appliances. Calculate the number of tiles needed by dividing the total area by the tile size, factoring in grout spacing. This technical planning grants you freedom to adjust the layout creatively while maintaining efficiency and reducing excess material.
Applying Adhesive and Laying the Tiles
With your layout firmly established, you’ll need to prepare the surface and adhesive to secure strong tile bonding. Begin by mixing your tile adhesive according to the manufacturer’s instructions, ensuring a smooth, lump-free consistency suitable for your kitchen floor’s substrate. Using a notched trowel, spread the adhesive evenly, maintaining consistent thickness and ridges to enhance grip. Start tile placement from the centerline, pressing each tile firmly into the adhesive. Use spacers to maintain uniform joints, ensuring precise alignment with your planned layout. Check each tile’s level frequently, adjusting before the adhesive sets. Avoid walking on freshly laid tiles to prevent misalignment. This methodical approach secures a durable, well-aligned floor, giving you the freedom to enjoy a flawless kitchen tile installation.
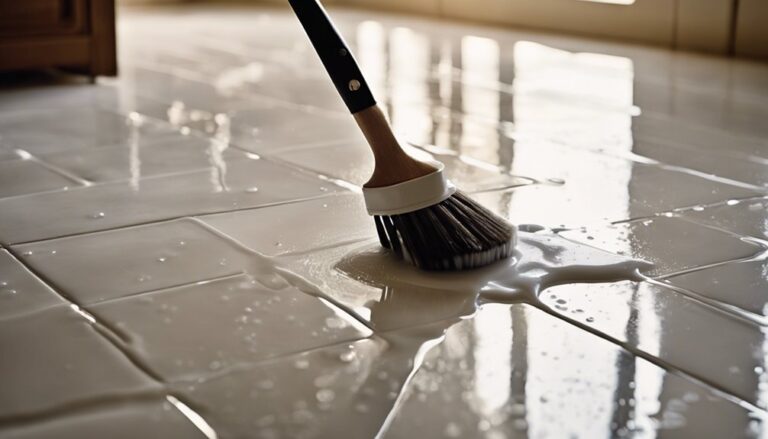
Grouting and Sealing the Tile Floor
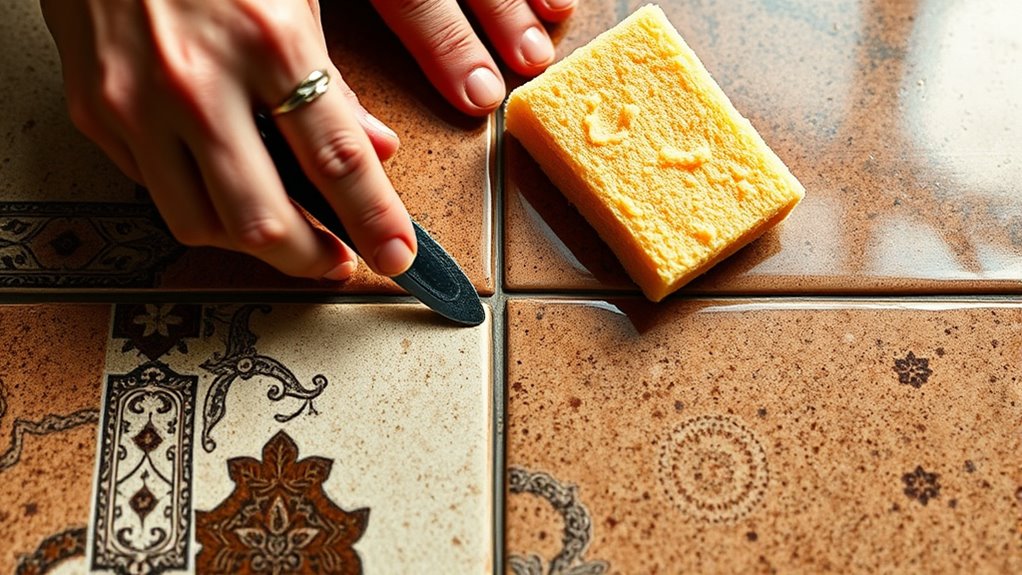
Although the tiles are firmly set, the joints between them require careful filling to assure durability and prevent moisture infiltration. Start by selecting the appropriate grout type—sanded for wider joints, unsanded for narrower gaps. Mix the grout to a smooth, peanut butter-like consistency. Using a rubber float, apply grout diagonally across the joints, pressing firmly to assure complete filling. Remove excess grout promptly with a damp sponge, avoiding water pooling. After grout cures—typically 24 to 72 hours—apply sealing methods tailored for your grout and tile. Penetrating sealers protect porous grout without altering appearance, while surface sealers add a protective layer. Proper sealing not only enhances longevity but also preserves the tile floor’s freedom from stains and moisture damage, assuring your kitchen remains both functional and beautiful.