First, inspect your tile floor for any loose or uneven tiles and repair them to guarantee a stable base. Clean the tiles thoroughly and let them dry. Next, roll out a vapor barrier and underlayment to protect against moisture and provide cushioning. Measure the room and plan your layout, then begin installing laminate planks, staggering joints for stability. Finish by fitting trim and transition strips to allow for expansion and a polished look. You’ll find more detailed steps to help you achieve a flawless installation.
Assess the Condition of Your Existing Tile Floor
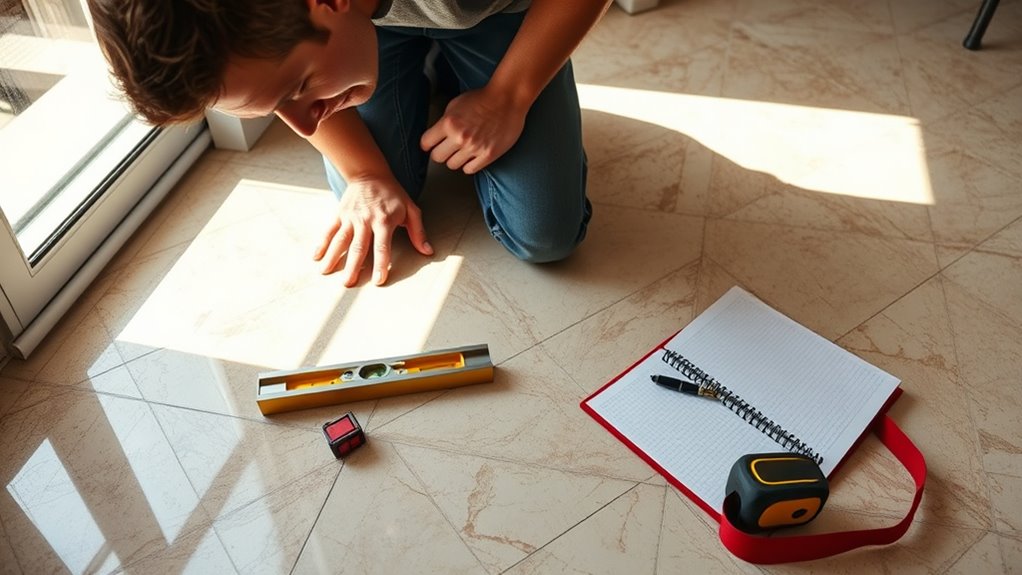
Before you begin installing laminate 床材 over your tile, carefully assess the condition of the existing tile floor. Start with a thorough tile condition assessment to identify any cracked, loose, or uneven tiles. Tap gently on tiles; a hollow sound indicates looseness that needs repair. Next, conduct a surface stability evaluation by checking for movement or shifting underfoot. The tile surface must be stable to support laminate without causing damage or wear. Also, verify grout lines are even and not excessively deep, as these can create an uneven substrate. If you find imperfections, address them by reattaching loose tiles or filling gaps with leveling compound. This precise evaluation guarantees a smooth, durable base, giving you the freedom to proceed confidently with your laminate installation.
Gather the Necessary Tools and Materials
To install laminate flooring over tile effectively, you’ll need to gather a specific set of tools and materials that guarantee accuracy and efficiency throughout the process. Start with a thorough tools checklist: a tape measure, utility knife, tapping block, pull bar, spacers, rubber mallet, saw (preferably a miter or circular saw), and a level. For material selection, choose a quality laminate flooring designed for floating installation, underlayment with moisture barrier properties, and connector strips if needed. Don’t forget safety gear like gloves and goggles. Having this precise toolkit and carefully selected materials guarantees smooth installation, prevents damage, and supports a lasting finish. Preparing now frees you to work confidently and efficiently, streamlining your project from start to finish without unnecessary interruptions or errors.
Clean and Prepare the Tile Surface
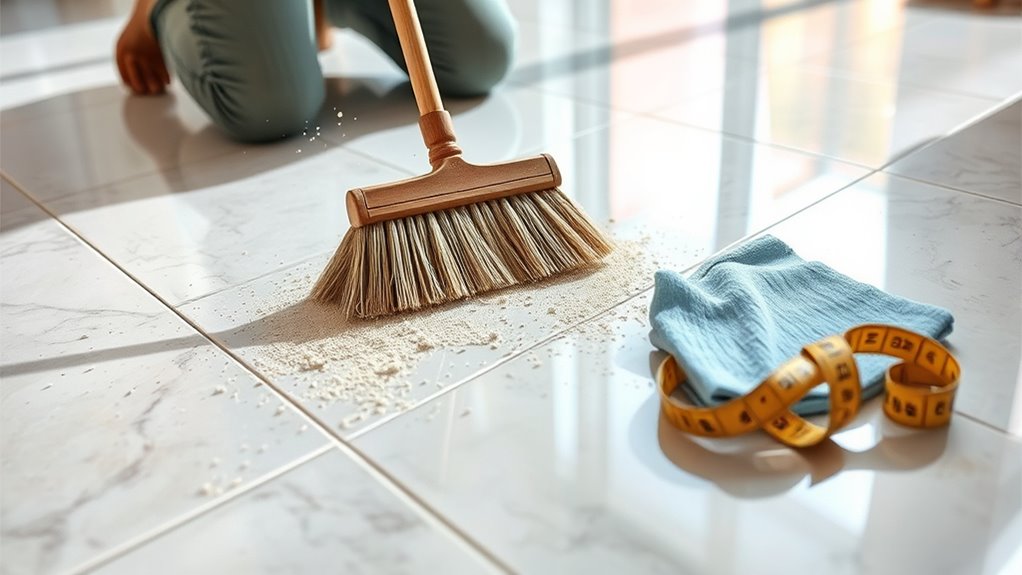
Once you’ve gathered all your tools and materials, focus on cleaning and preparing the tile surface to confirm proper laminate installation. Start by removing any dirt, grease, or debris using a vacuum or broom. Then, apply suitable cleaning methods such as a mild detergent mixed with warm water to scrub the tiles thoroughly. Avoid harsh chemicals that may damage the surface or leave residues. After cleaning, inspect the tile for cracks or loose pieces; repair these to create a stable base. Finally, verify the surface is completely dry before proceeding. Proper surface preparation prevents uneven laminate placement and extends flooring durability, giving you the freedom to enjoy a smooth, professional finish without future issues.
Install a Vapor Barrier or Underlayment
Although the tile surface is prepped and dry, you’ll need to install a vapor barrier or underlayment to protect your laminate flooring from moisture and provide cushioning. Vapor barrier benefits include preventing mold and damage, while underlayment types vary by material and thickness, impacting sound absorption and comfort. Roll out the vapor barrier first, ensuring it covers the entire surface without gaps. Then, lay the chosen underlayment smoothly over it, trimming edges as needed. Here’s a quick guide:
| Underlayment Type | 厚さ | Vapor Barrier Benefits |
|---|---|---|
| Foam | 2-3 mm | Basic moisture protection |
| コルク | 3-4 mm | Superior sound absorption |
| ゴム | 4-5 mm | Durable, excellent moisture barrier |
| Felt | 2-3 mm | Adds cushioning and warmth |
| Combination | Varies | Integrated moisture and sound control |
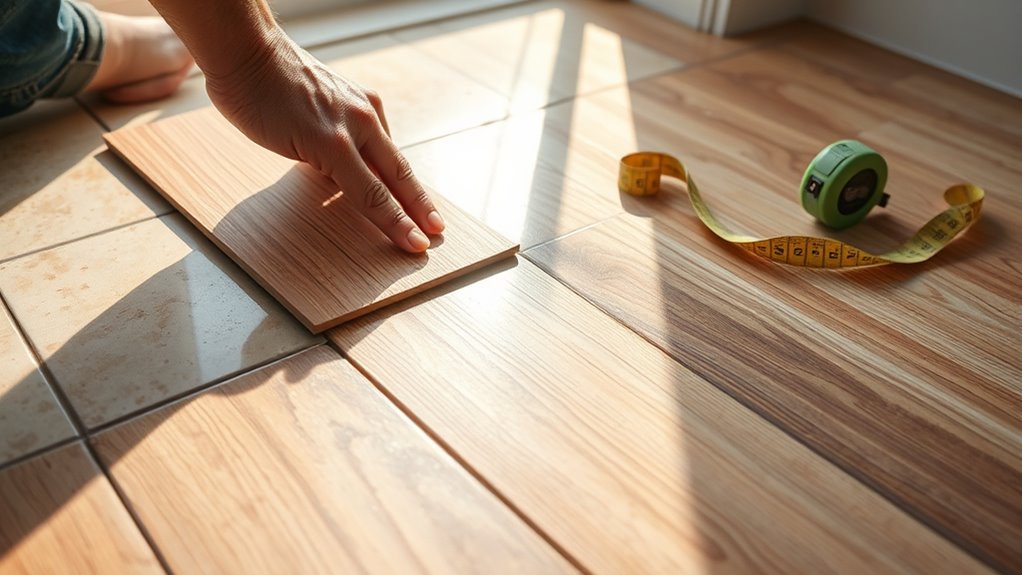
Plan Your Laminate Flooring Layout
Before you begin laying the laminate planks, you’ll need to carefully plan the flooring layout to guarantee a balanced, professional appearance and avoid narrow strips along walls. Proper layout planning helps you make the most of your laminate flooring patterns and guarantees a seamless finish. Keep these layout planning tips in mind:
- Measure the room’s length and width accurately to estimate plank quantity.
- Decide on a laminate flooring pattern (e.g., staggered, straight, diagonal) that suits your style.
- Start laying planks parallel to the longest wall for visual harmony.
- Ascertain end joints are staggered at least 12 inches apart to enhance stability.
- Account for expansion gaps around the perimeter as per manufacturer guidelines.
Begin Laying the Laminate Flooring
Begin by placing the first laminate plank along the starting wall, guaranteeing you leave the recommended expansion gap between the plank and the wall. This gap allows the floor to naturally expand and contract without buckling. Align the plank carefully, using spacers to maintain consistent floor expansion gaps along the perimeter. For laminate flooring installation, connect each subsequent plank by angling it into the previous one, locking the tongue-and-groove joints securely. Work row by row, staggering the seams to create a natural, stable pattern that enhances both appearance and durability. Keep checking that the floor expansion gaps remain uniform as you progress. This careful attention to detail guarantees a smooth, professional finish and allows your new floor the freedom to settle perfectly over the tile beneath.
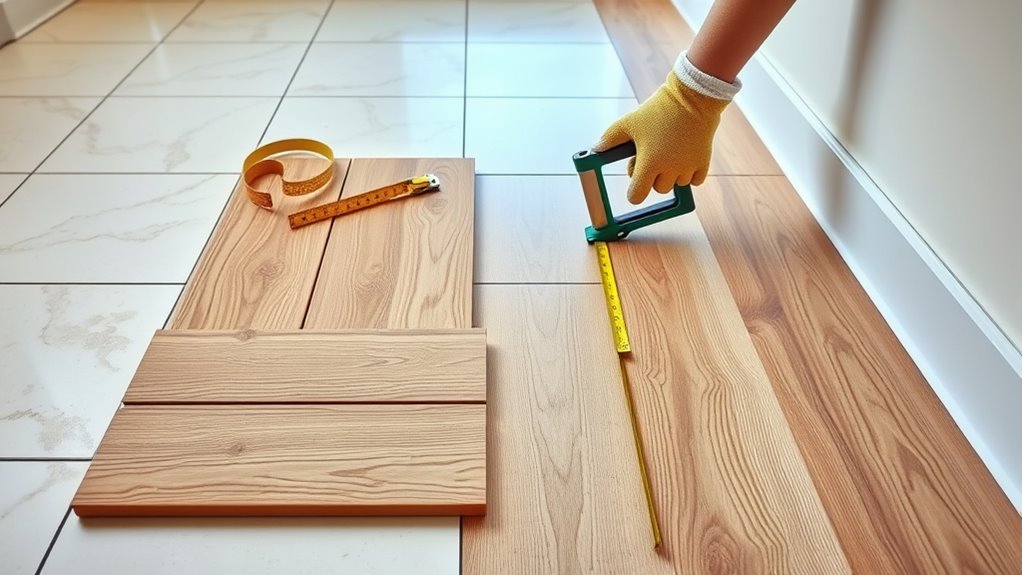
Cut Laminate Planks to Fit Edges and Corners
You’ll need to measure the space at edges and corners accurately, marking your laminate planks with a pencil before cutting. Use a straightedge to guide your cuts and guarantee clean lines. For cutting, a fine-toothed saw or a laminate cutter works best to avoid chipping or damaging the planks.
Measuring and Marking
Although measuring and marking may seem straightforward, accuracy is vital when cutting laminate planks to fit edges and corners. Using precise measuring techniques and clear marking guidelines guarantees your planks fit perfectly without gaps or awkward overlaps. Here’s how to approach it:
- Measure twice, marking once to avoid costly mistakes
- Use a tape measure and a carpenter’s square for straight, accurate lines
- Mark the plank’s underside to keep the top surface blemish-free
- Account for expansion gaps as recommended by the manufacturer
- Transfer measurements carefully, especially around irregular edges and corners
Cutting Techniques and Tools
Once your measurements and markings are set, the next step is cutting the laminate planks accurately to fit edges and corners. Start by selecting essential tools like a miter saw, jigsaw, or a fine-toothed handsaw for precise cuts. Use a straightedge or carpenter’s square to guide your cuts, ensuring clean, straight lines. For irregular edges or corners, a jigsaw allows you to follow curves or angles easily. Always cut with the finished side facing down to prevent chipping. Employ proper cutting techniques: score the laminate surface lightly before cutting to minimize splintering. Take your time aligning the blade with your marks, and wear safety gear. Mastering these cutting techniques and tools will give you the freedom to create a seamless, professional-looking laminate floor over tile.
Finish With Trim and Transition Pieces
To complete your laminate flooring installation, you’ll need to select the right trim that matches both your flooring and room style. Then, install transition strips carefully at doorways or where the laminate meets other flooring types to guarantee a smooth, safe edge. Finally, secure all pieces firmly and add finishing touches to create a polished, professional look.
Choosing the Right Trim
Selecting the right trim is essential to achieve a polished look and guarantee a seamless changeover between your new laminate flooring and existing surfaces. When choosing materials, consider durability and compatibility with your laminate’s finish. Style options range from simple quarter rounds to more elaborate base shoe moldings, each offering a distinct visual impact. Focus on trims that complement both your flooring and room décor.
Keep these points in mind:
- Match trim material with your laminate for cohesion
- Opt for styles that accommodate expansion gaps
- Choose colors that blend or contrast purposefully
- Consider ease of installation and future maintenance
- Verify trims cover uneven tile edges or height differences
Installing Transition Strips
Although your laminate flooring might fit perfectly, installing transition strips is essential to confirm a smooth, safe passage between different floor surfaces. Start by selecting the right transition strip types—T-molding for floors of equal height, reducer strips for height differences, and threshold strips for doorways. Measure the gap carefully to cut your strip to the exact length. Use the recommended installation techniques: some strips snap into a track you secure to the subfloor, while others require adhesive or nails. Confirm the strip sits flush and leaves enough room for laminate expansion. Properly installed transition strips not only enhance aesthetics but also prevent tripping hazards and protect the edges of your laminate. Follow these steps to confidently finish your flooring project with freedom and precision.
Securing and Finishing Touches
When you’ve securely laid your laminate flooring and installed the necessary threshold strips, it’s crucial to finish with trim pieces that cover expansion gaps and give your floor a polished look. Securing edges properly prevents damage and allows your flooring to expand freely. For the final touches, follow these steps:
- Measure and cut baseboards or quarter round molding to fit along walls.
- Nail or glue trim pieces snugly against walls, hiding expansion gaps.
- Use transition strips at doorways or floor joins to guarantee smooth shifts.
- Fill nail holes and gaps with wood filler matching your floor color.
- Clean the floor surface to remove dust and debris from installation.
These final touches promise a professional appearance and long-lasting durability for your laminate flooring.