To fix wood floor lifting, first identify moisture or installation issues causing the lift. Gather tools like a pry bar, hammer, and moisture meter. Clear the area and carefully remove damaged boards. Dry the subfloor thoroughly using fans and dehumidifiers. Acclimate new boards in the room for at least 72 hours, then install them with proper spacing and secure with nails or glue. Finally, seal the floor to prevent moisture. Keep humidity controlled to avoid future problems, and you’ll find more detailed steps to follow.
Identify the Cause of Wood Floor Lifting

Before you can fix wood floor lifting, you need to pinpoint what’s causing it. The primary causes of lifting usually involve excess moisture or poor installation. Start by inspecting the area for signs of water damage, leaks, or high humidity. Check underneath the floorboards if possible—moisture trapped below can warp wood over time. Proper moisture control is essential; wood expands and contracts with humidity changes, so inadequate acclimation before installation often leads to lifting. Also, consider if the subfloor is uneven or if there’s insufficient expansion space around the perimeter, both common causes of lifting. By methodically identifying whether moisture or structural issues are at play, you’ll be better equipped to address the root problem, restoring your floor’s stability and your sense of home freedom.
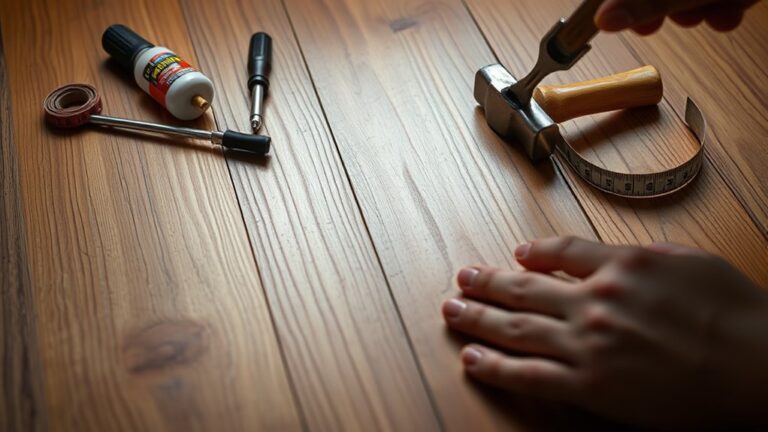
Gather Necessary Tools and Materials
Once you’ve determined what’s causing your wood floor to lift, the next step is to gather the right tools and materials to fix it effectively. Focus on the essential tool types: a pry bar to lift boards gently, a hammer and nails or a nail gun for securing planks, wood glue for bonding, and a moisture meter to check humidity levels. Material selection is vital—choose replacement wood that matches your existing 床材 in species, thickness, and finish. You may also need sandpaper for smoothing edges and wood filler to repair minor gaps. Having these tools and materials on hand guarantees you won’t be interrupted mid-repair, giving you the freedom to work efficiently and confidently. Being methodical now saves time and frustration later.
Prepare the Affected Area

Start by clearing away all debris from the lifted section, making sure the surface is clean and dry. Next, check the moisture levels in the wood using a moisture meter to identify any underlying dampness. This step helps you understand the cause and decide the best repair method.
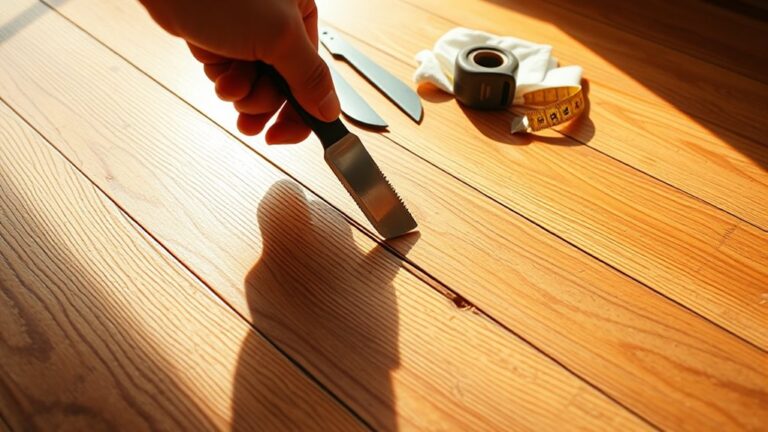
Clear Debris Thoroughly
Although it might seem tedious, clearing all debris from the lifted wood floor area is essential to secure proper adhesion and a lasting repair. You’ll want to use effective cleaning techniques to remove dust, dirt, and loose particles that can interfere with glue or filler bonding. A clean surface also supports long-term floor maintenance by preventing future lifting.
Here’s a simple guide to clear debris thoroughly:
| ステップ | 必要なツール | 目的 |
|---|---|---|
| 1. Vacuum | 掃除機 | Remove loose dust |
| 2. Scrape | Putty knife | Lift stuck debris |
| 3. Wipe | 湿らせた布 | Clean remaining residue |
| 4. Dry | Dry cloth or fan | Make sure surface is dry |
Follow these steps carefully to prepare your floor for a successful fix.
Inspect Moisture Levels
Before proceeding with repairs, you’ll need to inspect moisture levels in the affected area, since excess moisture is a common cause of wood floor lifting. Start by using a reliable moisture meter to get accurate humidity measurement readings on both the floorboards and subfloor. Check multiple spots around the damaged section to identify any moisture variations. If readings exceed the recommended thresholds for your wood type, you’ll need to address moisture control before fixing the floor. This might involve improving ventilation, using a dehumidifier, or repairing leaks. Ensuring the area is dry and humidity levels are stable prevents future lifting and warping. Taking this methodical approach gives you the freedom to confidently move forward with repairs without risk of recurring moisture problems.
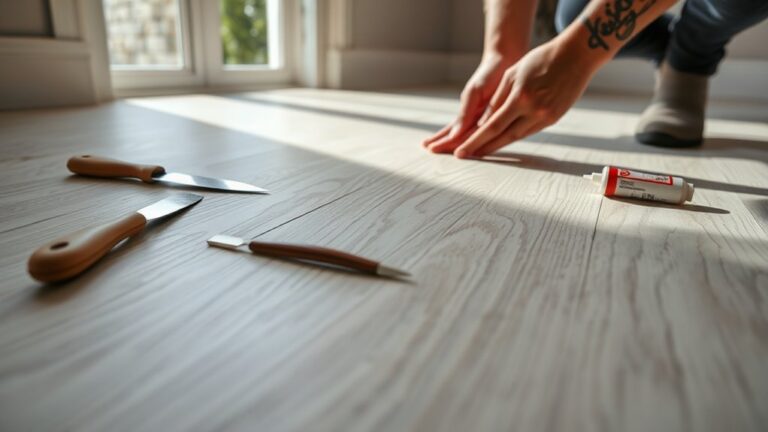
Remove the Damaged Floorboards
Start by pinpointing the exact boards that are lifting or damaged. Next, gather tools like a pry bar, hammer, and putty knife to make removal easier. Carefully lift each board to avoid damaging surrounding pieces as you work.
Identify Damaged Areas
Spotting the damaged floorboards is crucial to fixing wood floor lifting effectively. Start by closely examining your wood floor types—solid hardwood, engineered, or laminate—since each reacts differently to moisture and temperature changes. Look for boards that are visibly buckled, warped, or separated at the seams. Press down gently to test for soft spots, which indicate moisture damage beneath. Mark these areas clearly to avoid confusion during removal. Identifying all affected boards guarantees you remove only what’s necessary, helping maintain the floor’s integrity and aiding lifting prevention. Taking this methodical approach lets you address the root cause rather than just the symptoms, giving your floor a better chance to stay flat and secure once repaired. This step ultimately sets the foundation for a durable, long-lasting fix.
Gather Removal Tools
To remove the damaged floorboards effectively, you’ll need the right set of tools at hand. Knowing the appropriate tool types helps you apply removal techniques efficiently, saving time and effort. Here’s a practical list to prepare you for the job:
- Pry bar – for lifting and loosening boards without damaging surrounding flooring
- Hammer – to tap the pry bar or gently remove nails
- Utility knife – to cut through adhesive or underlay cleanly
- Circular saw or oscillating multi-tool – for precise cuts on stubborn or large damaged boards
Having these tools ready gives you freedom to tackle the removal step confidently and methodically. Each tool serves a specific function, ensuring you can approach the damaged sections with the right technique and avoid unnecessary damage.
Carefully Pry Boards
Gently insert the pry bar beneath the edge of the damaged floorboard, applying steady pressure to loosen it without cracking or splintering the surrounding wood. Use a controlled pry technique, working slowly along the board’s length to evenly release nails or adhesive. Avoid forcing the board out abruptly; this guarantees board safety and prevents damage to adjacent planks. If resistance is strong, reposition the pry bar at different points, gradually lifting the board in small increments. Keep a scrap piece of wood under the pry bar to protect the subfloor. By maintaining patience and precision, you’ll remove the damaged floorboards cleanly, preserving the integrity of surrounding boards and setting the stage for a flawless repair. This careful approach gives you the freedom to restore your floor effectively.
Dry the Subfloor and Surrounding Area
Before you can address the lifting wood floor, you’ll need to thoroughly dry the subfloor and surrounding area. Moisture control is essential to prevent further damage and guarantee lasting repair. Start by following these steps:
- Remove any standing water using a wet/dry vacuum or mop.
- Increase airflow with fans or open windows to enhance ventilation systems.
- Use a dehumidifier to extract moisture from the air and subfloor.
- Monitor humidity levels daily until the subfloor is completely dry.
Repair or Replace the Subfloor if Needed

You’ll want to carefully inspect the subfloor for any signs of warping, rot, or mold after drying the area. If the damage is minor, patching or reinforcing the subfloor may be enough, but extensive damage usually means a full replacement is necessary. Assess the condition thoroughly to decide the best course of action before moving forward.
Inspect Subfloor Damage
Although it might seem easier to focus solely on the surface of your wood floor, inspecting the subfloor damage is crucial when addressing lifting issues. Different subfloor types—plywood, OSB, or concrete—require specific inspection techniques to spot problems like rot, mold, or warping. To do this effectively, follow these steps:
- Remove affected floorboards carefully to expose the subfloor.
- Check for soft spots by pressing with a screwdriver or tapping with a hammer.
- Look for discoloration, mold, or water stains indicating moisture damage.
- Inspect joints and seams for gaps or separation that weaken the structure.
This methodical inspection guarantees you understand the extent of damage beneath, giving you the freedom to make informed decisions on restoring your floor’s stability.
Choose Repair or Replacement
Deciding whether to repair or replace your subfloor depends on the severity of the damage you’ve uncovered. Minor warping or moisture can often be resolved with repair methods, while extensive rot or structural issues call for replacement. This choice directly impacts your flooring options and overall project cost.
| Damage Level | 推奨されるアクション | Flooring Options |
|---|---|---|
| Light warping | Repair with filler/patches | Refinish or install new hardwood |
| Minor moisture | Dry and seal | Compatible with most floorings |
| Moderate damage | Partial subfloor replacement | Engineered wood or laminate |
| Severe rot | Full subfloor replacement | Choose moisture-resistant types |
| Structural issues | Replace entire subfloor | Consider floating floors |
Choose wisely to guarantee lasting freedom from lifting floors.
Acclimate New Wood Floorboards
Since wood naturally expands and contracts with changes in humidity, it’s essential to acclimate new wood floorboards before installation. Proper wood acclimation guarantees your floor adjusts to your home’s specific temperature and moisture levels, preventing future lifting or warping. Here’s how to do it effectively:
- Unpack the floorboards and stack them loosely in the installation room.
- Maintain consistent temperature control, ideally between 60-80°F, matching the living space’s climate.
- Allow the boards to sit for at least 72 hours, giving them time to adjust to room humidity.
- Monitor moisture content periodically with a moisture meter to confirm equilibrium.
Install the Floorboards Correctly
Once your floorboards have acclimated properly, you can move on to installing them with care to prevent lifting. Start by ensuring precise floorboard alignment; each board should fit snugly without gaps or overlaps. Use spacers along the walls to maintain consistent expansion gaps, allowing the wood to naturally expand and contract. Employ installation techniques like staggering joints in adjacent rows to enhance stability. When nailing or stapling, avoid overdriving fasteners, which can damage the boards and cause lifting. Work methodically from one side of the room to the other, checking alignment frequently. Properly installed floorboards relieve internal stresses, reducing the risk of future lifting. By following these steps, you’ll create a sturdy, resilient floor that upholds your freedom to move and live comfortably without worry.
Secure and Seal the Flooring
Although properly installed floorboards provide a solid foundation, you still need to secure and seal the flooring to prevent lifting caused by moisture and movement. Floor sealing plays an essential role in moisture control, protecting your wood from warping and expansion. Here’s how you can do it effectively:
Properly securing and sealing floorboards prevents moisture damage, warping, and movement for a durable wood floor.
- Use finishing nails or screws to firmly anchor loose boards without splitting the wood.
- Apply a high-quality wood adhesive under any slightly lifted boards for extra hold.
- Thoroughly clean the surface to remove dust before sealing for maximum adhesion.
- Seal the entire floor with a water-resistant sealant, focusing on edges and seams to block moisture.
Maintain Proper Humidity Levels to Prevent Future Lifting
If you want to prevent your wood floor from lifting again, maintaining proper humidity levels in your home is essential. Wood expands and contracts with moisture changes, so achieving consistent moisture balance stops future damage. Start by monitoring indoor humidity with a reliable hygrometer, aiming for 35-55% relative humidity. Use a humidifier during dry months to add moisture and a dehumidifier when humidity spikes, especially in humid climates or basements. Proper ventilation also helps regulate moisture. Avoid drastic humidity swings, which stress the wood fibers and lead to lifting or warping. Regularly check your HVAC system and seal any leaks to support stable conditions. With diligent humidity control, you’ll preserve your floor’s integrity and enjoy a beautiful, flat surface that lasts.