To fix scratches on your laminate floor, first check how deep the scratch is—light scratches usually only affect the surface. Then, gather cleaning supplies, a repair kit, or a color-matched wax stick. Clean the scratched area well and let it dry. For minor scratches, gently apply wax or marker to blend the color. For deeper ones, fill with putty before coloring. Finally, protect your floor with pads and regular cleaning. Keep going to discover detailed tips and tricks for the best results.
Identify the Type and Severity of the Scratch
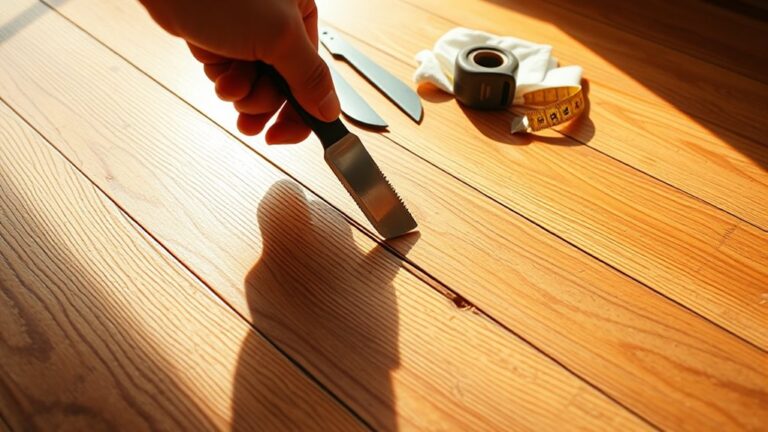
Before you begin repairing, you’ll want to carefully examine the scratch to determine its type and severity. Scratch identification is essential because it guides your approach to fixing the damage effectively. Start by running your fingers over the scratch to feel its depth—surface scratches are often shallow, while deeper ones may catch your nail. Next, evaluate the severity assessment by noting whether the scratch has penetrated the laminate’s protective layer or damaged the core material beneath. Light scratches usually affect only the top layer and are easier to repair, while deep gouges might require more intensive solutions. This clear, practical assessment lets you choose the right repair method and tools, giving you the freedom to restore your laminate floor confidently and efficiently.
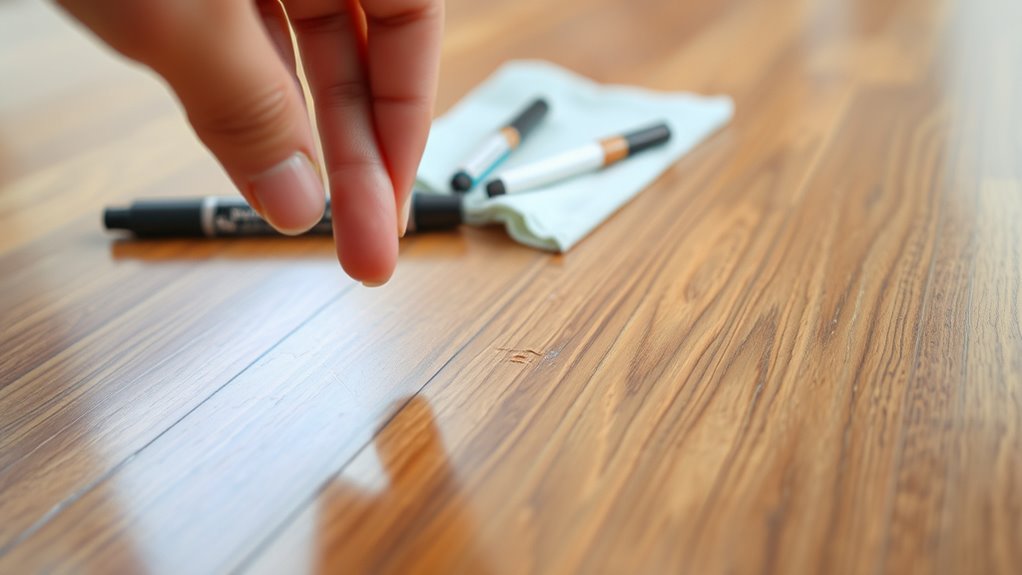
Gather Necessary Tools and Materials
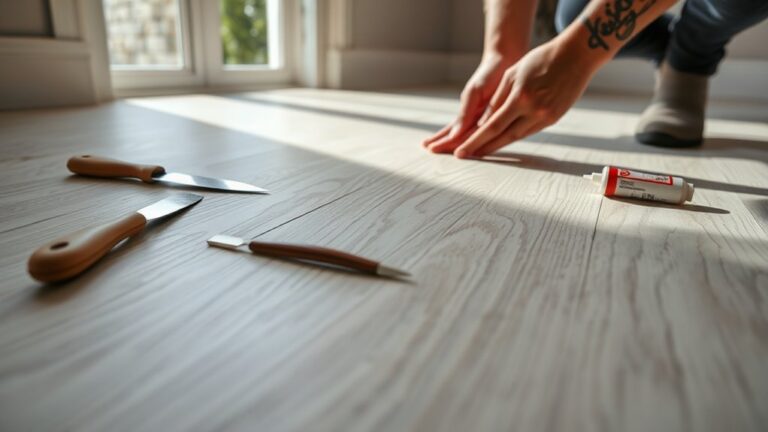
Repairing scratches on laminate floors requires having the right tools and materials on hand to guarantee a smooth and effective process. Start by focusing on tool selection—grab a soft cloth, a putty knife, and fine-grit sandpaper for light scratches. For deeper marks, you’ll need laminate repair kits, colored wax sticks, or touch-up markers that match your floor’s shade. Material preparation is just as important: make certain your wax sticks or markers are warmed up for better application, and keep your cloth clean and lint-free. Having everything ready lets you work efficiently and avoid interruptions. Preparing your workspace with these essentials guarantees you maintain control throughout the repair, giving you the freedom to restore your floor’s appearance confidently and quickly.
Clean the Affected Area Thoroughly
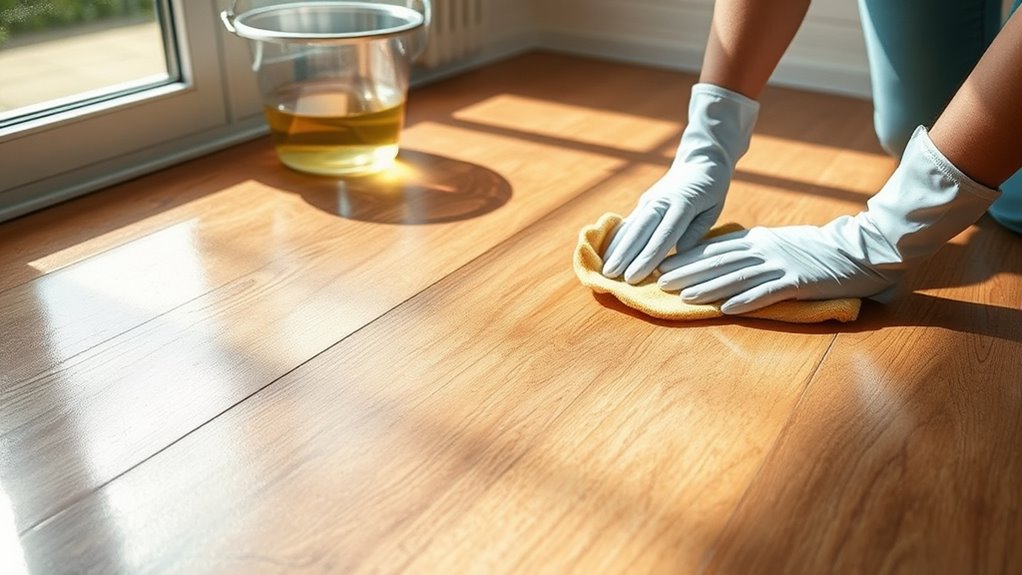
Since dust and dirt can worsen scratches or interfere with repair materials, you’ll want to clean the affected area thoroughly before starting any touch-up work. Proper cleaning is a key step in floor maintenance that guarantees your laminate floor looks its best and repair products adhere properly. Here’s how to do it efficiently:
- Sweep or vacuum the area to remove loose debris without scratching the surface further.
- Use a damp cloth with a gentle cleaning product designed for laminate floors to wipe away stubborn dirt. Avoid harsh chemicals that can damage the finish.
- Let the area dry completely before proceeding with repairs to assure the best results.
This careful preparation sets the stage for successful scratch repair and extends your floor’s lifespan.
Use a Laminate Floor Repair Kit
You’ll find that a laminate floor repair kit usually includes putty, markers, and sometimes a sealing compound to match your floor’s color. Start by carefully applying the putty to fill in the scratch, then use the marker to blend the repair with the surrounding area. Follow the kit’s instructions closely to guarantee the best results and a seamless finish.
Kit Components Overview
A laminate floor repair kit contains everything you need to tackle scratches effectively, making the process straightforward. These repair kits offer practical scratch solutions designed to blend seamlessly with your 床材, giving you the freedom to restore your space without hassle. Inside a typical kit, you’ll find:
- Color-matched wax sticks or putty – These fill in and conceal scratches with a finish matching your floor’s shade.
- Application tools – Usually a plastic scraper or spatula to smooth out the wax or putty for a flush repair.
- Finishing materials – Sometimes a sealant or polishing cloth to guarantee the repair is durable and visually consistent.
Knowing what each component does lets you confidently fix scratches and enjoy your laminate floor’s fresh look again.
アプリケーションテクニック
Although repairing laminate scratches might seem tricky at first, using a repair kit makes the process manageable by following straightforward steps. Start by cleaning the scratched area thoroughly to remove dust and debris. Next, select the repair compound shade that best matches your floor. Using the included applicator or a small putty knife, apply the compound carefully into the scratch, filling it evenly. Smooth out excess material to blend it seamlessly with the surrounding surface. Allow the compound to dry completely as per the kit’s instructions. Some kits include a sealant or finish—apply this last to protect the repair and restore shine. These application techniques guarantee your repair methods are effective, letting you reclaim your floor’s flawless look with confidence and ease.
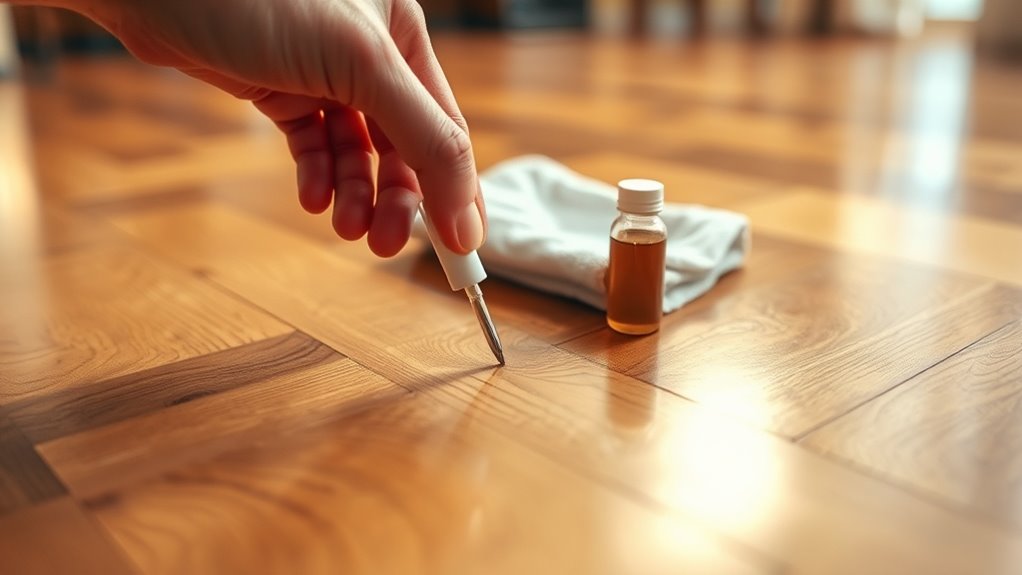
Apply a Wax or Marker for Minor Scratches
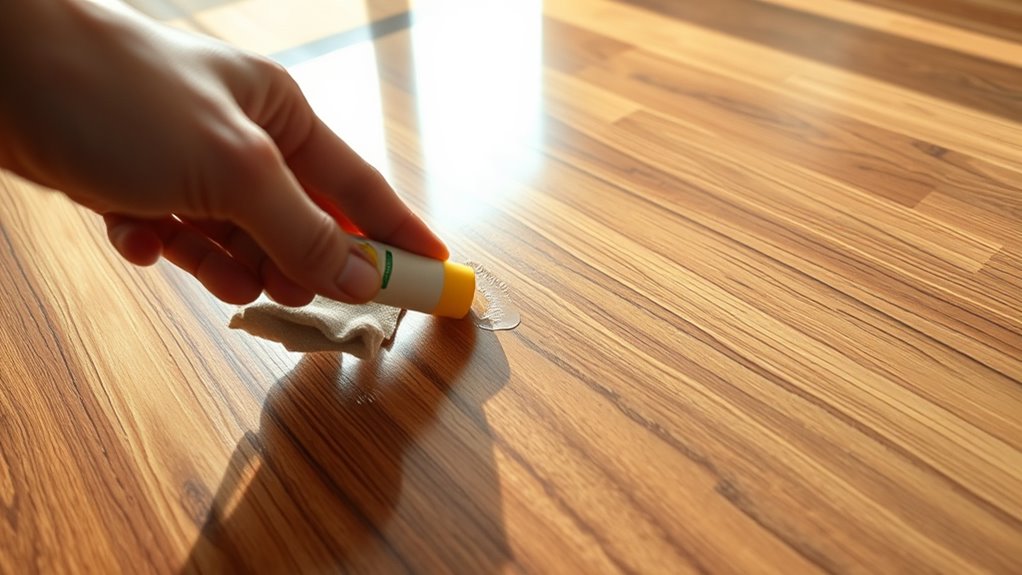
When using wax sticks or markers to fix minor scratches, make sure you pick a color that closely matches your laminate floor. Apply the product carefully along the scratch, using gentle strokes to blend it seamlessly with the surrounding area. Let it dry completely before buffing lightly to restore the floor’s smooth finish.
Choosing the Right Color
Since minor scratches can be subtle but still noticeable, choosing the right color for a wax stick or marker is essential to blending repairs seamlessly with your laminate floor. Proper color matching guarantees your fixes don’t stand out, preserving your floor’s natural look. Consider these key points:
- Match the base tone – Identify whether your floor leans warm, cool, or neutral to find a wax or marker that aligns with it.
- Consider finish types – Laminate floors may have matte, semi-gloss, or glossy finishes; pick a product that complements your floor’s sheen to avoid contrast.
- Test before applying – Always test the color on a hidden spot to verify it blends well once dry.
This approach gives you freedom to repair scratches discreetly and confidently.
アプリケーションテクニック
Before you apply a wax stick or marker to your laminate floor, make certain the scratched area is clean and dry to guarantee proper adhesion. These repair techniques are ideal for minor scratches and help restore your floor’s appearance quickly without sanding. Choose the right finish option—matte or glossy—to match your floor’s sheen. Apply the wax or marker carefully along the scratch, then gently buff with a soft cloth to blend the repair seamlessly. Repeat if needed for deeper scratches.
| Repair Technique | 最適な用途 | 仕上げオプション |
|---|---|---|
| Wax Stick | Small, shallow scratches | Matte, Glossy |
| Marker | Fine, narrow scratches | Matte, Semi-gloss |
| Buffing | Blending repair | Matching floor finish |
Fill Deep Scratches With Wood Filler or Putty
To effectively repair deep scratches on your laminate floor, you’ll need wood filler or putty that matches the floor’s color. This guarantees a seamless look once repaired. Follow these steps for a smooth putty application:
Use color-matched wood filler for flawless, seamless repair of deep laminate floor scratches.
- Clean the scratch thoroughly, removing dust and debris for better adhesion.
- Using a putty knife, apply the wood filler or putty directly into the scratch, pressing firmly to fill the entire depth.
- Smooth the surface with the putty knife, removing excess filler, and let it dry according to the product instructions.
Once dry, lightly sand the area if necessary to blend it with the surrounding floor. With the right wood filler and careful putty application, those deep scratches will be virtually invisible, restoring your floor’s freedom to look flawless.
Protect and Maintain Your Laminate Floor After Repair
Maintaining your laminate floor after repair takes just a few simple steps that can greatly extend its life and keep it looking great. Start by establishing a consistent maintenance routine: sweep or vacuum regularly to remove dirt and grit that can cause new scratches. Use a damp mop with a laminate-safe cleaner to avoid moisture damage. For floor protection tips, place felt pads under furniture legs to prevent dents and scratches, and use rugs in high-traffic areas to reduce wear. Avoid walking on your floor with high heels or cleats. Also, keep pet nails trimmed to minimize scratches. By following these practical floor protection tips and sticking to your maintenance routine, you’ll preserve the beauty of your laminate floor and enjoy a scratch-free surface for years to come.