To fix dents in hardwood floors, first assess the dent’s depth and type. Gather tools like a damp cloth, household iron, fine-grit sandpaper, and wood filler if needed. Clean the area thoroughly, then place a damp cloth over the dent and apply medium heat with an iron briefly to steam and raise compressed wood fibers. Once raised, sand gently with fine-grit paper to smooth. You’ll also need to refinish the spot for seamless repair. Detailed steps guarantee a professional finish and durability.
Identifying the Type and Severity of the Dent

How can you determine the best approach to repair a dent in your hardwood floor? Start by identifying dent types—surface dents, deep indentations, or cracks. Surface dents often involve minor compression without breaking the wood fibers, while deeper dents may fracture or displace them. Next, focus on evaluating dent severity by measuring depth and diameter, noting any discoloration or structural compromise. This precise evaluation informs your method choice, ensuring you address the damage effectively without unnecessary intervention. Accurate identification and severity evaluation empower you to restore your floor while maintaining its integrity and appearance. By mastering these diagnostic steps, you gain the freedom to select the most efficient repair, preserving both function and aesthetic value in your hardwood flooring.
Gathering the Necessary Tools and Materials
Before you begin repairing dents in your hardwood floor, assembling the proper tools and materials is crucial for an effective and efficient process. Focus on selecting the correct tool types, including a hardwood repair kit, a clean cloth, a water spray bottle, fine-grit sandpaper, and a putty knife. Material selection should emphasize compatibility with your floor’s finish and wood species to guarantee a seamless repair. For deeper dents, consider wood filler or a wax repair stick matching your floor color. Additionally, having a household iron or steam source will aid in raising compressed wood fibers. By carefully choosing these tools and materials, you maintain control over the repair quality, assuring your hardwood floor’s integrity and appearance are restored with precision and freedom.
Cleaning the Affected Area Thoroughly

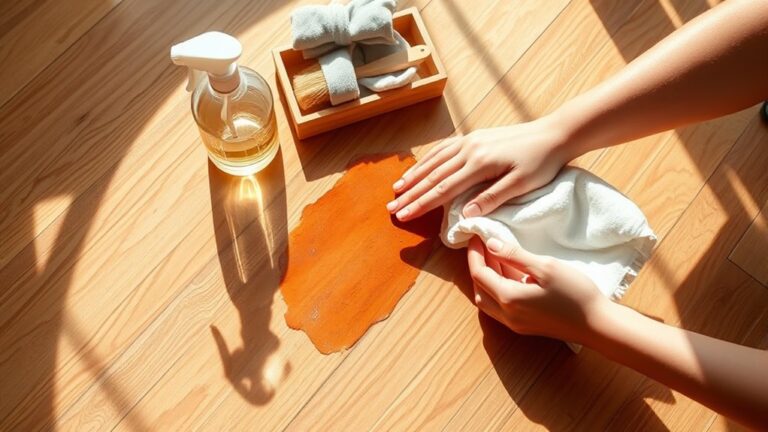
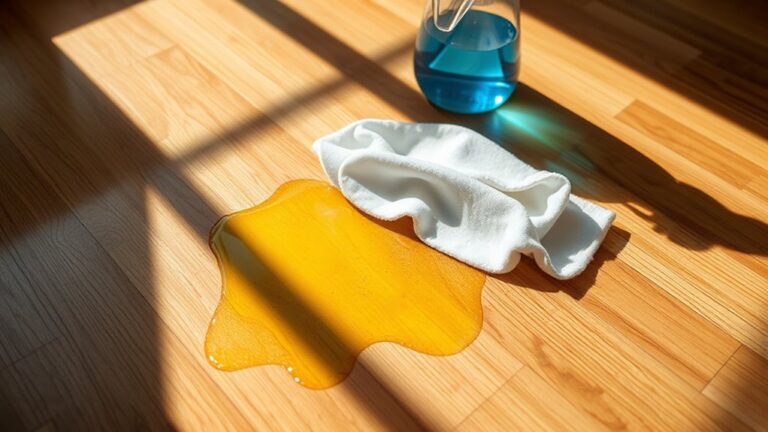
Since any debris or residue can interfere with the repair process, you’ll need to clean the affected area thoroughly before proceeding. Start by removing loose dirt and dust using a soft-bristle brush or vacuum with a hardwood floor attachment. Avoid harsh chemicals; instead, apply a hardwood-safe cleaner diluted according to the product’s instructions. Use a microfiber cloth to gently wipe the dented surface, guaranteeing no moisture pools on the wood. Employing proper cleaning techniques is essential to preserve the wood’s integrity and prevent damage to the finish. Once clean, allow the area to dry completely. This precise preparation guarantees that subsequent repair steps adhere correctly, maintaining the hardwood’s durability and appearance. Mastering these cleaning fundamentals grants you the freedom to achieve professional-quality dent repairs.
Applying Moisture and Heat to Raise the Dent
Although dents compress the wood fibers, you can effectively restore their shape by carefully applying moisture and heat. Begin with a controlled moisture application—place a damp cloth over the dent to penetrate the compressed fibers. Use distilled water to prevent mineral deposits. Next, select a reliable heat source, such as a household iron set to medium heat. Press the iron onto the cloth for intervals of 10-15 seconds, allowing steam to penetrate the wood. This combination causes the fibers to swell, raising the dent closer to the floor’s original level. Avoid excessive moisture or heat, which can damage the finish or warp the wood. Repeat this process as necessary, monitoring progress to achieve ideal fiber restoration without compromising the floor’s integrity or freedom of use.
Sanding and Smoothing the Surface

Once you’ve successfully raised the dent using moisture and heat, the next step is to restore the floor’s smoothness and uniform appearance. Start by selecting appropriate sanding techniques: use fine-grit sandpaper (180-220 grit) to gently feather the raised area into the surrounding floor. Employ a sanding block or detail sander as smoothing tools to maintain control and avoid gouging. Sand in the direction of the wood grain to preserve the floor’s natural texture. Carefully check progress frequently to guarantee the repaired spot blends seamlessly. Avoid aggressive sanding that can create unevenness or damage. By mastering these sanding techniques and using proper smoothing tools, you’ll reclaim your hardwood floor’s flawless surface, maintaining its integrity and extending its lifespan.
Refinishing and Sealing the Repaired Spot
Refinishing and sealing the repaired spot is essential to protect the wood and guarantee a consistent finish with the rest of your floor. Begin by selecting appropriate refinishing techniques that match your floor’s original finish—whether oil-based or water-based polyurethane. Apply thin, even coats with a high-quality brush or applicator, ensuring each layer dries fully before the next. For sealing options, consider clear polyurethane or varnish to provide durable protection against wear and moisture. Matte, satin, or gloss finishes can be chosen to replicate your floor’s sheen precisely. Properly executed refinishing and sealing not only restore the floor’s aesthetics but also enhance its longevity, preserving your freedom to enjoy a flawless hardwood surface without frequent maintenance or worry about future damage.
Preventative Tips to Avoid Future Dents
To protect your hardwood floors from future dents, start by applying furniture pads under all heavy items to distribute weight evenly. You should also maintain consistent humidity levels between 35-55% to prevent wood from expanding or contracting. Additionally, strategically placing area rugs in high-traffic zones will reduce direct impact and preserve the floor’s integrity.
Use Furniture Pads
Although hardwood floors are durable, they’re still vulnerable to dents from heavy furniture. To protect your floors, using the right furniture pads is essential. Different furniture types require specific pad materials to distribute weight evenly and prevent indentations. Follow these steps:
- Identify furniture types—chairs, tables, or sofas—and select pads designed for their weight and leg shape.
- Choose pad materials like felt for lightweight items, rubber for heavier pieces, or cork for hardwood compatibility.
- Regularly inspect and replace worn pads to maintain effective protection.
Maintain Humidity Levels
Since hardwood floors expand and contract with changes in moisture, maintaining consistent indoor humidity is essential to prevent dents and warping. You must prioritize humidity control to sustain a stable moisture balance within your living space. Aim to keep indoor humidity levels between 35% and 55%, as fluctuations outside this range cause wood fibers to swell or shrink, leading to surface indentations or structural damage. Use a reliable hygrometer to monitor levels, and employ humidifiers or dehumidifiers as needed to adjust moisture content. By managing humidity control proactively, you’ll protect your hardwood floors from stress caused by environmental changes, preserving their integrity and appearance. Consistent moisture balance is a critical preventative strategy that guarantees your floors remain resilient, reducing the likelihood of future dents and costly repairs.
Choose Area Rugs
When you want to shield your hardwood floors from everyday wear and potential dents, choosing the right area rugs plays an essential role. Selecting appropriate area rug types and strategic rug placement can greatly reduce impact damage and distribute weight evenly.
Consider these critical factors:
- Opt for dense, cushioned area rug types with non-slip backing to absorb pressure and prevent sliding.
- Position rugs in high-traffic zones and beneath heavy furniture to minimize direct floor contact.
- Rotate rugs periodically to avoid uneven wear and maximize floor protection.