To fix cracks in your basement floor, start by identifying the crack type and cause to choose the right approach. Clean and widen the crack slightly for better adhesion, then select appropriate materials like epoxy for structural repairs or flexible sealants for minor shifts. Apply the compound firmly from the deepest point outward, ensuring no air pockets. Smooth and feather edges for durability and appearance. Understanding these precise steps prepares you for a thorough, long-lasting repair process.
Identifying the Type and Cause of Basement Floor Cracks
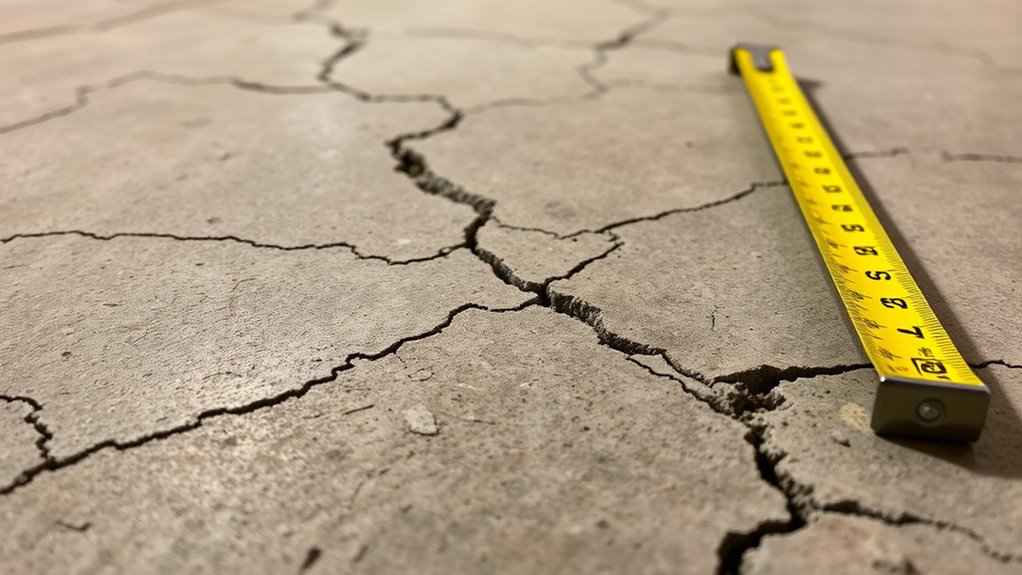
Before you can effectively repair basement floor cracks, you need to accurately identify their type and underlying cause. You’ll encounter various crack types, such as hairline, shrinkage, settlement, and structural cracks, each indicating different stress factors. Conducting a thorough cause analysis involves examining soil conditions, water drainage, foundation movement, and load distribution. Recognizing whether cracks result from natural curing processes or structural shifts is essential. This analytical approach empowers you to target repairs precisely, avoiding ineffective patches that merely mask symptoms. Understanding the specific crack type and its root cause grants you the freedom to implement durable solutions, ensuring your basement floor remains stable and secure over time. Accurate identification is the foundational step for any successful crack repair strategy.
Preparing the Crack for Repair
Properly preparing the crack is essential for guaranteeing a lasting repair. Begin by gathering the tools needed: a wire brush, vacuum, chisel, hammer, and safety goggles. First, clear loose debris and dust from the crack using the wire brush and vacuum. Next, widen the crack slightly with the chisel and hammer to create a clean, uniform surface that promotes adhesion. While doing this, follow safety precautions—wear goggles to protect your eyes from flying particles and gloves to avoid injury. Ascertain the area is well-ventilated and free of moisture, as dampness compromises repair integrity. This precise preparation step assures that the repair materials bond effectively, providing freedom from recurring damage and maintaining your basement floor’s structural soundness.
Selecting the Right Repair Materials
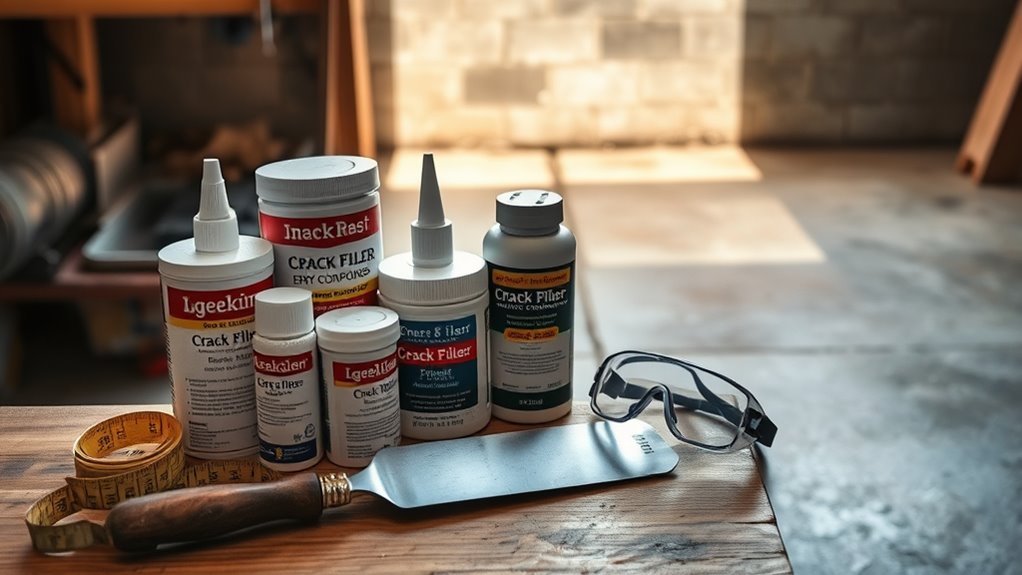
Choosing the right repair materials is critical to ensuring a durable fix for your basement floor cracks. You need to focus on product selection based on the crack’s width, depth, and movement potential. Epoxy resins excel in structural repairs due to their high bonding strength and chemical resistance, while polyurethane sealants offer flexibility, ideal for cracks subject to slight shifts. Avoid generic fillers; instead, opt for products designed specifically for concrete repair to prevent premature failure. Analyze product data sheets for curing time, adhesion properties, and moisture tolerance to match your basement’s environment. By selecting appropriate repair materials, you maintain the structural integrity of your floor and prevent further deterioration, granting you the freedom to enjoy a safe, stable space without recurring maintenance concerns.
Applying the Repair Compound
Begin by thoroughly cleaning the crack and surrounding area to guarantee perfect adhesion of the repair compound. Remove dust, loose debris, and any moisture, as these factors compromise bond strength. After preparation, mix the repair compound according to manufacturer guidelines, confirming a consistent viscosity for ideal penetration. When applying the compound, use a putty knife or trowel to press material firmly into the crack, avoiding air pockets that reduce durability. Employ systematic repair techniques, working from the deepest part of the crack outward, to maximize structural integrity. Accurate compound application is vital to prevent future deterioration and maintain your basement floor’s freedom from damage. Stay precise and methodical during this step to guarantee a lasting, effective repair.
Smoothing and Finishing the Repaired Area
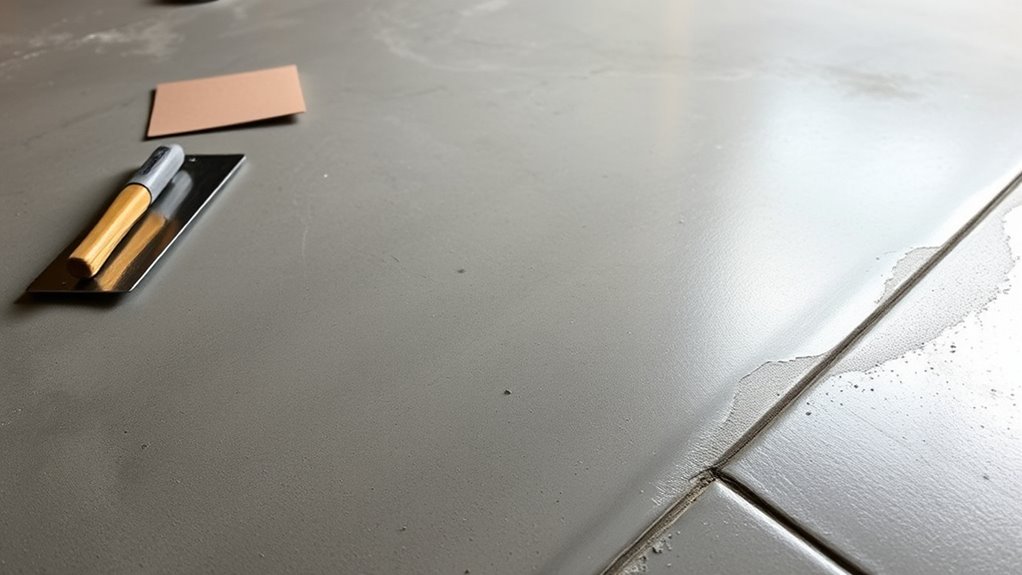
Once the repair compound has been applied, you’ll need to smooth and finish the area to guarantee a seamless integration with the surrounding floor. Begin by using a trowel or putty knife to carefully level the compound, employing smoothing techniques that eliminate air pockets and unevenness. Work from the center of the repair outward, feathering edges to blend with the existing concrete surface. After initial smoothing, allow partial drying before performing final finishing touches with a damp sponge or fine-grit sanding block. This step refines texture and removes minor imperfections, ensuring uniformity and durability. Precision in these actions not only enhances aesthetic appeal but also reinforces the structural integrity of the repair, granting your basement floor a flawless, resilient surface that aligns perfectly with your goal of lasting freedom from visible cracks.
Preventing Future Cracks and Maintenance Tips
Although repairing cracks restores your basement floor, preventing future damage requires proactive measures and routine maintenance. You should implement preventative measures such as controlling moisture levels, ensuring proper drainage around your foundation, and stabilizing soil to reduce stress on the concrete slab. Regular inspections are essential to detect minor fissures early, allowing timely intervention before they expand. Pay close attention to humidity, water pooling, and structural shifts. Use a dehumidifier and seal exterior cracks to maintain a stable environment. By combining systematic monitoring with targeted preventative measures, you preserve your basement’s structural integrity and avoid costly repairs. This disciplined approach empowers you to maintain a durable, crack-resistant floor, granting you the freedom to use your space without hesitation or concern.