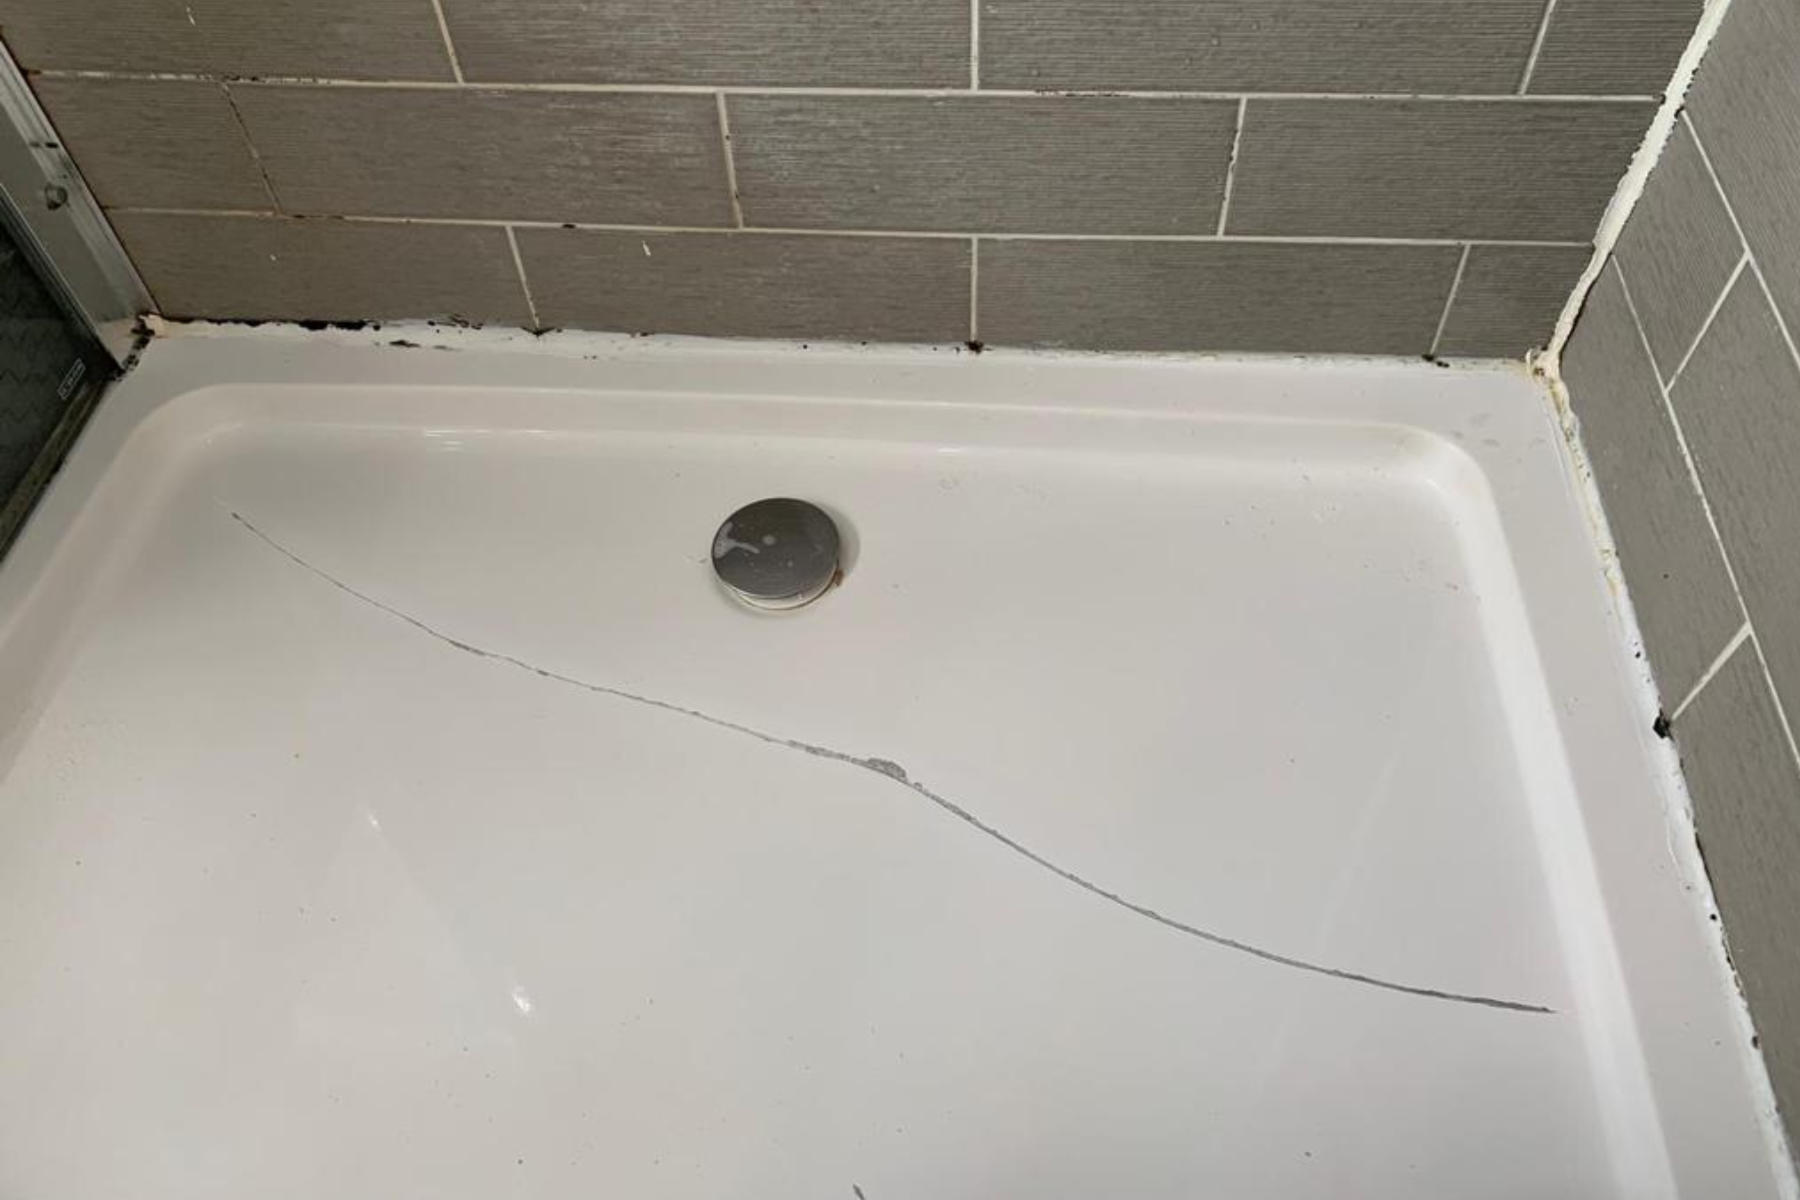
Cracks in your shower floor are more than just an eyesore; they can lead to bigger problems like water leaks and mold growth. You might find yourself wondering how to tackle this issue without calling in a professional.
The good news? You don’t have to be a DIY expert to fix it. With some simple steps and a little bit of patience, you can restore your shower 床 to its former glory. Imagine the satisfaction of solving this problem on your own, saving money, and preserving the comfort of your home.
In this guide, we’ll walk you through the process step-by-step, ensuring you feel confident and capable every step of the way. Ready to dive in and fix that crack once and for all? Let’s get started!
被害の評価
Cracks can be hairline または deep. Hairline cracks are thin lines. They are less worrying. Deep cracks are wide and long. They need quick fixing. Look closely at the crack. Use a flashlight for better view. Make sure you know the crack type. This helps in choosing the right fix.
Check if water leaks through the crack. This is very serious. Water can cause more harm. Touch the floor around the crack. Is it soft or bouncy? This means more damage. Measure the crack length. Longer cracks are worse. Write down your findings. This helps in repair planning.

必要なツールを集める
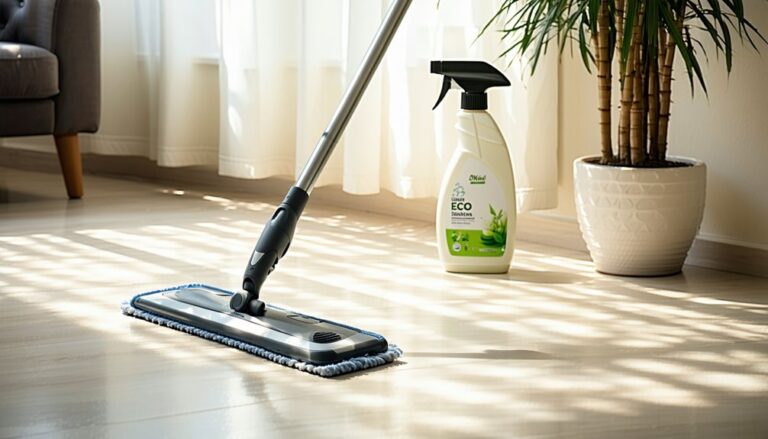
Gather the right tools. You’ll need a パテナイフ, サンドペーパー、 そして epoxy filler. Make sure to have cleaning supplies like soap and water. Get a sponge または cloth ready. A small paintbrush might be useful. テープ can help keep things neat. Don’t forget a バケツ for mixing.
Wear 安全ゴーグル to protect your eyes. Use 手袋 to keep your hands safe. A mask helps you breathe clean air. Some old clothes can protect your skin. Make sure you have a first aid kit nearby. Safety is important.
Preparing The Shower Floor
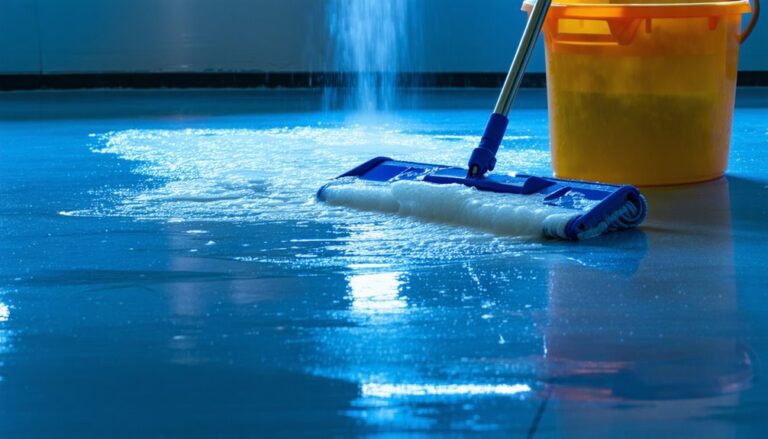
First, remove any dirt or soap from the floor. Use a mild cleaner and warm water. A soft brush helps scrub away grime. Make sure all the mold is gone. Rinse with clean water. Check for any leftover spots.
Wipe the floor with a dry cloth. Use a fan to speed up drying. A dry floor helps the repair last longer. Make sure there is no water left. Check for any damp spots.

Repairing Minor Cracks
Small cracks can spoil your shower floor. An epoxy filler is a good choice. Clean the crack first. Use water and a clean cloth. Dry it with a towel. Mix the epoxy. Follow the instructions on the box. Fill the crack with the epoxy. Use a spatula for a smooth finish. Let it dry for 24 hours. Check the crack. If it’s not smooth, sand it gently. Apply more epoxy if needed. This fixes the crack well.
Sealant adds strength to your repair. Choose a 防水シーラント. Clean the area again. Make sure it’s dry. Apply the sealant over the crack. Use a brush for even coverage. Wait for it to dry. This can take a few hours. Check if the sealant is dry. Your shower floor is now ready to use. The sealant helps protect it from water damage. This ensures the floor lasts longer.
Fixing Major Cracks
First, clean the crack. Make sure it’s dry. Cut the fiberglass mesh to fit over the crack. Place the mesh on the crack. Press it down gently. The mesh will give strength to the repair. It stops further damage. Use a brush to apply resin over the mesh. Spread it evenly. Let it dry completely. This may take a few hours. Once dry, check for any gaps. The mesh should stay firm.
Apply the first coat of resin. Let it dry. It creates a strong base layer. Once dry, add another coat. This makes the repair strong. Each coat adds more strength. Let each coat dry before adding more. Two or three coats should be enough. Sand the final coat for a smooth finish. This helps match the shower floor. Now, the crack should be well hidden. Your shower looks as good as new!
Ensuring Proper Curing
Curing takes time. At least 24 hours are needed for a small area. Larger repairs may need up to 48 hours. Patience is key. Rushing can cause more cracks. Ensure no one steps on the floor. Let it cure fully. Check the surface gently after curing.
Temperature and humidity affect curing. The room should be warm. Not too hot or cold. Keep the room dry. Moisture can delay curing. Use a fan if needed. Proper air flow helps curing. Avoid direct water contact. Protect the area from splashes.
Testing The Repair
Ensure your shower floor repair is secure by testing it. Step on the fixed area, applying slight pressure. Inspect for any movement or remaining cracks.
Checking For Leaks
Fill the shower floor with a bit of water. Watch closely for any leaks. Water should not escape through the crack. Use a towel to dry the floor. This helps to see any water spots. No water spots means no leaks. If you see water, repair again. This is very important.
Ensuring Durability
Stand on the fixed area. Feel if it’s strong. It should not move or crack again. Press down with your foot. Check for any movement. The floor must stay firm. Use the shower like normal. See if the fix holds. Strong repairs last a long time. If it breaks again, more fixing is needed.
Preventing Future Cracks
Ensure a long-lasting shower by sealing small gaps early to prevent future cracks. Regular cleaning and inspections can help maintain the floor’s integrity, reducing repair needs over time. Keeping your shower floor in good condition is key to avoiding costly fixes.
Regular Maintenance Tips
Keep your shower clean. Dirt can cause small cracks to grow. Use gentle cleaners. Harsh chemicals damage surfaces. Dry your shower after each use. This stops water damage. Check for signs of wear often. Fix small problems quickly. Small repairs prevent big issues. Use a good sealant. Sealants protect surfaces. Apply sealant every six months. It helps keep water out.
よくある間違いを避ける
Don’t ignore small cracks. They become bigger with time. Avoid using heavy objects in the shower. Heavy items cause stress on the floor. Choose the right cleaner. Wrong cleaners weaken the floor. Be gentle when cleaning. Scrubbing too hard can cause damage. Check the floor regularly. Early detection saves costs. Repair cracks as soon as they appear. This prevents bigger problems later.
よくある質問
How Do I Identify Shower Floor Cracks?
To identify cracks, inspect your shower floor for visible lines or gaps. Look for discoloration or water pooling around the area. Use a flashlight to spot smaller cracks that might not be visible in regular light. Regular checks can prevent further damage or leakage.
Can I Repair Shower Floor Cracks Myself?
Yes, you can repair shower floor cracks with DIY methods. Use epoxy or sealants designed for bathroom use. Clean the area thoroughly before applying the product. Follow instructions carefully to ensure proper adhesion. If the damage is extensive, consider consulting a professional.
What Materials Are Best For Shower Floor Repair?
Epoxy resin and waterproof sealants are ideal for shower floor repair. They provide strong adhesion and resistance to moisture. Look for products specifically designed for bathroom use. Ensure the material matches your shower floor type for best results. Always follow manufacturer guidelines for application.
How Long Does Shower Floor Repair Last?
Properly executed repairs can last several years. Regular maintenance and inspections can extend their lifespan. Using high-quality materials ensures durability. Address any new cracks immediately to prevent further issues. Routine care can keep your shower floor in optimal condition for a longer period.
結論
Fixing a crack in your shower floor is simple. Start by cleaning the area. Gather your tools and materials. Apply the epoxy or sealant carefully. Let it dry completely. Check for any leaks or weak spots. Regular maintenance prevents future issues.
Inspect the shower floor often. Keep it clean to avoid damage. These steps save time and money. Enjoy a crack-free, safe shower. Feel confident with your DIY skills. Share your tips with friends. Everyone can fix a shower floor crack.
Happy repairing!