To cut floor trim in 5 easy steps, first gather your tools and materials, including a miter saw, measuring tape, and safety gear. Next, measure and mark the trim precisely, accounting for corner angles. Then, choose the right saw, usually a miter saw for clean cuts. Cut carefully, securing the trim and aligning your blade with marked lines. Finally, dry fit and adjust pieces for perfect joints. Follow along, and you’ll master flawless trim installation in no time.
Gather the Necessary Tools and Materials
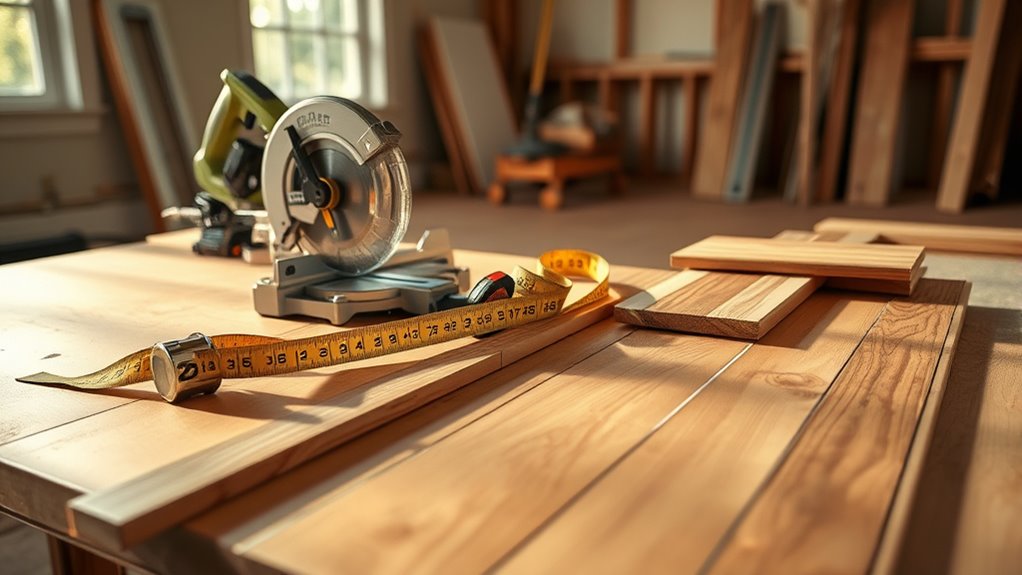
Before you begin cutting 床 trim, you’ll need to gather the right tools and materials to guarantee a smooth process. Start by selecting your trim materials—wood, MDF, or PVC—depending on your room’s style and moisture levels. Next, assemble your essential tools: a miter saw or hand saw for precise cuts, a measuring tape for accuracy, a pencil for marking, and a protractor or angle finder to handle corners. Don’t forget safety gear like goggles and gloves to protect yourself. Having a sanding block or sandpaper on hand guarantees clean edges after cutting. By preparing these items upfront, you’ll save time and avoid interruptions, giving you the freedom to work efficiently and confidently on your floor trim project.
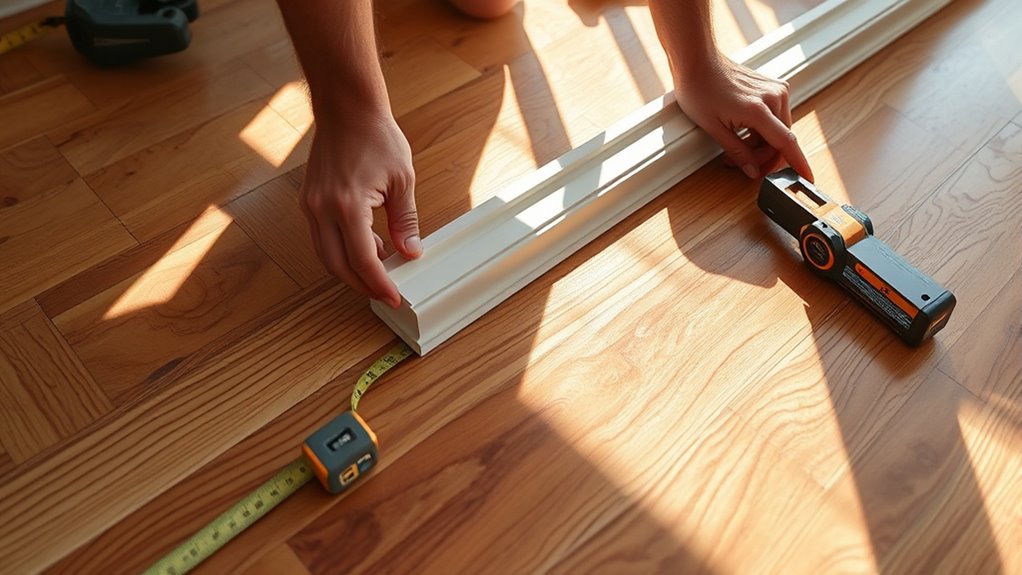
Measure and Mark the Trim Accurately
Accurate measurements are essential for a flawless floor trim installation. Start by using reliable measuring techniques—measure twice to avoid errors. Use a tape measure to get precise lengths, accounting for corners and angles. When measuring inside corners, subtract the trim thickness to guarantee a tight fit. For outside corners, add the trim thickness for overlap. Once you have your measurements, apply clear marking methods. Use a sharp pencil or a fine-tip marker to mark cut lines directly on the trim surface. Mark on the backside or bottom to keep cuts neat and visible. Always mark from the edge where your saw blade will begin, ensuring accuracy. Following these steps gives you control over your cuts and guarantees a professional finish.
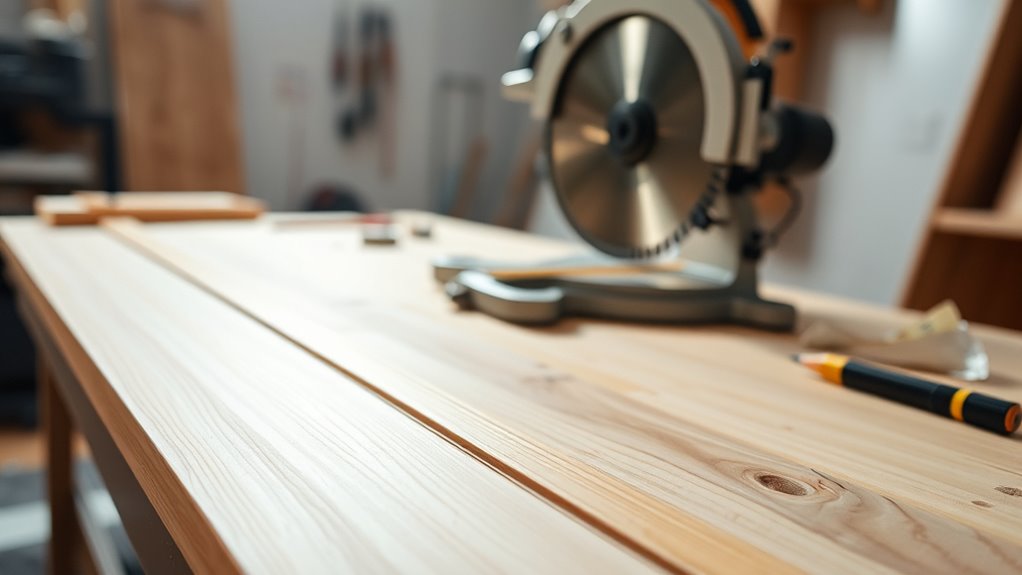
Choose the Right Saw for Cutting

Once you’ve measured and marked your floor trim carefully, selecting the right saw will make all the difference in achieving clean, precise cuts. For straight or basic angled cuts, a quality hand saw can give you control and freedom without complex setup. However, if you need perfect cutting angles, miter saws are your best bet—they offer adjustable angles and consistent precision, especially for corners. Before you start, always wear appropriate safety gear like goggles and gloves to protect yourself. Choose a saw that matches your skill level and project needs. Remember, the right tool reduces mistakes, saves time, and helps you maintain freedom in your work. So, pick your saw wisely and prepare to make those cuts accurately and safely.
Make the Cut With Precision
Cutting floor trim with precision starts by securing the trim firmly and aligning your saw blade exactly with your marked line. Use clamps or a miter box to keep the trim steady—this prevents slipping and guarantees a clean cut. Select the right precision tools: a sharp miter saw or a fine-toothed handsaw works best for crisp edges. Employ steady, controlled cutting techniques; don’t rush. Let the blade do the work, and maintain a consistent speed for smooth results. Pay close attention to the blade’s angle to match your marked cut perfectly. By combining steady hands, reliable cutting techniques, and proper precision tools, you’ll make accurate cuts that fit beautifully, giving you the freedom to complete your trim work efficiently and confidently.
Fit and Adjust the Trim Pieces
Two key steps will help you fit and adjust your floor trim pieces properly: dry fitting and fine-tuning. Start by placing each cut piece against the wall without securing it. This trim fitting step lets you identify any gaps or misalignments. Next, apply adjustment techniques like minor sanding or recutting edges to improve the fit. Pay close attention to corners and joints, ensuring they come together seamlessly. If a piece is too long, trim it gradually; if too short, consider filling small gaps with wood filler or caulk for a clean finish. By carefully dry fitting and making precise adjustments, you’ll achieve a professional look without frustration. These techniques give you control and freedom to perfect your floor trim installation.