To apply epoxy on your garage floor, start by gathering all necessary tools and materials, including epoxy, rollers, and safety gear. Prepare the surface by cleaning thoroughly, repairing any cracks or holes, and etching the concrete to enhance adhesion. Apply a primer coat evenly, then spread the epoxy paint carefully with a roller. If desired, add decorative flakes while the epoxy is wet. Allow everything to cure completely before use. Following these steps guarantees a professional, durable finish—explore further to perfect your technique.
Gather Necessary Materials and Tools
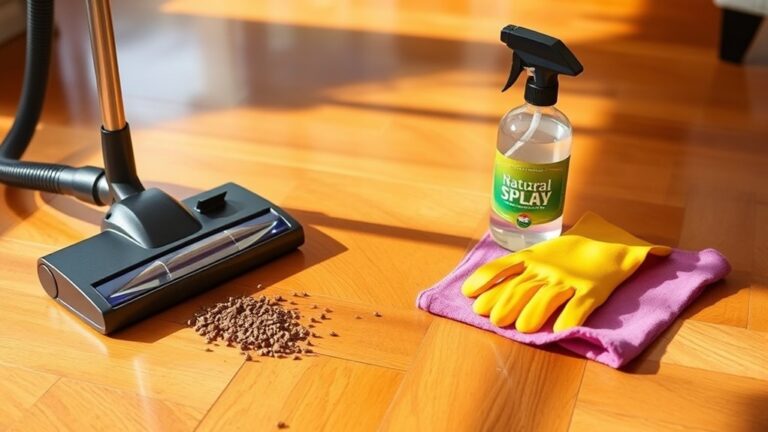
Before you begin applying epoxy on your garage 床, you’ll need to gather all the necessary materials and tools to guarantee a smooth and efficient process. Essential tools include a high-quality epoxy kit, a paint roller with an extension handle, mixing buckets, and a drill with a mixing paddle. You’ll also want protective gloves, safety goggles, and a respirator mask to make sure your freedom from harmful fumes. Surface preparation demands a concrete cleaner, degreaser, and a wire brush or floor grinder to remove contaminants and roughen the floor for ideal adhesion. Additionally, use painter’s tape and plastic sheeting to protect adjacent areas. By assembling these materials and tools in advance, you guarantee the surface preparation and application stages proceed without interruption, granting you control and confidence throughout the project.
Prepare the Garage Floor Surface
Since the durability and appearance of your epoxy coating depend heavily on surface quality, you’ll need to thoroughly prepare the garage floor. Start with effective floor preparation techniques to guarantee peak adhesion. Inspect the concrete for cracks, oil stains, and any loose debris. Use a chisel or grinder to repair cracks or uneven spots, creating a smooth, uniform surface. Next, apply surface cleaning methods like sweeping and vacuuming to remove dust and dirt. Avoid using harsh chemicals now, as you’ll address deeper cleaning later. Your goal is a clean, roughened concrete surface that encourages epoxy bonding, so skip waxing or sealing. Mastering these preparation steps will give you the freedom to achieve a lasting, professional-grade epoxy finish that resists peeling and wear.
Clean the Floor Thoroughly
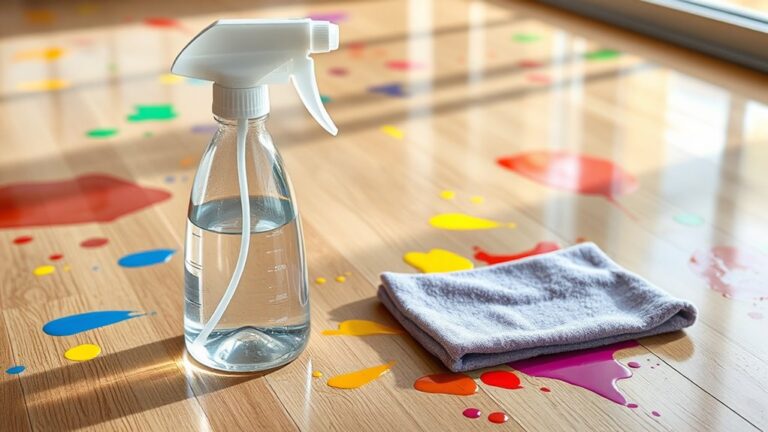
Before applying epoxy, you need to remove all oil stains using a strong degreaser to guarantee proper adhesion. Then, sweep and vacuum the floor thoroughly to eliminate dust and debris that can interfere with the coating. Finally, etch the concrete surface with a suitable acid or etching solution to create the right texture for the epoxy to bond.
Remove Oil Stains
Although it might seem tedious, removing oil stains is essential to guarantee proper epoxy adhesion on your garage floor. Oil spills create a barrier that prevents the epoxy from bonding effectively. Start by applying a degreaser specifically designed for grease removal, letting it sit for 10-15 minutes. Scrub the stained areas vigorously with a stiff brush to break down the oil residue. For stubborn spots, use a poultice made of baking soda and water or a commercial oil stain remover. Rinse thoroughly with water and allow the floor to dry completely before moving on. Skipping this step risks peeling and bubbling in your epoxy finish, undermining your freedom to have a durable, long-lasting garage floor coating.
掃き掃除と掃除機
Once you’ve thoroughly removed oil stains, the next step is to sweep and vacuum the entire garage floor to eliminate all dust, dirt, and loose debris. This step is essential for effective floor maintenance and guarantees your epoxy adheres properly, enhancing your garage organization. Use a stiff broom to loosen embedded dirt, then vacuum with a shop vac for a spotless surface.
| タスク | 必要なツール | 目的 |
|---|---|---|
| 掃除 | Stiff broom | Remove loose debris |
| Vacuuming | Shop vac | Extract fine dust |
| Inspection | 懐中電灯 | Identify missed spots |
Thorough cleaning prevents contamination, ensuring a smooth epoxy application and a durable finish.
Etch Concrete Surface
Because epoxy needs a strong bond to the concrete, you’ll need to etch the surface thoroughly to open its pores and remove any remaining residues. Proper surface preparation is essential—start by selecting the right etching techniques, such as using a muriatic acid solution or a commercial concrete etcher. Apply the etching solution evenly with a sprayer or brush, ensuring complete coverage. Let it sit according to the product instructions, typically 5 to 10 minutes, then scrub with a stiff broom to break down the surface layer. Rinse the floor thoroughly with clean water to remove all acid residues and neutralize the concrete. Allow the floor to dry completely before moving on. This precise etching step guarantees superior adhesion, giving your epoxy coating the freedom to last and perform flawlessly.
Repair Cracks and Holes
Before applying epoxy, you’ll need to repair any cracks and holes to guarantee a smooth, durable finish. Start by cleaning out debris and dust from each crack or hole using a wire brush or vacuum. For effective crack repair, use a high-quality epoxy or concrete patch designed specifically for garage floors. Apply the product with a putty knife, pressing firmly to fill the entire void. Smooth the surface to ascertain it’s level with the surrounding concrete. For hole filling, follow the same process, ensuring you fill the hole completely and compact the filler to eliminate air pockets. Allow sufficient curing time as specified by the manufacturer before proceeding. Proper crack repair and hole filling prevent epoxy from cracking or peeling, ensuring your floor remains resilient and visually flawless.
Etch the Concrete for Better Adhesion
To guarantee your epoxy adheres properly, you need to etch the concrete surface, which opens the pores and removes contaminants. You’ll require specific etching materials like muriatic acid or a commercial concrete etcher, along with safety gear. Follow a precise step-by-step process to apply the etchant evenly, rinse thoroughly, and let the floor dry completely before proceeding.
Purpose of Concrete Etching
Although epoxy can adhere to smooth concrete, etching the surface greatly improves the bond by creating microscopic pores and texture. This step is critical for ideal surface preparation, ensuring your garage floor coating lasts and maintains concrete durability under heavy use. Etching enhances chemical and mechanical adhesion, preventing peeling and flaking. By roughening the surface, you give the epoxy a strong grip that smooth concrete can’t provide.
Key benefits of concrete etching include:
- Increases epoxy adhesion strength
- Removes surface contaminants
- Opens concrete pores for penetration
- Improves concrete durability by reducing delamination
- Creates a uniform texture for consistent coating
Proper etching lets you confidently apply epoxy, achieving a durable, long-lasting finish that supports your freedom to use your garage without worry.
Etching Materials Needed
Achieving a strong bond between epoxy and your garage floor starts with selecting the right etching materials. For effective surface preparation, you’ll need a high-quality etching solution designed specifically for concrete. Commonly, muriatic acid or a safer, pre-mixed concrete etcher works well to open the pores of the surface, allowing epoxy to adhere firmly. Alongside the etching solution, gather protective gear: gloves, goggles, and a respirator to guarantee safety during application. You’ll also need a stiff-bristle brush or broom for scrubbing, a garden sprayer or mop for applying the solution evenly, and a hose for thorough rinsing. Proper surface preparation with these materials is vital to prevent peeling or flaking, giving you the freedom to enjoy a durable, long-lasting epoxy finish.
Step-by-Step Etching Process
When you start etching your garage floor, make sure the surface is clean and free of any debris or stains that could interfere with the etching solution. Proper surface preparation is critical to access the full epoxy advantages, ensuring strong adhesion and durability. Follow these steps precisely:
- Wet the concrete surface lightly.
- Apply the etching solution evenly using a brush or sprayer.
- Let it sit for 10-15 minutes, monitoring for fizzing to confirm reaction.
- Scrub the surface with a stiff-bristle brush to remove residues.
- Thoroughly rinse with water and allow to dry completely.
This method creates a roughened texture that enhances epoxy bonding, granting your floor greater longevity and resistance to wear. Taking time with this step guarantees freedom from premature peeling or flaking.
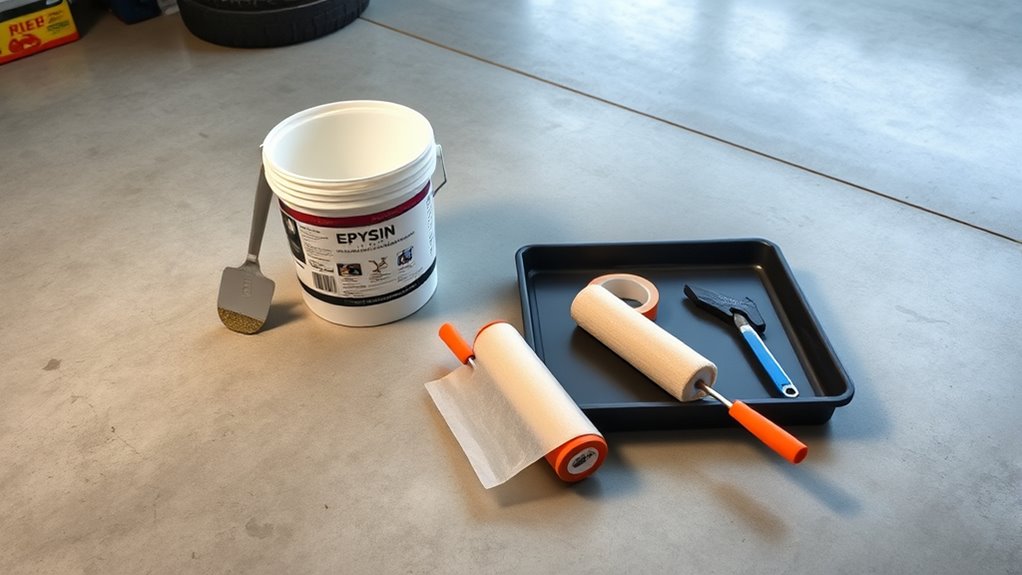
Mix the Epoxy Components
To mix the epoxy components correctly, you’ll need to combine the resin and hardener in the exact proportions specified by the manufacturer. Precision in epoxy component ratios is essential to guarantee proper curing and durability. Start by measuring each part carefully using clean containers or graduated mixing cups. Employ epoxy mixing techniques like slow, thorough stirring to avoid introducing air bubbles, which can weaken the finish. Mix for the recommended time—usually around 3 to 5 minutes—scraping the sides and bottom continuously to achieve a uniform blend. Avoid guesswork; even slight deviations in ratios can affect the epoxy’s performance. By mastering these steps, you retain control over your garage floor’s finish quality and longevity, granting you the freedom to enjoy a flawless, professional-grade surface.
Apply the Epoxy Primer Coat
Before applying the epoxy primer coat, make certain your garage floor is completely clean and dry, as any dust or moisture can compromise adhesion. The primer coat is essential—it seals the concrete, enhances epoxy bonding, and extends your floor’s durability. Follow these epoxy application tips to guarantee ideal results:
- Use a roller with a short nap for even primer distribution
- Apply the primer in thin, uniform layers
- Work methodically from one corner to the exit to avoid trapping yourself
- Allow the primer to cure fully according to manufacturer instructions
- Maintain proper ventilation to speed up drying and guarantee safety
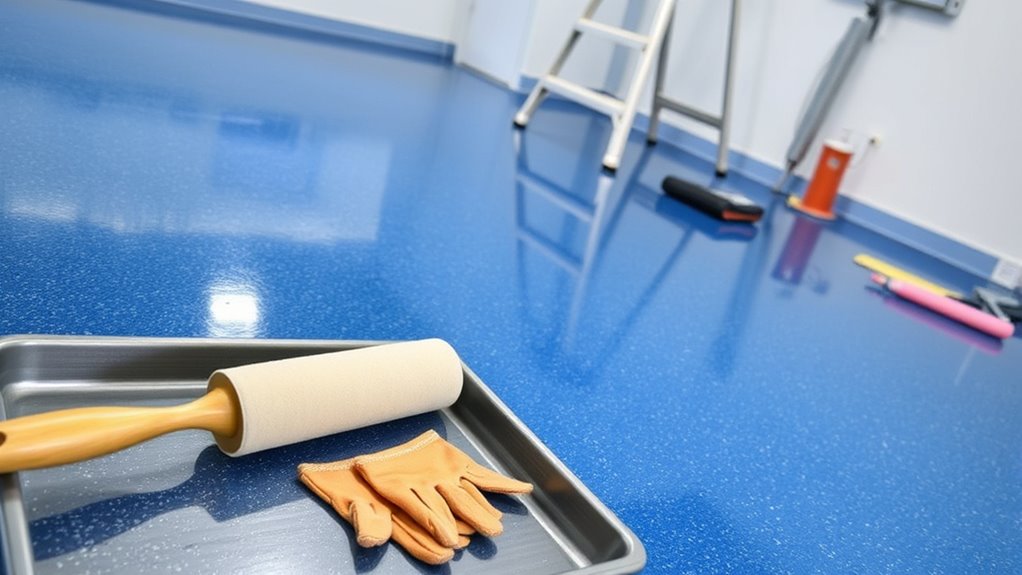
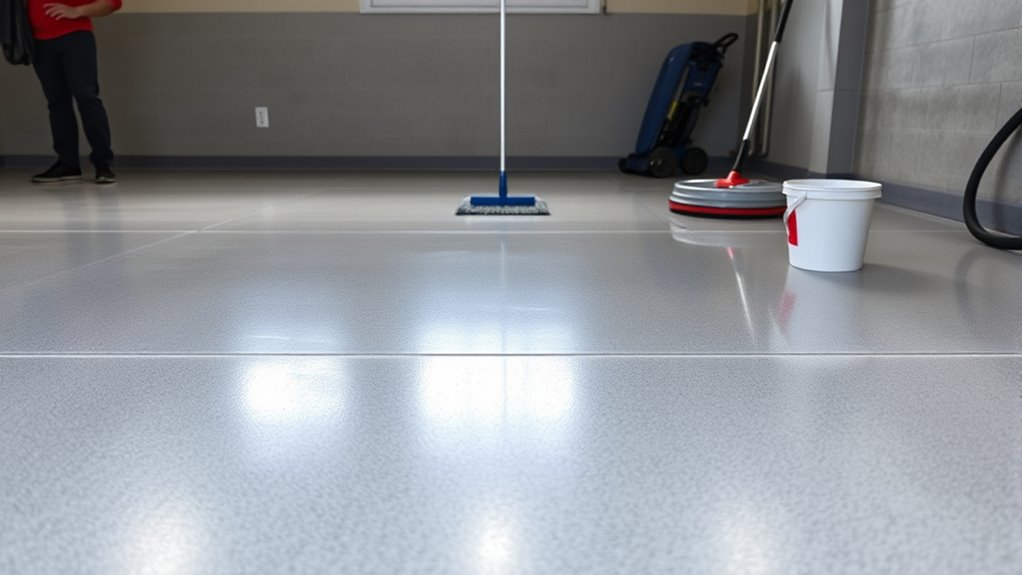
Spread the Epoxy Paint Evenly
Start by pouring the mixed epoxy paint onto the garage floor in manageable sections to maintain control and prevent premature drying. Using a high-quality roller with an extension handle, apply the epoxy with consistent pressure, moving in a systematic pattern—usually from one corner outward. This guarantees even coverage without pooling or streaks. Your surface preparation plays an essential role here; a clean, etched floor allows the epoxy to bond firmly. Pay close attention to edges and corners, using a brush for precision before rolling. Employing proper application techniques assures a smooth, durable finish that resists peeling and enhances your garage’s appearance. Take your time, and don’t rush—spreading the epoxy evenly sets the foundation for long-lasting results and the freedom to enjoy a flawless floor.
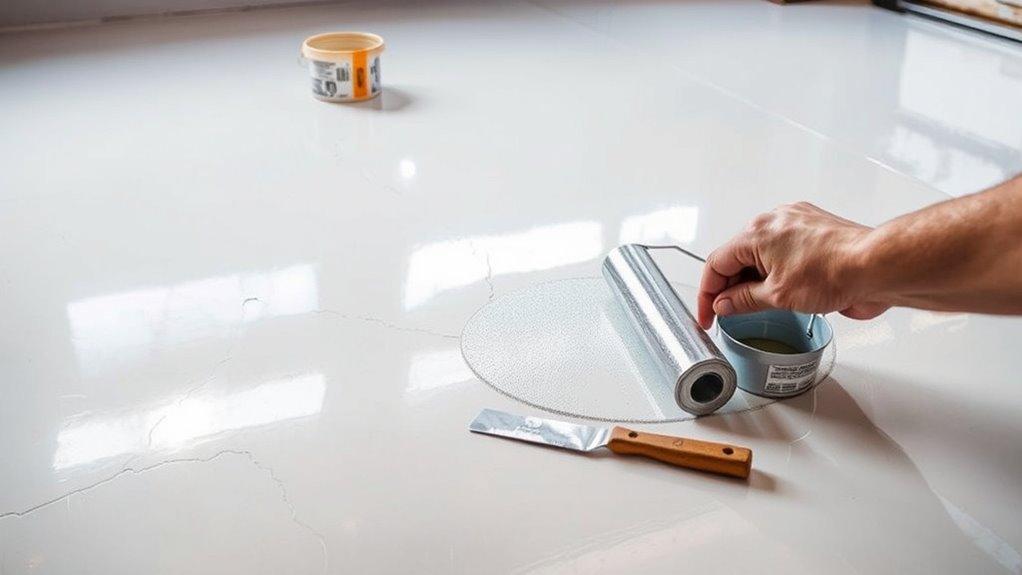
Add Decorative Chips or Flakes (Optional)
You can enhance your garage floor’s appearance and durability by adding decorative chips or flakes. Choose from various types like vinyl, metallic, or natural stone flakes, and apply them evenly while the epoxy is still wet for ideal adhesion. This not only improves traction but also helps conceal imperfections and adds a professional finish.
Types of Decorative Chips
Although adding decorative chips or flakes is optional, choosing the right type can greatly enhance both the appearance and durability of your epoxy garage floor. These chips offer diverse color options and texture variations, allowing you to customize your space while improving slip resistance and surface toughness.
Consider these common types of decorative chips:
- Vinyl flakes: Wide color palette, lightweight, and easy to apply
- Colored quartz: Natural texture, durable, excellent for heavy traffic
- Metallic flakes: Reflective finish, adds depth and modern aesthetics
- Natural stone chips: Unique texture, earthy tones, highly durable
- Colored mica flakes: Iridescent sheen, subtle color shifts, sophisticated look
Choosing the right chip type aligns with your garage’s style and functional needs, giving you freedom to create a personalized, long-lasting floor.
Application Techniques for Flakes
Applying decorative flakes requires careful timing and technique to guarantee even distribution and strong adhesion. After you spread the first epoxy coat, wait until it becomes tacky but not fully cured—that’s the ideal moment for flake application. Use a broadcast method, tossing flakes evenly across the surface by hand or with a specialized spreader to avoid clumping. Maintain consistent coverage for a professional look, focusing on edges and corners where flakes tend to accumulate less. Once flakes are applied, let the base coat cure thoroughly before applying a clear topcoat to lock in your decorative options. This approach assures your garage floor combines durability with aesthetic appeal, granting you freedom to customize your space confidently and effectively.
Benefits of Adding Chips
While adding decorative chips or flakes is optional, their inclusion greatly enhances both the appearance and functionality of your garage floor. These decorative options boost the aesthetic appeal, transforming a plain surface into a visually striking one. Beyond looks, chips improve durability and safety, making your floor more resistant to wear and slip hazards. Here are key benefits you’ll gain:
- Increased surface traction for safer footing
- Concealment of minor imperfections and dirt
- Enhanced floor toughness against abrasions and chemicals
- Customizable color blends to match your style
- Elevated aesthetic appeal that adds value and freedom of design
Allow the Epoxy to Cure Properly
Because epoxy requires time to reach its full strength, you need to resist the urge to walk on or use the garage floor immediately after application. The cure time is critical; typically, it ranges from 24 to 72 hours depending on the specific epoxy product you used. Maintaining proper temperature control during this period is vital—ideally between 65°F and 80°F—to guarantee the epoxy hardens evenly and achieves maximum durability. Avoid extreme cold or heat, as fluctuations can compromise the bond and finish. Keep the area well-ventilated but free of dust or debris that could mar the surface. Patience here grants you a robust, long-lasting coating that withstands wear, granting you the freedom to use your garage floor confidently and without worry.