To acid stain concrete floors in 10 easy steps, first prepare and clean the surface thoroughly for maximum absorption. Repair any cracks or imperfections to guarantee a smooth finish. Test a small area to gauge stain color and absorption. Apply your chosen stain evenly, allowing it 4-6 hours to react. Neutralize the acid to stop the reaction, then rinse and dry completely. Finish by sealing the 床 to protect the color and durability. Following this process carefully assures professional results; afterward, you can explore tips for best maintenance and advanced techniques.
Prepare the Concrete Surface
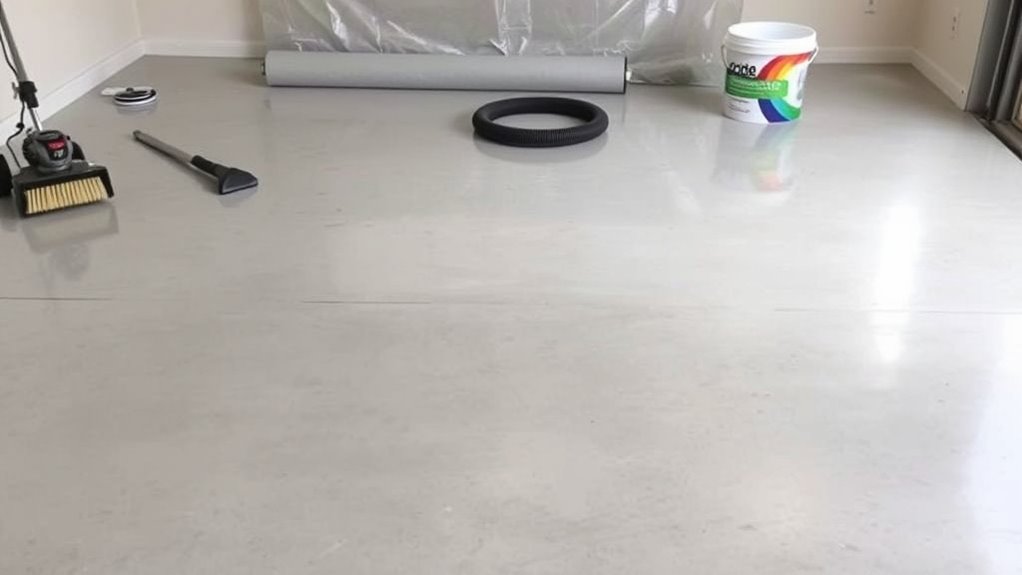
Before applying acid stain, you’ll need to prepare the concrete surface thoroughly to guarantee ideal adhesion and color penetration. Start with proper surface preparation by inspecting the concrete for cracks, chips, or sealants that could block stain absorption. Remove any existing coatings or sealers using mechanical methods like grinding or shot blasting. Concrete cleaning is essential; eliminate oils, grease, dirt, and contaminants with a degreaser and scrub brush. Avoid soap-based cleaners that may leave residues preventing stain penetration. Rinse the floor with clean water and allow it to dry completely—moisture can interfere with staining. The surface should be porous and absorbent, ensuring the acid stain reacts chemically with the concrete minerals. By meticulously preparing the surface, you empower your floor to achieve a vibrant, long-lasting finish that reflects your freedom to customize.
Clean the Floor Thoroughly
Once the surface is prepped, you’ll need to clean the floor thoroughly to remove all dust, debris, and any remaining contaminants that could interfere with the acid stain’s effectiveness. Proper floor preparation is essential for a consistent, vibrant finish. Use the right cleaning tools to guarantee the surface is pristine. Follow these steps:
Thoroughly clean the floor to remove dust and contaminants for a flawless, vibrant acid stain finish.
- Sweep or vacuum the floor to eliminate loose dirt and dust.
- Scrub the surface with a stiff-bristle brush and a pH-neutral cleaner to remove oils and residues.
- Rinse thoroughly with clean water to wash away all cleaning agents.
- Allow the floor to dry completely; moisture can dilute the acid stain and affect results.
Repair Any Cracks or Imperfections
Although thorough cleaning removes surface contaminants, you’ll still need to address any cracks or imperfections in the concrete before staining. Crack filling is essential to guarantee the acid stain reacts evenly and the surface leveling prevents uneven coloration. Use a high-quality epoxy or concrete patch compound to fill cracks, smoothing it flush with the floor. Allow ample drying time as per product instructions.
| 問題 | Repair Material | Application Tip |
|---|---|---|
| Hairline cracks | Epoxy resin | Use a fine applicator brush |
| Larger cracks | Concrete patch compound | Trowel for smooth finish |
| Surface pits | Self-leveling compound | Pour and spread evenly |
| Uneven areas | Grinding or sanding | Use diamond pads |
| Dust residues | Vacuum and wipe | Guarantee surface is clean |
Proper repair guarantees a flawless acid stain finish.
Test the Concrete With a Small Stain Patch
After repairing cracks and ensuring the concrete surface is smooth and clean, you’ll want to verify how the acid stain interacts with your specific floor. Applying a stain patch in a discreet test area helps you predict the final look and avoid surprises. Follow these steps:
- Select a small, inconspicuous test area on the floor.
- Apply a minimal amount of acid stain to this test area using a brush or sprayer.
- Let the stain react for the recommended time, usually 4-6 hours.
- Rinse and dry the test area thoroughly to observe the true color and finish.
This test patch confirms how your concrete’s porosity and composition affect stain absorption, ensuring your staining results align with your vision before committing to the entire floor.
Choose the Right Acid Stain Color
You’ll want to select an acid stain color that complements your existing decor while considering the concrete’s natural base tone, as it affects the final hue. Popular options include earth tones like browns, tans, and rusts, which tend to blend well in various settings. Testing small areas helps guarantee the color matches your design goals and the concrete’s undertones.
Popular Acid Stain Colors
Selecting from a range of popular acid stain colors is essential to achieving the desired look and durability for your concrete floors. You want to pick hues that not only complement your space but also stand the test of time. Trending color palettes often include earthy and rich tones, offering depth and versatility. Consider these popular stain combinations to guide your choice:
- Walnut Brown and Amber – adds warmth and natural wood-like appeal.
- Terra Cotta and Rust – perfect for rustic, southwestern aesthetics.
- Slate Blue and Gray – delivers a modern, industrial vibe.
- Moss Green and Olive – invokes organic, earthy calmness.
These options provide technical reliability and design freedom, ensuring your acid-stained floors look vibrant and last long.
Matching Stain to Decor
One key factor in choosing the right acid stain color is how well it integrates with your existing decor elements such as furniture, wall colors, and lighting. Applying principles of color theory helps you select hues that complement or contrast appropriately, ensuring design cohesion throughout your space. For instance, if your furniture features warm tones, choosing an acid stain with earthy reds or browns enhances harmony. Conversely, cooler blues or grays can create dynamic contrast in a warm environment but still maintain balance if paired thoughtfully. Consider how natural and artificial lighting will affect the stain’s appearance over time, as it influences color perception. By aligning acid stain colors with your decor’s palette and lighting conditions, you maintain a cohesive, liberated aesthetic that elevates your concrete floor’s visual impact.
Consider Concrete Base Tone
Understanding the natural color of your concrete base is essential when choosing an acid stain color, as it directly affects the final appearance of the floor. Your base color selection determines how tones interact and develop unique tone variations. To guarantee you pick the right stain, consider these steps:
- Assess the existing concrete shade—light bases yield brighter stains; darker bases deepen colors.
- Test a small patch to observe how the stain reacts with your specific concrete tone.
- Choose stain colors that complement or contrast your base to achieve desired effects.
- Factor in lighting and surrounding decor to predict how tone variations will appear throughout the day.
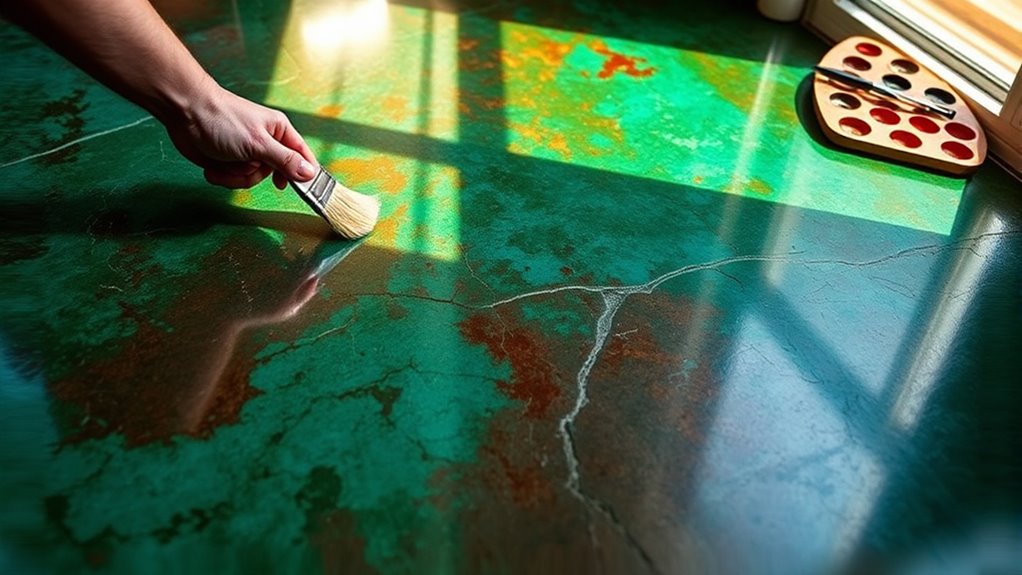
Apply the Acid Stain Evenly
You’ll need to mix the acid stain thoroughly to guarantee uniform consistency before application. Use a sprayer or a brush with a steady, overlapping motion to apply the stain evenly across the concrete surface. Maintaining a consistent technique prevents blotches and uneven color development.
Proper Mixing Technique
Before applying the acid stain, make certain you mix it thoroughly to achieve a consistent solution that will penetrate the concrete evenly. Proper mixing is vital to maintain the correct mixing ratios and guarantee uniform application techniques. Follow these steps:
- Measure the acid stain and water precisely according to the manufacturer’s recommended mixing ratios.
- Pour the water into a clean plastic bucket before adding the acid stain concentrate to avoid splashing.
- Use a low-speed drill with a mixing paddle to blend the solution for 3-5 minutes until fully homogeneous.
- Avoid overmixing, which can introduce air bubbles, and remix the solution gently if it sits before use.
This technique assures an even chemical reaction on your concrete, giving you freedom to create a flawless finish.
Consistent Application Method
Apply the acid stain with steady, overlapping strokes to secure even coverage across the concrete surface. Consistency in your application techniques is essential to avoid blotchy or uneven stain patterns. Use a pump sprayer or a low-pressure sprayer for better control, maintaining a uniform distance from the floor to prevent pooling. Work in manageable sections, applying the stain in thin, controlled layers. Avoid over-saturation by allowing each pass to absorb before applying more. Rotate your spraying direction—horizontal then vertical—to secure full surface penetration and uniform coloration. Keep an eye on drying times, as uneven moisture levels can affect stain absorption. By mastering these application techniques, you’ll achieve a smooth, consistent finish that enhances the natural beauty of your concrete floor while giving you the freedom to customize your design.
Allow the Stain to React With the Concrete
Once the acid stain is evenly spread, it needs time to chemically react with the minerals in the concrete surface. This stain reaction is governed by concrete chemistry, where the acid interacts with calcium hydroxide and other compounds to produce unique color variations. To guarantee ideal results:
- Let the stain sit undisturbed for 4 to 6 hours to allow full penetration.
- Avoid walking or touching the surface during this period to prevent uneven coloring.
- Observe subtle color changes as the stain reacts and develops depth.
- Maintain ambient temperature as extreme heat or cold can alter the chemical reaction rate.
Neutralize the Acid Stain
You need to neutralize the acid stain to stop the chemical reaction and prevent surface damage. Using a solution like a mixture of water and baking soda or a commercial neutralizer effectively balances the pH. Proper neutralization guarantees the stain sets correctly and protects your concrete floor’s finish.
Why Neutralization Matters
Although the acid stain creates the desired coloration by reacting with the concrete’s minerals, failing to neutralize the surface afterward can leave harmful residues that continue to etch the floor. The neutralization process is essential for proper surface preparation and long-lasting results. By neutralizing, you:
- Halt the acid’s chemical reaction to prevent over-etching.
- Remove acidic residues that could damage sealers or finishes.
- Stabilize the pH level, guaranteeing ideal adhesion for coatings.
- Protect the concrete’s integrity, preserving the stain’s appearance.
Skipping this step risks uneven coloration and surface degradation, restricting your freedom to customize and maintain your floor as you wish. Taking the time to neutralize guarantees your acid-stained floor remains vibrant and durable, giving you complete control over both aesthetics and longevity.
Best Neutralizing Solutions
Three primary neutralizing solutions are commonly used to halt the acid stain reaction effectively: a mixture of water and baking soda, a diluted ammonia solution, and a commercial neutralizer specifically formulated for acid-stained concrete. These neutralizing agents restore the pH balance, stopping further etching and ensuring the stain sets properly. You’ll want to choose based on availability, effectiveness, and safety.
| Neutralizing Solution | pH Range Neutralized | Application Notes |
|---|---|---|
| Water + Baking Soda | 8-9 | Easy, safe; rinse thoroughly |
| Diluted Ammonia Solution | 8-9 | Stronger, use in ventilated areas |
| Commercial Concrete Neutralizer | 7-8 | Precise, formulated for consistency |
Using these solutions correctly will lock in color and protect your freedom to create beautiful, durable floors.
Rinse and Dry the Floor Completely
Before moving on to the next step, verify the concrete floor is thoroughly rinsed to remove all residual acid and stain particles. Proper rinsing techniques are essential to guarantee no chemical residue remains, which could affect the stain’s appearance or longevity. Follow these steps:
- Use a garden hose or pressure washer to rinse the entire surface, focusing on corners and edges.
- Employ a stiff broom or brush to agitate the surface lightly, loosening trapped particles.
- Perform multiple rinses until water runs clear and neutral pH is confirmed with test strips.
- For drying methods, use fans or natural ventilation to speed up evaporation; avoid sealing while moisture remains.
Complete drying guarantees the stain sets evenly, giving you full freedom to enjoy your concrete floor’s vibrant finish.
Seal the Stained Concrete for Protection
Protecting your stained concrete floor with a high-quality sealer is essential to preserve its color and durability. You’ll want to choose among seal types like penetrating sealers, which soak into the concrete for natural protection, or film-forming sealers that create a glossy or matte surface layer. Consider your floor’s use and desired finish when selecting. For application techniques, use a low-pressure sprayer or roller to guarantee even coverage without puddling. Apply the sealer in thin, uniform coats, allowing proper drying time between layers—usually 2 to 4 hours. Avoid heavy application that can cause bubbling or uneven texture. Proper sealing not only locks in the acid stain’s vibrant hues but also guards against wear, stains, and moisture, giving you freedom to enjoy your floor without worry.