To cut vinyl plank flooring, you'll need a utility knife for straight cuts, a jigsaw for intricate shapes, and a circular saw for larger sections. Start by measuring your space accurately with a tape measure. Mark cut lines using a straight edge and a fine-tipped pencil, ensuring you score along the lines before snapping the planks for clean edges. For obstacles, create templates to outline shapes. Always prioritize safety by wearing goggles and cutting away from your body. After cutting, clean your workspace and check for any gaps. Stick around, and you'll discover more tips for a flawless installation.
Essential Tools for Cutting
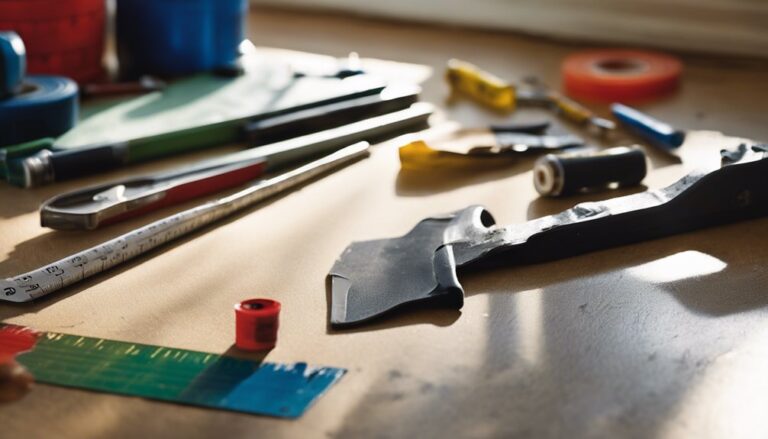
When you're ready to cut vinyl plank flooring, having the right tools is essential for a clean, precise job. You'll need a sharp utility knife or a specialized vinyl cutter, which allows for various cutting techniques. A straight edge will help guide your cuts, ensuring you achieve straight lines every time. A measuring tape is crucial for marking your flooring materials accurately before cutting. Additionally, a cutting mat can protect your work surface and prolong your tools' life. If you're working on a larger project, a jigsaw or circular saw may come in handy for more complex cuts. Remember, investing in quality tools not only enhances your freedom to create but also guarantees a professional-looking finish.
Measuring Your Vinyl Planks
To guarantee a perfect fit for your vinyl planks, you need to take accurate room measurements before cutting. Start by measuring the length and width of the space, noting any irregularities like alcoves or corners. Once you've got your measurements, marking cut lines on the planks will help guide your cuts for a seamless installation.
Accurate Room Measurements
Accurate room measurements are essential for a successful vinyl plank flooring installation, as even small discrepancies can lead to wasted materials and uneven seams. To guarantee you're measuring correctly, follow these simple techniques:
- Use a tape measure: Measure each wall in the room to get precise room dimensions.
- Record measurements: Write down your measurements as you go to avoid confusion later.
- Check for irregularities: Identify any bumps, curves, or obstacles that could affect the installation.
- Calculate square footage: Multiply the length by the width of the room to determine how much material you'll need.
Marking Cut Lines
Properly marking cut lines on your vinyl planks is essential for achieving a clean, professional finish. Start by measuring your space accurately and transferring those measurements directly onto the plank. Use a straight edge or a level to guarantee cut line precision, as this will help you avoid mistakes that could cost you time and materials. There are various marking techniques you can use, such as a pencil or chalk, but make sure they're visible yet easy to erase if needed. Once you've marked your lines, double-check your measurements before cutting. This attention to detail will empower you to create a seamless look in your flooring project, allowing you the freedom to express your style without compromise.
Marking Cut Lines Accurately
When cutting vinyl plank flooring, marking your cut lines with precision is essential for achieving clean edges and a professional finish. Using effective marking techniques will enhance your cut accuracy and guarantee a seamless installation. Here are some practical steps to follow:
- Measure Twice: Always double-check your measurements to avoid mistakes.
- Use a Straight Edge: Align a straight edge or ruler to guarantee your cut line is perfectly straight.
- Choose the Right Marker: Use a fine-tipped pencil or chalk to create clear, visible lines that won't smudge.
- Mark the Waste Side: Indicate which side of the line is waste to prevent cutting into the material you want to keep.
Straight Cuts With a Utility Knife
To make straight cuts in your vinyl plank flooring, you'll need a utility knife and a straight edge for guidance. This process involves a few straightforward steps that guarantee clean, precise cuts. Let's walk through the required tools and the cutting technique to make your job easier and more efficient.
Required Tools Overview
While cutting vinyl plank flooring might seem straightforward, having the right tools is vital for achieving clean, precise straight cuts. Using effective cutting techniques will not only enhance your results but also guarantee safety and efficiency. Here's a quick overview of the tools you'll need:
- Utility Knife – A sharp utility knife is essential for making accurate cuts.
- Straight Edge – This helps guide your knife for straight, even cuts.
- Measuring Tape – Precise measurements are key to fitting the planks correctly.
- Cutting Mat – Protects your work surface and maintains tool integrity through consistent tool maintenance.
With these tools at hand, you'll be ready to tackle your vinyl flooring project with confidence and freedom.
Step-by-Step Cutting Process
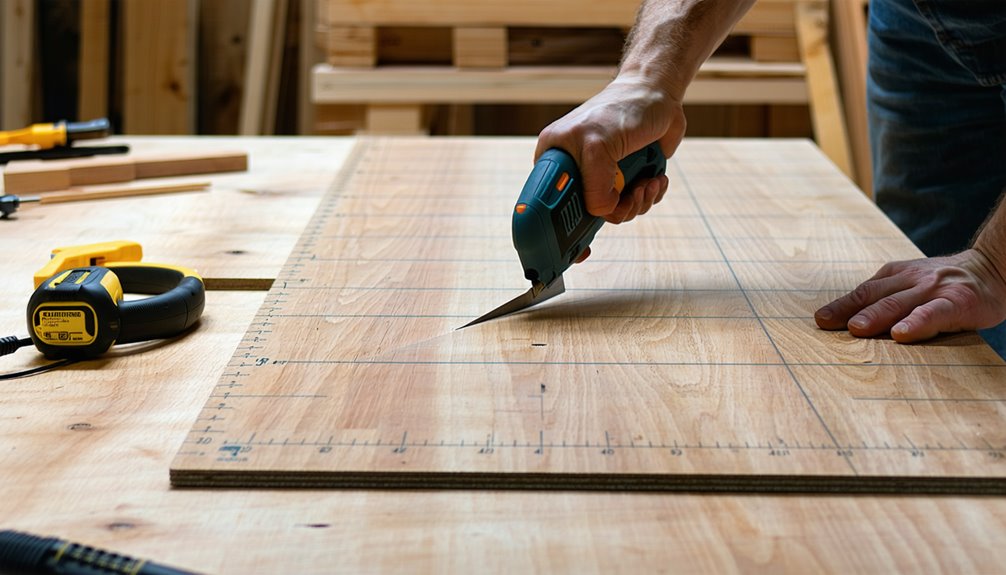
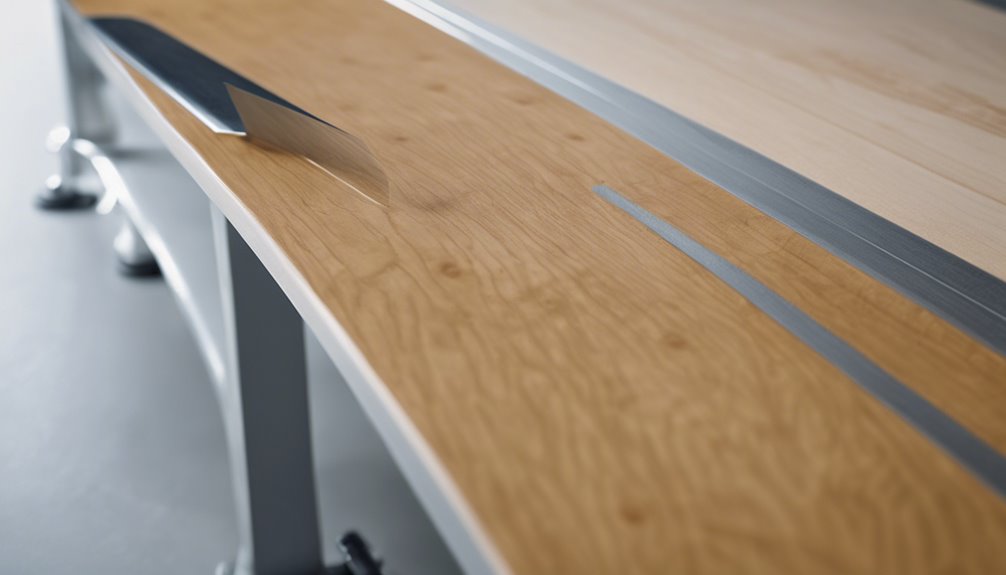
With the right tools in place, you're ready to start cutting your vinyl plank flooring. Begin by measuring the area where you'll place the plank, then mark your cut line using a straightedge and a pencil. For straight cuts, utilize a utility knife—it's one of the best cutting techniques for this task. Firmly score along the marked line, applying even pressure. After scoring, you'll want to snap the plank along the line; this usually requires a quick, decisive motion. If needed, trim any rough edges with the utility knife for a clean finish. Remember these flooring tips: always cut from the back of the plank to maintain a pristine surface and guarantee accurate measurements.
Using a Miter Saw
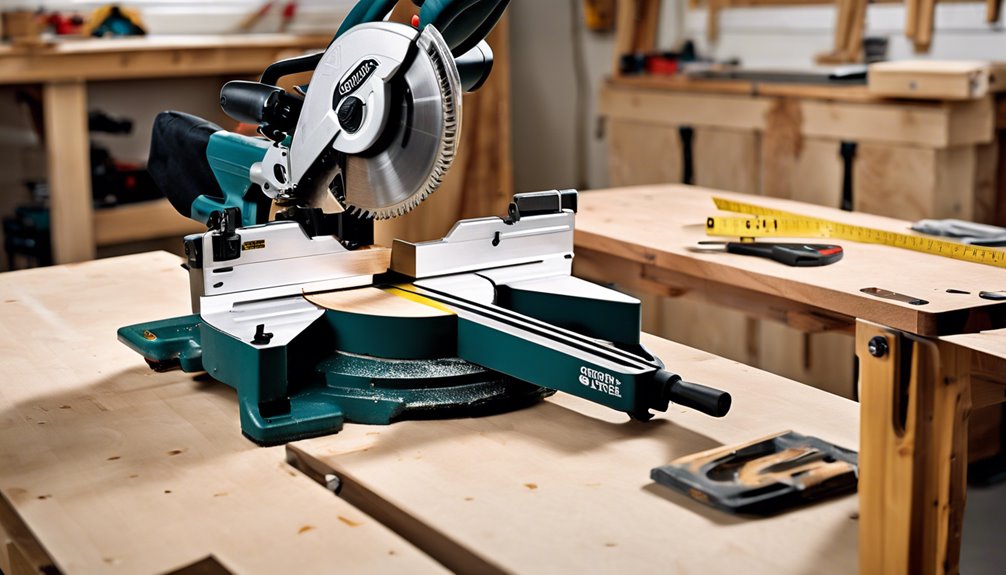
When you're ready to trim your vinyl plank flooring, using a miter saw can make the process quick and precise. To guarantee the best results, consider these miter saw techniques and blade selection tips:
- Choose the Right Blade: A fine-toothed blade (60+ teeth) is ideal for clean cuts.
- Set the Angle: Adjust the miter saw for the desired angle, especially for corners.
- Secure the Plank: Use clamps to stabilize the plank during cutting, preventing movement.
- Make a Test Cut: Always test on a scrap piece to guarantee accuracy before cutting your actual planks.
With these steps, you'll achieve smooth, accurate cuts that enhance the overall look of your flooring project. Enjoy the freedom of creating a beautiful space!
Making Curved Cuts
After mastering straight cuts with a miter saw, you might find yourself needing to make curved cuts to fit your vinyl plank flooring around fixtures, walls, or unique architectural features. For these tasks, you'll want to explore effective curved cutting techniques. A jigsaw is one of the best tools for curves; it allows for precise, intricate cuts. Make sure you use a fine-toothed blade to avoid damaging your planks. Start by marking your desired curve on the plank, then carefully follow the line with the jigsaw. Alternatively, consider a rotary tool for tighter curves. Remember to take your time and practice on scrap pieces if you're unsure. With the right tools and techniques, you'll achieve seamless, professional-looking results.
Cutting Around Obstacles

When you're cutting vinyl plank flooring around obstacles, start by measuring the dimensions of the object carefully to guarantee a perfect fit. Using a template can help you outline the shape accurately, making it easier to transfer those measurements onto the plank. Finally, employ a precision tool for cutting to achieve clean, sharp edges that will blend seamlessly with your flooring.
Measure Obstacle Dimensions
Before you start cutting vinyl plank flooring around obstacles, it's crucial to accurately measure the dimensions of those obstacles. This guarantees a clean fit and a professional look. Here are some measurement techniques to take into account for different obstacle types:
- Identify the obstacle: Determine if it's a pipe, cabinet, or another feature.
- Use a tape measure: Measure the height, width, and depth of the obstacle.
- Account for gaps: Leave a small expansion gap (usually 1/4 inch) around the obstacle for expansion.
- Sketch it out: Draw the layout to visualize the cuts you'll need to make.
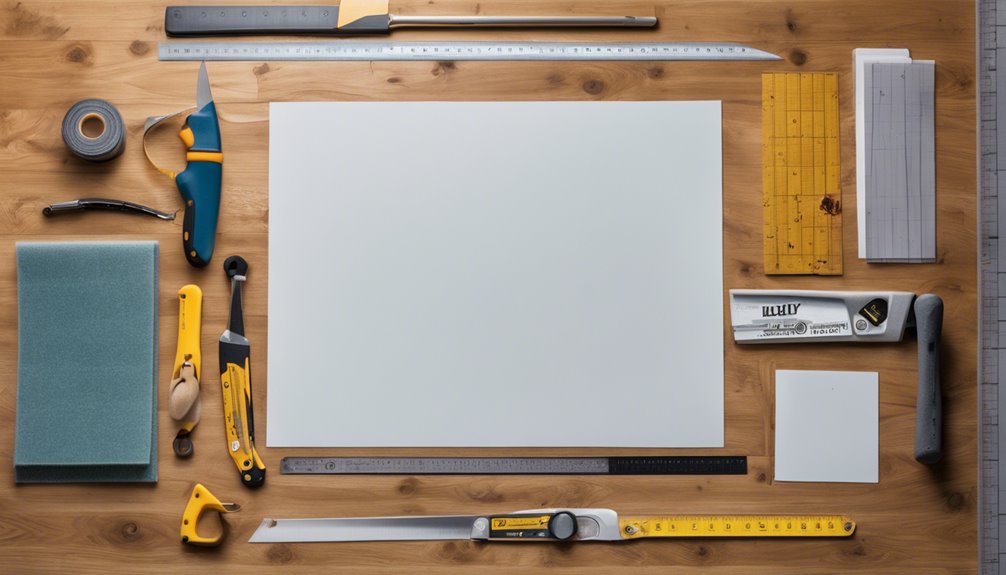
Use Template for Accuracy
To achieve precise cuts around obstacles, using a template can be incredibly helpful. Start by creating a cardboard or paper template that matches the shape of the obstacle. This method guarantees you're not guessing measurements and allows for accurate template usage. Once you have your template, lay it on the vinyl plank and trace its outline. This gives you a clear cutting line to follow, enhancing your cutting techniques. When cutting, remember to keep your blade steady and aligned with the traced line for the best results. By utilizing a template, you can navigate around tricky areas with ease, guaranteeing your flooring looks professional and seamless. Embrace this approach, and you'll enjoy more freedom in your flooring project!
Cut With Precision Tool
Using a template can greatly simplify the process of cutting around obstacles, but having the right tools is just as important. When working with vinyl plank flooring, precision is key. Here are four essential tools to take into account for effective cutting techniques:
- ユーティリティナイフ: Perfect for straight cuts and small adjustments.
- Jigsaw: Ideal for intricate shapes and curves around pipes or corners.
- Circular Saw: Great for larger sections, ensuring clean, straight cuts.
- Straight Edge: Helps guide your cuts, providing accuracy and reducing mistakes.
With these tools in hand, you'll not only enhance your cutting precision but also enjoy the freedom to create a polished, professional finish around any obstacles in your space.
Safety Tips While Cutting
Your safety should always be a top priority when cutting vinyl plank flooring. Start by wearing personal protective equipment like safety goggles and gloves to shield yourself from debris and sharp edges. If you're using a utility knife, make sure you cut away from your body and keep your fingers clear of the blade. Whenever possible, work on a stable surface, securing the plank to prevent slipping. Familiarize yourself with various cutting techniques, like scoring and snapping or using a saw, to find what feels most comfortable and safe for you. Finally, maintain a tidy workspace to minimize hazards, and always keep tools in good condition. By following these safety tips, you'll enjoy a safer, more satisfying flooring project.
Cleaning Up After Cutting
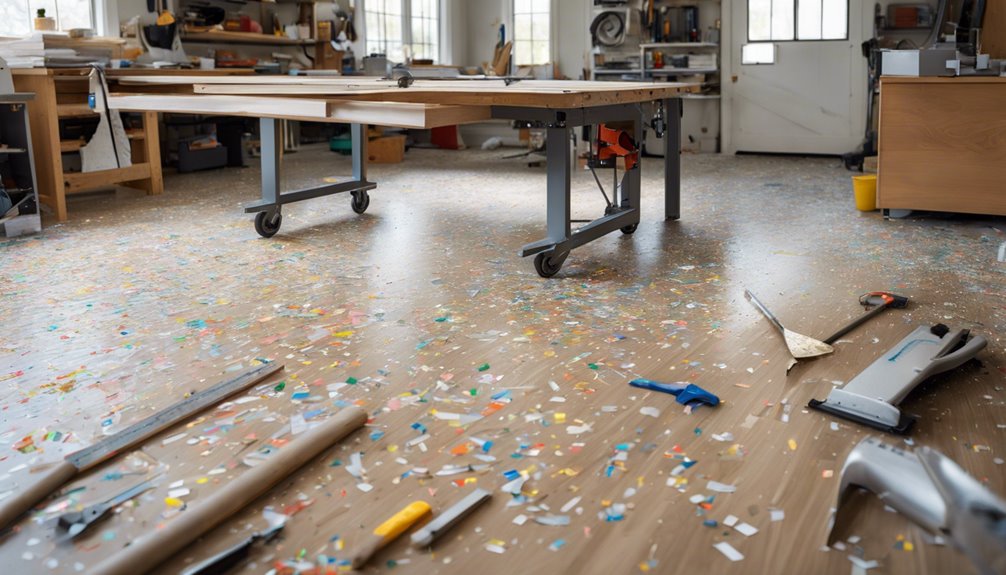
Once you've finished cutting vinyl plank flooring, it's crucial to clean up properly to guarantee a safe and efficient workspace. Neglecting this step can lead to hazards and messes, so grab your cleaning tools and follow these steps:
- Remove debris: Sweep or vacuum the area to eliminate sawdust and scraps.
- Wipe surfaces: Use a damp cloth to clean any adhesive or residue from your cutting tools.
- Store materials: Safely put away any leftover planks and tools to avoid clutter.
- Inspect the area: Check for any missed pieces and confirm your workspace is ready for the next phase of 床 maintenance.
Final Installation Steps
With the workspace cleaned up and all tools put away, you're ready to move on to the final installation steps of your vinyl plank flooring. First, inspect your planks for any gaps or imperfections; a seamless look enhances the overall aesthetic. Next, it's time for the final touches. Start installing trim around the edges to cover expansion gaps and give your floor a polished finish. Use a miter saw for clean cuts on the trim pieces. Secure them with nails or adhesive, ensuring everything aligns perfectly. Finally, consider adding quarter round molding to further conceal gaps and provide a finished appearance. Stand back and admire your hard work—your newly installed vinyl plank flooring is now ready to enjoy!
よくある質問
Can I Cut Vinyl Plank Flooring Without Special Tools?
Yes, you can cut vinyl plank flooring without special tools! You can use basic cutting techniques like scoring and snapping. Just a utility knife can work wonders. For more precision, a straight edge and a saw can be useful tools. While specialized tools make the process easier, with a bit of patience and care, you can achieve great results without them. Just take your time, measure accurately, and enjoy your flooring project!
How Do I Fix a Mistake in Cutting?
Mistakes in cutting can feel like a jagged edge in an otherwise smooth journey. To correct your error, measure the gap left by the miscut and use a solid cutting technique to trim a new piece accurately. Consider creating a template for precision. If the damage is deep, you might need to replace the plank entirely. Embrace the process; every mistake is a step toward mastering your craft and finding your freedom in home improvement.
What Is the Best Way to Dispose of Scrap Vinyl?
When it comes to disposing of scrap vinyl, you've got several options. First, check for local recycling programs that accept vinyl; many communities have recycling options for flooring materials. If that's not available, consider contacting waste management services for proper disposal methods. Avoid throwing it in regular trash, as vinyl can take a long time to decompose. Being eco-friendly with your waste can really make a difference in preserving our environment!
Will Cutting Vinyl Planks Release Harmful Fumes?
Cutting vinyl planks might seem like a simple task, but it raises concerns about fume emission. While most vinyl flooring is engineered to minimize harmful releases, it's always wise to take safety precautions. Make certain you're working in a well-ventilated area, and consider wearing a mask to filter any potential fumes. By being proactive, you can enjoy your freedom to DIY without worrying about health risks. Stay safe and informed while transforming your space!
Can I Install Vinyl Planks Over Uneven Floors?
You can install vinyl planks over uneven floors, but it comes with installation challenges. Before laying down the planks, you'll need to focus on floor preparation. Use a leveling compound to fill in low spots and create a smooth surface. If the unevenness is significant, consider using an underlayment that can help absorb minor imperfections. Proper preparation guarantees a lasting, beautiful floor, giving you the freedom to enjoy your space without worry.