First, measure and clear your room, then remove old flooring carefully to avoid subfloor damage. Inspect and repair any subfloor issues to guarantee a level surface. Next, let new hardwood acclimate in the room for three days, then arrange and install planks with proper expansion gaps. Sand the floor smooth before applying a finish for durability. Finally, maintain your floor by cleaning regularly and monitoring humidity levels. Follow these steps to confidently transform your space with expert results.
Assess and Prepare the Room
Before installing new hardwood 床材, you’ll need to carefully assess and prepare the room to guarantee a smooth replacement process. Start by measuring the room dimensions accurately—length, width, and any irregularities—to calculate the exact amount of flooring material required. Consider the variety of flooring types available, such as solid hardwood, engineered wood, or laminate, and select one suited to your room’s use and climate. Clear the space entirely, removing all furniture and fixtures. Check for any subfloor imperfections like unevenness or damage that must be addressed to ensure proper installation. Ventilation and lighting should be optimized for safety and precision during the project. By methodically evaluating these factors, you’ll maintain control over the workflow, securing freedom in your flooring choice and installation approach.
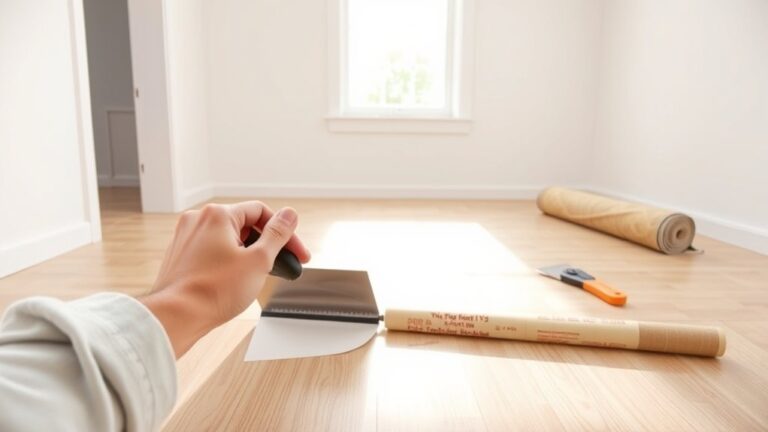
Remove the Old Hardwood Flooring
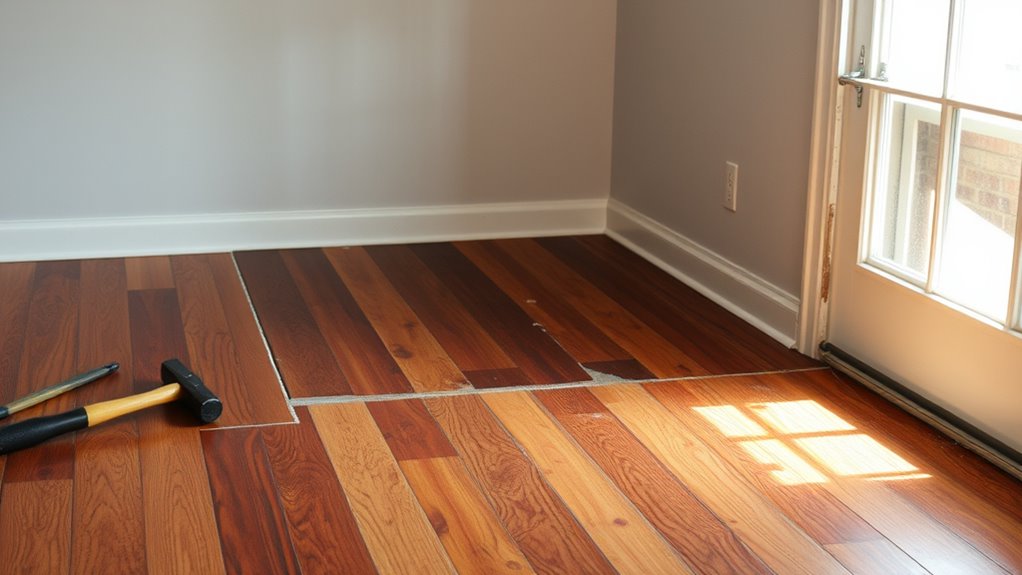
Removing the old hardwood flooring requires careful attention to avoid damaging the subfloor beneath. First, gather the tools needed: pry bar, hammer, circular saw, safety glasses, and work gloves. Begin by cutting the floorboards into manageable strips using the circular saw, setting the blade depth just enough to cut through the boards but not the subfloor. Use the pry bar and hammer to lift each strip carefully, working slowly to prevent gouges or splinters on the subfloor. Employ removal techniques such as starting from a loose board or an edge near a door to gain leverage. Keep debris contained and dispose of nails or staples properly. By following these precise steps, you’ll maintain the subfloor’s integrity, setting a solid foundation for your new hardwood installation.
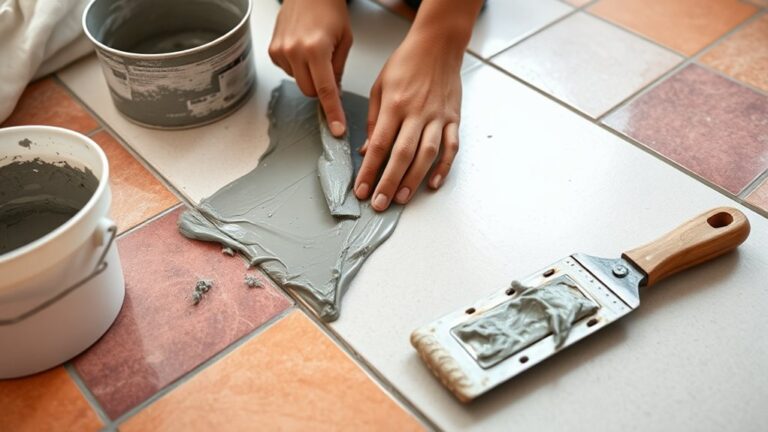
Inspect and Repair the Subfloor
Before installing new hardwood, you need to inspect the subfloor thoroughly for any damage like rot or warping. Clean the surface and verify it’s level to prevent future flooring issues. If you find structural problems, repair them promptly to maintain a stable foundation.
Check for Damage
A thorough inspection of the subfloor is essential to guarantee a stable foundation for your hardwood flooring. Start by identifying common damage types such as rot, water damage, mold, and structural weaknesses like cracks or warping. Use inspection techniques including visual examination under good lighting, tapping the surface to detect hollow spots, and probing suspicious areas with a screwdriver to test wood integrity. Pay close attention to moisture levels, as excessive dampness can compromise the subfloor’s durability. Document all damaged sections clearly. Address any compromised areas immediately; small cracks might require filler, while larger rot or structural damage often necessitates replacement of subfloor panels or joists. By methodically checking for damage, you ascertain your new hardwood floor rests on a sound, secure base, allowing you the freedom to enjoy a lasting, beautiful finish.
Clean and Level
Once you’ve identified and addressed any damage to the subfloor, the next step is to confirm its surface is clean and level. Begin by thoroughly removing debris, dust, and any adhesive residues using appropriate cleaning products designed for subfloor preparation. Ascertain no contaminants remain, as these can affect flooring adhesion. Next, assess the subfloor for uneven areas; use a straightedge to detect highs and lows. Apply leveling techniques such as self-leveling compounds for low spots or sanding down high spots to achieve a uniform surface. Follow manufacturer instructions precisely for mixing and application. Proper cleaning and leveling confirm your hardwood floor lays flat, preventing future issues like squeaking or warping. Taking these steps yourself grants you control and confidence in your flooring project’s foundation.
Fix Structural Issues
Although you’ve cleaned and leveled the subfloor, you still need to inspect it thoroughly for structural issues that could compromise your hardwood floor’s stability. Check for rot, cracks, or weak spots that affect foundation stability and load distribution. Repair or replace damaged sections to prevent future sagging or movement. Use appropriate fasteners and adhesives to secure repairs firmly. Ensuring a solid subfloor is essential for the longevity and performance of your hardwood floor.
| 問題 | Cause | Repair Method |
|---|---|---|
| Rot | Moisture infiltration | Remove damaged wood, treat area, replace with new plywood |
| ひび割れ | Structural stress | Fill with wood filler or epoxy, reinforce with screws |
| Weak spots | Load misdistribution | Sister joists or add blocking |
| Loose boards | Fastener failure | Re-nail or screw securely |
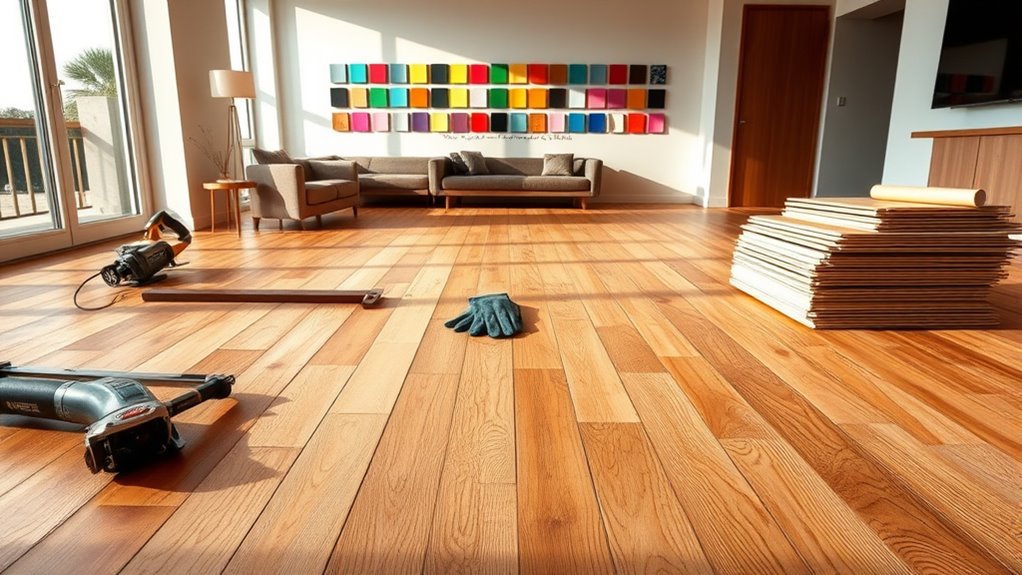
Acclimate and Arrange New Hardwood Planks
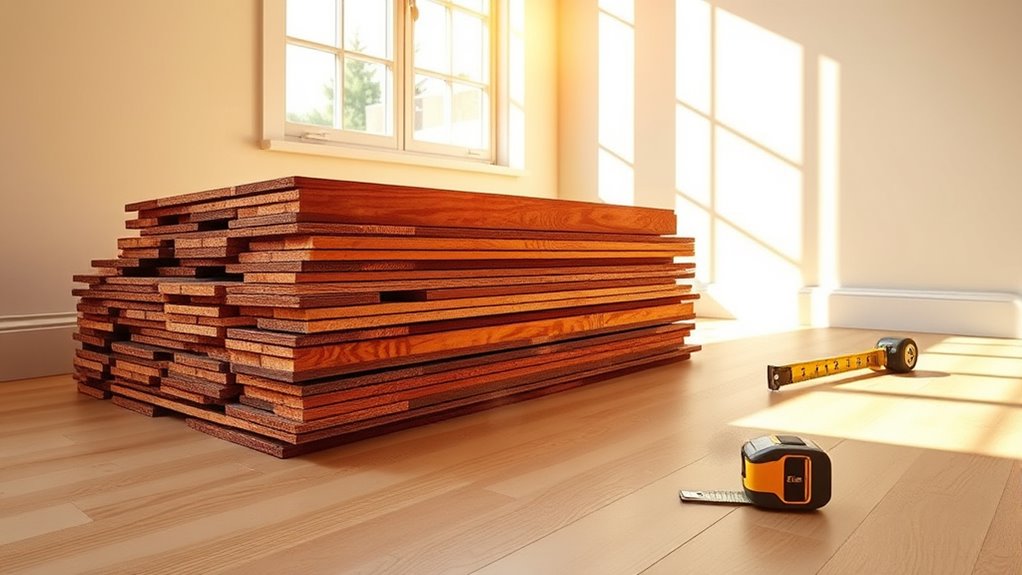
Before installing your new hardwood flooring, you’ll need to acclimate the planks to your home’s environment to prevent warping or gaps later. Lay the unopened boxes flat in the room where they’ll be installed for at least 72 hours. This allows the wood to adjust to temperature and humidity, stabilizing moisture content. When ready, unbox the planks and arrange them according to your planned plank orientation, ensuring a natural, staggered look. Leave consistent expansion gaps—typically ¼ inch—around the room’s perimeter to allow for natural wood movement. Keep planks off concrete floors or direct sunlight during acclimation, and avoid stacking them too tightly. Proper acclimation and careful arrangement set the foundation for a smooth, durable installation that maintains freedom from future flooring issues.
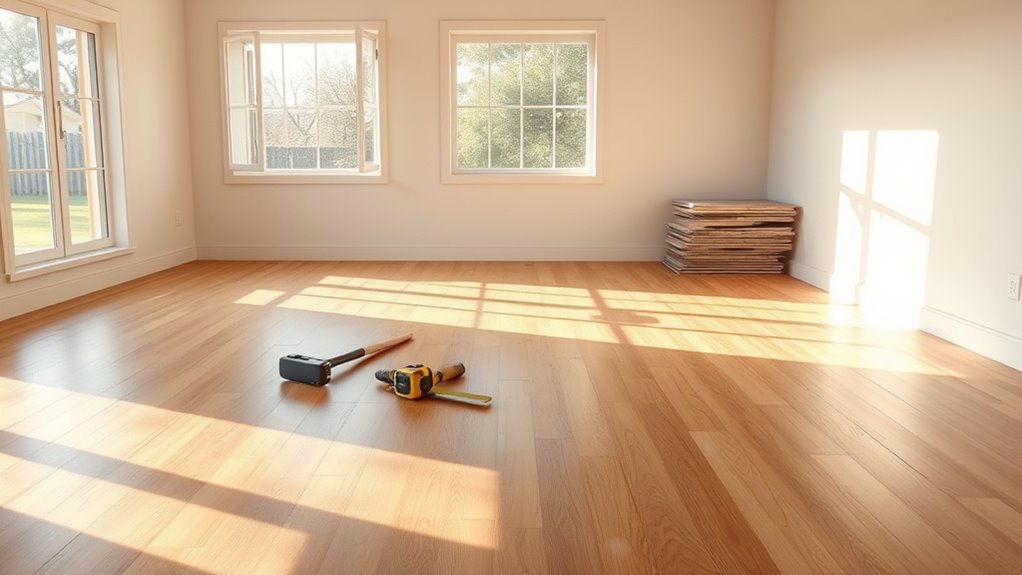
Install the New Hardwood Flooring
Before you begin installation, make certain the hardwood planks are fully acclimated to the room’s humidity and temperature. Start by arranging the starter rows carefully along the longest wall, maintaining a consistent expansion gap. Secure each plank firmly using the recommended fasteners to prevent movement and guarantee stability.
Acclimate Hardwood Planks
Since hardwood is sensitive to changes in moisture and temperature, you’ll need to acclimate the planks to your home’s environment before installation. Start by placing the hardwood in the room where it will be installed, keeping the boxes unopened but off the floor on a raised platform. Maintain strict humidity control between 30-50% and temperature regulation around 60-80°F to prevent warping or shrinking. Leave the planks undisturbed for at least 72 hours, allowing the wood fibers to stabilize. Use a moisture meter to verify the wood’s moisture content matches the subfloor within 2%. Proper acclimation guarantees the wood adjusts naturally, minimizing expansion or contraction post-installation and securing the longevity and integrity of your new hardwood floor.
Arrange Starter Rows
To begin installing your new hardwood flooring, start by arranging the starter rows along the longest, straightest wall in the room. Confirm precise starter row alignment by placing planks tightly edge-to-edge, avoiding gaps that could affect the overall fit. Maintain consistent starter row spacing by using spacers between the wall and the first row to allow for natural expansion. Check that the starter rows are perfectly straight using a chalk line or laser level; misalignment here will compound across the floor. Keep the starter rows secure but avoid fastening them yet, as adjustments may be necessary. This initial setup sets the foundation for freedom in layout and confirms your flooring will install smoothly and evenly throughout the room.
Secure Planks Firmly
Begin securing the hardwood planks firmly by fitting each one tightly against the previous row, ensuring no gaps remain. Maintain consistent plank alignment throughout to guarantee a seamless, professional finish. Use securing methods appropriate for your flooring type—nail-down, glue-down, or click-lock systems are common. For nail-down, drive nails at a 45-degree angle through the tongue, avoiding splitting. In glue-down installations, apply adhesive evenly with a trowel and press planks firmly. Click-lock systems require precise angling and snapping planks into place. Always check alignment as you go, correcting any misalignment immediately to prevent cumulative errors. Utilize spacers to maintain expansion gaps at walls. By following these securing methods carefully, you’ll achieve a durable, stable floor that enhances your space and grants you the freedom to enjoy your handiwork.
Sand and Finish the Surface
Start by thoroughly sanding the hardwood floor to remove any imperfections and guarantee a smooth, even surface. Use a drum sander for large areas, progressing through grits—from coarse to fine—to avoid unevenness. Pay special attention to edges with an edging sander. Mastering proper sanding techniques will prevent gouges and ensure uniformity. After sanding, clean all dust with a vacuum and tack cloth. Choose your finishing options based on desired durability and appearance: polyurethane offers strong protection, while oil-based finishes enhance natural wood tones. Apply finish evenly with a brush or roller, following manufacturer instructions for drying times between coats. By carefully sanding and selecting the right finish, you’ll achieve a professional-quality floor that reflects your independence and craftsmanship.
Clean Up and Maintain Your New Floor
Once your finish has fully cured, maintaining your hardwood floor’s appearance and durability becomes the priority. Begin with regular floor cleaning using a soft broom or vacuum designed for hardwood to remove debris without scratching. Avoid excessive water; instead, use a damp mop with a pH-neutral cleaner specifically formulated for wood floors. For maintenance tips, place felt pads under furniture legs to prevent dents and scratches. Maintain consistent indoor humidity levels between 35-55% to minimize wood expansion or contraction. Immediately wipe up spills to prevent staining or warping. Schedule periodic inspections to identify wear areas and apply a fresh finish coat as needed. By following these precise maintenance steps, you preserve your floor’s integrity and enjoy long-lasting freedom from costly repairs.