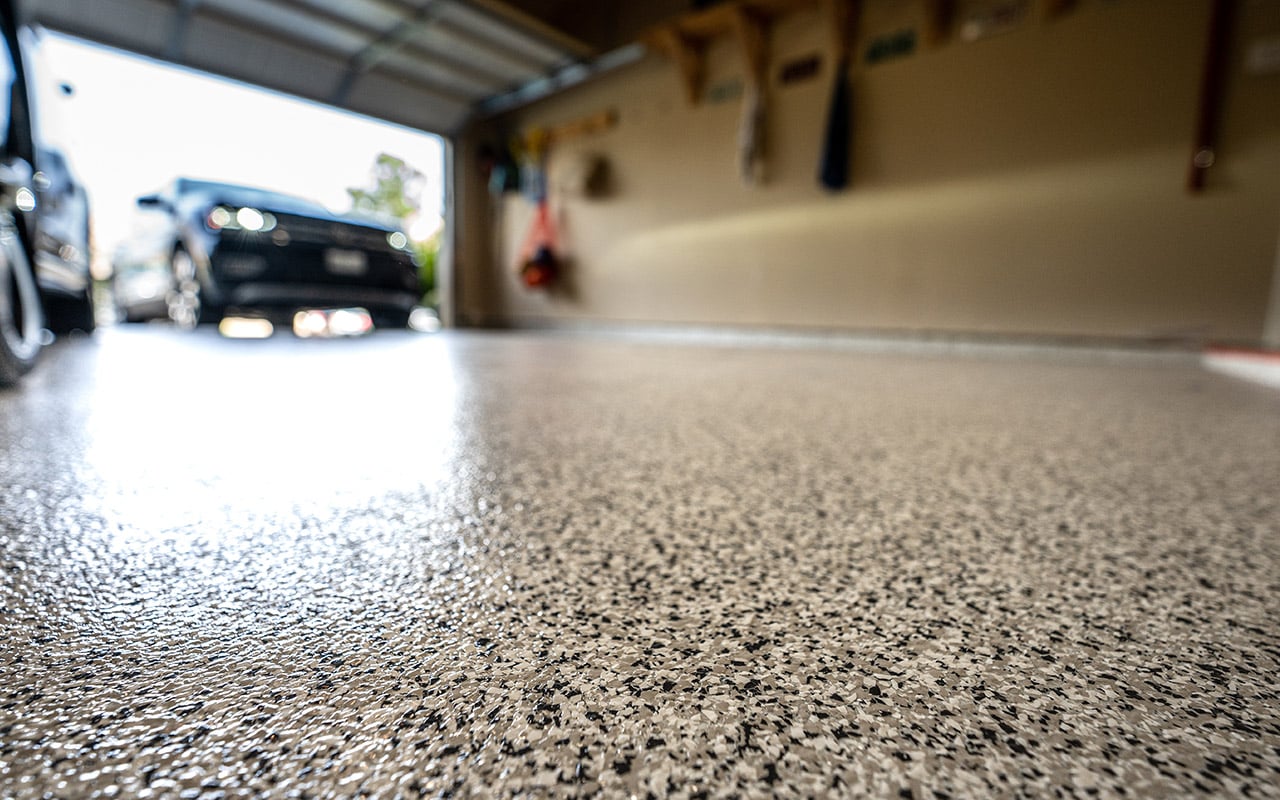
Imagine stepping into your garage or basement, and instead of staring at a dull, lifeless concrete slab, you find yourself admiring a stunning, glossy epoxy floor. It sounds appealing, doesn’t it?
With a DIY epoxy floor, you can transform any space into something extraordinary, adding both style and durability. You’re probably wondering if it’s possible to achieve professional results without hiring a contractor. The answer is yes, and you can do it! This article is your guide to turning that vision into reality.
We’ll walk you through the entire process, breaking down complex steps into easy-to-follow instructions. Get ready to unleash your creativity and give your floors the makeover they deserve!
 床: Transform Your Space Today”/>
Benefits Of Epoxy Flooring
Epoxy floors last a long time. They can handle heavy things. No cracks or breaks easily. This makes them a great choice for busy places. Floors stay strong and look nice for many years.
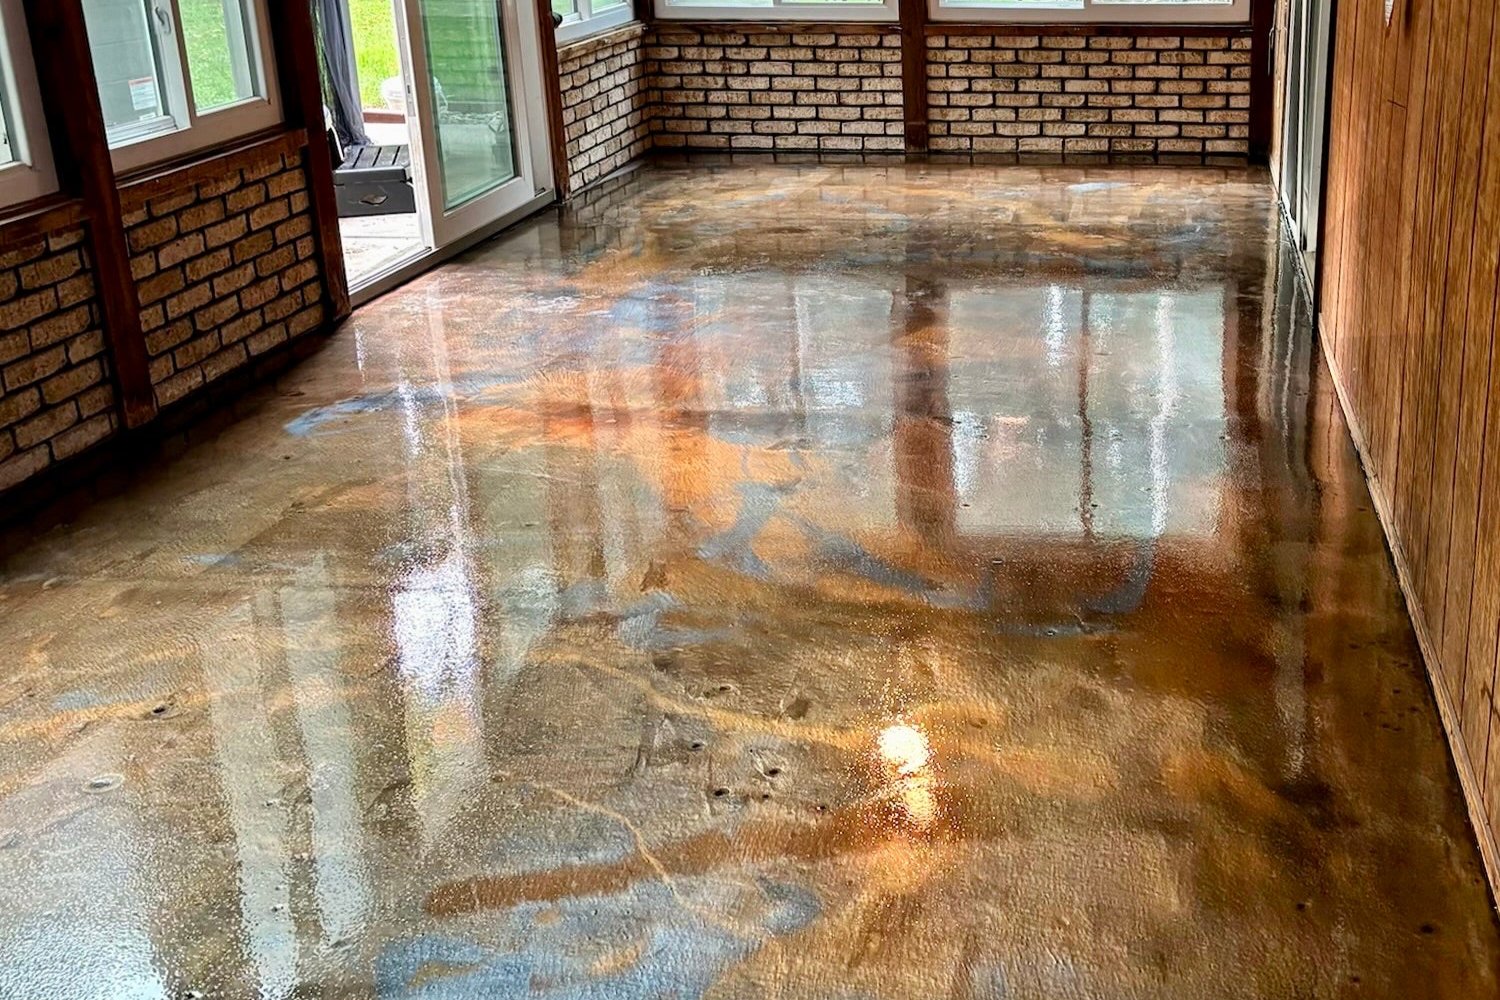
Epoxy floors are very shiny and pretty. They come in many colors. You can make fun designs with them. This makes any room look cool. Everyone will notice your nice floor.
Cleaning epoxy floors is super simple. Just a mop and water. Dirt and stains come off easily. No need for special cleaning stuff. This makes life easier for everyone.
Choosing The Right Epoxy
Water-based epoxy is easy to use. It dries quickly and has a low smell. Solvent-based epoxy gives a shiny finish. It is very strong but has a strong odor. 100% solid epoxy is the toughest. It lasts a long time and is thick. But it can be tricky to apply. Each type has its pros and cons. Choose the right one for your needs.
Think about 耐久性 そして appearance. How much traffic will the floor have? Temperature そして humidity are also important. Some epoxies handle heat better. 料金 is another factor. Some types are more affordable. Make sure you have the right tools. Proper preparation is key to success. Plan your project well.
スペースの準備
First, remove all items from the floor. Sweep the area to get rid of dirt. Use a mop with warm water to clean. Remove stains with a gentle cleaner. Check the floor for cracks or holes. Fix any damage with a filler. Let the filler dry completely. This ensures a smooth surface for the epoxy.
Cover nearby walls with plastic sheets. Use painter’s tape to secure the edges. This keeps paint from sticking to the walls. Lay old newspapers around the room’s edges. They catch any spills or drips. Protect furniture by moving it away. If not possible, cover it with a cloth. Safety comes first!
Applying Epoxy Coating
Gather the right tools そして 材料 for epoxy floors. You need a paint roller, a brush、そして mixing container. Get epoxy resin そして hardener. Have protective gear ready, like gloves and goggles. Don’t forget サンドペーパー for smoothing the surface. Ensure the area is clean and dry. Make sure you have a stir stick to mix well. A measuring cup helps with accurate mixing. You will also need masking tape to protect edges. These items are essential for a successful project.
まずは クリーニング the floor well. Use a broom and mop. Let it dry completely. Mix the epoxy resin そして hardener. Follow instructions on the package. Pour the mixture into a container. Use a paint roller to apply the epoxy. Begin at the far end of the room. Work in small sections. Move slowly and evenly. Use a brush for edges. Let the first layer dry overnight. Apply a second coat if needed. Check for bubbles. Pop them with a needle. Wait for the floor to cure completely. Enjoy your new, shiny floor.
Common Mistakes To Avoid
Ignoring dirt and dust on the floor is a big mistake. These can cause the epoxy not to stick well. Cleaning the surface is very important. Also, any cracks or holes should be filled. Uneven surfaces can make the floor look bad. Sanding the floor helps make it smooth. Skipping this step can cause problems later. Make sure the floor is dry. Wet floors can make the epoxy not work right.
Using the wrong tools can lead to poor results. Rollers and brushes must be of good quality. Mixing the epoxy wrong is another common error. The mixing ratio should be exact. Not enough mixing can cause the floor to be weak. Applying too much epoxy at once can make it bubble. Thin and even layers are best. Rushing the process can ruin the floor. Patience is key for a nice finish.
Maintaining Your Epoxy Floor
Keep your epoxy floor shiny and clean. Use a soft broom to sweep daily. A damp mop works best for weekly cleaning. 温水 and a mild soap make a great cleaning mix. Avoid strong chemicals. They can harm the floor’s surface. Dry the floor with a towel after mopping.
Spills happen. Clean them quickly with a damp cloth. Avoid staining by not letting spills sit too long. For tough stains, a gentle scrubbing pad is helpful. Never use steel wool. It scratches the floor. For oil or grease, a mix of water and ammonia works well. Rinse the area with clean water after cleaning.
Creative Design Ideas
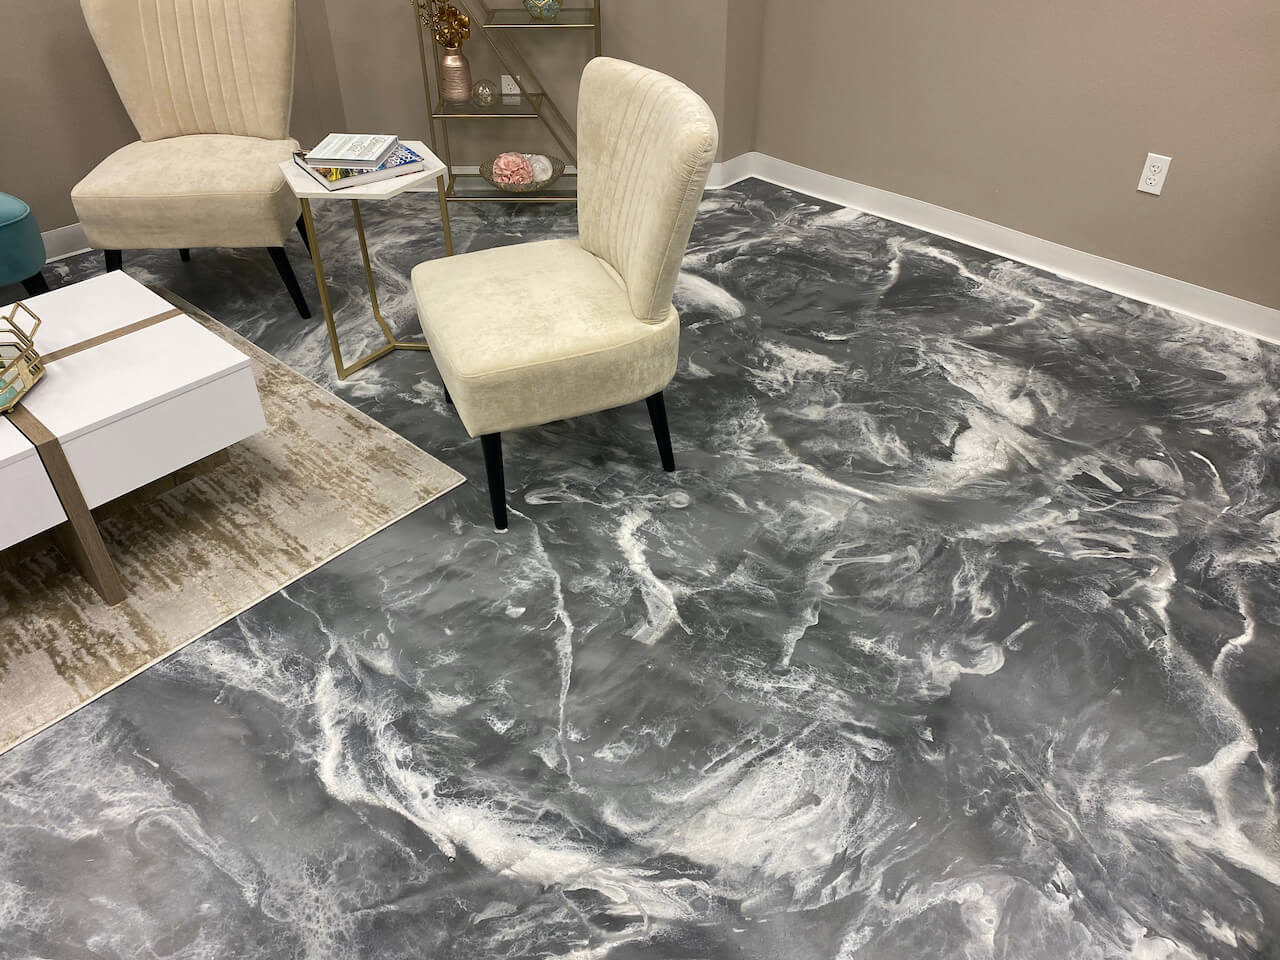
Epoxy floors can have many colors. Choose bright colors for fun spaces. Blue and green can feel calming. Red and orange can make a room feel warm. Mix two colors for a swirl pattern. Use tape to make stripes. Stripes can be diagonal or straight. Try a checkerboard design for a classic look.
Add your favorite things to your floor. Put stickers or small toys in the epoxy. They will stay there forever. Write your name or a special date. Use stencils to make shapes. Make a border with a different color. This makes the room look special. Glitter can make your floor sparkle. Try glow-in-the-dark paint for a fun surprise.
よくある質問
What Is An Epoxy Floor?
An epoxy floor is a durable flooring solution. It consists of a mixture of resin and hardener. When applied, it forms a hard, glossy surface. Epoxy floors are resistant to stains, chemicals, and abrasion. They are popular in garages, basements, and industrial settings.
How Do You Prepare The Surface?
Proper surface preparation is crucial for epoxy flooring. Start by cleaning the floor thoroughly to remove dirt, grease, and oils. Use a degreaser for stubborn stains. Repair any cracks or holes using a suitable filler. Sand the surface to ensure the epoxy adheres properly.
Finally, vacuum or sweep away dust.
How Long Does Epoxy Take To Dry?
Epoxy typically takes 12 to 24 hours to dry. However, the exact drying time depends on temperature and humidity levels. For best results, allow the epoxy to cure for at least 72 hours. This ensures a strong and durable finish.
Always follow the manufacturer’s guidelines for drying times.
Can I Apply Epoxy Over Existing Flooring?
Yes, you can apply epoxy over existing flooring. However, the surface must be clean, dry, and free of dust. It’s essential to repair any damage before application. Sand the existing floor to ensure proper adhesion. Epoxy works well over concrete, but it’s possible on tiles or wood with preparation.
結論
Transforming your space with a DIY epoxy floor is rewarding. It’s durable and looks great. Follow the steps carefully for best results. Gather all necessary tools before starting. Take your time with preparation. Proper mixing and application are crucial. Don’t rush the drying process.
Enjoy the new look of your floor. Maintenance is easy with regular cleaning. Epoxy floors last long when cared for properly. You save money by doing it yourself. Plus, you gain a sense of accomplishment. Your floor will shine for years.
Consider this project for your next home improvement task.