To fix vinyl flooring lifting, first assess the area and gather tools like a utility knife and vinyl adhesive. Clean and dry the lifted section thoroughly, removing debris and old adhesive. Apply the appropriate adhesive evenly with a notched trowel, focusing on edges and center. Press down firmly using a roller, smoothing out any bubbles from the center outward. Allow the adhesive to cure fully before inspecting for any missed spots or imperfections. Following these steps guarantees a solid repair, and you can explore more detailed techniques to perfect the process.
Assess the Area and Gather Necessary Tools
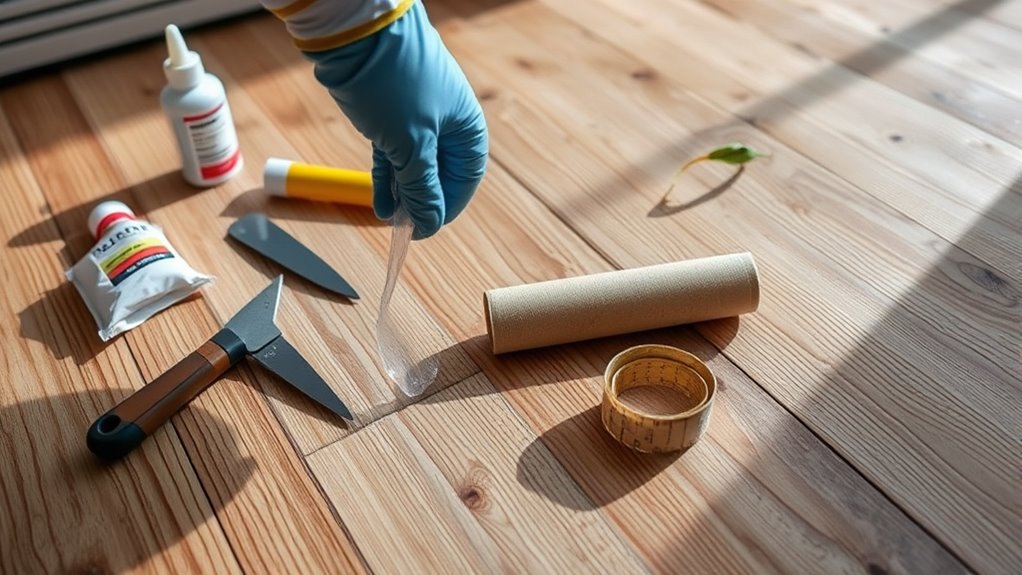
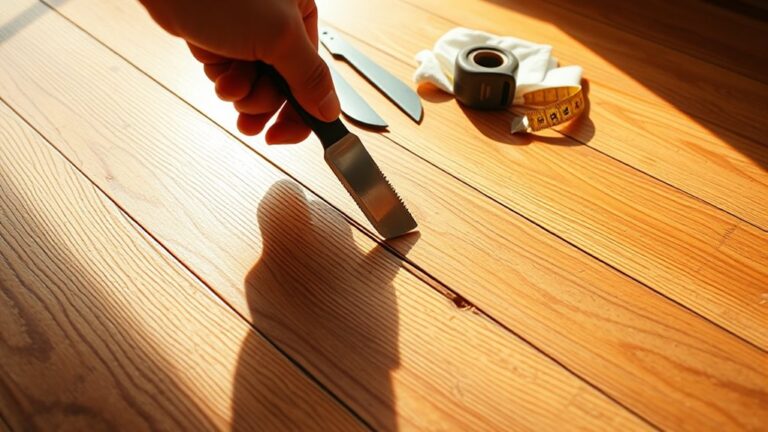
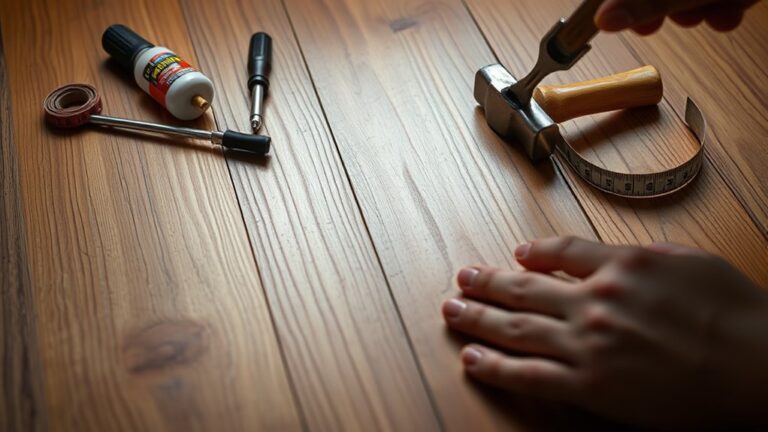
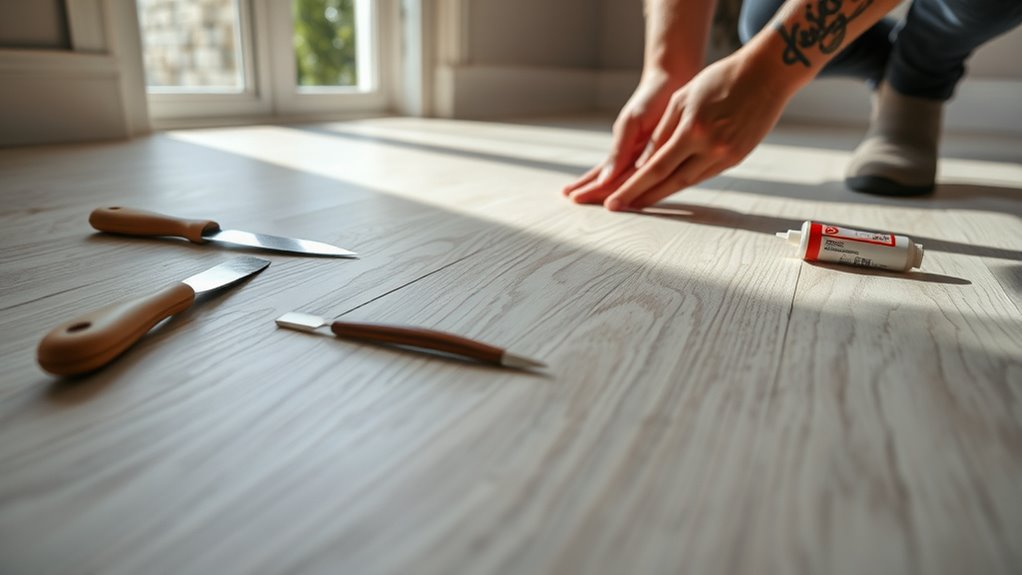
Before you begin repairing your vinyl flooring, it’s important to carefully assess the affected area to determine the extent of the lifting and identify any underlying causes such as moisture or adhesive failure. Conduct a thorough area inspection by examining the edges and underside of the lifted sections. Look for signs of water damage, mold, or loose adhesive that could impact your repair approach. Once you’ve pinpointed the problem, move on to tool selection. Essential tools typically include a utility knife for cutting, a putty knife for lifting, adhesive suitable for vinyl, and a roller to guarantee proper bonding. Having the right tools at hand not only streamlines the process but also empowers you to execute repairs efficiently, restoring your flooring’s integrity and your freedom to enjoy your space worry-free.
Clean and Prepare the Lifting Section
Two key steps will assure your vinyl flooring repair starts on the right foot: cleaning and preparing the lifting section. Proper cleaning techniques and thorough surface preparation assure the adhesive bonds effectively, preventing future lifting.
Focus on these essential tasks:
- Remove debris and dust using a vacuum or broom
- Clean the area with a mild detergent and warm water solution
- Dry the section completely with a clean cloth or fan
- Inspect the surface for any remaining adhesive residue or dirt
- Lightly sand rough or uneven areas to create a smooth, clean base
Apply Adhesive to Secure the Vinyl Flooring
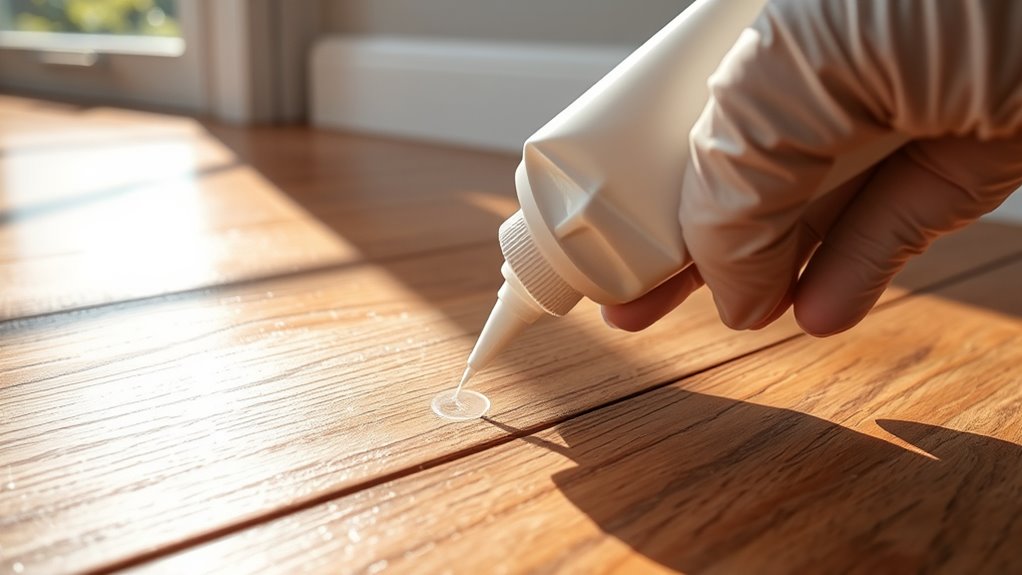
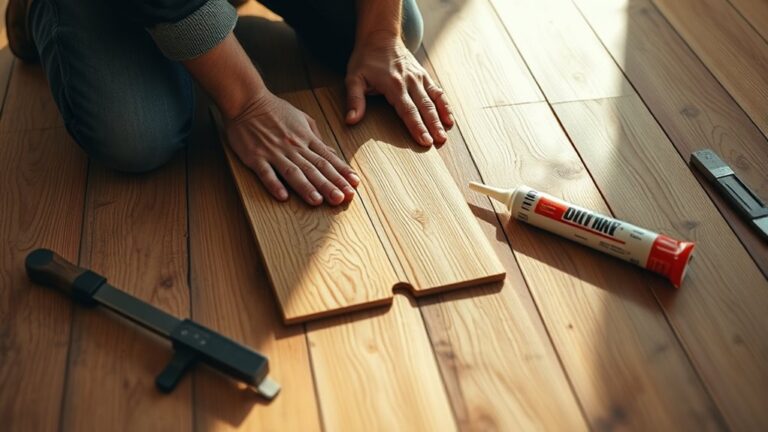
After thoroughly cleaning and preparing the lifting section, you can move on to applying the adhesive that will firmly secure your vinyl flooring. Choosing the right adhesive options is essential; pressure-sensitive adhesives work well for small lifts, while urethane-based adhesives offer stronger, long-lasting bonds for larger areas. Before applying, check the manufacturer’s instructions to verify compatibility. Use a notched trowel to spread the adhesive evenly, maintaining consistent thickness to avoid uneven surfaces. Focus on the edges and center of the lifted area, guaranteeing full coverage without excess glue that could seep through. Applying adhesive carefully and methodically will restore your flooring’s stability and extend its lifespan, granting you freedom from further lifting and damage.
Press Down and Smooth Out Bubbles
Once the adhesive is applied, you’ll need to press down firmly on the vinyl flooring to assure it bonds properly and eliminates any trapped air. Proper pressure guarantees effective bubble removal, a key part of flooring maintenance that helps prevent future lifting. Here’s how to do it right:
- Use a heavy roller or a clean, flat tool to press the vinyl evenly.
- Start from the center, pushing bubbles outward toward the edges.
- Apply steady, firm pressure without tearing the vinyl.
- Work slowly to catch all air pockets and smooth the surface.
- Check frequently for any missed bubbles and press again if needed.
This careful approach secures your vinyl flooring firmly and keeps it smooth, maintaining the freedom of a flawless, durable 床.
Allow Adhesive to Cure and Inspect the Repair
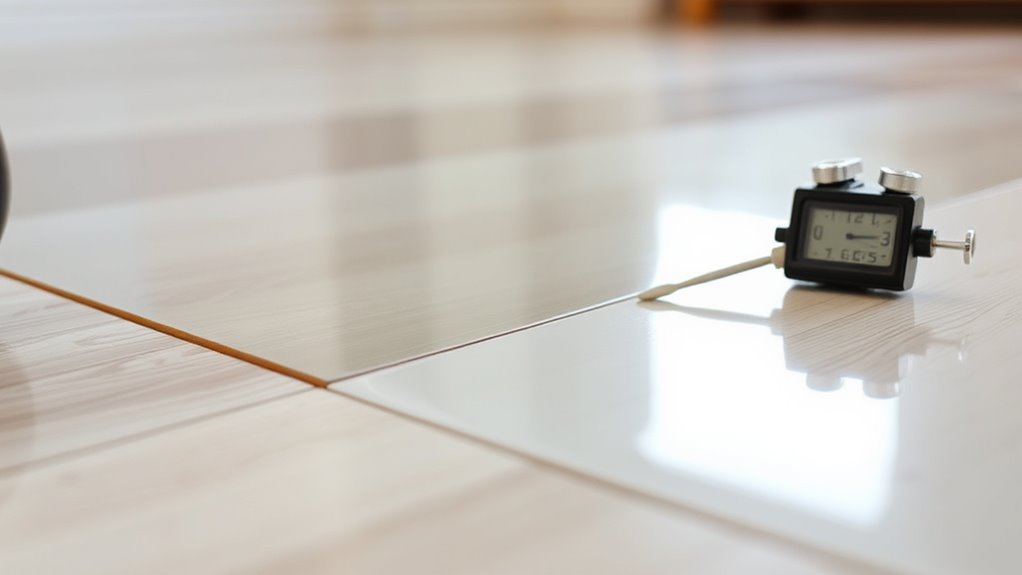
While the adhesive sets, you’ll want to give it sufficient time to cure fully to confirm a strong bond between the vinyl and the subfloor. Adhering to the recommended cure time—usually specified on the adhesive packaging—is essential to prevent future lifting or movement. Avoid walking on the repaired area during this period to maintain integrity. After the cure time has elapsed, perform a thorough repair inspection. Check for any remaining bubbles, loose edges, or uneven surfaces. If you notice any imperfections, address them promptly by reapplying adhesive or pressing down the affected areas again. This detailed repair inspection confirms your vinyl flooring remains secure and smooth, allowing you to enjoy a durable, flawless finish that supports your desire for a carefree, well-maintained space.