First, locate the squeak by walking and marking loose floorboards. Gather tools like a drill, screws, and a stud finder. Then, pre-drill into joists and secure boards with screws every 6 to 8 inches. You can reduce friction by applying powdered graphite or talcum powder in gaps. For stubborn squeaks, use shims or floor tape between joists and subfloor. Test the fix by walking on it and reapply if needed. Following these steps guarantees a quieter floor, with more tips available for lasting results.
Identify the Source of the Squeak
Before you can fix a squeaky floor, you need to pinpoint exactly where the noise is coming from. Start by walking slowly across the floor, paying close attention to each step. Squeak causes often vary depending on floor materials; hardwood floors may creak due to loose nails or gaps between boards, while plywood subfloors might shift against joists. Tap or press down on suspicious areas to see if movement triggers the sound. If the floor is carpeted, try to locate the squeak by pressing firmly with your hands or knees. Mark the spots clearly so you don’t lose track. Understanding the exact location and nature of the squeak is essential—it lets you target the root problem without unnecessary work, giving you the freedom to repair efficiently.
Raccogli gli strumenti e i materiali necessari
Before you start fixing the squeak, make certain you have all the essential tools like a drill, screws, and a hammer on hand. Choose materials that match your floor type to guarantee a secure repair. Clear your workspace of any obstacles to work safely and efficiently.
Essential Tools Checklist
Getting your hands on the right tools is key to successfully stopping floor squeaks. For effective floor maintenance, start with a cordless drill to drive screws without hassle. Grab a stud finder to pinpoint joists beneath the floorboards—this guarantees precise fastening. Have a tape measure handy to mark screw placement accurately. Use a set of wood screws, preferably 2 to 3 inches long, designed for subfloor repair. A hammer and finishing nails come in handy to secure loose boards before screwing. Don’t forget a pry bar to lift floorboards if needed and wood glue for added stability. Finally, keep safety goggles and a dust mask close for protection. Gathering these essential tools puts you in control, ready to fix squeaks and reclaim your floor’s freedom.
Choosing the Right Materials
Selecting the right materials is crucial to effectively stop floor squeaks and guarantee a lasting repair. Start by choosing screws or nails designed specifically for pavimentazione; these offer superior material durability and won’t loosen over time. Consider using wood shims or specialized lubricants to fill gaps and reduce friction, which directly impacts noise reduction. Avoid generic fasteners, as they may rust or fail, causing the squeak to return. For best results, pick materials compatible with your floor type—hardwood or plywood require different approaches. Investing in high-quality components not only guarantees a quieter floor but also saves you from repeated fixes. By focusing on durable, noise-reducing materials, you’ll regain freedom from annoying squeaks and enjoy a stable, silent floor for years to come.
Preparing Your Workspace
Once you’ve picked the right materials to stop your floor from squeaking, you’ll need to gather the tools and supplies that make the job efficient and effective. Start by organizing your workspace to keep everything within reach, minimizing distractions and maximizing safety. Follow safety precautions like wearing gloves and eye protection to avoid injury. Here’s a quick checklist to get you started:
| Strumento/Materiale | Scopo |
|---|---|
| Drill & Screws | Secure loose floorboards |
| Wood Shims or Powder | Fill gaps causing squeaks |
| Safety Gear | Protect yourself during work |
Good workspace organization helps you stay focused and free, turning a noisy floor into a quiet, comfortable space without hassle.
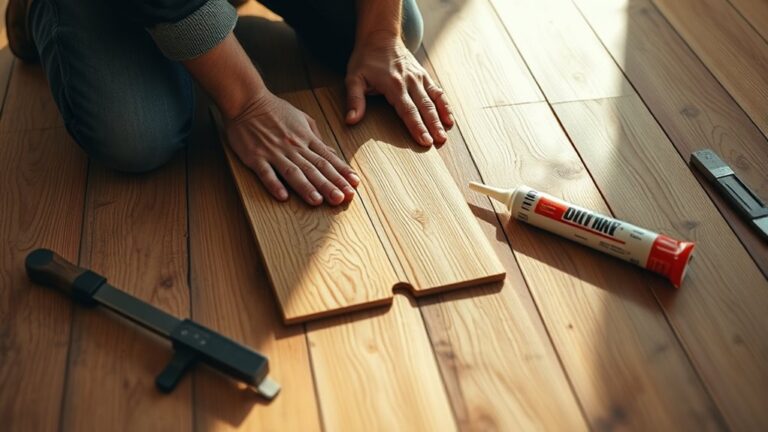
Tighten Loose Floorboards With Screws
To stop squeaks caused by loose floorboards, you’ll need a few screws and a drill to secure the boards firmly to the joists beneath. First, locate the squeaky spots by walking over the floor and marking them. Then, pre-drill holes through the floorboard into the joist to prevent wood splitting. Drive screws into the joists, pulling the floorboard tight and eliminating movement that causes noise.
Secure loose floorboards with screws and a drill to stop squeaks and tighten the floor to the joists.
Keep these tips in mind for effective squeak prevention and floor maintenance:
- Use screws at least 2 inches long to guarantee a strong hold.
- Space screws every 6 to 8 inches along the loose board.
- Countersink screws slightly below the floor surface to avoid tripping hazards.
This method gives you lasting freedom from annoying creaks and keeps your floors solid.
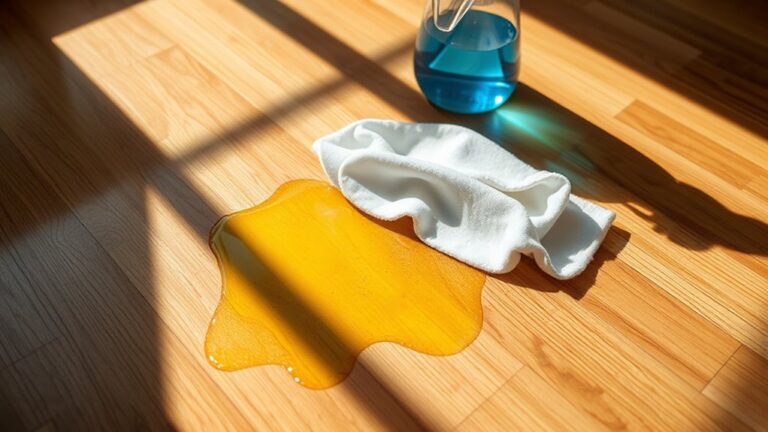
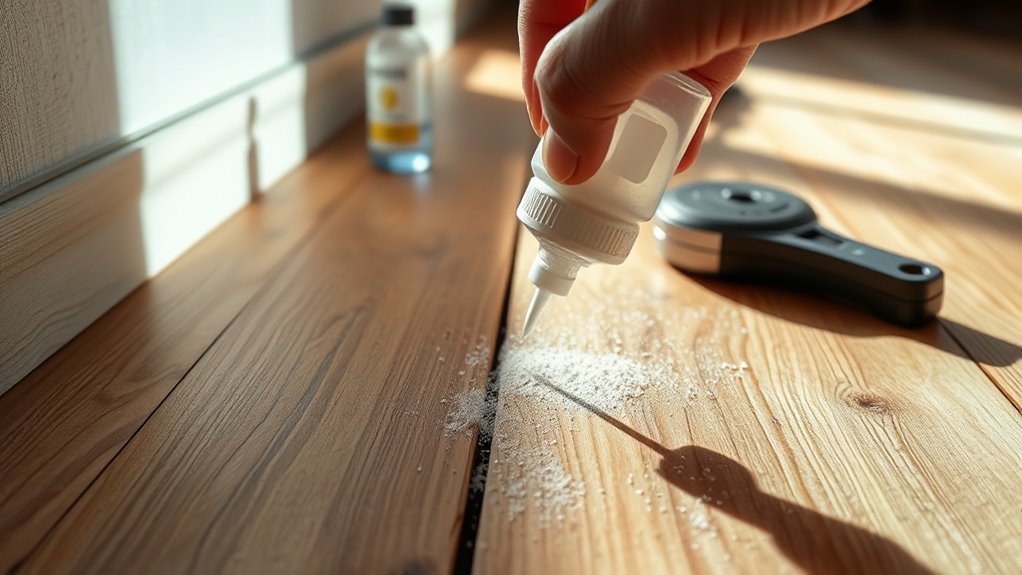
Use Powdered Graphite or Talcum Powder
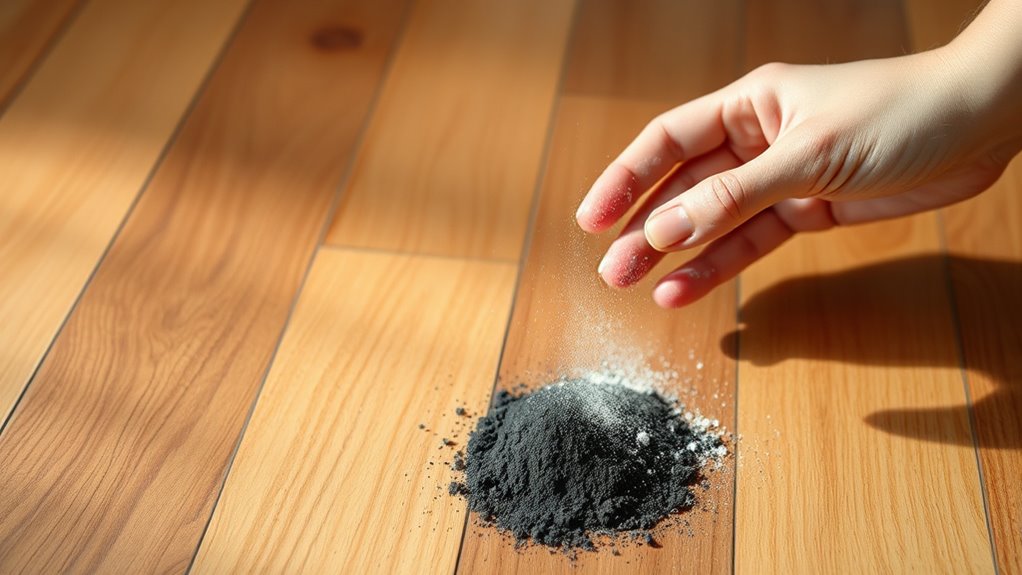
A simple and effective way to reduce floor squeaks is by applying powdered graphite or talcum powder between the floorboards. First, sprinkle a small amount of your chosen powder alternative directly into the gaps where the boards rub together. You can use a thin, flexible tool like a putty knife or a small brush to gently work the powder deeper into the cracks. The graphite application works by lubricating the wood fibers, reducing friction and stopping the squeak without any invasive repairs. Talcum powder serves as a quieter, easy-to-find alternative that achieves a similar effect. After applying, walk over the treated area to help the powder settle and test for remaining noise. This quick fix gives you freedom from annoying squeaks without dismantling your floor.
Secure Subfloor With Adhesive or Nails
To effectively stop your floors from squeaking, start by preparing the subfloor surface to guarantee it’s clean and dry. Choose a strong adhesive designed for wood flooring or use proper nailing techniques, like toe-nailing at regular intervals, to secure the subfloor firmly. Taking these steps will minimize movement and eliminate those annoying creaks.
Choosing the Right Adhesive
Although nails can secure your subfloor effectively, choosing the right adhesive often provides a quieter, more durable solution. When selecting an adhesive, you want one that bonds well and resists moisture to prevent future squeaks. Consider popular adhesive types like polyurethane, construction adhesive, or subfloor-specific glues. Trusted adhesive brands such as Liquid Nails, Loctite, and Titebond offer reliable options with clear application instructions.
Here’s what to keep in mind:
- Adhesive types: Choose based on your subfloor material and moisture exposure.
- Curing time: Faster setting adhesives let you move quickly.
- Application method: Some require caulking guns; others brush on.
Picking the right adhesive lets you secure the subfloor with confidence, minimizing creaks while enjoying your space freely.
Proper Nailing Techniques
Three key steps guarantee your nails hold the subfloor securely without causing damage or squeaks. First, choose nails long enough to penetrate the subfloor and joists firmly but not so long they risk splitting the wood. Next, follow proper nailing techniques by spacing nails evenly—typically every 6 to 8 inches along joists—to maintain consistent pressure and prevent movement. Finally, angle each nail slightly toward the joist to increase grip and reduce loosening over time. Avoid hammering nails too deep; they should sit flush or just below the surface to avoid damaging flooring layers. By mastering these steps and maintaining precise nail spacing, you’ll lock down the subfloor solidly, eliminating the shifts that cause floorboards to creak and giving you the freedom to walk without noise.
Preparing the Subfloor Surface
When securing your subfloor, you’ll want to choose between adhesive, nails, or a combination of both to guarantee a solid, squeak-free foundation. Start by using subfloor inspection techniques to identify loose areas or gaps. Clean the surface thoroughly—removing dust, debris, and any old adhesive—for better bonding. Apply construction adhesive evenly along joists or seams, then fasten the subfloor with nails or screws, ensuring they’re driven flush to avoid uneven spots.
Here are key surface preparation tips:
- Inspect and replace damaged subfloor panels before securing.
- Use a caulking gun for consistent adhesive application.
- Space nails or screws 6–8 inches apart along edges and 12 inches in the field.
Following these steps gives you freedom from annoying floor squeaks and a sturdy base for your flooring.
Shim Between Joists and Subfloor
To stop squeaks caused by gaps between your subfloor and joists, you’ll need to insert thin shims carefully between them. First, measure the joist spacing to determine where gaps occur. Choose appropriate shim materials—wooden or composite shims work best—to fill these spaces without forcing. Gently tap shims into the gap until snug, avoiding over-tightening which can cause new squeaks or damage.
| Shim Material | Benefici |
|---|---|
| Legna | Readily available, easy to trim |
| Composito | Moisture resistant |
| Plastica | Durable, flexible |
| Cardboard | Temporary, low cost |
| Paper | Quick, disposable |
Proper shimming distributes weight evenly, reducing movement and granting your floor the freedom from noise you want.
Install Squeak-Reducing Floor Tape
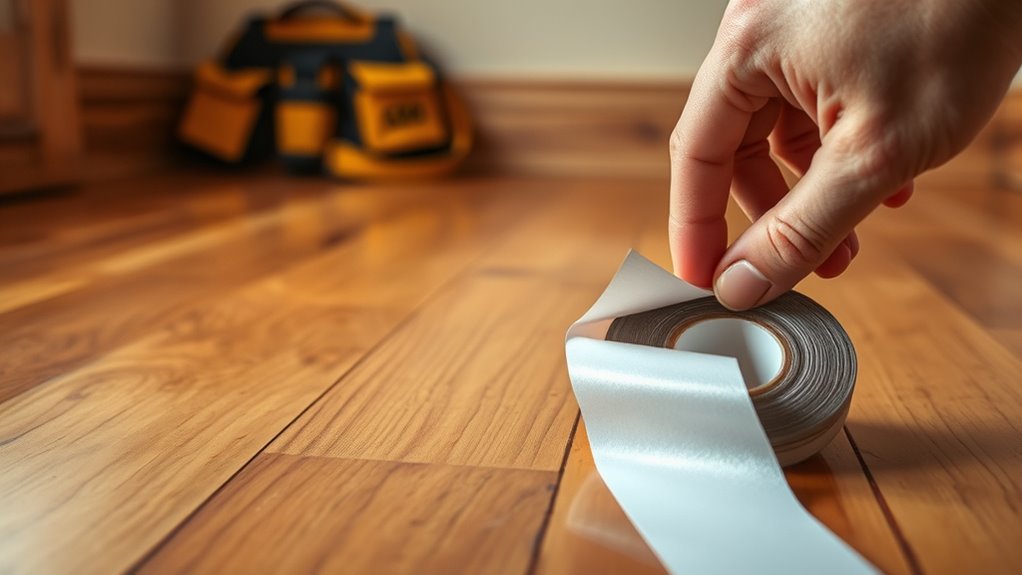
A reliable way to reduce floor squeaks is by installing squeak-reducing floor tape along the seams where the subfloor meets the joists. This tape acts as a cushion, preventing wood-on-wood friction that causes noise. To install, clean the area thoroughly, then cut the tape to length and firmly press it along each seam. Make sure the tape is flat and fully adheres for maximum effect. This method is one of the simplest squeak reducing materials you can use and fits well within common floor maintenance tips for lasting results.
- Clean and dry seams before application
- Use high-quality, durable floor tape
- Press tape firmly to avoid gaps or bubbles
Following these steps gives you freedom from annoying squeaks quickly and efficiently.
Test and Repeat as Needed
Although you’ve applied squeak-reducing tape, you’ll need to test the floor by walking over the treated areas to check for any remaining noise. Pay close attention to spots that previously squeaked, as some may require additional treatment. If you still hear creaks, don’t hesitate to lift the tape carefully and reapply or add extra strips where the floorboards shift. This testing and repeating process is essential for effective squeak prevention and long-term floor maintenance. Once satisfied, continue to monitor your floors regularly, especially after heavy use or seasonal changes that can affect wood expansion. By staying proactive, you maintain your home’s freedom from annoying noises, ensuring your floors remain quiet and stable for years to come.