To replace damaged luxury vinyl plank (LVP) flooring, start by identifying the type of planks—click-lock, glue-down, or loose lay—as this affects your method. Mark the damaged plank with tape and carefully cut it out, avoiding adjacent planks. Prepare the new plank by sawing grooves for a proper fit and applying bonding glue if necessary. Install the new plank by clicking it into place or adhering it, then remove excess glue immediately. Finally, apply a weight to guarantee proper adhesion. For best results, understanding different techniques will enhance your repair process considerably.
Importance of Timely Replacement
When it comes to the integrity of your vinyl pavimentazione, timely plank replacement is essential. If you notice a damaged vinyl plank, addressing it quickly can save you substantial repair costs—up to 50%—by preventing further damage from spreading. A single plank's timely replacement not only protects your investment but also maintains the aesthetic appeal of your flooring, ensuring a cohesive look in your space.
Ignoring damaged planks can lead to serious issues. Over time, moisture can seep into the flooring system, compromising its integrity and leading to more extensive damage. This can notably shorten the lifespan of your vinyl flooring, resulting in costly replacements down the line. Furthermore, damaged areas can create safety hazards, such as trip risks from lifting or peeling sections, which can jeopardize your family's safety.
Proactive replacement of damaged planks also plays an important role in maintaining your home's value. Well-maintained flooring is a key factor in property appraisals and can attract potential buyers. By ensuring your vinyl flooring remains in prime condition, you enhance the overall appeal of your home, making it more marketable.
Types of Vinyl Flooring
Understanding the various types of vinyl flooring is essential for effective maintenance and replacement. When you know the specific type of vinyl flooring in your home, you can easily determine how to replace a damaged plank and maintain the overall integrity of your floors. Here's a breakdown of the main types of vinyl flooring:
- Glue-Down Vinyl: This type requires heat to loosen the adhesive before you can remove damaged planks. While it's durable, the process can be labor-intensive.
- Click or Snap-Together Vinyl: This offers the simplest replacement method. You can easily click new planks into place without the need for adhesives or tools, making it ideal for DIY enthusiasts.
- Lay-Down (Loose Lay) Vinyl: By far the easiest to replace, this type allows for quick removal and installation without adhesives. It's perfect for those who want flexibility in their flooring.
Each of these types has specific manufacturer instructions that you must follow for a successful replacement. Understanding these types of vinyl flooring not only helps you choose the best repair method but also assists in maintaining the aesthetic and functional quality of your floors. Whether you're looking to replace a damaged plank or simply want to guarantee your flooring lasts, knowing the differences empowers you to make informed decisions.
Common Reasons for Replacement
Replacing LVP floor planks is often necessary due to various issues that can arise over time. One of the most common reasons for replacement is scratches and scuffs caused by heavy furniture or sharp objects. These blemishes not only detract from the overall aesthetics of your flooring but can also lead to further damage if left unchecked.
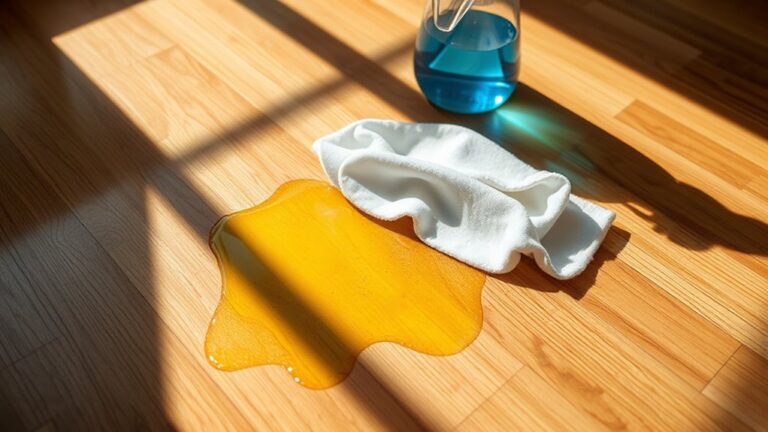
Water damage is another significant factor, as it can cause planks to swell, warp, or discolor. If you notice any signs of moisture infiltration, it's vital to replace a damaged vinyl plank promptly to maintain the integrity of your flooring. Additionally, peeling or lifting planks may pose safety hazards, indicating either improper installation or damage that requires immediate attention.
High-traffic areas in your home are particularly susceptible to wear and tear, which can lead to the degradation of planks over time. This degradation not only affects the look of your flooring but can also impact its functionality. Stubborn stains that resist cleaning efforts can further compromise the appearance of your floor, leading homeowners to replace affected planks to restore its original beauty.
Ultimately, recognizing these common reasons for replacement can help you take proactive measures in maintaining your LVP flooring. Whether it's addressing scratches, water damage, or general wear, being attentive to these issues guarantees that your floors remain both attractive and functional.
Step-by-Step Replacement Process
To effectively replace damaged LVP floor planks, you'll want to follow a systematic approach that minimizes disruption to your flooring. Here's a step-by-step guide to guarantee a smooth replacement process:
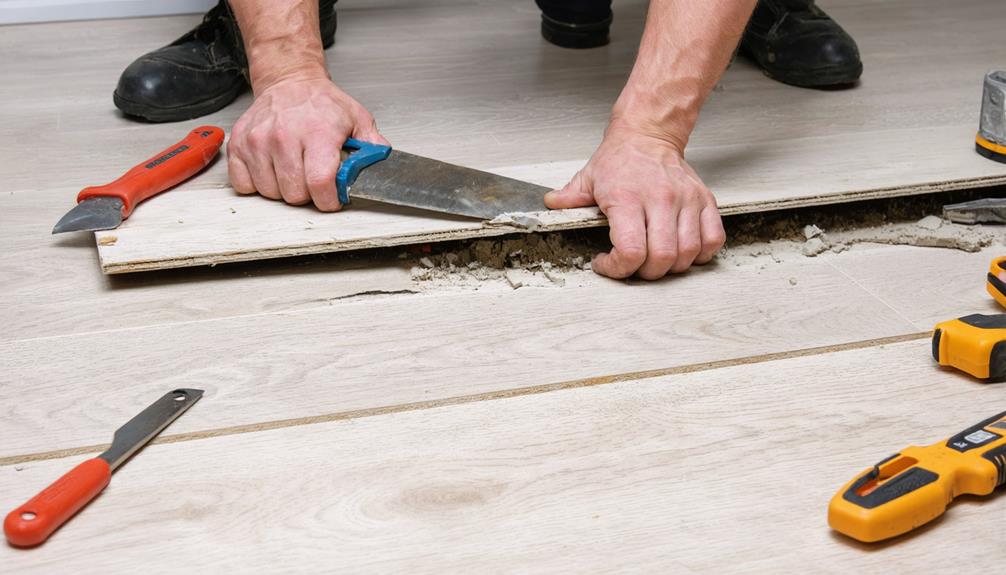
- Mark the Damaged Plank: Use tape to highlight the damaged area. Make a lengthwise incision about 10 cm from one end, followed by corner incisions to ease removal without harming adjacent planks.
- Cut the Damaged Plank: With a plunge saw, carefully cut along the marked lines, avoiding the surrounding planks. After removing the damaged plank, vacuum up any debris.
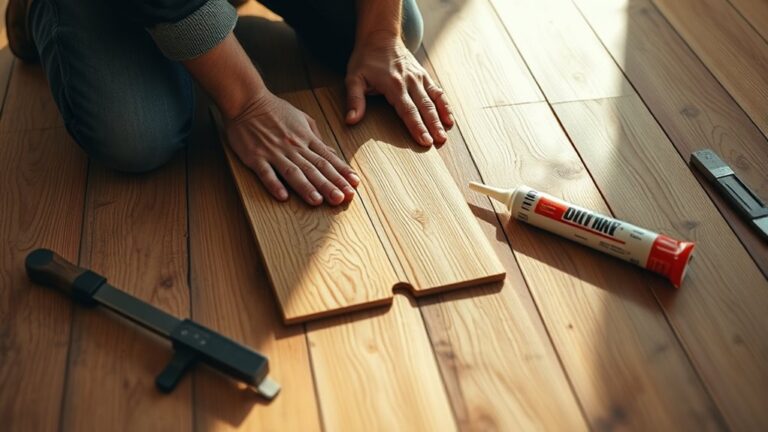
- Prepare the New Plank: Draw a saw line on the clicks of the new plank and saw off the grooves for a proper fit. Apply cold weld bonding glue to the edges of the adjacent planks.
- Install the New Plank: Position the new plank close to the short side opening and click the longer side securely into place. Be sure to wipe away any excess glue immediately to prevent it from affecting the installation.
- Weight and Drying: Finally, distribute approximately 40 kg of weight on the installed plank. Allow it to dry for at least 2 hours to achieve ideal adhesion before walking on it.
Tips for Successful Repair
Successful repair of LVP flooring hinges on a few key strategies that guarantee a lasting and visually appealing outcome. First, make certain that the replacement plank matches the existing flooring in both color and texture. This attention to detail guarantees aesthetic continuity throughout your space, enhancing its overall appeal.
Next, it's vital to address any underlying moisture or subfloor issues before you proceed with the replacement. Ignoring these factors can lead to future damage, costing you both time and money in the long run. A stable foundation is essential for the longevity of your vinyl plank flooring.
While DIY repairs can be cost-effective, be cautious. Mistakes during installation may result in higher costs down the line due to improper fitting or further damage. If the repair seems complex, consider hiring professionals. Their expertise can save you time, guarantee a high-quality finish, and help protect any warranties you may have.
Before you start, keep your tools and materials organized and ready. This preparation streamlines the repair process and minimizes disruption in your home. By following these tips, you can confidently tackle your LVP flooring repair and achieve results that meet your expectations. Remember, a successful repair not only improves the look of your space but also extends the life of your flooring investment.
Domande frequenti
Can You Replace One Plank of LVP?
Absolutely, you can replace one LVP plank without turning your space upside down. Think of it as a puzzle piece; when one's out of place, it's easy to swap it. For LVP plank durability, make sure you choose a matching color for a seamless look. LVP installation tips suggest checking the plank type—glue-down or click—and follow the manufacturer's instructions closely. This way, you'll maintain the integrity of your flooring while enjoying its lasting beauty.
How to Fix Damaged LVP Flooring?
To fix damaged LVP flooring, start by identifying the issue—scratches, stains, or water damage. For effective LVP maintenance, avoid common installation mistakes like improper acclimatization or choosing the wrong colors that can highlight flaws. If you need to replace a plank, guarantee the new color matches perfectly. Remember, taking the time to properly install and maintain your flooring will help it last longer and keep it looking great.
How Do You Replace a Damaged Floor Plank?
To replace a damaged floor plank, start with effective plank removal techniques. Identify the type of flooring, then cut the damaged plank along marked lines. Clean the area thoroughly to prepare for installation. Use plank matching strategies to guarantee the new plank blends seamlessly with existing flooring. For plank installation tips, secure the new plank in place and apply weight to promote adhesion. Follow these steps for a professional-looking repair that restores your floor's integrity.
How to Fix Floating Vinyl Plank Flooring That Is Lifting?
To fix lifting in your floating vinyl plank flooring, first identify the causes of lifting, like moisture or installation errors. Use prevention techniques, such as maintaining a stable humidity level and ensuring proper installation. Gently pry up the lifted planks, check the subfloor, and apply bonding glue along the edges. Press down with a weight for a couple of hours. For persistent issues, consider professional help to address underlying problems.