First, identify your stain type—oil, water, ink, or pet—then gather supplies like a soft cloth, mild detergent, and a soft brush. Test any cleaner on a hidden spot to avoid damage. Remove surface dirt gently with a broom or vacuum. For oil stains, sprinkle baking soda; for water stains, try a warm iron or toothpaste. Ink needs mild solvents. After cleaning, restore the finish with fine sanding and a protective coat. Keep going to explore detailed stain-specific tips and finish care.
Identify the Type of Stain
How do you know which method to use for removing a stain? First, identify the stain type on your wood pavimento. Different stain types—water, oil-based, ink, or pet stains—require specific removal methods. Water stains often appear white or cloudy, while oil stains look darker and soak deeper. Ink stains are usually sharp and distinct, and pet stains may smell or discolor the wood. Recognizing these characteristics helps you choose the right approach, preventing damage and saving time. Take a close look and consider the source of the stain before acting. By correctly identifying stain types, you gain control over the removal methods, empowering you to restore your wood floor effectively and maintain its natural beauty.
Raccogli i prodotti necessari per la pulizia
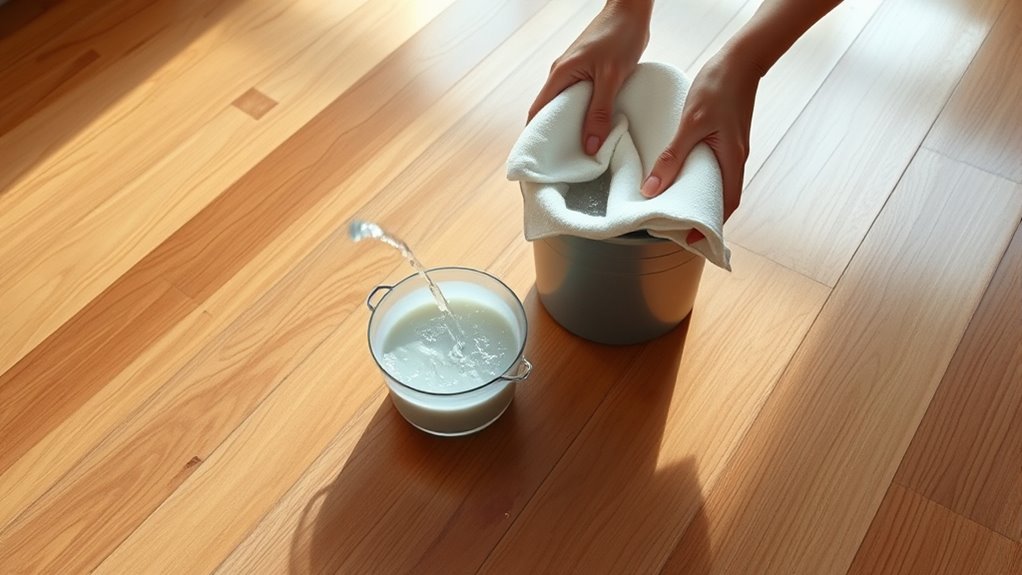
Before you start, make sure you have the right tools like a soft cloth, a scrub brush, and a bucket. You’ll also need recommended cleaning solutions suited for wood floors, such as mild detergent or a specialized wood cleaner. Gathering these supplies ahead of time will help you tackle the stain effectively and safely.
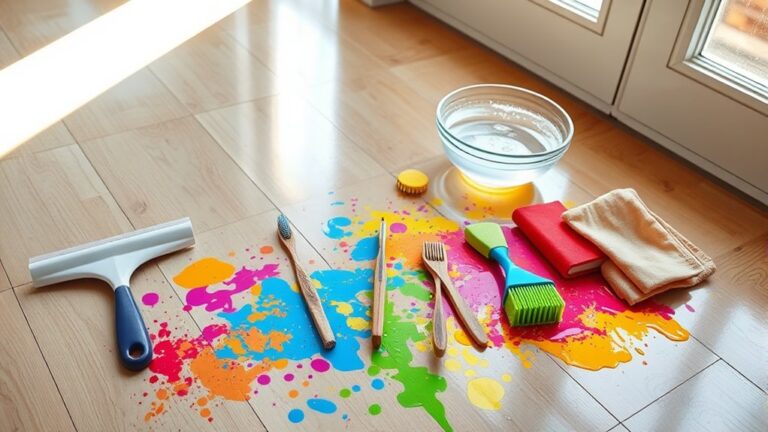
Essential Cleaning Tools
A soft cloth, gentle cleaner, and a few basic tools are all you need to tackle stains on your wood floor effectively. Choosing the right cleaning tools depends on the stain types you’re dealing with, so prepare accordingly.
Here are four essential cleaning tools to have on hand:
- Microfiber Cloths – Perfect for gentle wiping without scratching the wood surface.
- Soft-Bristled Brush – Helps lift stubborn stains without damaging the finish.
- Plastic Scraper – Useful for removing dried or sticky residue carefully.
- Spray Bottle – For applying water or cleaning solutions evenly.
With these cleaning tools ready, you’ll handle most common stain types confidently, keeping your wood floors spotless and well-maintained.
Recommended Cleaning Solutions
Choosing the right cleaning solutions is essential for effectively removing stains without harming your wood floor’s finish. Start with a gentle vinegar solution—mix one part white vinegar with three parts water—to tackle light stains safely. It’s a natural, effective option that won’t strip your floor’s protective coating. For tougher stains, consider commercial cleaners specifically designed for wood floors; these products offer targeted stain removal while preserving the wood’s integrity. Always test any solution on a small, hidden area first to verify it won’t cause discoloration or damage. Avoid harsh chemicals or abrasive cleaners that can degrade the finish. By selecting the appropriate vinegar solution or trusted commercial cleaners, you maintain your floor’s beauty and extend its lifespan while confidently removing stubborn stains.
Test Cleaning Solutions on a Small Area
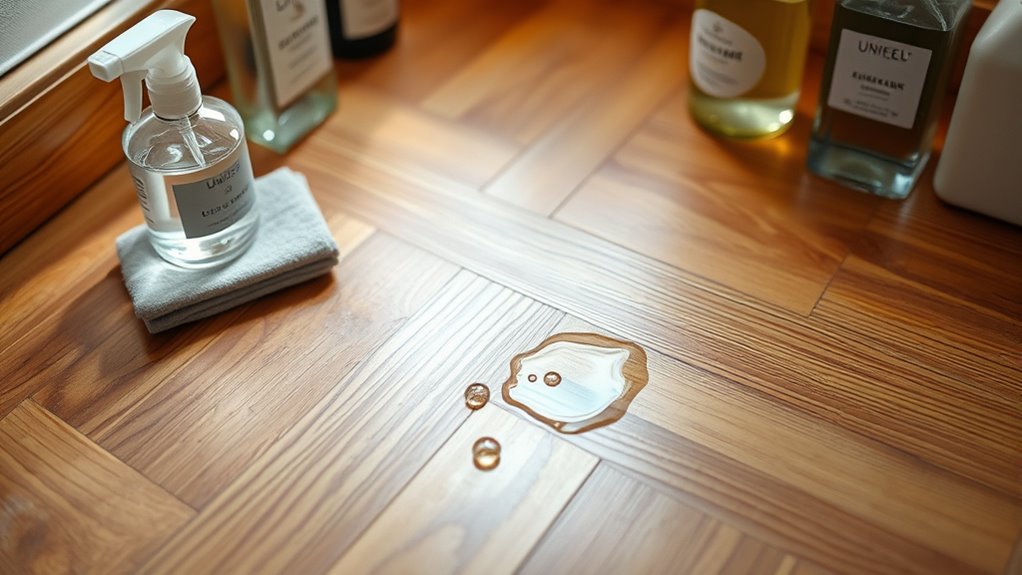
Before applying any cleaner to the stain, test a mild solution on a small, hidden area of your wood floor. Watch closely for any discoloration or damage to verify it’s safe to use. This step protects your floor from potential harm and helps you choose the best cleaner.
Choose Mild Cleaners
Two key steps will help you avoid damaging your wood floor when removing stains: selecting mild cleaners and testing them on a small, inconspicuous area first. Mild cleaners protect your floor’s finish while effectively lifting stains. Opt for natural cleaners or gentle cleaning alternatives to maintain your floor’s integrity.
Here’s how to choose the right cleaner:
- Start with natural cleaners like diluted vinegar or mild soap solutions.
- Avoid harsh chemicals that strip wood finishes or cause discoloration.
- Look for cleaning alternatives labeled safe for wood surfaces.
- Always dilute concentrated cleaners to reduce their strength.
Observe Wood Reaction
Once you’ve picked a mild cleaner, test it on a small, hidden spot of your wood floor. This step is vital because different wood types can react uniquely to cleaning solutions. Apply a small amount and wait a few minutes to observe any changes. Look for discoloration, dullness, or damage to the finish—these are signs of a negative stain reaction. If the wood appears unaffected, you can proceed confidently with cleaning the stained area. However, if you notice any adverse changes, switch to a gentler cleaner or try a different method suited for your wood type. Testing first protects your floor’s natural beauty and guarantees you maintain the freedom to clean without causing harm. Always prioritize care and caution when dealing with wood surfaces.
Remove Surface Dirt and Debris
Start by clearing away any loose dirt, dust, or debris from the wood floor using a soft broom or vacuum with a hardwood floor attachment. This initial surface cleaning step is essential for effective stain removal. You want to avoid rubbing dirt deeper into the wood grain.
Follow these debris removal tips:
- Sweep gently with a soft-bristled broom to loosen particles.
- Vacuum carefully, ensuring the attachment won’t scratch the floor.
- Check corners and edges for hidden dirt.
- Dispose of collected debris promptly to prevent recontamination.
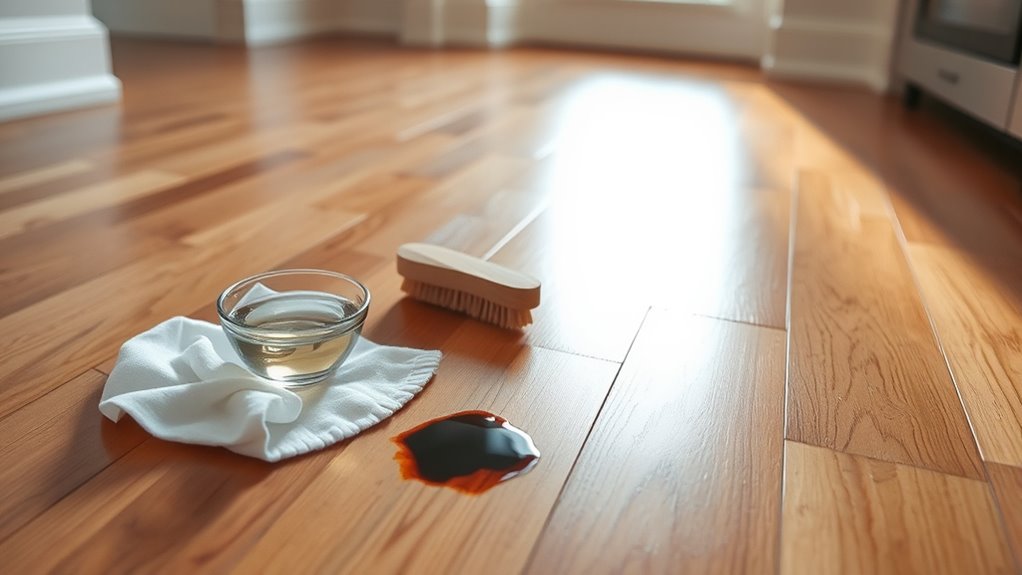
Use a Mild Soap and Water Solution
After removing surface dirt and debris, the next step is to gently clean the stained area using a mild soap and water solution. Choose a soap with gentle properties to avoid damaging the wood finish. Use lukewarm water; the water temperature should be moderate to activate the soap without warping the wood. Dampen a soft cloth with the solution and lightly rub the stain in circular motions. Avoid soaking the wood.
| Fare un passo | Dettagli |
|---|---|
| Soap Properties | Mild, pH-neutral, non-abrasive |
| Water Temperature | Lukewarm (not hot or cold) |
| Metodo di applicazione | Lightly dampened soft cloth |
| Cleaning Motion | Gentle circular rubbing |
This method balances effective cleaning with preserving your floor’s integrity.
Treat Oil-Based Stains With Baking Soda
Sprinkle baking soda directly onto the oil-based stain to absorb excess grease without harming your wood floor. Baking soda is gentle yet effective at lifting oil stains, making it an ideal first step.
- Cover the entire oil stain with a generous layer of baking soda.
- Let it sit for at least 15 minutes to soak up the oil.
- Gently scrub the area with a soft cloth or sponge in a circular motion.
- Wipe away the baking soda residue with a damp cloth and let the floor dry.
Repeat if necessary until the stain fades. Using baking soda gives you a natural, safe way to reclaim your floor’s freedom from stubborn oil stains without harsh chemicals.
Eliminate Water Stains With Iron or Toothpaste
When water leaves a white stain on your wood floor, you can often remove it using an iron or toothpaste. The iron method involves placing a clean cloth over the stain and gently pressing a warm iron for a few seconds. This helps evaporate trapped moisture. Alternatively, the toothpaste application requires a non-gel toothpaste rubbed gently onto the stain with a soft cloth, then wiped clean.
| Metodo | Strumenti necessari | Time Required |
|---|---|---|
| Iron Method | Iron, Cloth | 1-2 minutes |
| Toothpaste Application | Non-gel toothpaste, Cloth | 5-10 minutes |
| Follow-up | Dry cloth | 1 minute |
Both methods grant you freedom from water stains without harsh chemicals or sanding.
Address Ink and Dye Stains Carefully
Though ink and dye stains can seem stubborn, you’ll find they can often be treated effectively with the right approach. Start by choosing appropriate ink removal techniques that won’t damage your wood floor. Here’s how to tackle these stains:
- Test a mild solvent like rubbing alcohol on a hidden spot to verify it won’t harm the finish.
- Gently blot the stain with a soft cloth soaked in the solvent—never rub, as this spreads the ink.
- For dye absorption methods, sprinkle baking soda or cornstarch on the stain to draw out excess dye. Let it sit for several hours.
- Vacuum or wipe away the powder, then clean the area with a damp cloth. Repeat if necessary, always working carefully to preserve your floor’s surface.
Restore the Floor’s Finish After Cleaning
After carefully removing ink or dye stains, you’ll likely notice the floor’s finish has dulled or worn in that spot. To restore the floor’s finish, start by lightly sanding the affected area with fine-grit sandpaper to smooth any roughness. Next, clean away dust using a tack cloth. Apply a thin layer of finish restoration product, such as a wood floor restorer or a compatible varnish, matching your floor’s original finish. Allow it to dry completely, then apply a second coat if needed. Finally, protect your work by applying a fresh layer of protective coatings like polyurethane or wax, depending on your floor type. This step guarantees durability and maintains freedom to enjoy a flawless, stain-free wood floor.