
To reinforce your floor joists in seven simple steps, start by evaluating their condition for damage or sagging. Gather all necessary tools and materials, then prepare a safe, clear workspace with good lighting. If needed, install temporary supports to stabilize the structure. Sister new lumber of matching dimensions alongside existing joists, clamping and fastening them securely with pilot holes and screws. Finally, inspect the reinforcement for alignment and tighten all fasteners. Explore further details to enhance your floor’s strength and durability.
Assess the Condition of Your Floor Joists
Before reinforcing your pavimento joists, you need to thoroughly assess their current condition. Begin with joist inspection techniques that include visual examination for cracks, warping, rot, or insect damage. Use a flashlight and probe to detect soft spots indicating wood decay. Measure joist deflection under load to identify sagging, which compromises structural integrity. Document any signs of water damage or previous repairs that might affect stability. Conduct a structural integrity assessment by checking joist spacing and connections to beams or headers, ensuring they meet building code standards. This precise evaluation lets you determine load capacity deficits and target reinforcement effectively. By accurately diagnosing your joists’ condition, you maintain control over your project’s safety and durability, granting you the freedom to customize your reinforcement strategy confidently.
Raccogli gli strumenti e i materiali necessari
Before starting the reinforcement process, you’ll need to assemble a precise set of tools, including a drill, saw, measuring tape, and safety equipment. Additionally, gather materials like lumber, joist hangers, screws, and construction adhesive suited to your joist specifications. Having these essentials on hand guarantees efficiency and structural integrity during the reinforcement.
Essential Tools Checklist
Although reinforcing floor joists may seem straightforward, having the right tools and materials is critical to verify accuracy and safety throughout the process. You’ll need to select specific tool types and safety equipment that enable precise measurements and secure handling. Here’s a focused checklist to prepare you:
- Measuring Tools – Tape measure and speed square for exact dimensions and angles.
- Cutting Tools – Circular saw or handsaw, suited to the joist material.
- Fastening Tools – Cordless drill and appropriate drill bits for pilot holes and screws.
- Safety Equipment – Protective goggles, gloves, ear protection, and dust mask to verify personal safety.
Having these tools at hand verifies you maintain control, accuracy, and safety, freeing you to work confidently and efficiently.
Required Materials Overview
With your tools organized and ready, you’ll next focus on gathering the specific materials required to reinforce your floor joists effectively. Understanding material types is essential; commonly, you’ll need dimensional lumber, steel plates, and construction adhesive. Dimensional lumber, often pressure-treated, is ideal for sistering joists, enhancing load capacity. Steel plates provide added rigidity, especially in areas prone to high stress. Construction adhesive guarantees a firm bond between materials, minimizing movement. Depending on chosen reinforcement techniques—sistering, adding blocking, or installing steel flitch plates—your material list will adjust accordingly. Don’t forget fasteners like nails or lag bolts with appropriate corrosion resistance. Selecting the right materials guarantees structural integrity and longevity, granting you the freedom to customize reinforcement based on your floor’s unique requirements. Always verify compatibility with existing joist dimensions and load specifications before purchase.
Prepare the Work Area and Ensure Safety

To start, identify and clear at least a three-foot perimeter around the joist area to provide sufficient workspace and reduce tripping hazards. Next, verify your work area is well-lit and ventilated for ideal visibility and comfort. Prioritize the use of appropriate safety equipment such as gloves, safety glasses, and a dust mask to protect yourself from debris and dust. Finally, inspect the floor for any unstable or damaged sections that could compromise your stability during reinforcement.
- Remove all unnecessary objects within the workspace perimeter.
- Set up portable lighting to eliminate shadows and blind spots.
- Don necessary safety equipment before beginning any task.
- Confirm the structural integrity of the immediate floor area.
These steps verify a safe, efficient environment, granting you greater freedom to complete the job effectively.
Install Temporary Supports if Needed
Before reinforcing floor joists, you’ll need to assess the load requirements to determine if temporary supports are necessary. Choose appropriate materials based on strength and stability, such as adjustable steel jacks or lumber braces. Then, position the temporary bracing strategically to evenly distribute weight and prevent structural movement during the work.
Assess Load Requirements
Accurately evaluating the load requirements is essential for ensuring the structural integrity of your floor joists. To do this effectively, you need to analyze how weight capacity and load distribution affect your floor system. Here’s what you should focus on:
- Calculate the total expected load, including live, dead, and environmental forces.
- Assess the current joist dimensions and spacing relative to the anticipated load.
- Identify any uneven load distribution that may cause stress concentrations.
- Determine if the existing joists meet or exceed the necessary weight capacity.
Select Support Materials
Selecting appropriate support materials is critical for reinforcing floor joists effectively and safely. You’ll want to evaluate wood types carefully—opt for structural-grade lumber such as Douglas fir or Southern yellow pine, known for their strength and durability. Avoid inferior woods that can compromise load capacity. For hardware options, choose galvanized steel brackets, joist hangers, and bolts rated for structural use; they resist corrosion and provide reliable connections. If temporary supports are necessary, use adjustable steel posts or sturdy lumber beams to bear weight during reinforcement. Prioritize materials that balance strength with ease of installation. By selecting the right wood types and hardware options, you guarantee structural integrity while maintaining flexibility in your reinforcement process, granting you the freedom to complete the task efficiently and securely.
Position Temporary Bracing
One essential step in reinforcing floor joists is positioning temporary bracing to stabilize the structure during the work. Proper bracing techniques prevent sagging or shifting, ensuring safety and accuracy. Here’s how to effectively install temporary supports:
- Identify weak points beneath the joists where deflection is noticeable or expected.
- Use adjustable steel or wooden posts as temporary supports, placing them perpendicular to the joists.
- Secure the supports firmly between the subfloor and foundation or sill plate to resist lateral movement.
- Double-check alignment to maintain level joist positioning throughout the reinforcement process.
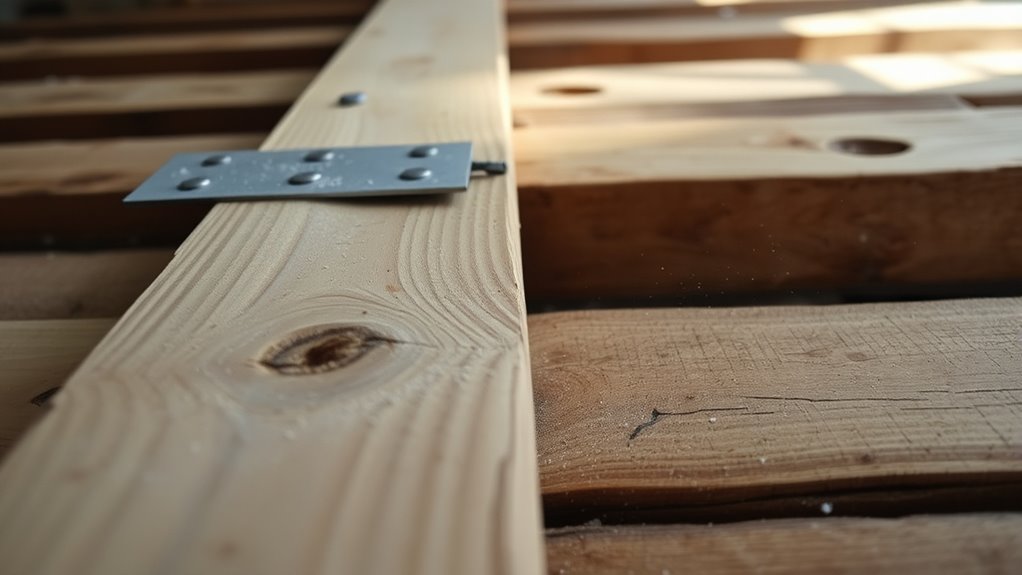
Sister the Existing Joists With New Lumber
Although reinforcing floor joists can be approached in various ways, sistering the existing joists with new lumber offers a straightforward and effective method to increase load capacity and reduce deflection. You’ll appreciate the sister joist benefits: improved structural integrity and extended joist lifespan without full replacement. Lumber selection is critical—choose lumber matching or exceeding the original joist’s dimensions and species for ideal compatibility.
| Aspetto | Raccomandazione |
|---|---|
| Lumber Type | Kiln-dried, structural-grade |
| Dimension Match | Equal or greater thickness |
| Length | Full span of existing joist |
This technique enhances stiffness and distributes loads evenly, allowing you the freedom to enhance your floor’s performance efficiently.
Secure the Reinforced Joists Properly

Once you’ve positioned the sister joists correctly, you’ll need to secure them firmly to guarantee load transfer and prevent movement under stress. Proper joist alignment is critical for effective reinforcement techniques. Follow these steps:
- Clamp Joists: Use heavy-duty clamps to hold the sister joists tightly against the existing ones, ensuring no gaps disrupt alignment.
- Pre-Drill Holes: Drill pilot holes through both joists to avoid wood splitting and maintain precise alignment.
- Fasten Securely: Use structural screws or bolts spaced every 12–16 inches along the length, ensuring load is evenly distributed.
- Check for Movement: After fastening, test for any play or shifting; adjust clamps and fasteners as necessary.
Inspect and Finish the Reinforcement Work
After securing the sister joists firmly, the next step involves a thorough inspection to verify the integrity and effectiveness of the reinforcement. You’ll want to inspect joist integrity by checking for any gaps, misalignments, or loose fasteners that could compromise structural stability. Use a level and straightedge to confirm alignment and guarantee the sister joists are flush with the existing ones. Examine all bolts, screws, or nails to assure they’re properly tightened and correctly spaced. Once you’re confident in the structural soundness, you can finish the reinforcement process by sealing any exposed wood with a protective coating to prevent moisture damage. Document your inspection results to maintain a clear record. This precise approach guarantees your floor joists provide lasting support and freedom from future structural issues.