You’ll start by evaluating your engineered flooring for damage and veneer thickness to guarantee sanding is viable. Next, gather proper sanders, finishing products, and safety gear. Prepare the floor by securing loose boards and thoroughly cleaning. Sand using coarse grit first, then finer grits, carefully preserving the veneer. After sanding, vacuum and wipe away dust before applying thin, even coats of stain or finish. Proper drying and maintenance are key to durability—continue exploring to master each step thoroughly.
Assessing the Condition of Your Engineered Flooring
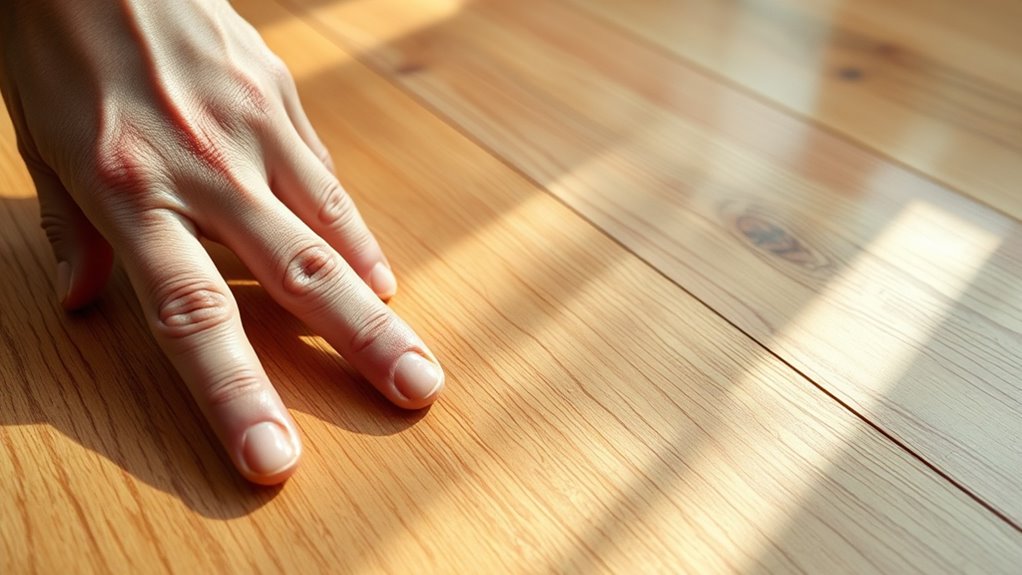
Before you begin refinishing, you’ll need to thoroughly evaluate the condition of your engineered pavimentazione to determine its suitability for sanding and refinishing. Start with floor inspection techniques such as visual scanning for surface scratches, dents, and water damage. Use a moisture meter to detect any underlying humidity issues that could compromise refinishing efforts. Damage evaluation methods should include checking the thickness of the wear layer; if it’s too thin, sanding may expose the plywood base, limiting your options. Inspect for loose or warped boards by applying gentle pressure. Identifying structural integrity and wear patterns is essential before proceeding. By accurately evaluating these factors, you’ll guarantee your refinishing project is viable, allowing you the freedom to restore your floor confidently without risking irreversible damage.
Gathering the Necessary Tools and Materials
Before you start refinishing, make sure you have the right sanding equipment, including a drum or orbital sander with appropriate grit sandpaper. You’ll also need high-quality finishing products like stain, sealer, and polyurethane designed for engineered wood. Don’t forget essential safety gear—respirators, goggles, and gloves—to protect yourself throughout the process.
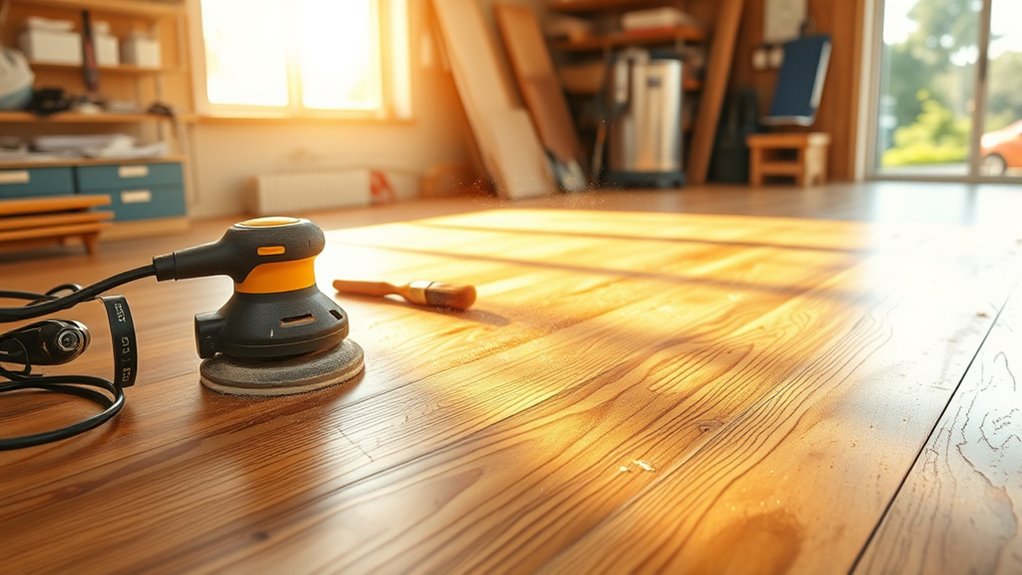
Essential Sanding Equipment
Sanding equipment forms the backbone of any successful engineered flooring refinishing project. You’ll need a drum sander for the main floor area and an edge sander for corners and trim. Both tools require proper grit sandpaper, typically starting coarse and progressing finer to achieve smoothness without damaging the veneer. Mastering sanding techniques such as consistent pressure and overlapping strokes guarantees an even surface. Don’t overlook a vacuum system attachment—dust control is essential for a clean finish. Regular equipment maintenance, including checking belts, replacing worn pads, and lubricating moving parts, assures peak performance and longevity. Investing time in these details gives you the freedom to refinish your flooring confidently and efficiently, achieving professional-grade results while preserving your engineered floor’s integrity.
Recommended Finishing Products
Choosing the right finishing products is critical to achieving a durable, attractive surface on your engineered flooring. After thorough surface preparation, select products that complement the wood’s characteristics and your lifestyle. Here’s a concise overview of recommended finishing products to evaluate:
| Tipo di prodotto | Caratteristiche principali | Best Use Case |
|---|---|---|
| Water-Based Poly | Fast drying, low odor | High-traffic residential |
| Oil-Based Poly | Durable, amber hue | Classic look, commercial use |
| Hard Wax Oil | Natural finish, easy touch-ups | Eco-friendly, low maintenance |
Each product demands meticulous application to enhance the floor’s longevity and aesthetic. Your choice will directly impact maintenance frequency and overall satisfaction with the refinished floor.
Safety Gear Checklist
While preparing to refinish your engineered flooring, you’ll need to assemble specific safety gear to protect yourself from dust, fumes, and potential injuries. Start with a high-quality dust mask rated N95 or higher to prevent inhalation of fine particles generated during sanding. Safety goggles are essential to shield your eyes from airborne debris and splinters. Additionally, wear durable gloves to protect your hands from chemicals and rough surfaces. Consider using ear protection since sanding equipment produces loud noise levels that can damage hearing. Guarantee proper ventilation in your workspace to minimize fume exposure. Non-slip, supportive footwear is also recommended to maintain balance on potentially slippery floors. Gathering this essential safety gear guarantees you maintain control and freedom throughout the refinishing process, minimizing health risks and allowing you to work confidently and efficiently.
Preparing the Floor for Refinishing
Before you begin refinishing engineered flooring, ensuring the surface is meticulously prepared is essential for a durable, professional result. Start with a thorough floor inspection to identify any damages such as scratches, dents, or gaps in the planks. Address loose boards by securing them firmly to prevent movement during refinishing. Remove all furniture and thoroughly clean the floor to eliminate dust, dirt, and residues that can interfere with adhesion. Surface preparation also involves checking for moisture issues; engineered wood requires a dry environment to avoid finish failure. Use a vacuum and tack cloth to pick up fine particles. Proper preparation sets the foundation for successful refinishing, ensuring your engineered flooring achieves a smooth, lasting finish that maintains its structural integrity and aesthetic appeal.
Sanding the Engineered Wood Surface
Once your engineered flooring is properly prepped and free of debris, sanding the surface comes next to guarantee ideal adhesion of stains and finishes. Start with a coarse sanding grit, around 60 to 80, to remove the existing finish and level any unevenness. Use a drum sander for large areas, applying consistent pressure and moving steadily to avoid gouges. For edges and tight spaces, a handheld orbital sander with finer grit guarantees precision without damaging the veneer. Gradually progress to finer sanding grit—100 to 120—to smooth the surface and prepare it for staining. Employing proper sanding techniques minimizes the risk of sanding through the thin top layer. Staying meticulous during this step preserves the engineered flooring’s integrity and sets the stage for a flawless refinish.
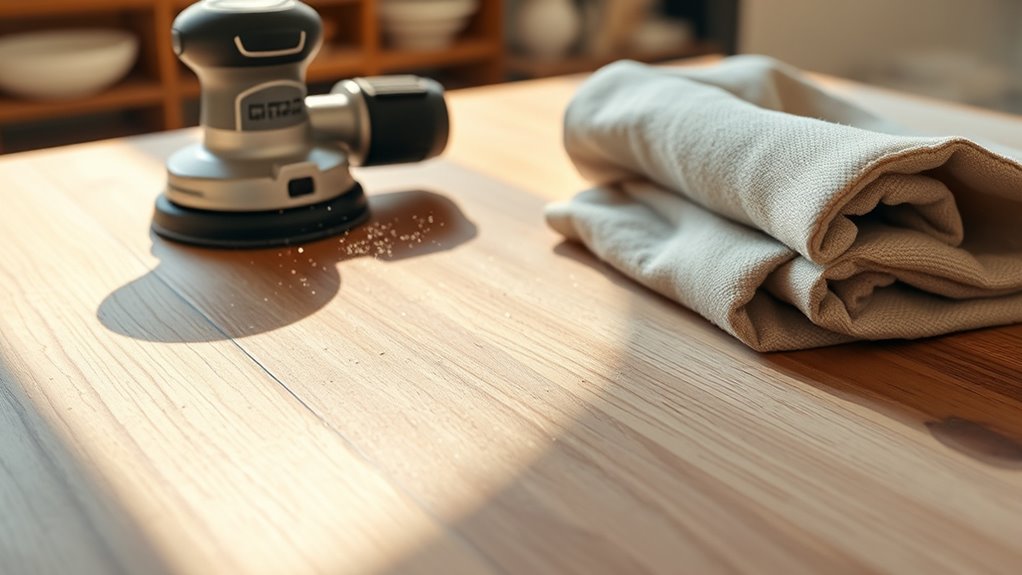
Cleaning and Removing Dust After Sanding
As sanding produces fine dust that can compromise finish adhesion, you’ll need to thoroughly clean the surface before proceeding. Efficient dust collection is critical to avoid contamination and guarantee a smooth finish. Start by vacuuming with a HEPA-filter vacuum, then wipe the surface using a slightly damp microfiber cloth to capture residual particles.
| Fare un passo | Recommended Cleaning Technique |
|---|---|
| 1. Initial Vacuum | Use HEPA-filter vacuum for coarse dust |
| 2. Edge Cleaning | Detail vacuum corners and edges |
| 3. Damp Wipe | Microfiber cloth with minimal moisture |
| 4. Final Inspection | Visual check for dust and debris |
Applying Stain or Finish to the Floor
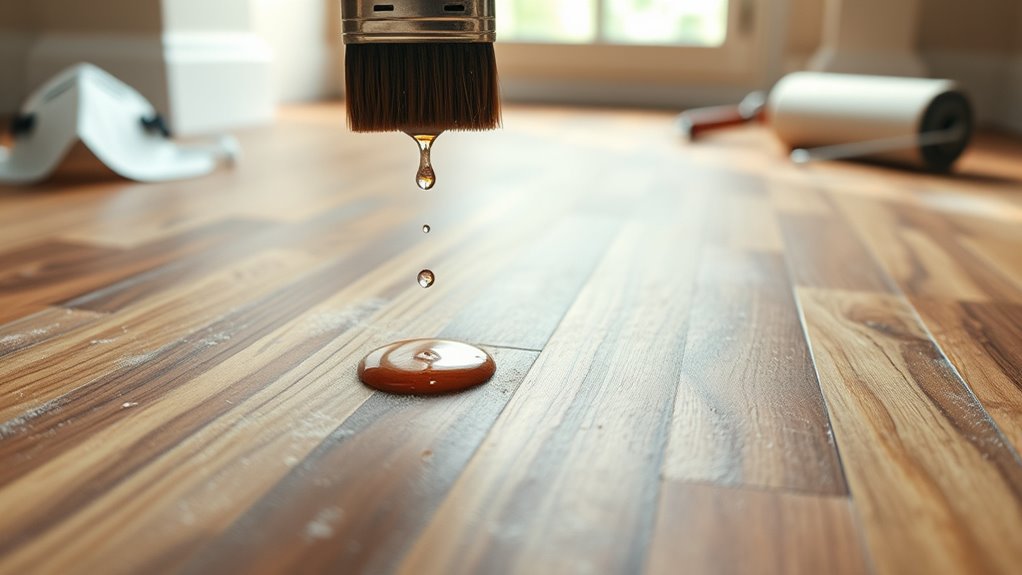
Although thorough cleaning is essential, applying stain or finish requires careful attention to product selection and technique to confirm durability and aesthetic quality. Begin with a test patch to verify the stain application achieves your desired color without blotching. Use a high-quality brush or microfiber applicator, applying stain evenly along the wood grain to avoid streaks. After staining, allow adequate penetration time before wiping off excess to prevent uneven drying. For finish techniques, select a compatible topcoat—polyurethane or oil-based finishes provide excellent protection. Apply thin, consistent coats using a fine brush or roller, maintaining smooth, overlapping strokes. Avoid over-brushing, which can cause bubbles or streaks. Precision in these steps confirms a resilient, visually appealing floor that grants you the freedom to enjoy a flawless engineered wood surface.
Allowing Proper Drying and Maintenance Tips
You’ll need to guarantee the floor dries thoroughly, which typically requires 24 to 48 hours depending on the finish used and environmental conditions. Avoid heavy foot traffic and placing furniture on the surface during this period to prevent damage. After drying, maintain your engineered flooring with regular cleaning and periodic reapplication of protective coatings to extend its lifespan.
Drying Time Essentials
While proper drying time might seem straightforward, it’s critical to guarantee engineered flooring finishes cure fully before any foot traffic or furniture placement. You need to employ effective drying techniques, such as ensuring consistent airflow and maintaining stable temperatures to accelerate solvent evaporation without compromising the finish. Humidity control plays a pivotal role—keeping indoor humidity between 40-60% prevents excessive moisture absorption or drying too fast, both of which can damage the finish. Avoid introducing heat sources that cause uneven drying or surface cracking. Use a hygrometer to monitor conditions closely throughout the curing period. By strictly adhering to these drying essentials, you preserve the finish’s integrity and longevity, ultimately securing your engineered flooring’s durability and aesthetic appeal while granting you the freedom to enjoy your space sooner and safer.
Post-Refinish Care
Once the finish has dried thoroughly, your focus shifts to maintaining the engineered flooring’s condition during the initial post-refinish period. Proper post refinish maintenance guarantees the longevity and appearance of your floor. Avoid heavy traffic and furniture placement for at least 72 hours to prevent surface indentations or scratches. Use felt pads on furniture legs and avoid wet mopping; instead, opt for a dry or slightly damp microfiber mop to preserve the finish. Control indoor humidity between 35-55% to prevent wood expansion or contraction. Regular floor care involves promptly cleaning spills with a soft cloth and using manufacturer-recommended cleaning products to avoid damaging the finish. By adhering to these precise guidelines, you retain your engineered floor’s durability and aesthetic freedom well beyond the refinishing process.