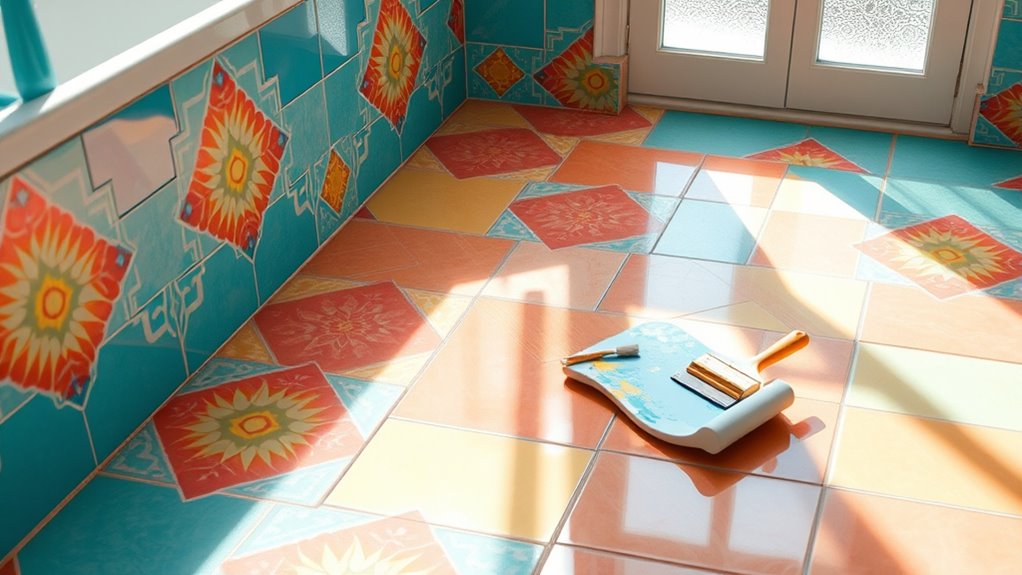
To paint bathroom floor tiles, first clean and dry them thoroughly, then lightly sand for better paint adhesion. Use a primer made for tiles, applying thin, even coats with a small roller or brush. Choose durable, moisture-resistant paint such as epoxy or enamel, and finish with a compatible sealer to protect against wear and moisture. Maintain your painted pavimento by avoiding abrasive cleaning and promptly touching up chips. Keep following for detailed steps and tips to guarantee lasting results.
Preparing the Bathroom Floor Tiles

Before you begin painting, you’ll need to thoroughly prepare the bathroom floor tiles to secure proper paint adhesion and durability. Start by cleaning the tile surface preparation meticulously; remove all dirt, grime, and soap scum using a strong degreaser or a mixture of vinegar and water. Rinse well and dry completely. Next, address moisture control, as excess moisture can cause paint to peel or bubble. Confirm the bathroom is well-ventilated and tiles are fully dry before proceeding. Lightly sand the tiles using fine-grit sandpaper to create a roughened surface for better paint grip. Wipe away dust with a damp cloth and allow drying. By carefully managing tile surface preparation and moisture control, you set the foundation for a lasting, professional-looking paint job that gives you freedom to customize your space confidently.
Choosing the Right Paint and Supplies
When selecting paint for your bathroom floor tiles, you’ll want to focus on durability and moisture resistance to guarantee a long-lasting finish. Choose paint types specifically formulated for floors or tiles, such as epoxy or enamel-based paints, as they offer superior adhesion and protection against wear. Consider the color options carefully; light hues can brighten the space, while darker tones hide dirt better. Along with paint, gather essential supplies to facilitate a smooth process and finish.
- High-quality primer to enhance adhesion and durability
- A set of fine brushes and rollers for detailed and even application
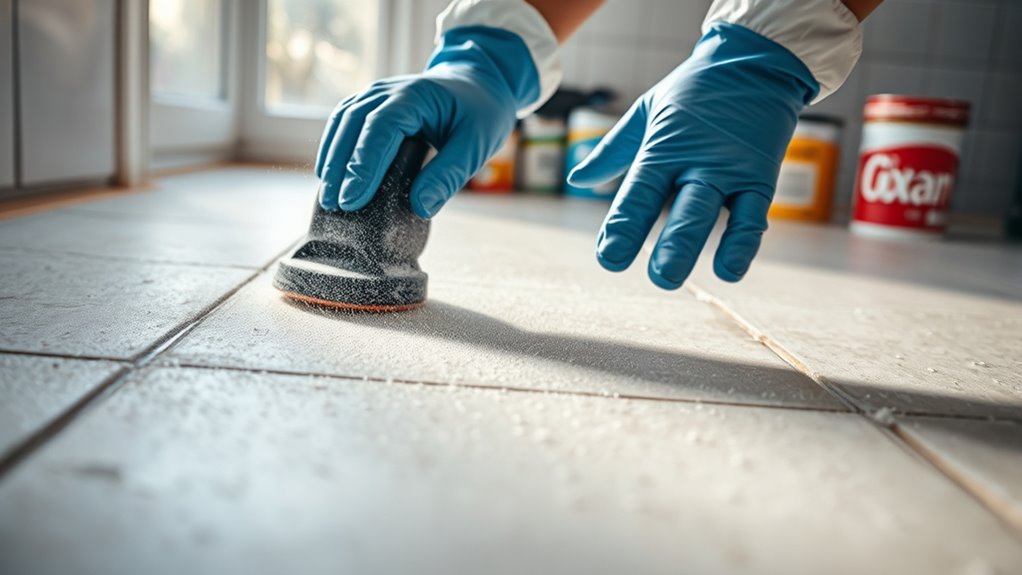
- Protective gear like gloves and masks for your safety and comfort
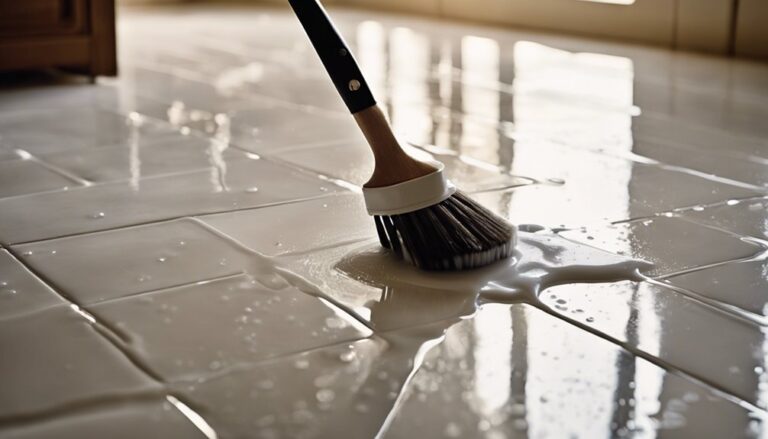
Cleaning and Sanding the Tiles
Although selecting the right paint is crucial, thorough cleaning and sanding of your bathroom floor tiles is the essential next step to guarantee proper adhesion. Start with the best cleaning methods: use a degreasing cleaner and scrub to remove dirt and oils. Rinse well and let dry completely.
Next, apply sanding techniques to create a rough surface for the paint to grip. Use fine-grit sandpaper (220 grit) and sand evenly without damaging tiles. Vacuum dust thoroughly afterward.
| Fare un passo | Detail |
|---|---|
| Pulizia | Degreaser, scrub, rinse, dry |
| Levigatura | Fine-grit sandpaper, even pass |
| Dust Removal | Vacuum or wipe |
| Ispezione | Check for smooth, dull finish |
Following these steps guarantees your paint will adhere firmly and last longer.
Applying the Primer and Paint
You’ll want to select a primer specifically designed for tiles to guarantee proper adhesion. Apply the primer and paint in thin, even coats to avoid drips and uneven coverage. Make certain to let each layer dry completely before adding the next to achieve a durable finish.
Choosing the Right Primer
Since bathroom floor tiles are exposed to moisture and frequent foot traffic, selecting the right primer is essential for guaranteeing paint adhesion and durability. You’ll want to explore various primer types designed specifically for tile surfaces, such as epoxy or bonding primers, which provide a strong base and resist peeling. Trusted primer brands often offer formulations suited for high-moisture areas, helping your paint last longer without chipping.
When choosing your primer, consider these factors:
- Moisture resistance: Keeps paint intact despite humidity.
- Adhesion strength: Guarantees paint won’t peel under pressure.
- Durata: Maintains appearance despite daily wear.
Applying Even Paint Coats
Once you’ve selected and applied the appropriate primer, the next step is to guarantee your paint coats go on evenly. Start by using quality paint roller techniques—choose a small, dense roller designed for smooth surfaces to ensure consistent coverage. Apply paint in thin, steady layers, rolling in one direction to maintain uniformity. Avoiding brush strokes is vital; brushes can leave uneven textures on tile, so reserve them for edges or corners only. Overlap each roller pass slightly to prevent streaks and missed spots. Don’t overload the roller with paint, as excess can cause drips and uneven drying. By controlling pressure and speed during application, you’ll achieve a smooth, professional finish that enhances your bathroom floor’s look and longevity.
Allowing Proper Drying Time
Although applying paint evenly is essential, allowing proper drying time between coats is just as important to assure durability and a flawless finish. You’ll want to master drying techniques that guarantee each layer sets perfectly before adding the next. Controlling humidity is key—high moisture slows drying, risking smudges or peeling. Use a dehumidifier or open windows to maintain ideal conditions. Patience here grants freedom from redoing work.
Remember these essentials:
- Maintain consistent humidity levels to speed drying without cracking.
- Allow at least 24 hours between primer and paint coats.
- Avoid heavy traffic on tiles until the final coat is fully cured.
Sealing the Painted Tiles
To protect your painted bathroom floor tiles, you’ll need to choose the right sealer designed for high-traffic, moisture-prone areas. Apply the sealer evenly using a brush or roller, following the manufacturer’s instructions for best results. Allow proper drying and curing times to guarantee a durable, long-lasting finish.
Choosing the Right Sealer
While selecting the right sealer might seem straightforward, choosing one that’s compatible with both your paint and bathroom floor tiles is crucial for durability and protection. Different sealer types—such as water-based, epoxy, or polyurethane—offer varying levels of resistance to moisture and wear. Consider sealers designed specifically for high-traffic, wet environments to promote longevity. Your choice impacts how well the paint withstands daily use and cleaning.
Think about these factors when picking your sealer:
- Protection against water damage and stains
- Enhancing the painted surface’s appearance and texture
- Ease of maintenance and reapplication
Tecniche di applicazione
Once you’ve selected the right sealer for your bathroom floor tiles, applying it correctly guarantees your paint job lasts. Start by stirring the sealer gently to avoid bubbles, which can mar the finish. Use brush techniques for edges and corners—apply thin, even coats with smooth strokes. For larger flat areas, roller application is ideal; choose a foam roller to minimize texture. Work methodically, overlapping slightly to avoid streaks or missed spots. Avoid overloading the brush or roller to prevent drips and pooling. Make sure the sealer flows uniformly over the surface, sealing every painted tile thoroughly. This precise application creates a durable protective layer, ensuring your freedom to enjoy a refreshed bathroom floor without frequent touch-ups or damage.
Drying and Curing Times
Although applying the sealer correctly is essential, allowing adequate drying and curing time is just as important to confirm a durable finish. You’ll want to follow specific drying techniques, such as maintaining moderate airflow without direct drafts, to prevent uneven drying. Ideal curing conditions include a stable temperature between 65-75°F and low humidity to help the sealer bond effectively with the painted tiles.
Remember, patience here means freedom from premature wear and peeling. To achieve success:
- Resist the urge to walk on the tiles too soon
- Keep the room well-ventilated but avoid direct sunlight
- Allow at least 24 hours for drying, and up to 7 days for full curing
Caring for Your Painted Bathroom Floor Tiles
To keep your painted bathroom floor tiles looking fresh, you’ll need to follow a consistent care routine. Start by using gentle cleaning products—avoid harsh chemicals or abrasive tools that can damage the paint layer. Opt for pH-neutral cleaners and soft cloths or mops to prevent scratches. Regularly sweep or vacuum to remove dirt and grit that might wear down the finish. Maintenance tips include promptly wiping spills to avoid stains and placing mats in high-traffic areas to reduce wear. Avoid soaking the floor with water; instead, use damp cleaning methods. If you notice minor chips or scratches, touch them up quickly to preserve the protective coating. By sticking to these practices, you’ll extend the life and vibrancy of your painted bathroom floor tiles, maintaining their freedom-enhancing aesthetic.