To install vinyl floors, first select durable vinyl suited for your room’s traffic and moisture levels. Prepare your subfloor thoroughly—clean, dry, and level any uneven areas. Measure and cut the vinyl precisely using a sharp utility knife and straightedge, allowing expansion gaps. Lay the vinyl carefully, aligning edges and trimming to fit fixtures. Finish by sealing edges to prevent moisture damage and maintain durability. Follow proper maintenance to extend your floor’s lifespan. For an extensive guide, keep exploring detailed steps and tips.
Choosing the Right Vinyl Flooring
How do you determine which vinyl flooring suits your space best? Start by evaluating the vinyl flooring types available: luxury vinyl planks (LVP), vinyl tiles (LVT), and sheet vinyl. Each type offers distinct installation methods and durability levels. Consider your room’s traffic and moisture exposure to select the best type. Next, assess color options to complement your design vision while enhancing room dimensions. Light colors can open up compact spaces, while darker hues add warmth and conceal dirt. Prioritize vinyl with a robust wear layer for longevity and maintenance ease. By focusing on these technical factors, you gain the freedom to choose flooring that aligns perfectly with both functional needs and aesthetic preferences, ensuring a seamless installation and lasting satisfaction.
Preparazione del sottofondo
Once you’ve selected the ideal vinyl flooring for your space, the next step is to confirm the subfloor is properly prepared. Begin by inspecting the subfloor materials—commonly plywood, concrete, or existing vinyl—to confirm they’re clean, dry, and level. Any unevenness greater than 3/16 inch over 10 feet must be sanded or filled with a leveling compound. Moisture is your biggest enemy; test for moisture levels, especially on concrete subfloors. If moisture exceeds recommended limits, install a moisture barrier to prevent damage and adhesive failure. Remove debris, nails, or staples that could cause bumps. Proper subfloor preparation confirms your vinyl flooring lays flat, adheres well, and lasts longer. Taking these precise steps now gives you the freedom to enjoy a flawless finish without future complications.
Measuring and Cutting Vinyl

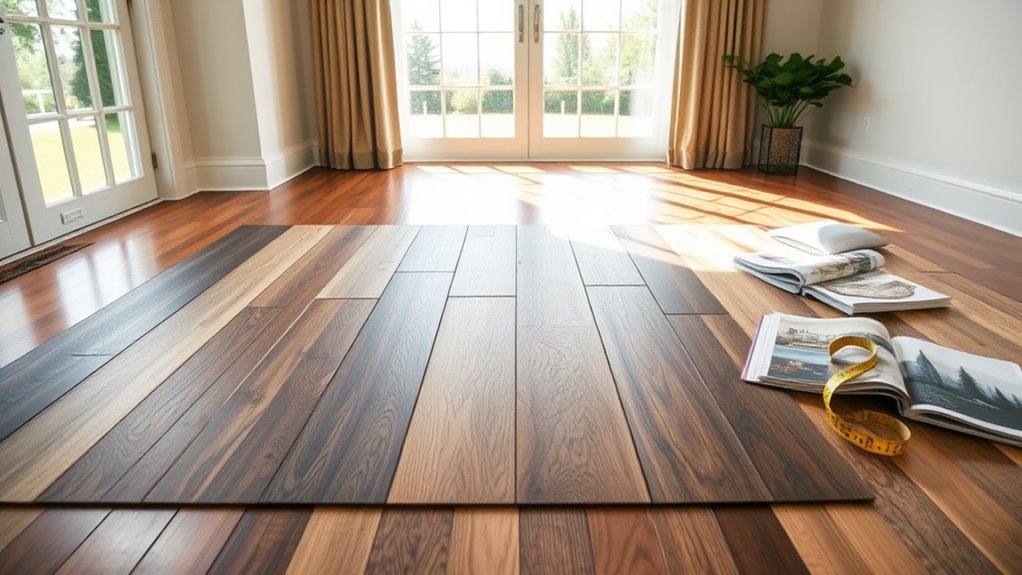
Accurate measurements are critical when cutting vinyl flooring to guarantee a seamless fit. Begin by using reliable measuring tools like a tape measure and a straightedge to capture exact dimensions of your space, including any irregularities. Mark your vinyl carefully with a pencil or chalk, ensuring your lines are straight and precise.
When it comes to cutting techniques, use a sharp utility knife paired with a metal straightedge to score the vinyl deeply. Avoid multiple shallow cuts; instead, apply firm, consistent pressure to achieve a clean break. For intricate cuts around corners or fixtures, employ a fine-toothed vinyl cutter or scissors designed for resilient materials. Mastering these measuring tools and cutting techniques will empower you to install your vinyl floors with accuracy and ease.
Laying the Vinyl Flooring
Before you lay the vinyl flooring, guarantee the subfloor is clean, dry, and level to prevent imperfections. Carefully align the vinyl sheets or planks according to your measurements, allowing for expansion gaps. Use a sharp utility knife to make precise cuts that fit the room’s contours and fixtures.
Preparing Subfloor Surface
To guarantee your vinyl flooring adheres properly and lasts, you’ll need to prepare the subfloor surface meticulously. Start by identifying the subfloor types—plywood, concrete, or existing vinyl each require specific handling. Ascertain the surface is clean, dry, and level; any debris or imperfections can compromise adhesion. Moisture control is critical—use a moisture meter to detect dampness, especially on concrete. If moisture exceeds recommended levels, apply a vapor barrier or moisture sealer before proceeding. Sand down any high spots and fill low spots with a leveling compound, allowing it to cure fully. This precise preparation guarantees your vinyl flooring will lay flat and bond securely, granting you the freedom to enjoy a durable, attractive pavimento without future issues related to subfloor instability or moisture damage.
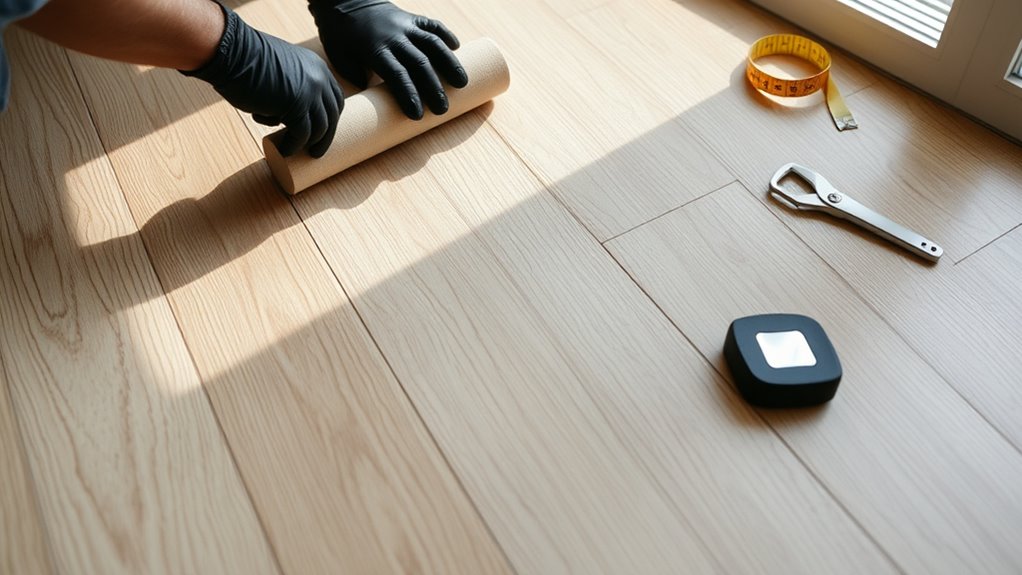
Aligning and Cutting Vinyl
With the subfloor properly prepared, you can begin positioning your vinyl flooring for installation. Start by laying the first sheet or plank along the longest wall, ensuring it’s perfectly square to the room. Use alignment tips like snapping a chalk line to maintain a straight, consistent edge. For cutting techniques, measure twice and cut once using a sharp utility knife. Score the vinyl through the top layer, then snap along the scored line for a clean break. For intricate cuts around vents or door frames, use a template created from cardboard to trace exact shapes onto the vinyl. Maintain precise alignment and accurate cuts throughout to guarantee a seamless fit. This approach maximizes the vinyl’s appearance and durability, giving you freedom to create a flawless floor installation.
Finishing Touches and Sealing

Now that your vinyl flooring is laid, focus on trimming the edges precisely to guarantee a clean finish. Apply a suitable floor sealant evenly to protect the surface and enhance durability. Finally, conduct a thorough inspection to verify all seams are secure and the floor is free of defects.
Edge Trimming Techniques
Edge trimming is essential for achieving a clean, professional finish on your vinyl floors. Proper edge sealing prevents moisture infiltration and guarantees durability. You’ll need precise trimming tools, such as a sharp utility knife and straightedge, to cut excess vinyl neatly along walls and fixtures. Follow these key steps:
- Use trimming tools to carefully cut vinyl edges flush with the baseboard or junction strips.
- Apply gentle pressure to avoid damaging the vinyl’s surface or backing.
- Seal trimmed edges with an appropriate edge sealing product to protect against wear and moisture.
Applying Floor Sealant
Apply the floor sealant evenly to protect your vinyl flooring from moisture, stains, and wear. Start by selecting the appropriate types of sealants—water-based or solvent-based—each offering distinct durability and drying times. Water-based sealants dry faster and are low in odor, while solvent-based options provide stronger resistance. Before sealing, verify the floor is clean and dry. Use a high-quality applicator such as a foam roller or brush to apply thin, uniform coats. Employ consistent application techniques, moving in one direction to avoid streaks and bubbles. Allow each coat to dry fully before applying the next, typically 2-4 hours depending on the product. Proper sealing extends your floor’s lifespan and maintains its appearance, giving you the freedom to enjoy a resilient, low-maintenance vinyl surface.
Final Inspection Steps
Although most of the installation is complete, you’ll need to conduct a thorough final inspection to verify the vinyl flooring is properly finished and sealed. This step guarantees durability and aesthetic consistency, key for quality assurance. Use a final checklist to methodically assess each aspect before declaring the project complete. Focus on these critical points:
- Examine all seams and edges for tight adhesion and absence of gaps or bubbles.
- Confirm the sealant is evenly applied with no missed areas or excess pooling.
- Check for surface imperfections or debris trapped beneath the vinyl that could compromise the finish.
Completing this final inspection assures your vinyl floor installation meets professional standards, granting you the freedom to enjoy a flawless, long-lasting surface.
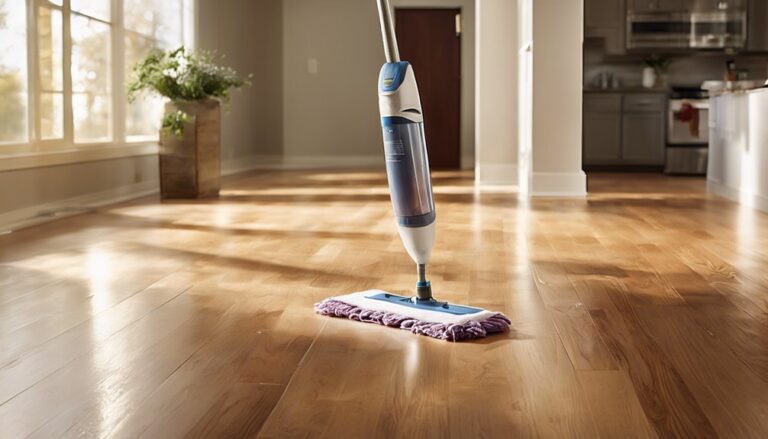
Maintenance Tips for Vinyl Floors
Because vinyl floors are durable yet sensitive to certain chemicals and abrasives, maintaining their appearance and longevity requires specific cleaning techniques. Start by regularly sweeping or vacuuming to remove dirt and grit that can scratch the surface. Use a damp mop with a pH-neutral cleaner designed for vinyl; avoid harsh detergents, waxes, or abrasive scrubbers that can damage the finish. Implement protective measures such as placing felt pads under furniture legs and using rugs in high-traffic areas to prevent wear. Quickly wipe up spills to prevent staining or moisture damage. By following these precise cleaning techniques and protective measures, you’ll preserve your vinyl floor’s integrity and enjoy its freedom from frequent replacement or repair.