To glue down vinyl flooring, first verify your subfloor is clean, dry, and level, removing any debris and testing moisture. Next, pick an adhesive suited to your vinyl type and traffic needs. Spread the adhesive evenly using a notched trowel, working in small sections. Carefully lay the vinyl, pressing firmly and rolling to remove bubbles. Finally, allow the adhesive to cure for 24–48 hours before foot traffic. Follow these steps closely to get a durable, professional finish and understand the detailed process that follows.
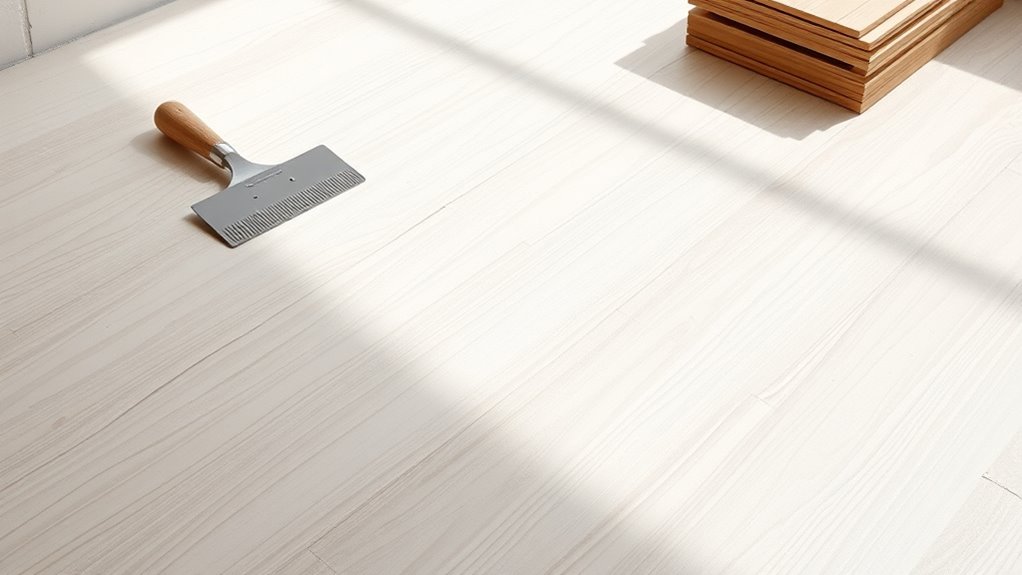
Prepare the Subfloor for Vinyl Installation
Before you begin laying vinyl pavimentazione, you need to verify the subfloor is clean, dry, and level. Effective subfloor preparation is essential to guarantee the vinyl adhesive bonds properly and your flooring remains durable. Start by removing debris, dust, and any old adhesive residues. Next, perform moisture testing using a reliable moisture meter to confirm the subfloor’s dryness; excess moisture can cause adhesive failure and flooring damage. Check for uneven areas by using a straightedge or level, addressing any high spots or depressions with a suitable leveling compound. Proper moisture testing and subfloor preparation prevent future issues like bubbling or lifting, giving you the freedom to enjoy a flawless vinyl floor installation without compromising on quality or longevity.
Select the Right Adhesive for Your Vinyl Flooring
Choosing the right adhesive is essential for ensuring a secure bond between your vinyl flooring and subfloor. Different vinyl types—such as luxury vinyl tile, sheet vinyl, or vinyl plank—require adhesives with specific properties to accommodate flexibility, moisture resistance, and curing time. For example, pressure-sensitive adhesives offer repositionability for vinyl planks, while wet-set adhesives provide a stronger bond for sheet vinyl in high-traffic areas. Make sure the adhesive’s viscosity suits your subfloor texture and allows for even application without excessive seepage. Additionally, consider open time and drying speed to fit your installation pace. Selecting an adhesive compatible with your vinyl type and subfloor material guarantees durability and prevents future lifting or bubbling, giving you the freedom to enjoy a flawless, long-lasting floor.
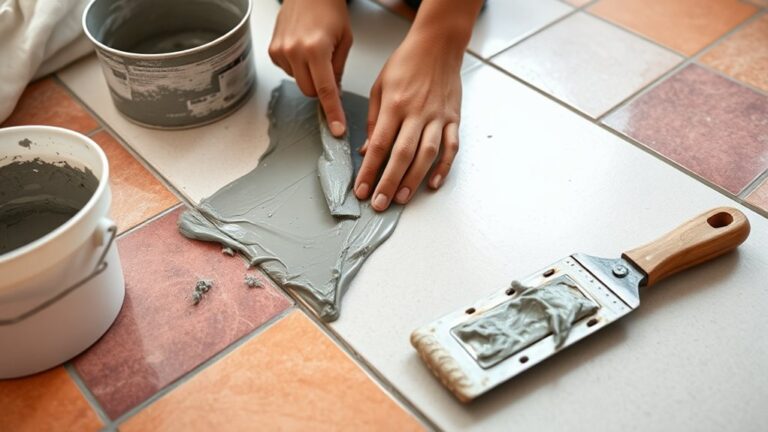
Apply Adhesive Evenly Across the Floor Surface
Once you’ve selected the appropriate adhesive, you’ll need to spread it evenly across the subfloor to guarantee consistent bonding. Begin by pouring small amounts of adhesive onto the surface, then use a notched trowel suited to your vinyl’s thickness to distribute it uniformly. Maintain steady pressure and angle to achieve a smooth, ripple-free layer. Proper adhesive application is essential; uneven spreading can cause weak spots or bubbles, compromising durability. Work in manageable sections to prevent the adhesive from drying prematurely, ensuring you can lay vinyl while the glue is still tacky. Mastering these flooring techniques not only secures your vinyl firmly but also grants you the freedom to enjoy a flawless finish without future repairs or lifts. Precision here saves effort later.
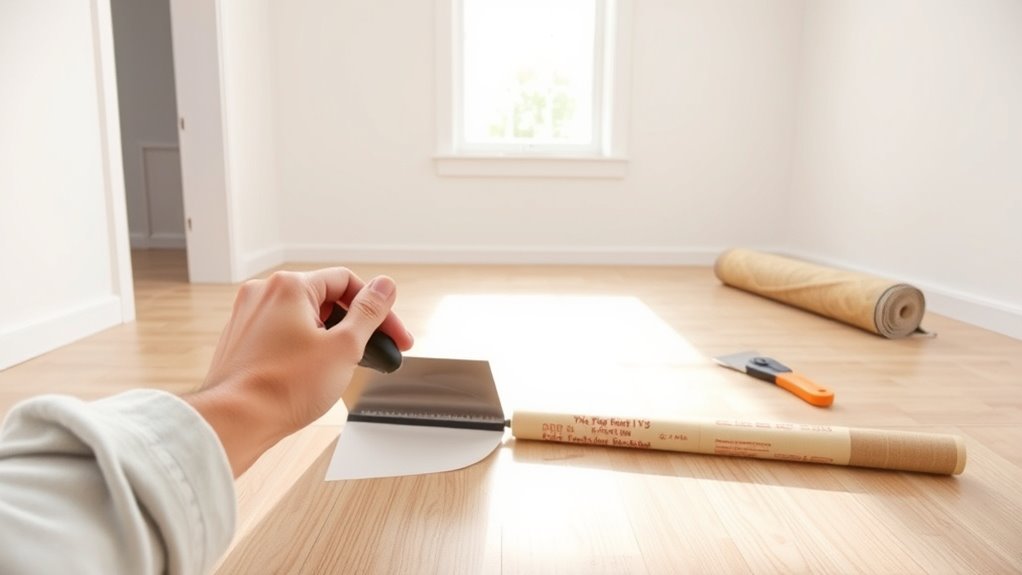
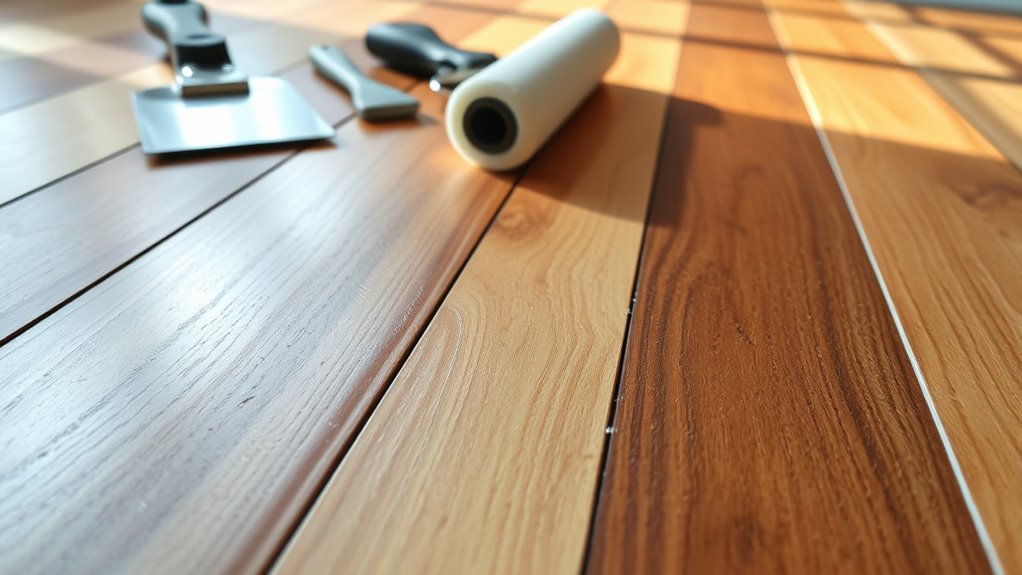
Lay the Vinyl Flooring and Press Firmly
Start by carefully aligning the vinyl flooring with your marked guidelines, guaranteeing each piece fits snugly without gaps or overlaps. Once positioned, press the vinyl firmly onto the adhesive to establish a strong bond. Use a weighted roller or a flat tool to apply consistent pressure, working from the center outward to eliminate air bubbles and secure full contact with the substrate. Follow these installation tips: proceed methodically, section by section, to maintain alignment and avoid shifting. Avoid walking on the vinyl before pressing firmly, as this can cause misalignment. Taking these precise, practical steps guarantees your vinyl flooring lays flat and adheres properly, giving you a durable, clean surface that supports your freedom to customize and enjoy your space.
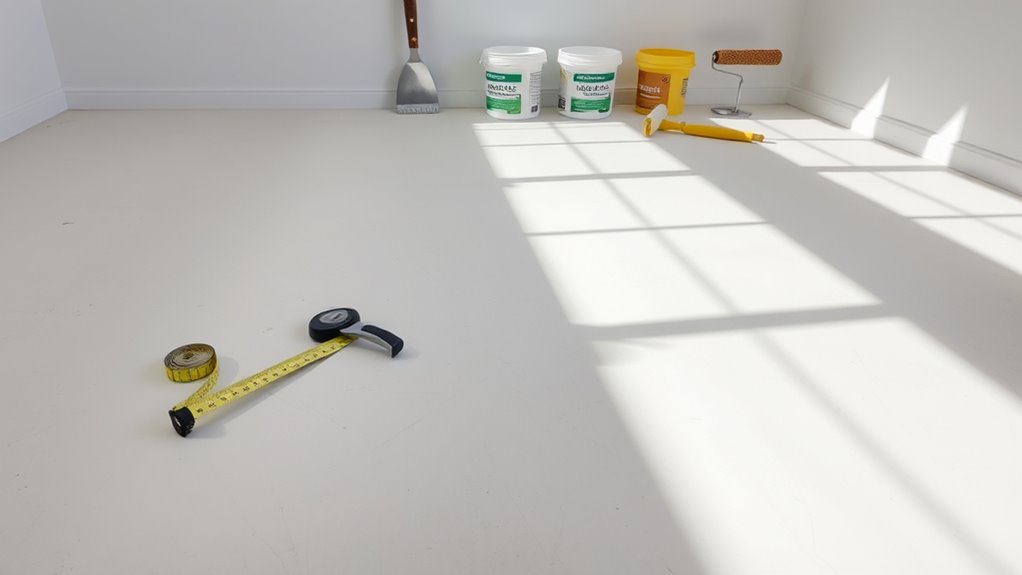
Allow Adhesive to Cure and Finish the Installation
Let the adhesive cure fully to confirm a strong, lasting bond between the vinyl flooring and the subfloor. Adhere strictly to the manufacturer’s recommended cure time, typically 24 to 48 hours, to avoid any premature stress on the flooring. During this period, limit foot traffic and avoid placing heavy objects on the surface. Use installation tips like gently rolling the floor with a weighted roller to confirm even adhesion and eliminate air bubbles before the cure begins. Once cured, inspect seams and edges, trimming any excess vinyl with a sharp utility knife for a clean finish. Proper curing not only secures your flooring but also extends its lifespan, giving you the freedom to enjoy a flawless, durable surface without worry.