To fix water damage on hardwood floors, first stop the leak and remove standing water using a wet vacuum. Dry the area swiftly with fans and dehumidifiers to prevent warping and mold growth. Assess damage by checking for stains, warping, or soft spots. Remove stains with appropriate cleaners and replace warped boards carefully. Finish by refinishing the surface for protection. Following these steps safeguards your floor’s structure and appearance, and further guidance can help you tackle more complex repairs.
Identifying Signs of Water Damage on Hardwood Floors
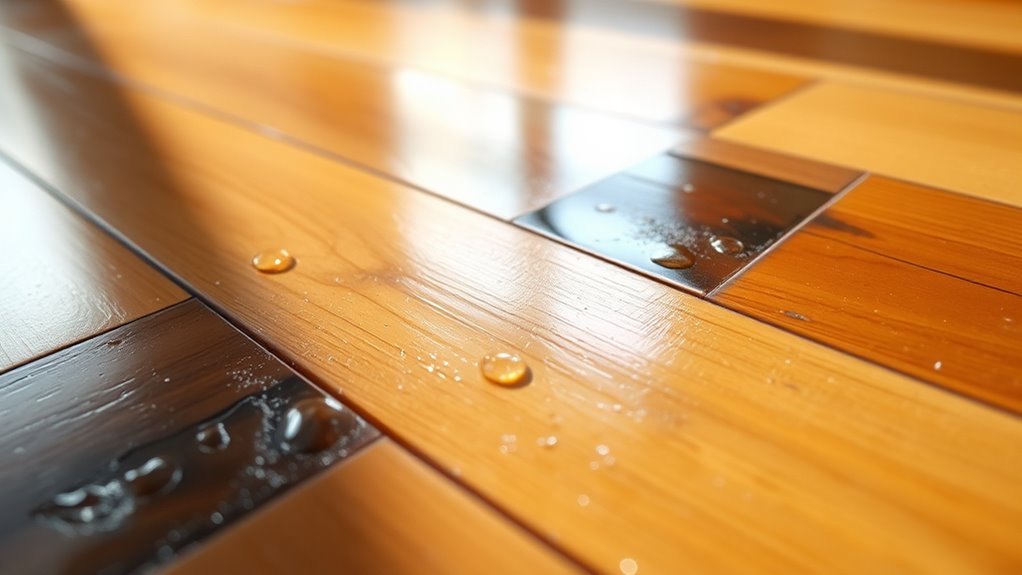
Although water damage can sometimes be subtle, recognizing its early signs on hardwood floors is crucial to preventing costly repairs. You should carefully inspect your pavimentazione for water stains, which often appear as darkened or bleached patches differing from the natural wood tone. Flooring discoloration is another key indicator; look for uneven coloration or a dull, faded surface that suggests moisture infiltration. Pay close attention to any cupping or warping of floorboards, as these physical changes often accompany water exposure. Detecting these signs early allows you to address the moisture source promptly and plan appropriate drying or refinishing methods. Being proactive guarantees your hardwood floors maintain their structural integrity and aesthetic appeal, granting you the freedom to enjoy your space without the burden of extensive damage.
Immediate Steps to Take After Water Exposure
Once you’ve identified water exposure, immediately stop the source to prevent further damage. Next, remove any standing water using a wet vacuum or mop. Finally, dry the area quickly with fans and dehumidifiers to inhibit warping and mold growth.
Stop Water Source
Before you address any water damage on your hardwood floors, you need to stop the water source immediately to prevent further harm. Identify the origin of the leak by conducting a thorough leak detection process—inspect pipes, fixtures, and appliances adjacent to the affected area. Shut off the main water supply or the specific valve controlling the leaking segment to halt water flow. If the leak stems from a damaged pipe or appliance, disconnect or repair it as soon as possible to avoid recurrence. Quick and decisive action here limits water infiltration, reducing the extent of damage and preserving your floors’ structural integrity. Stopping the water source is your first critical step toward regaining control and initiating effective drying and restoration.
Remove Standing Water
After stopping the water source, your next priority is to remove any standing water from the hardwood floors. Efficient water extraction is critical to prevent further absorption and warping. Use a wet vacuum or pump designed for water extraction to eliminate standing water promptly. Avoid using brooms or mops, as they spread water and delay removal. Focus on edges and seams where water often pools. If standing water is extensive, consider professional-grade extraction equipment to guarantee thorough removal. Quick and precise water extraction limits moisture penetration into the wood and subfloor, preserving the floor’s structural integrity. Acting decisively here grants you control over the damage, setting the stage for effective drying and restoration without compromising your hardwood’s freedom to perform.
Dry Area Quickly
Although removing standing water is essential, you’ll need to act swiftly to dry the area thoroughly to prevent mold growth and wood distortion. Employ effective drying methods immediately to restore your hardwood floors’ integrity.
- Maximize Air Circulation: Open windows and doors to create cross-ventilation. Use fans strategically to force air across the wet surface, accelerating evaporation.
- Deploy Dehumidifiers: Lower ambient humidity to extract moisture from both the air and wood, reducing drying time considerably.
- Utilize Absorbent Materials: Place moisture-wicking towels or specialized drying mats on the floor to absorb residual water, changing them frequently to avoid saturation.
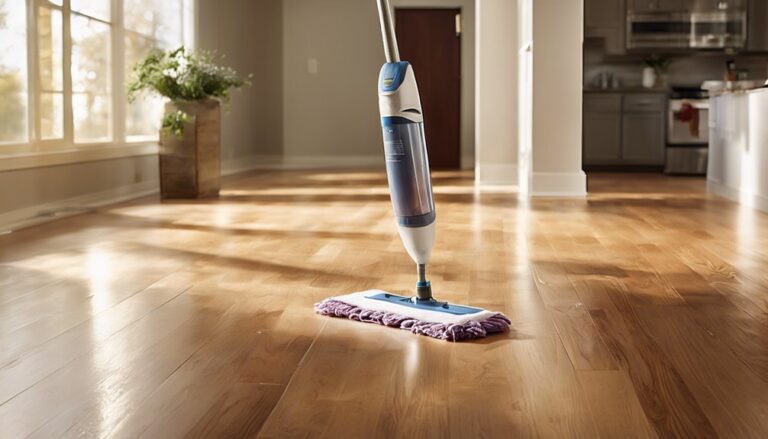
How to Dry Hardwood Floors Effectively
When dealing with water damage on hardwood floors, drying the wood promptly and thoroughly is essential to prevent warping and mold growth. Effective drying involves controlling moisture levels and increasing air circulation. Use dehumidifiers and fans strategically to extract moisture without damaging the wood further.
| Fare un passo | Azione |
|---|---|
| 1. Remove excess | Use a wet vacuum or mop |
| 2. Air circulation | Position fans around area |
| 3. Dehumidify | Run a dehumidifier nearby |
| 4. Monitor moisture | Use a moisture meter daily |
| 5. Repeat process | Continue until readings normalize |
Assessing the Extent of the Damage
You’ll need to start by identifying visual damage indicators like warping, discoloration, or cupping. Next, use a moisture meter to measure the remaining water content within the wood accurately. Finally, assess the structural integrity by checking for soft spots or weakened boards that may require replacement.
Visual Damage Indicators
Water stains, discoloration, and warping are key visual indicators that help you assess the extent of water damage on hardwood floors. By closely examining these visual cues, you can identify specific damage patterns and determine the severity of the issue. Focus on these three critical elements:
- Water Stains and Discoloration: Look for dark spots or faded areas indicating prolonged exposure to moisture.
- Warping and Buckling: Check for raised or uneven boards, which signal structural weakening.
- Cracking and Splitting: Inspect joints and edges for separations caused by drying and shrinking.
Recognizing these damage patterns allows you to prioritize repairs effectively, ensuring you regain control over your flooring’s integrity and maintain the freedom to restore your living space confidently.
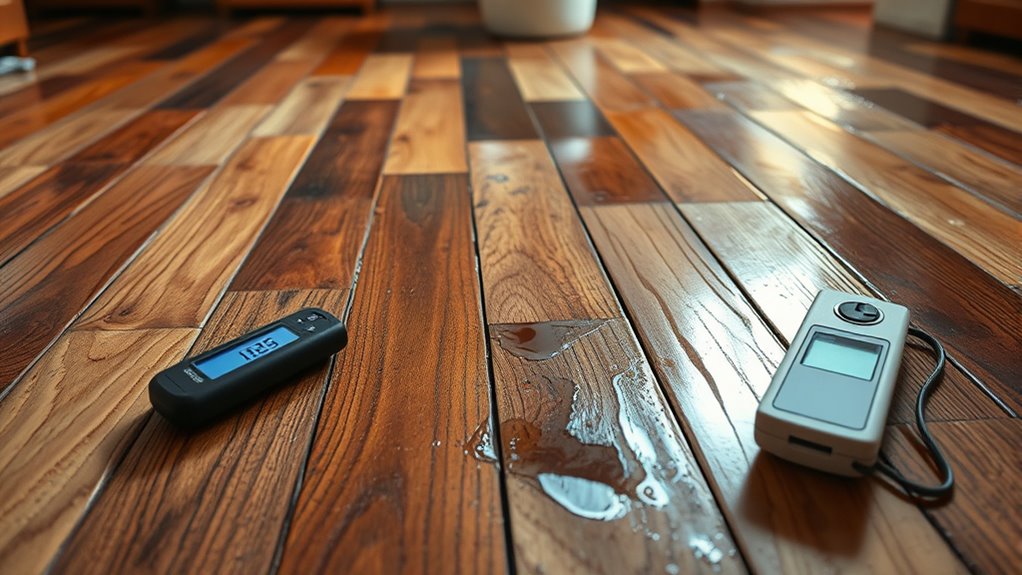
Moisture Level Measurement
Although visual inspection provides initial clues, accurately measuring moisture levels is crucial to assess the full extent of damage to your hardwood floors. Using moisture meters, you can obtain precise readings that reveal water penetration beneath the surface, beyond what the naked eye detects. Pin-type meters measure moisture content inside the wood, while pinless meters scan larger areas without damaging the floor. Monitoring ambient humidity levels in the room also helps you understand the drying environment, as high humidity slows the drying process and may worsen damage. Regularly recording these measurements guides your drying strategy and prevents premature refinishing or repairs. By relying on these technical tools, you guarantee your hardwood floors are thoroughly evaluated, empowering you to make informed decisions that preserve their integrity and maintain your freedom from hidden moisture problems.
Structural Integrity Check
Before proceeding with repairs, it’s essential to evaluate the structural integrity of your hardwood floors to determine the extent of water damage. A thorough structural assessment guarantees you address underlying issues that compromise floor stability. Here’s how to proceed:
- Visual Inspection: Look for warping, buckling, or discoloration, signaling compromised wood fibers.
- Physical Testing: Press down on suspect areas to detect softness or sponginess, indicating weakened support.
- Subfloor Examination: Remove a floorboard if possible to check for moisture damage or mold beneath, which affects overall stability.
Removing Stains Caused by Water
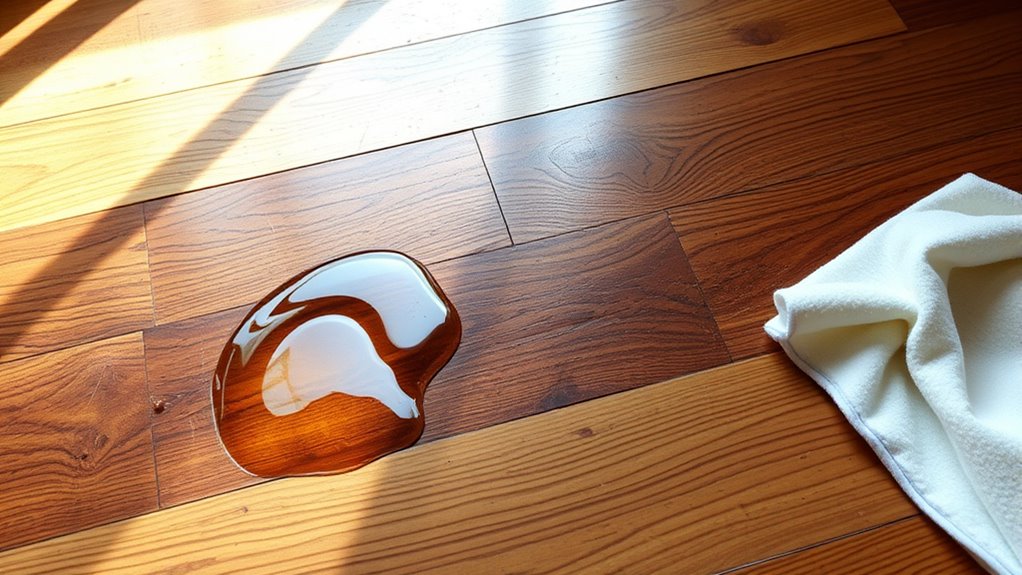
How can you effectively remove stains caused by water from hardwood floors? Start by identifying the stain type—white stains often indicate surface moisture, while dark stains suggest deeper damage. For white stains, gently apply a cleaning solution of equal parts vinegar and water with a soft cloth, rubbing in the wood grain direction. Avoid excess moisture to prevent further damage. For tougher stains, consider a specialized wood cleaner or a mild abrasive like baking soda paste applied lightly. Always test cleaning solutions on an inconspicuous area first. After treatment, dry the area thoroughly and apply a wood polish or wax to restore finish protection. Consistent, precise stain removal using appropriate cleaning solutions will help you reclaim your floor’s natural beauty without compromising its structural integrity.
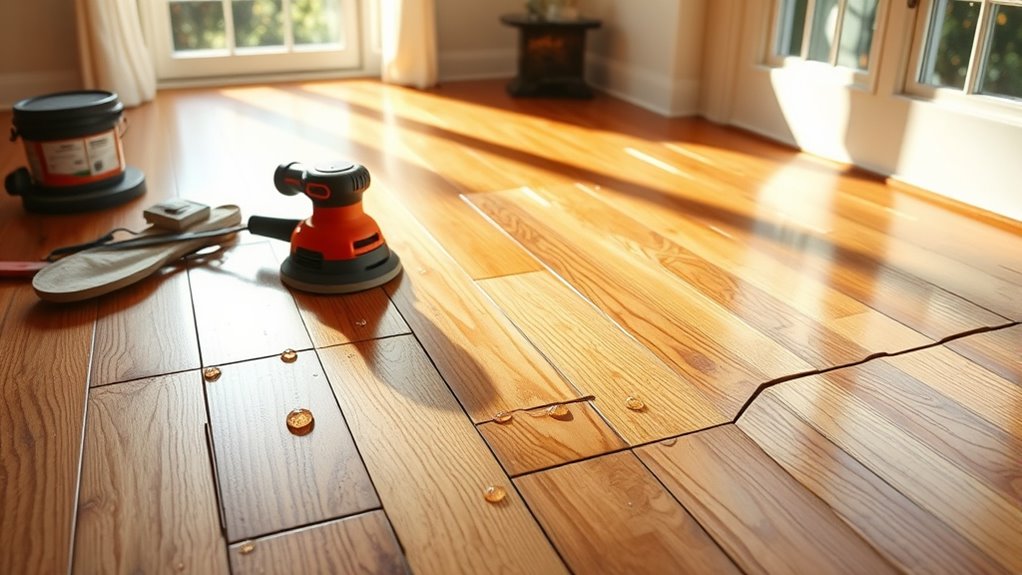
Repairing Warped or Buckled Flooring
When you notice hardwood floors warping or buckling, it’s essential to address the issue promptly to prevent further structural damage. Warping often accompanies discoloration patterns that signal water absorption. Here are precise repair techniques to restore your flooring:
- Assess and Remove Damaged Boards: Identify warped planks by their raised edges and discoloration patterns, then carefully pry them out to avoid damaging adjacent boards.
- Dry Subfloor Thoroughly: Use industrial fans or dehumidifiers to eliminate residual moisture in the subfloor, preventing future warping.
- Replace and Secure New Boards: Match the wood type and finish, then reinstall with appropriate adhesives or nails, ensuring a flat, stable surface.
Acting swiftly preserves your floor’s integrity and maintains the freedom to enjoy your living space without ongoing damage.
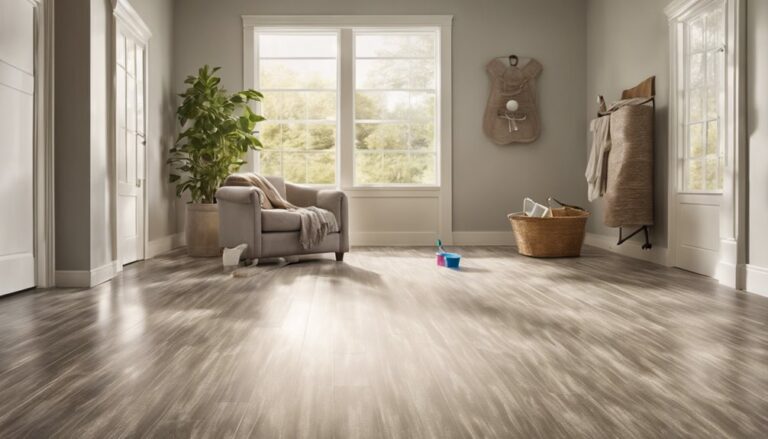
Preventing Mold Growth on Hardwood Floors
Although hardwood floors are durable, they’re vulnerable to mold growth if moisture isn’t controlled promptly and effectively. To guarantee mold prevention, you need to maintain strict humidity control within your space. Use a dehumidifier to keep indoor relative humidity below 60%, ideally between 30-50%. Immediately dry any water spills or leaks to prevent moisture from seeping into the wood. Ensure proper ventilation in rooms with hardwood flooring, especially basements and bathrooms, to reduce stagnant moisture. Regularly inspect hidden areas like under rugs or near walls for dampness. Applying a moisture barrier during installation also helps limit mold risk. By proactively managing humidity control and moisture exposure, you protect your hardwood floors’ integrity and maintain a healthy, mold-free environment, granting you the freedom to enjoy your space without worry.
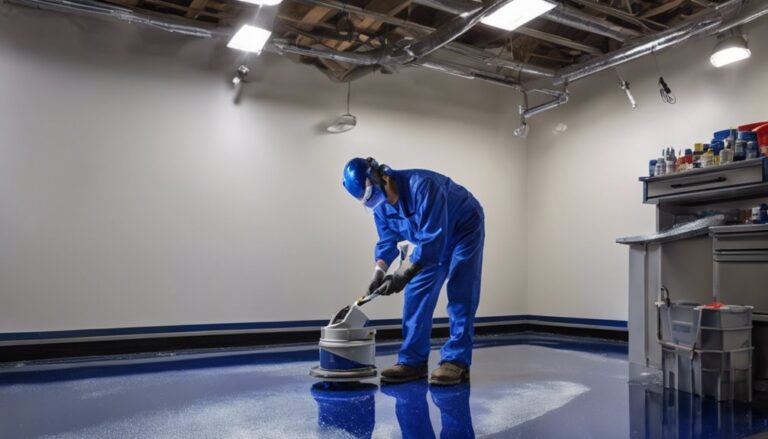
Refinishing and Restoring the Floor’s Appearance
Restore your hardwood floor’s appearance by carefully refinishing the surface to remove stains, scratches, and discoloration caused by water damage. Start with these steps to bring back its natural beauty:
- Sanding Techniques: Use a drum sander for deep damage, progressing from coarse to fine grit to guarantee an even, smooth surface without gouging the wood.
- Stain Selection: Choose a stain that matches your floor’s original tone or opt for a shade that complements your room, applying evenly to avoid blotches.
- Finishing: Apply a durable polyurethane finish to protect the wood, guaranteeing multiple thin coats with proper drying time for lasting resilience.
Tips for Preventing Future Water Damage
Refinishing your hardwood floors is a key step in repairing water damage, but preventing further issues requires proactive measures. To protect your investment, apply high-quality water resistant finishes; these create a sealed barrier against moisture infiltration. Additionally, maintain consistent humidity control within your living space, ideally between 35% and 55%, using dehumidifiers or HVAC systems. This prevents wood from expanding and contracting, which leads to structural damage. Promptly address leaks and spills by drying affected areas within 24 hours. Install proper drainage and guarantee gutters direct water away from your home’s foundation. Finally, avoid placing potted plants directly on hardwood without protective stands, as trapped moisture can cause localized damage. Adopting these technical measures empowers you to preserve your floors’ durability and your freedom from recurring repairs.