To fix a scratched wood floor, first identify the scratch depth using a fingernail test. Clean the area with a mild wood cleaner, then use a stain marker or wax stick for surface scratches. For deeper ones, apply color-matched wood filler, sand flush, and stain to blend. Finish with a protective coat like polyurethane. Proper tools and materials guarantee lasting results, and preventive care can avoid future damage. Keep going to uncover detailed, step-by-step repair methods.
Identifying the Type of Scratch on Your Wood Floor
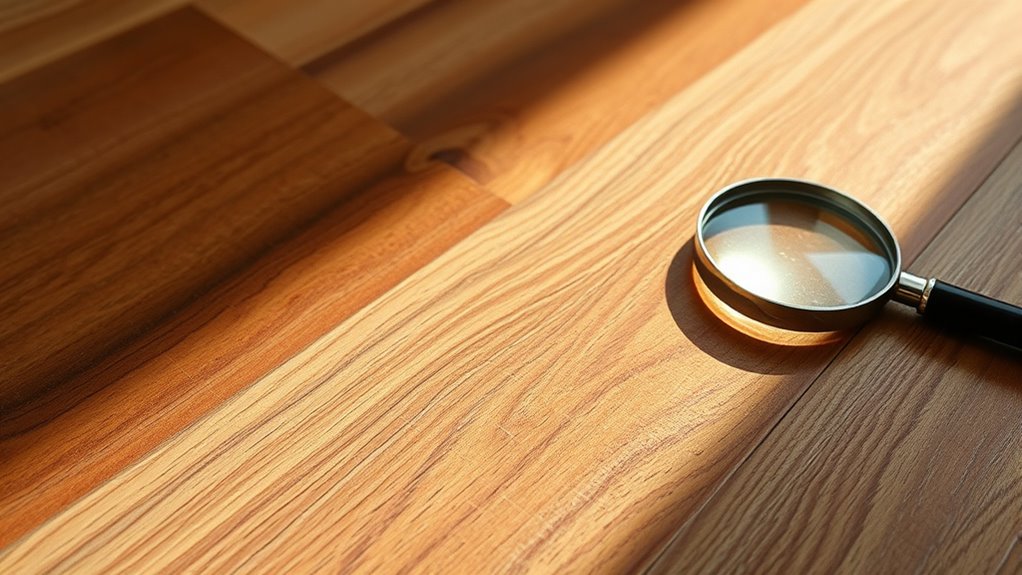
How can you determine the best method to repair your scratched wood pavimento? Begin by accurately identifying the types of scratches present. Scratches generally fall into surface-level, moderate, or deep categories, each demanding a distinct approach. Surface scratches affect only the finish and are often shallow, while moderate scratches penetrate into the wood grain. Deep scratches expose the bare wood, requiring more intensive repair. Assess the scratch severity by running your fingernail over the damage—if it catches, the scratch is likely moderate to deep. Precise identification empowers you to select the most effective repair technique, ensuring durability and preserving your floor’s integrity. By understanding these classifications, you maintain control over the restoration process, avoiding unnecessary effort or damage while maximizing your floor’s longevity and aesthetic appeal.
Gathering the Necessary Tools and Materials
Once you’ve determined the severity of the scratches on your wood floor, you’ll need to assemble the appropriate tools and materials tailored to the repair method. Start by selecting tool types based on the scratch depth: fine-grit sandpaper, putty knives, or wood fillers for deeper gouges. Material selection is critical; choose stain markers or wax sticks that match your floor’s finish and wood tone precisely. For minor surface scratches, consider a high-quality wood polish or rubbing compound. Avoid generic products—they often fail to blend properly or protect the wood. Additionally, gather clean cloths, gloves, and painter’s tape to guarantee a controlled application. By carefully selecting the right tools and materials, you maintain your freedom to restore your wood floor efficiently and with professional-grade results.
Cleaning the Scratched Area Properly

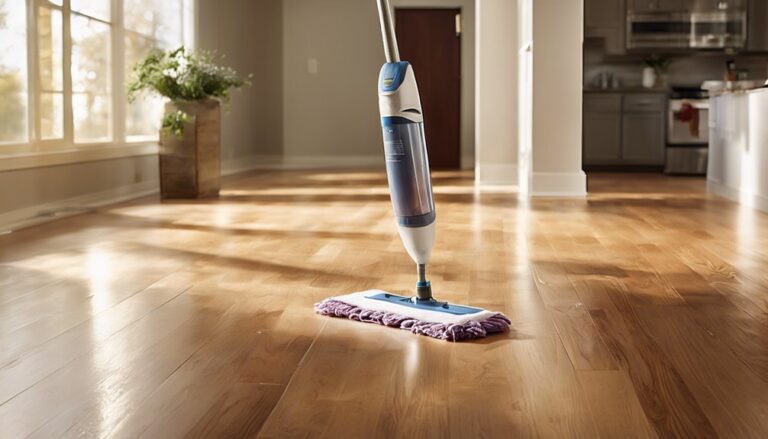
Before applying any repair materials, you’ll need to thoroughly clean the scratched area to guarantee ideal adhesion and finish quality. Start by removing loose debris with a soft brush or microfiber cloth, making sure no dust remains within the scratch grooves. Use a mild wood floor cleaner diluted as recommended to avoid residue buildup that can compromise bonding. Apply with a damp cloth, gently scrubbing the area, then dry it completely with a clean, lint-free towel. Avoid harsh chemicals that may damage the wood’s protective coating. Mastering proper cleaning techniques not only assures effective repair but also contributes to long-term scratch prevention by maintaining the floor’s integrity. Taking these precise steps empowers you to preserve your wood floor’s natural beauty and extend its lifespan without restrictions.
Using a Wood Floor Repair Marker or Crayon
Although cleaning prepares the surface, addressing minor scratches effectively requires using a wood floor repair marker or crayon that matches your floor’s finish and color. Start with careful crayon selection, choosing one that closely replicates the wood tone to guarantee seamless blending. When applying, use the marker application method for fine scratches—draw directly over the scratch with controlled strokes, allowing the pigment to fill the groove precisely. For slightly deeper or wider scratches, rub the crayon gently into the scratch, then smooth excess with a soft cloth. Both tools require immediate blending to avoid visible marks. By mastering marker application and crayon selection, you maintain your floor’s aesthetic integrity without restricting your freedom to enjoy your space confidently and independently.
Applying Wood Filler for Deeper Scratches

For deeper scratches, selecting a wood filler that matches your floor’s color and wood type is essential. You’ll need to clean and sand the damaged area to guarantee proper adhesion before application. Use a putty knife to apply the filler evenly, then smooth the surface for a seamless finish.
Choosing the Right Filler
When dealing with deeper scratches, selecting the appropriate wood filler is essential to guarantee a seamless repair. You’ll want to focus on filler types that suit your floor’s wood species and finish to maintain durability and appearance. Color matching is critical to avoid noticeable patches.
Consider these three key factors:
- Filler Composition: Choose between water-based, solvent-based, or epoxy fillers depending on your floor’s exposure to moisture and wear.
- Color Matching: Opt for a filler that either matches your floor’s tone or can be stained afterward for uniformity.
- Application Ease: Select a filler with the right consistency for easy application and sanding, ensuring a flush finish with the surrounding wood.
Preparing the Scratch Area
Once you’ve selected the right filler, properly preparing the scratch area guarantees ideal adhesion and a smooth repair. Start with a thorough scratch assessment—determine the depth, width, and extent of damage to choose appropriate preparation techniques. Clean the area meticulously using a vacuum or soft brush to remove dust and debris. Lightly sand the edges of the scratch with fine-grit sandpaper to create a slightly rough surface, enhancing filler bonding. Avoid damaging surrounding wood by tapping gently and controlling pressure. If moisture is present, verify the area is completely dry before proceeding. This methodical preparation not only improves filler performance but also extends the durability of your repair. Following these precise steps empowers you to restore your wood floor efficiently and confidently.
Applying and Smoothing Filler
Begin by carefully applying the wood filler into the scratch using a putty knife or a similar tool, making certain the compound fully penetrates the damaged area. Mastering filler application techniques is essential for a seamless repair that restores both form and function. Follow these steps to confirm precision:
- Press the filler firmly into the scratch, avoiding air pockets.
- Overfill slightly to accommodate shrinkage during drying.
- Use a damp cloth to remove excess filler around the area immediately.
Once dry, employ smoothing techniques by sanding the surface with fine-grit sandpaper until flush with the surrounding wood. This eliminates unevenness and prepares the floor for finishing. Your careful filler application and smoothing make certain the wood floor regains its natural integrity, granting you the freedom to enjoy a flawless surface once again.
Sanding the Area Smoothly
Start by selecting fine-grit sandpaper, typically between 180 and 220 grit, to guarantee you remove scratches without damaging the wood surface. Use appropriate sanding equipment, such as a hand sanding block or orbital sander, to maintain control and guarantee even pressure. Employ precise sanding techniques: sand along the wood grain, not against it, to avoid creating new scratches. Apply gentle, consistent strokes, gradually feathering the edges of the repaired area into the surrounding floor. Avoid over-sanding, which can alter the floor’s level and texture. Frequent inspection is essential—stop sanding once the filler and scratches are flush with the wood surface. By mastering these sanding techniques and using the right sanding equipment, you’ll achieve a smooth, seamless repair, preserving both the integrity and freedom of your wood floor’s natural beauty.
Staining the Repaired Spot to Match the Floor
After sanding the area smooth, the next step is to stain the repaired spot so it seamlessly blends with the surrounding floor. Precision in color matching is critical to achieving a flawless look. Here’s how to proceed:
- Test the stain on a hidden section or scrap wood to verify color accuracy before full application.
- Apply stain evenly with a brush or cloth, using thin layers to control absorption and avoid blotching.
- Wipe off excess stain promptly to prevent dark spots and guarantee uniformity with the existing floor tone.
Sealing the Repair With a Protective Finish
Once the stain has fully dried, you’ll need to seal the repair with a protective finish to safeguard the wood and guarantee durability. Selecting the right protective coating is essential for preserving the integrity of your floor. Finish options vary by sheen, drying time, and resilience, so choose one matching your lifestyle and floor use.
| Finish Option | Ideale per |
|---|---|
| Polyurethane | High traffic, maximum durability |
| Water-based | Quick drying, low odor |
| A base di olio | Rich finish, longer curing |
| Wax | Easy application, low sheen |
Apply thin, even coats with a brush or applicator, allowing proper drying between layers. This seals the repair, preventing moisture infiltration and wear, ensuring your wood floor stays flawless and free.
Preventative Tips to Avoid Future Scratches
Applying a protective finish helps shield your wood floor from damage, but preventing scratches in the first place will maintain its appearance longer. Effective preventative maintenance is essential for preserving your floor’s integrity and freedom of use. Here are three key strategies:
Prevent scratches and preserve your wood floor’s beauty with simple, effective preventative maintenance tips.
- Use Furniture Pads: Attach high-quality felt or rubber furniture pads to all chair and table legs to eliminate direct contact and reduce abrasion.
- Control Foot Traffic: Implement area rugs or runners in high-traffic zones to minimize wear and protect against grit and debris that cause scratches.
- Maintain Cleanliness: Regularly sweep or vacuum with a soft-bristle attachment to remove dirt particles that can act like sandpaper underfoot.
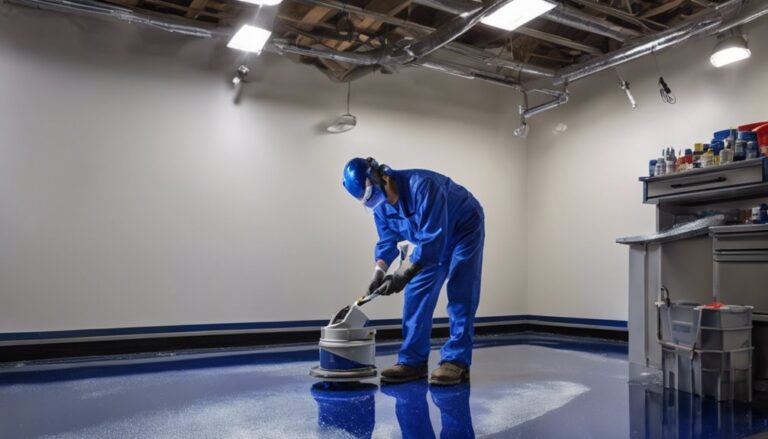
When to Call a Professional for Wood Floor Repair
Although minor scratches can often be repaired with DIY methods, you should call a professional when damage affects large areas, involves deep gouges, or compromises the floor’s structural integrity. Knowing when to DIY is vital; superficial surface scratches and small dents typically don’t require expert intervention. However, signs of professional repair include uneven floorboards, extensive water damage, or worn finishes that DIY products can’t adequately restore. Professionals possess specialized tools and materials to refinish, sand, or replace sections without risking further damage. If you notice persistent discoloration, warping, or loose planks, these are clear indications it’s time to seek expert help. Prioritizing professional assessment guarantees your wood floor maintains its durability and aesthetic appeal, granting you the freedom to enjoy a flawless, long-lasting surface.