To fix buckled wood floors, start by identifying and eliminating moisture sources like leaks or spills. Clear the area and clean the floor to prepare. Carefully remove damaged boards by scoring edges and prying them up, then dry the subfloor thoroughly using fans and dehumidifiers. Replace boards ensuring moisture barriers are in place to prevent future issues. Maintain indoor humidity between 30-50% and improve ventilation to avoid recurring damage. Keep following these steps for a complete, lasting repair.
Identifying the Cause of Buckling
Before you can fix buckled wood floors, you need to pinpoint what’s causing the problem. Start by checking for moisture sources like leaks, high humidity, or spills that may have soaked into the wood. Inspect areas near windows, pipes, or exterior walls, as these spots often harbor hidden moisture. Next, identify the wood types used in your flooring because different species react differently to moisture and temperature changes. Softwoods like pine are more prone to swelling, while hardwoods such as oak resist moisture better but can still buckle if exposed too long. Understanding these factors helps you target the root cause effectively. Without addressing moisture sources and considering wood types, any repair will be temporary, limiting your freedom to enjoy a smooth, stable floor.
Preparing the Affected Area
Before you start fixing the buckled floor, make certain to clear away all debris and dust from the affected area to get a clean workspace. Next, check and control the moisture levels in the room, as excess humidity can cause further damage. Proper preparation guarantees that your repair efforts will be effective and long-lasting.
Clear Debris and Dust
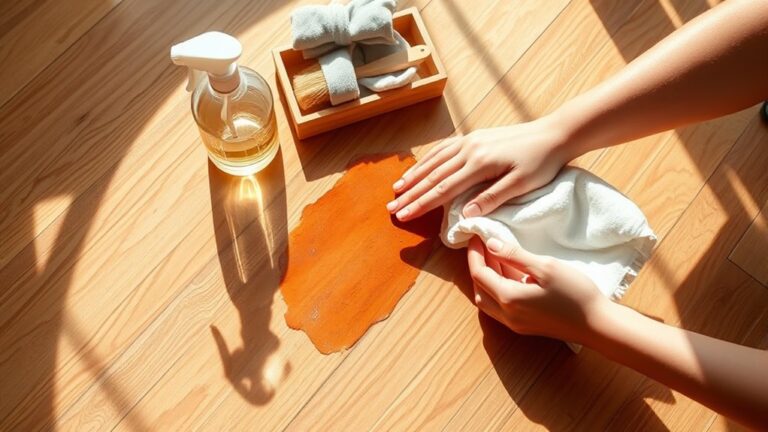
Start by thoroughly clearing the area around the buckled wood floor to assure nothing interferes with your repair work. Effective cleaning techniques are essential for proper floor maintenance and facilitate a smooth repair process. Follow these steps:
- Remove furniture and rugs to access the affected area fully.
- Sweep or vacuum the floor to eliminate loose dirt and dust.
- Use a damp microfiber cloth to wipe the surface, removing finer debris without saturating the wood.
- Allow the floor to dry completely before proceeding.
Clearing debris and dust prevents particles from obstructing repairs and helps you identify the full extent of the buckling. Taking this care now gives you the freedom to fix your floor efficiently and maintain its longevity.
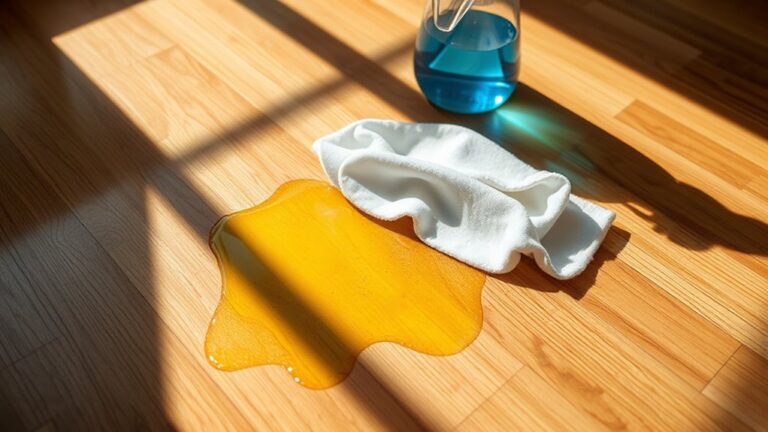
Control Moisture Levels
How much moisture is in your wood floor can make all the difference when fixing buckling. First, check the humidity levels in the room using a hygrometer; aim for 30-50% humidity for ideal wood health. Next, make certain you have proper humidity control by using dehumidifiers or air conditioners if needed to maintain stable moisture. Before proceeding, install moisture barriers beneath the subfloor if they’re missing or compromised. These barriers prevent ground moisture from seeping up and causing further damage. Also, inspect any plumbing leaks or water sources nearby and fix them promptly. By controlling moisture levels effectively, you’ll create a stable environment that allows your wood floor to settle properly and prevents future buckling, giving you the freedom to enjoy your space without worry.
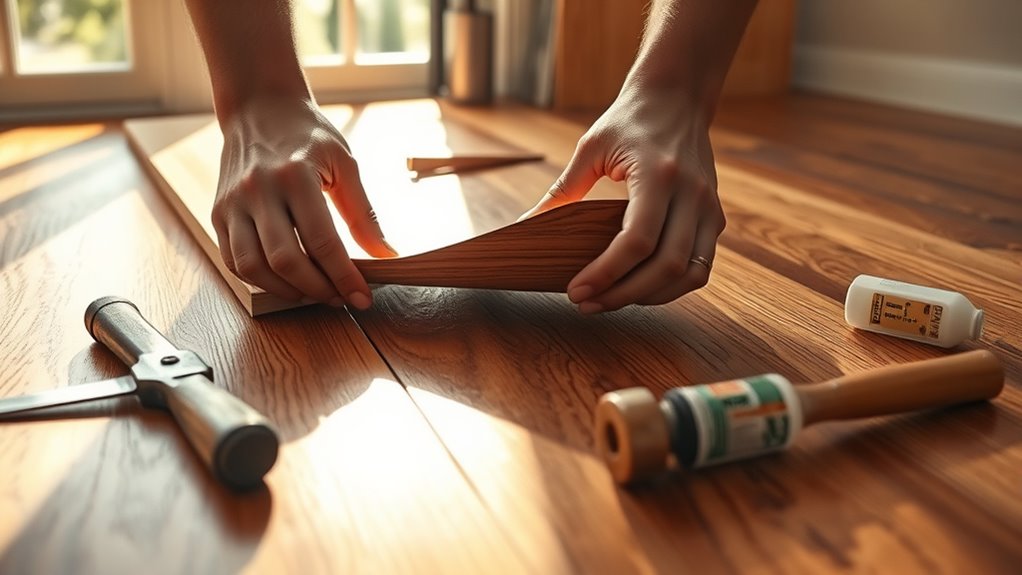
Removing Damaged Floorboards
Carefully pry up the buckled floorboards using a crowbar or pry bar, working slowly to avoid damaging the surrounding boards. Start with a thorough floorboard assessment to identify which boards need removal. Use these removal techniques for a smooth process:
- Score the edges of the damaged board with a utility knife to break the finish.
- Insert the pry bar gently under the board’s edge and lift slowly.
- Remove any nails or staples holding the board in place with pliers.
- Clear debris from the subfloor before installing new boards.
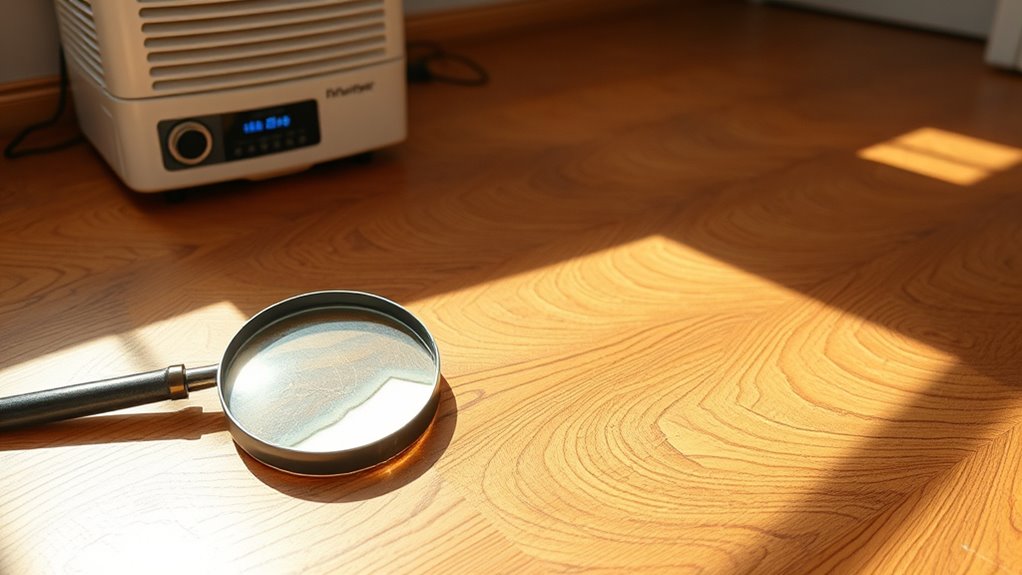
Drying and Moisture Control
Before you install new floorboards, you’ll need to thoroughly dry the subfloor and surrounding area to prevent future buckling. Start by using fans and dehumidifiers to accelerate drying, making sure every inch is moisture-free. Check humidity levels with a hygrometer and maintain consistent humidity control, ideally between 30-50%, to keep wood stable. Once dry, lay down moisture barriers—plastic sheeting or specialized underlayment—to block moisture from seeping up from below. These barriers are essential in areas prone to dampness or high humidity. Proper drying and moisture control not only protect your new floors but also give you the freedom to enjoy a durable, beautiful surface without worrying about warping. Taking these steps seriously will save you time and money down the road.
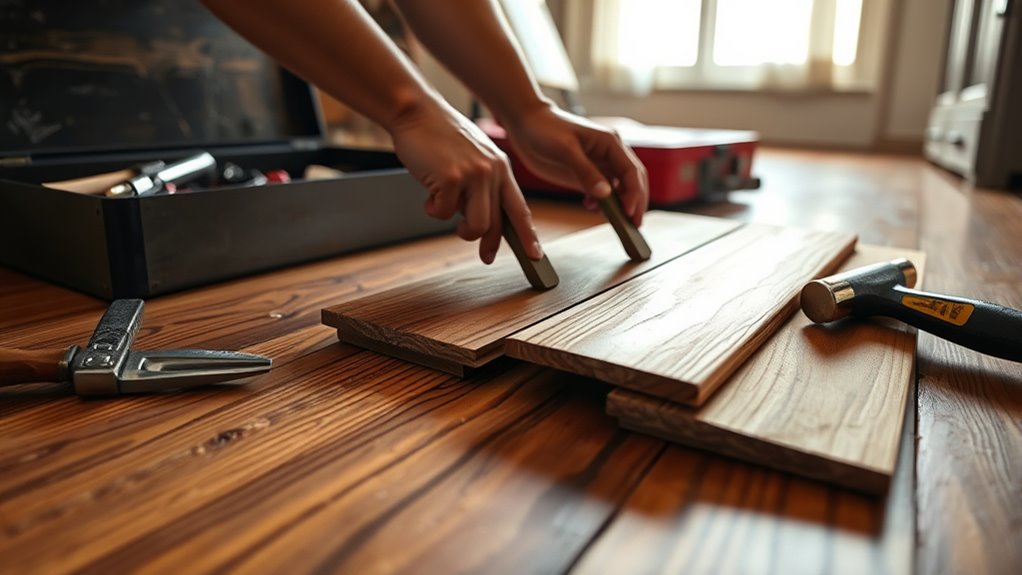
Repairing or Replacing Floorboards
Once the subfloor is completely dry and moisture levels are controlled, you’ll need to assess the extent of damage to your floorboards to decide whether repair or replacement is necessary. Check if the buckling affects just a few boards or the entire floor. For minor damage, repairing can save time and money, but severe warping calls for replacement.
Follow these steps:
- Identify the damaged floorboard materials to match your existing wood type.
- Carefully remove the buckled boards using proper tools without harming adjacent planks.
- Install new boards with appropriate installation techniques—like tongue-and-groove or click-lock—to guarantee a secure fit.
- Sand and finish the repaired area to blend seamlessly with the rest of the floor.
Preventing Future Buckling
After repairing or replacing your floorboards, addressing the root causes of buckling will help you avoid repeating the problem. Start by implementing preventive maintenance: regularly inspect your floors for early signs of moisture damage or warping. Keep an eye on leaks or spills and clean them promptly. Humidity control is essential—use a dehumidifier to maintain indoor humidity between 30-50%, especially in damp seasons. Proper ventilation also prevents moisture buildup beneath the floor. Additionally, make certain your home’s foundation and gutters direct water away from the structure. Avoid excessive water exposure during cleaning; use a damp mop rather than soaking the floor. By consistently managing humidity and moisture, you’ll protect your wood floors from buckling and enjoy a durable, beautiful surface for years to come.