To figure square footage for flooring, you’ll first measure the length and width of each room or area, including closets, using a tape measure or laser distance tool. Multiply length by width to get square feet for rectangular sections. For irregular shapes, divide them into standard geometric parts, calculate each area, then sum them all. Don’t forget to add 5-15% extra material for waste and cuts. Accurate measurements prevent costly errors and guarantee the right quantity—understanding this process fully will help you plan confidently.
Gather Your Measuring Tools
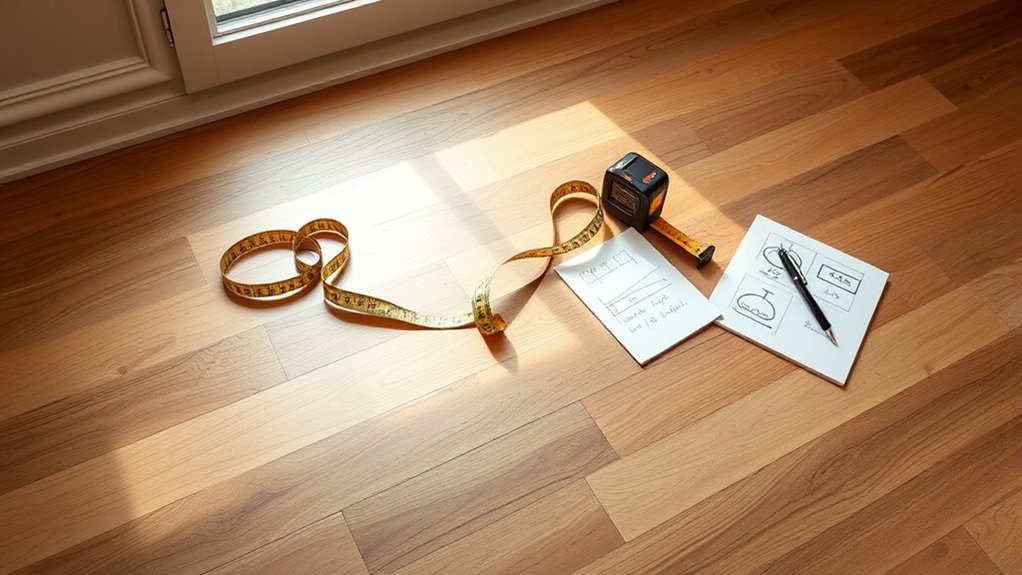
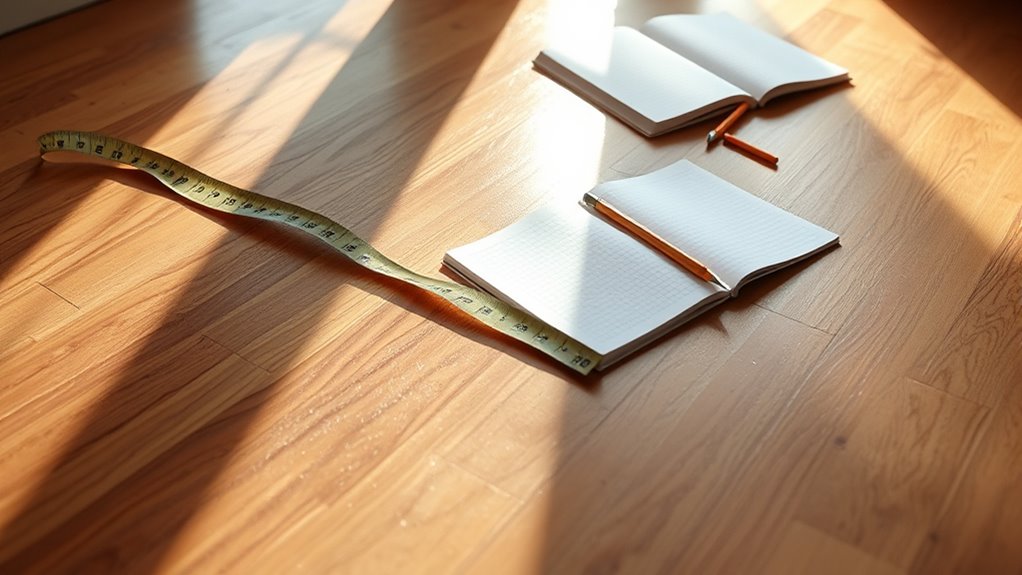
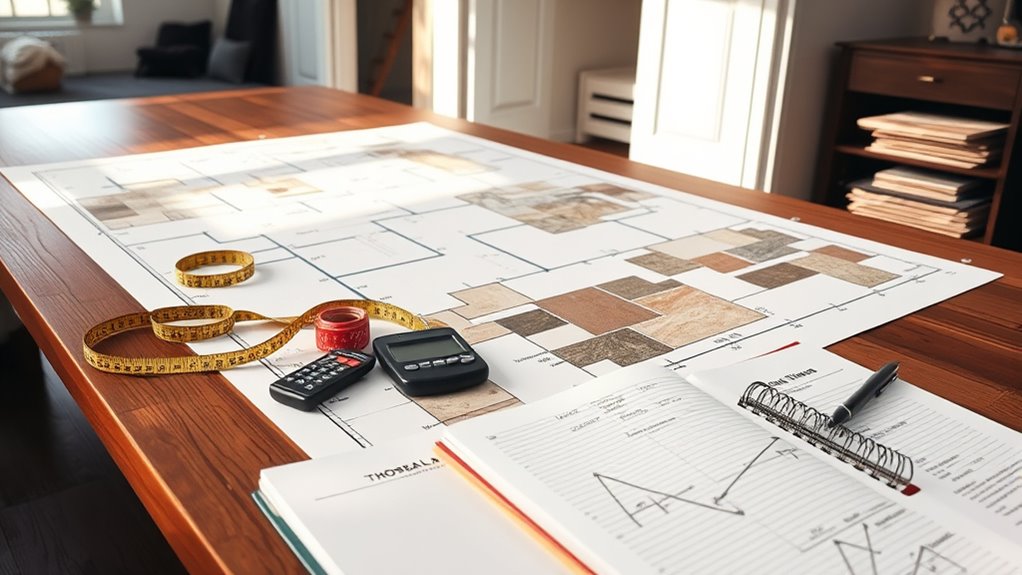
Before calculating the square footage for your flooring project, you’ll need to gather essential measuring tools. Accurate measurements rely heavily on the quality and appropriateness of these tools. Start with a reliable tape measure—preferably one that extends at least 25 feet—to capture room dimensions without stretching or bending errors. A laser distance measurer can enhance precision, especially in larger spaces or irregular layouts. Additionally, have a notepad or digital device ready to record your data immediately, reducing risks of transcription mistakes. A carpenter’s square might be necessary for verifying right angles, ensuring your measurements reflect true room geometry. By assembling these measuring tools, you set the foundation for precise calculations, enabling you to confidently determine the exact square footage and maintain control over your flooring project’s scope.
Measure the Length and Width of the Room
Start by using a reliable tape measure to get accurate readings. Measure the room from wall to wall along both the length and width. Be sure to record these dimensions precisely to guarantee correct square footage calculations.
Use a Tape Measure
To accurately determine the square footage of your room, you’ll need to measure its length and width with a tape measure. Start by anchoring the tape measure at one end of the wall, guaranteeing it’s flush against the surface. Extend the tape measure fully to the opposite wall without slack to maximize measuring accuracy. Use tape measure tips like keeping the tape straight and level to avoid distortion. Read the measurement at eye level to prevent parallax errors. Record each dimension precisely in feet and inches, converting to decimal feet if necessary for calculation ease. Repeat for both length and width. These steps guarantee reliable data collection, empowering you to calculate your room’s square footage confidently and independently, giving you the freedom to proceed with flooring decisions based on exact measurements.
Measure Wall to Wall
Accurately measuring the length and width of your room wall to wall is essential for calculating square footage. To guarantee precision, focus on correct wall alignment and proven measuring techniques. Follow these steps:
- Position your tape measure flush against one wall to establish a straight baseline.
- Extend the tape measure to the opposite wall, making sure it remains taut and parallel to the pavimento.
- Record the length, then repeat the process for the adjacent walls to determine the width.
- Double-check measurements by measuring twice from wall to wall to confirm consistency.
Record Dimensions Accurately
Although measuring the room’s length and width may seem straightforward, precise recording of these dimensions is critical for calculating the exact square footage needed for flooring. To guarantee accurate measurements, use reliable measuring techniques such as a laser measure or a steel tape, and always measure from wall to wall at floor level. Record each dimension clearly to avoid errors during calculation.
| Dimension | Measurement (feet) |
|---|---|
| Length | |
| Width | |
| Note |
Double-check your entries. Accurate measurements empower you with freedom to order just the right amount of flooring material, minimizing waste and cost.
Calculate the Square Footage of Rectangular Areas
Once you’ve measured the length and width of the rectangular area, calculating the square footage is straightforward. Multiply the length by the width to get the total square feet. This precise measurement is essential for ordering the correct amount of flooring material.
Measure Length and Width
Before calculating the square footage of a rectangular area, you need to measure its length and width precisely. Accurate measurement techniques are essential, especially when selecting flooring options that fit perfectly without waste or shortage. Follow these steps:
- Use a reliable tape measure or laser measure for accuracy.
- Measure the length along the longest wall or edge of the space.
- Measure the width perpendicular to the length at the widest point.
- Record measurements in feet and inches, then convert to decimal feet if needed.
Precision in these measurements guarantees freedom from costly errors, allowing you to confidently plan and purchase flooring materials. Measure carefully, as even slight deviations can impact the total square footage calculation and material requirements.
Multiply Dimensions for Area
After you’ve accurately measured the length and width of your space, calculating the square footage becomes straightforward. To determine the area, multiply the length by the width, ensuring both are in feet for consistency. This direct calculation applies specifically to rectangular room shapes, providing precise area calculations essential for flooring estimates. If your measurements are in inches, convert them to feet by dividing by 12 before multiplying. Accurate multiplication results in the exact square footage, guiding your material purchase and budget decisions. For irregular room shapes, break the space into multiple rectangles, calculate each area separately, and sum these values. Mastering this method empowers you to quantify floor space efficiently, granting the freedom to plan and execute your flooring project with confidence and precision.
Break Down Complex Room Shapes Into Smaller Sections
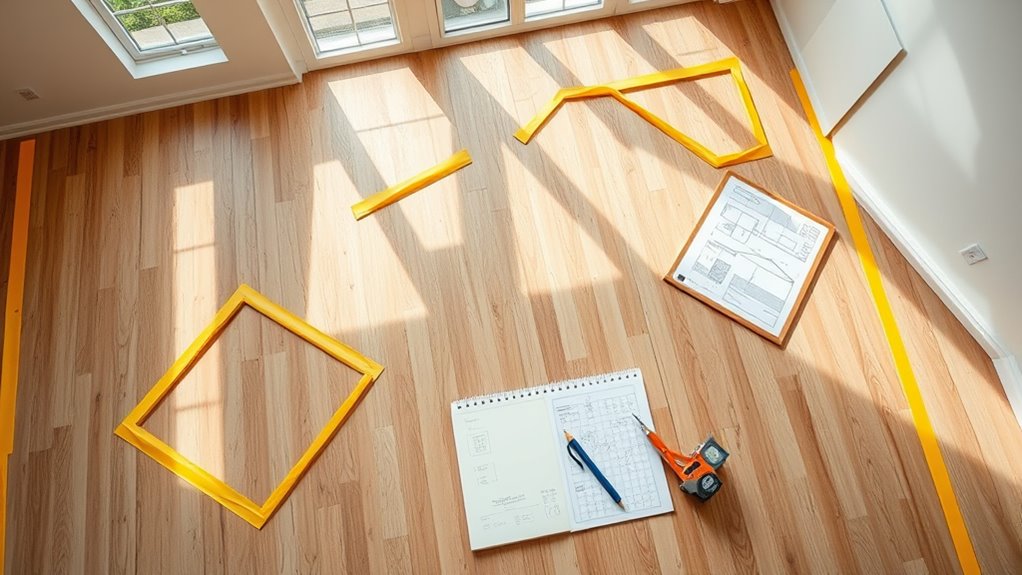
When dealing with irregularly shaped rooms, you’ll want to divide the area into smaller, more manageable sections such as rectangles, squares, or triangles. This approach enables precise calculation by applying shape simplification tailored to your unique room layout. Here’s how to proceed:
- Identify natural breaks or corners in the floor plan to isolate sections.
- Sketch each section as a standard geometric shape, simplifying complex angles.
- Measure the length and width (for rectangles/squares) or base and height (for triangles) of each section.
- Label each segment clearly to avoid confusion during measurement and calculation.
Add Up the Square Footage of All Sections
Once you’ve measured and labeled each section of your floor plan, the next step is to calculate the total square footage by adding the individual areas together. Start by reviewing your section breakdowns to verify all measurements are accurate and correspond to the correct shapes. Use precise area calculations for each segment, typically length multiplied by width for rectangles or appropriate formulas for other shapes. Add these individual areas systematically to avoid errors. Keeping your measurements organized, either on paper or digitally, helps maintain accuracy. This total sum represents the exact square footage you’ll need for your flooring project, empowering you to make confident purchasing decisions without overspending or running short. Mastering these calculations gives you the freedom to handle any floor plan with technical accuracy and efficiency.
Account for Closets and Additional Spaces
Including all closets and additional spaces in your square footage calculations guarantees an accurate total for your flooring project. Overlooking these areas can lead to underestimating material needs and project delays. To ascertain precision, measure each space carefully:
- Measure closet dimensions separately, noting length and width.
- Identify additional spaces like pantries or entryways that require flooring.
- Calculate each area’s square footage by multiplying length by width.
- Sum all measurements, including closets and additional spaces, to get the complete total.
This method provides a thorough view of your flooring needs, giving you control over budgeting and ordering. By accounting for every inch, you avoid surprises and maintain your project’s freedom and flexibility.
Factor in Extra Material for Waste and Cuts
Since flooring materials must be cut and adjusted to fit irregular spaces, you should always purchase extra to cover waste and mistakes. The recommended waste percentage varies depending on material types: laminate and vinyl typically require 5-10% extra, while hardwood and tile may need 10-15% due to complex cuts. This buffer accounts for offcuts, alignment errors, and damage during installation. Assess your project’s layout complexity to determine the precise waste percentage; intricate patterns or diagonal installs demand a higher allowance. Including this margin guarantees uninterrupted work flow and prevents costly delays. By factoring in an appropriate waste percentage based on your chosen material types, you maintain control over your budget and schedule, granting you the freedom to complete your flooring project with confidence and precision.
Verify Your Measurements Before Purchasing
Before purchasing your flooring materials, you need to meticulously verify all measurements to avoid costly errors. Double checking measurements is essential for ensuring accuracy and maintaining control over your project. Here’s how you can do it effectively:
- Measure each room dimension twice, noting length and width separately.
- Calculate square footage for each area and total them to determine overall material needs.
- Account for irregular spaces by breaking them into smaller rectangles and summing their areas.
- Cross-check your figures with a second set of measurements or have someone else verify them.