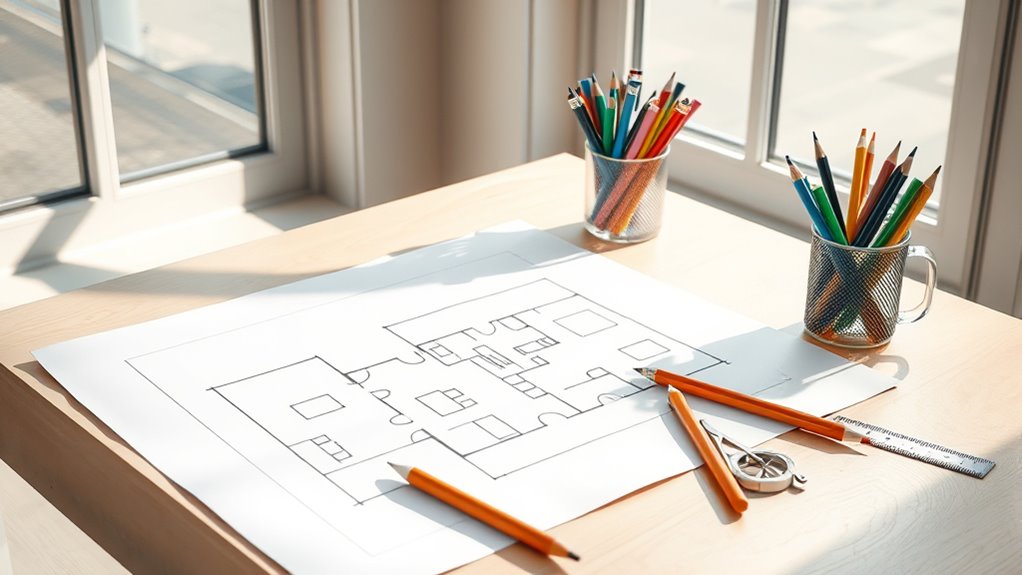
To draw a floor plan by hand, start by gathering precise tools like pencils, erasers, and a ruler. Measure your space accurately, noting walls, doors, and windows, then sketch the outline using a consistent scale. Mark door swings and window sizes carefully, draw interior walls, and add scaled furniture to guarantee proper flow. Label each room clearly with uppercase letters. Finally, review all proportions and finalize the drawing with clean, bold lines. Following these steps guarantees accuracy and clarity, with more detailed techniques to explore further.
Raccogli i tuoi strumenti e materiali
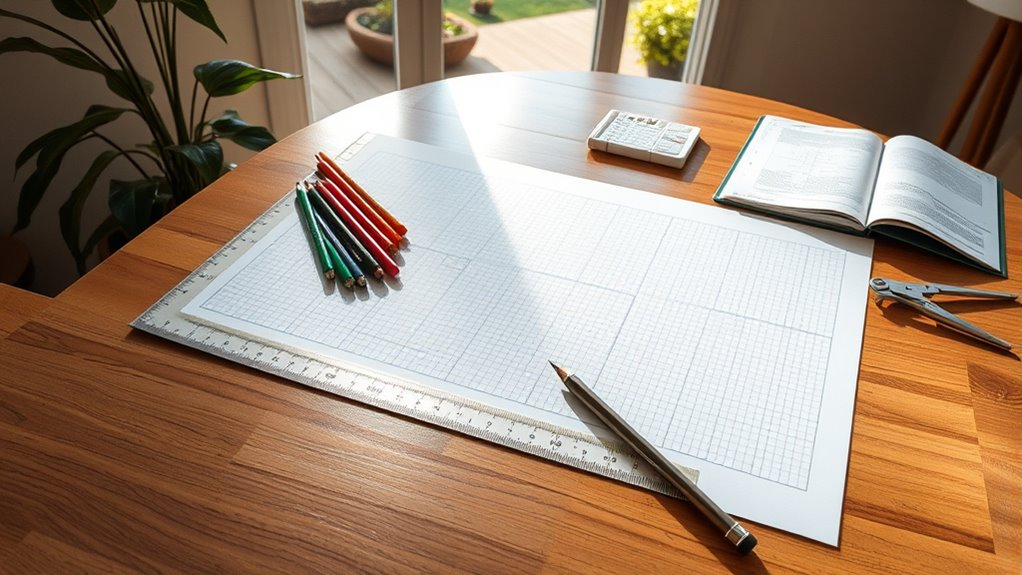
Before you begin drawing your pavimento plan by hand, it’s vital to gather all the necessary tools and materials. Start by selecting appropriate drawing utensils—mechanical pencils with varying lead hardness (H, 2H) offer precision, while fine-tip pens enhance line clarity. A quality eraser and a ruler or scale are essential for accuracy. Consider multiple paper types: graph paper provides built-in grids for alignment, tracing paper allows layering for revisions, and heavyweight drawing paper supports detailed work without tearing. Choose based on your workflow preference to maintain freedom in design adjustments. Having these tools organized guarantees efficiency and precision throughout your drawing process, enabling you to focus on creativity and spatial planning without interruptions or limitations.
Measure the Space Accurately
Once your tools and materials are ready, the next step is to measure the space accurately. Accurate measurements guarantee your floor plan reflects true space dimensions, giving you the freedom to design confidently. Use a tape measure or laser measure for precision. Record lengths, widths, and ceiling heights carefully. Measure each wall separately and note door and window placements.
| Element | Measurement Tips |
|---|---|
| Muri | Measure from corner to corner |
| Doors & Windows | Note width and height precisely |
| Ceiling Height | Measure at multiple points |
| Obstacles & Fixtures | Include built-in features accurately |
Sketch the Outline of the Floor Plan
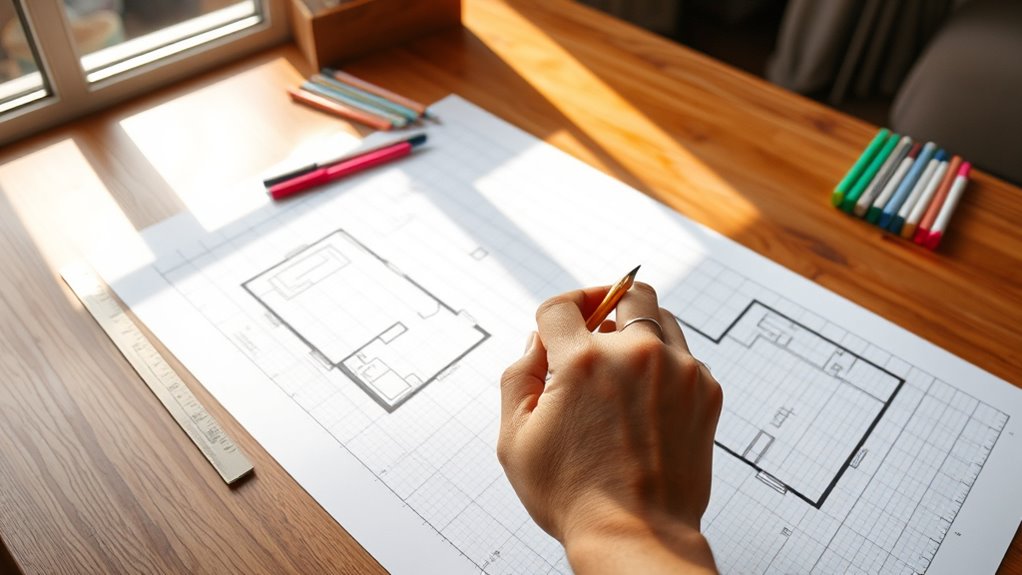
Although accurate measurements are essential, the next step is to translate those numbers into a scaled sketch that outlines the floor plan’s basic shape and layout. Begin by selecting a suitable scale, such as 1/4 inch equals 1 foot, to maintain proportionality. Use precise sketching techniques like light pencil strokes to draft exterior walls, ensuring straight lines with a ruler or scale. Focus on outline precision by confirming dimensions correspond exactly to your measurements, avoiding distortions. Establish the perimeter first, then indicate interior walls’ positions, maintaining consistent wall thickness. This structured approach grants you the freedom to adjust details later without compromising the foundational framework. Keeping your sketch clear and accurate at this stage streamlines further additions, providing a reliable base for the next phases in your floor plan design.
Mark the Locations of Doors and Windows
Three key elements—doors, windows, and their exact placements—must be accurately marked on your floor plan to guarantee functional flow and proper lighting. Focus on door placement, ensuring doors swing freely without obstruction. For windows, specify window size to optimize natural light and ventilation. Use standardized symbols for clarity, maintaining consistent scale.
| Element | Considerazione | Notation Example |
|---|---|---|
| Door | Swing direction | Arc showing swing |
| Door Placement | Clearance space | Dimension line |
| Window | Window size | Rectangle with size |
Draw Interior Walls and Partitions

Now that you’ve marked doors and windows, focus on drawing interior walls and partitions with precision. Start by determining exact wall placements based on room functions, ensuring proper alignment and thickness. Then, select partition types—load-bearing or non-load-bearing—according to structural needs and space division requirements.
Wall Placement Basics
When placing interior walls and partitions, you’ll need to carefully consider both structural requirements and spatial functionality. Selecting appropriate wall types guarantees durability while supporting space optimization. You want to balance load-bearing needs with flexible layouts that maximize usable areas.
| Wall Type | Scopo |
|---|---|
| Load-bearing | Supports structural weight |
| Non-load-bearing | Defines rooms without structure |
| Partition | Creates flexible separations |
| Demountable | Allows reconfiguration |
Start by marking load-bearing walls clearly; they dictate your plan’s framework. Then, add non-load-bearing and partition walls to divide spaces effectively. Aim to optimize flow and usage, avoiding unnecessary barriers. Consider demountable walls for adaptability, granting freedom to evolve your layout without major reconstruction. This structured approach to wall placement will help you draft a functional, efficient floor plan.
Partition Types and Uses
After establishing the framework with load-bearing walls, focus shifts to selecting appropriate partition types to define interior spaces. When drawing interior walls and partitions, you’ll want to take into account partition materials like drywall, glass, or timber, each offering distinct advantages in durability, sound insulation, and aesthetic appeal. Partition styles vary from fixed, movable, to operable partitions, allowing flexibility depending on your design goals. Fixed partitions provide permanent separation, while operable styles let you adjust space usage dynamically, giving you freedom in layout. Accurately representing these in your floor plan requires noting thickness, height, and material indications. By carefully choosing partition materials and styles, you guarantee your hand-drawn floor plan clearly communicates spatial organization and functionality, supporting efficient construction and interior design decisions.
Add Fixtures and Appliances
Although the basic layout provides the framework, adding fixtures and appliances is essential to confirm your floor plan reflects functional living spaces. Begin by identifying key fixture placement such as sinks, toilets, and lighting to optimize utility and flow. Select appliance types based on the room’s purpose—consider stoves, refrigerators, or washers—and indicate their dimensions accurately. Use standardized symbols or simple shapes to represent each element, confirming consistency. Position fixtures to allow for clearance and accessibility, avoiding overcrowding. This precision confirms your hand-drawn plan communicates practical living standards while maintaining freedom in design choices. By integrating fixture placement and appliance types methodically, your floor plan will serve as a reliable guide for construction and future modifications, balancing technical requirements with your creative intent.
Include Furniture for Scale and Flow
When you include furniture in your floor plan, use scaled symbols to accurately represent each piece’s size. Arrange the furniture thoughtfully to guarantee clear pathways and comfortable movement throughout the space. This approach helps you evaluate both scale and flow effectively before finalizing the design.
Choose Scaled Furniture Symbols
Anyone planning a floor plan by hand needs to select scaled furniture symbols carefully to guarantee accurate representation of space and flow. Begin by choosing symbol sizes that correspond precisely to your drawing’s scale, ensuring each piece reflects real-world dimensions. Consider various furniture styles to match your design intent—modern, traditional, or minimalist—as these influence spatial perception. Use standardized symbols for common items like sofas, beds, and tables to maintain consistency. Verify that each symbol’s proportions allow for comfortable circulation without overcrowding. By integrating appropriately scaled furniture symbols, you accurately visualize how furnishings occupy space and support functional arrangements. This methodical approach empowers you to create floor plans that balance aesthetic freedom with technical accuracy, facilitating informed decisions during the design process.
Arrange for Movement Flow
Selecting scaled furniture symbols sets the foundation for arranging spaces that accommodate natural movement. Once you’ve placed these symbols, analyze typical movement patterns to verify unobstructed pathways. Define traffic zones clearly, maintaining at least 30-36 inches of clearance in main circulation areas to facilitate smooth flow. Position furniture strategically to avoid creating bottlenecks or dead ends, preserving freedom of movement. Consider the sequence of activities within each space and align furniture accordingly, supporting intuitive navigation. Use your floor plan to visualize how occupants will traverse the space, adjusting furniture placement to optimize both scale and flow. This structured approach assures functional, open layouts that respect traffic zones and promote effortless circulation, empowering you to design with both precision and spatial freedom in mind.
Label Each Room Clearly
Clear labeling of each room guarantees your floor plan communicates spatial functions without ambiguity. Start by assigning accurate room names that reflect each space’s intended use. Use clear labels written legibly, preferably in uppercase letters for uniformity. Position these labels centrally within each room’s boundaries to avoid confusion. Keep the font size proportional to the room’s scale—large enough to read easily but not overwhelming the drawing. Avoid abbreviations unless universally recognized. Consistency is key; use the same style and placement for all labels throughout your plan. This clarity enables anyone reviewing your plan to quickly grasp the layout and purpose of each area, supporting freedom in design decisions and effective communication with builders or collaborators. Precise labeling is essential for a functional, professional floor plan.
Review and Adjust Proportions
Before finalizing your floor plan, double-check all measurements to guarantee accuracy. Consistently compare your drawing to the chosen scale and adjust wall thicknesses where necessary to maintain proportional integrity. This careful review helps prevent errors and guarantees your plan reflects precise dimensions.
Measure Twice, Draw Once
Although it might be tempting to proceed quickly, you should always double-check your measurements before committing them to your floor plan. Accurate measuring techniques are essential to guarantee your drawing reflects true dimensions, which directly impacts drawing accuracy. Taking the time to verify measurements helps prevent costly errors and revisions later.
Keep these tips in mind:
- Use a reliable tape measure or laser measure for precision.
- Record measurements clearly and double-check each dimension.
- Cross-verify critical distances like doorways and wall lengths.
- Adjust proportions on your sketch to reflect any measurement updates.
- Maintain consistent units throughout to avoid confusion.
Compare Scale Consistently
Once you’ve gathered accurate measurements, you’ll need to consistently apply and compare your chosen scale throughout the drawing process. Maintaining scale consistency guarantees that every element in your floor plan aligns proportionally, preserving measurement accuracy. Start by selecting a reliable scale ratio, such as 1:50 or 1:100, and use precise tools like a scale ruler to transfer dimensions accurately. Regularly verify key distances on your drawing against original measurements to detect discrepancies early. If you spot any deviations, adjust immediately to keep proportions true. This disciplined approach prevents cumulative errors, allowing you to freely modify your design without losing structural integrity. By prioritizing scale consistency, you enhance the clarity of your floor plan and support confident decision-making during your creative process.
Adjust Wall Thicknesses
Maintaining consistent scale sets a solid foundation for detailing your floor plan, especially when it comes to wall thicknesses. You’ll need to review and adjust proportions to guarantee accuracy, reflecting the actual wall material and structural requirements. Thickness variation depends on whether walls are load-bearing, partition, or exterior. Carefully represent these differences to avoid misinterpretation.
To adjust wall thicknesses effectively, consider:
- Identify wall material to determine appropriate thickness
- Mark load-bearing walls with increased thickness
- Differentiate partition walls with thinner lines
- Maintain scale precision for every thickness variation
- Recheck dimensions after adjustments for consistency
Finalize the Floor Plan With Clean Lines
Before proceeding, verify all measurements and details are accurate, as this step involves reinforcing your floor plan with clean, definitive lines. Use a fine-tip pen or technical drawing pen to trace over the pencil lines, emphasizing walls, doors, and windows with consistent line weights. Erase any remaining pencil marks carefully to maintain a clean presentation. Pay close attention to line intersections and guarantee corners are sharp and precise. Incorporate final touches such as dimension lines, labels, and symbols for fixtures, using standardized notation for clarity. This disciplined approach grants your floor plan a professional, polished appearance while preserving the freedom to modify or expand later. By completing these final touches meticulously, you ascertain the plan communicates clearly and effectively, ready for review or further development.