To draw a door on a floor plan, start by measuring the door’s width and height accurately, noting these dimensions to scale. Select the correct door symbol—hinged doors show an arc for swing direction, sliding doors use parallel lines with arrows, and pocket doors are represented with dashed lines inside wall thickness. Position the door to enable smooth traffic flow and confirm clearance. Make certain symbols and swings align precisely within wall boundaries. Detailed guidance will help you master door placement and representation techniques.
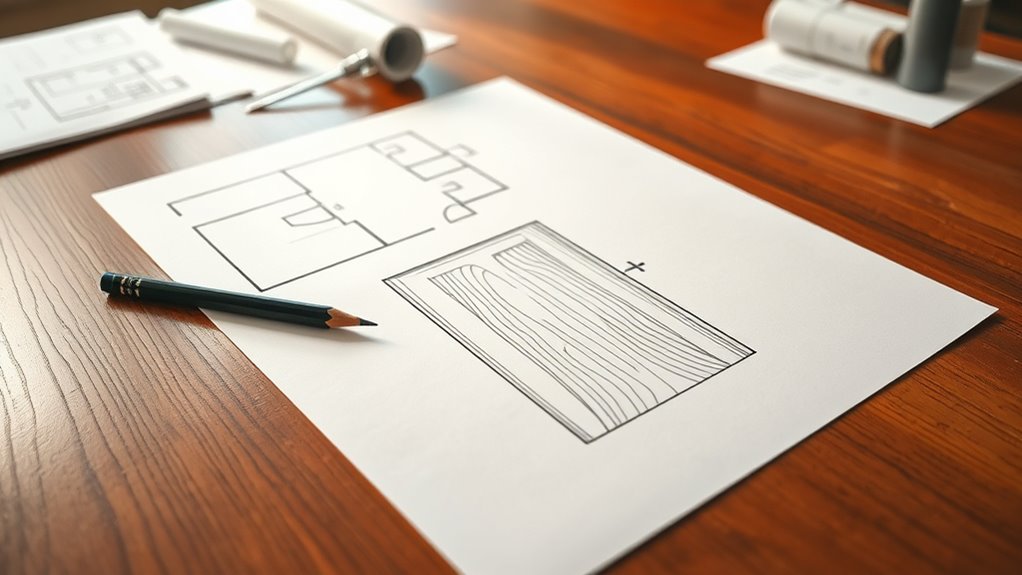
Understanding Floor Plan Symbols
Pavimento plan symbols are standardized graphical representations that convey specific architectural elements, such as doors, windows, and walls, within a blueprint. When you grasp floor plan basics, you’ll recognize that each symbol holds a precise meaning to guarantee uniform interpretation across projects. For example, walls are typically shown as parallel lines, while doors are illustrated with an arc indicating the swing direction. Understanding these symbol meanings is vital for accurately reading and creating floor plans that communicate spatial relationships and construction details clearly. As you familiarize yourself with these symbols, you gain the freedom to design effectively, avoiding misinterpretations. Mastery of floor plan symbols empowers you to translate your architectural vision into a precise, universally understood graphic language.
Types of Doors Commonly Used in Floor Plans
Although doors serve the fundamental purpose of providing access and security, their designs vary considerably to suit different architectural requirements and spatial constraints. When drawing floor plans, you’ll encounter various types of interior doors such as hinged, sliding, pocket, and bi-fold. Hinged doors swing on a pivot, ideal for standard rooms, while sliding and pocket doors conserve space by moving parallel to walls. Bi-fold doors fold in sections, commonly used for closets. For exterior applications, types of exterior doors include flush, panel, French, and security doors. Flush doors offer a sleek, flat surface, panel doors feature framed sections for rigidity, French doors incorporate glass for light transmission, and security doors prioritize durability and protection. Understanding these distinctions helps you accurately represent door function and style in your floor plans.
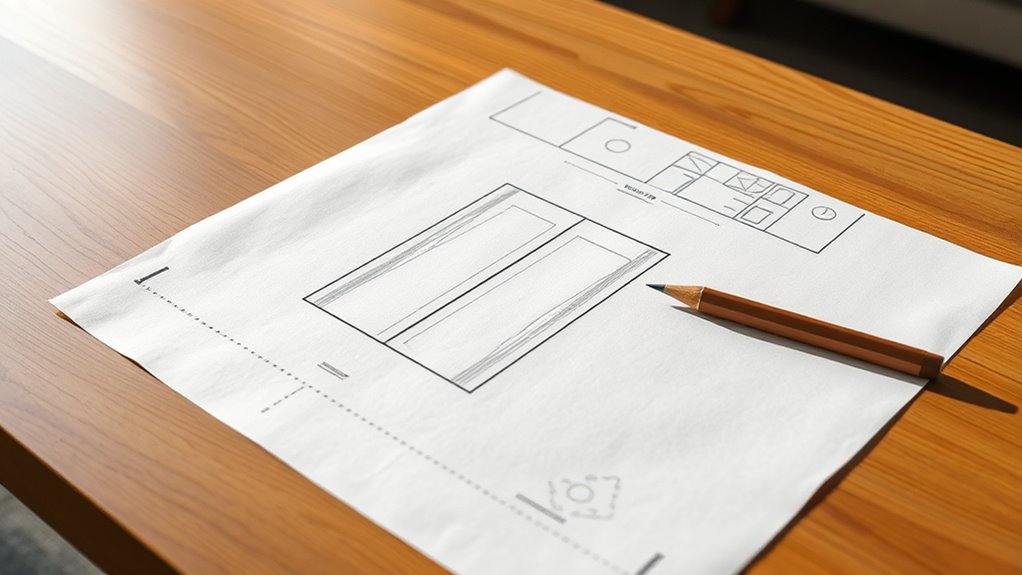
Tools Needed to Draw Doors on a Floor Plan

You’ll need precise drawing instruments like pencils, rulers, and protractors to draft accurate door placements on paper. For digital plans, software options such as AutoCAD or SketchUp offer specialized tools for door design and modification. Additionally, measuring tapes and scale rulers are essential to guarantee your drawings maintain correct proportions and dimensions.
Essential Drawing Instruments
Accurate door representation on a floor plan relies heavily on the precision of your drawing instruments. To guarantee your sketching techniques translate clearly and professionally, you’ll need reliable drawing tools that offer control and clarity. Equip yourself with:
- Mechanical pencils with fine leads (0.5mm or 0.7mm) for consistent line weight and detail
- A transparent ruler or scale for precise measurements and straight lines
- A compass or protractor to accurately depict door swings and angles
These instruments enhance your ability to draft doors with exact dimensions and correct orientations. Precision here isn’t just about neatness—it’s about freedom to modify and interpret designs without ambiguity. Mastering these tools lets you produce floor plans that communicate intent powerfully, minimizing errors and improving collaboration.
Recommended Software Options
Several software options stand out for drafting doors on floor plans, each offering specialized tools to streamline accuracy and detail. AutoCAD provides robust layer management and precise dimensioning, favored by professionals who prioritize control. SketchUp enables quick 3D modeling, appealing to users who prefer visualizing spatial relationships freely. Revit integrates architectural components, allowing dynamic door adjustments within building models, ideal for collaborative workflows. When evaluating software comparisons, consider interface intuitiveness, library availability, and compatibility with your project scope. Your user preferences—whether you value speed, customization, or detailed annotations—will guide your choice. Ultimately, selecting software that balances technical rigor with your workflow flexibility guarantees efficient, accurate door representation on floor plans, empowering you to maintain design freedom without sacrificing precision.
Measuring and Scaling Tools
Mastering measuring and scaling tools is essential for precisely positioning doors within your floor plan. Accurate measuring techniques guarantee that door placements correspond correctly to wall dimensions and room layouts. Utilizing proper scaling methods allows you to translate real-world measurements into your plan’s scale flawlessly. To maintain precision and freedom in your designs, consider these key tools:
- Architect’s scale ruler: Facilitates direct conversion between measurements and scaled drawings.
- Digital measuring devices: Provide exact dimensions quickly, enhancing accuracy.
- CAD software scaling features: Automate scaling methods, reducing human error and enabling easy adjustments.
Measuring Door Dimensions Accurately
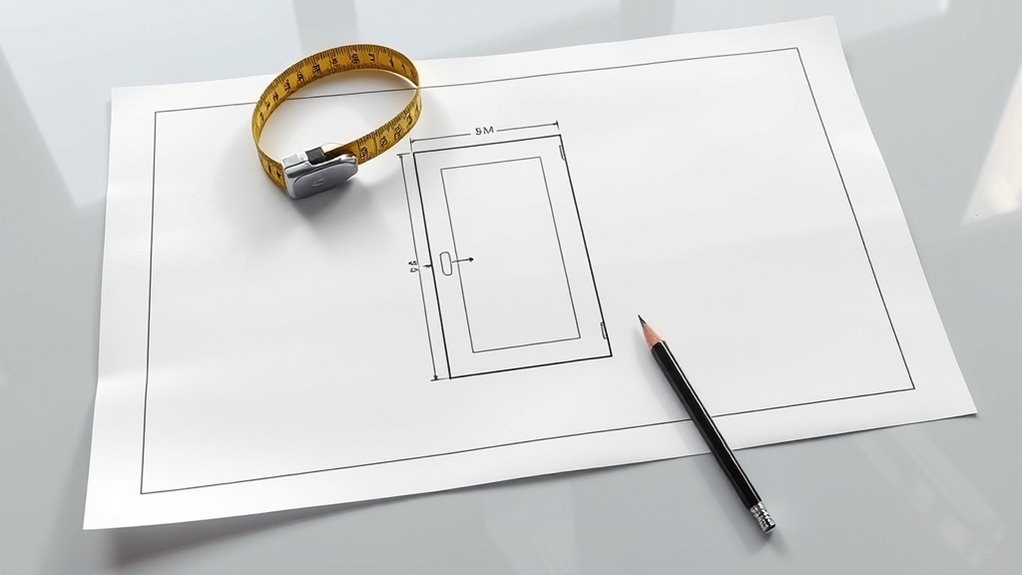
Before you can sketch a door on your floor plan, you’ll need to obtain precise measurements of its width, height, and thickness. Accurate door measurements are essential for correct scaling and making certain your floor plan reflects reality. Use a reliable tape measure or laser distance tool, noting dimensions to the nearest millimeter or fraction of an inch.
| Dimension | Measurement Tips | Importanza |
|---|---|---|
| Width | Measure from frame edge to edge | Guarantees fitting |
| Height | Measure from floor to top frame | Dictates clearance |
| Spessore | Measure door slab thickness | Affects wall alignment |
These steps assure your scaled drawing preserves freedom in design and functionality without compromising precision.
Choosing the Right Door Placement
After gathering exact door measurements, the next step is determining where to position the door on your floor plan. Proper door placement guarantees ideal door flow and maintains aesthetic balance within your space. When choosing the location, consider:
- Traffic patterns: Position the door to facilitate smooth movement between rooms without obstruction.
- Wall space: Verify there’s enough clearance for the door to open fully without interfering with furniture or fixtures.
- Visual alignment: Align doors symmetrically or purposefully off-center to enhance the room’s design and flow.
Drawing the Door Swing and Arc
Begin by sketching the door swing to accurately represent how the door opens within the floor plan. This step is vital because the door swing indicates the door’s functional movement and clearance, ensuring no obstructions interfere with entry or exit. To do this, draw a quarter-circle arc from the hinge point, illustrating the door’s path. The arc representation must be precise, showing the door opening either inward or outward, clockwise or counterclockwise. Use a thin, continuous line for the door panel and a curved line for the arc, clarifying the door’s range of motion in the spatial layout. By capturing the door swing and arc representation correctly, you maintain spatial freedom and practical flow, essential for effective floor plan communication.
Representing Sliding and Pocket Doors
When drawing sliding doors on your floor plan, use a clear, parallel line symbol to indicate the door panel and track. For pocket doors, show the door panel recessed within the wall cavity to accurately reflect its placement. Keep in mind that these doors optimize space by eliminating swing arcs, so represent their location to highlight this efficiency.
Sliding Door Symbols
Sliding door symbols are essential for accurately representing sliding and pocket doors on floor plans, as they distinguish these space-saving elements from traditional hinged doors. When you include these symbols, you communicate the intended sliding door designs and sliding door materials effectively to builders and clients. Typically, sliding door symbols involve a straight line parallel to the wall with an arrow indicating the sliding direction. Key considerations include:
- Use double lines to show two sliding panels, emphasizing the door’s operability.
- Represent pocket doors with a dashed line inside the wall cavity, highlighting concealed functionality.
- Always align symbols precisely with the wall thickness and opening size for technical accuracy.
Pocket Door Placement
Where exactly should you position pocket doors to maximize both functionality and space efficiency? You’ll want to install them in walls thick enough to house the door panel, avoiding load-bearing walls unless structurally modified. Positioning pocket doors near high-traffic areas or between rooms where swinging doors obstruct movement highlights pocket door benefits, such as saving floor space and enhancing flow. When drawing pocket door styles on a floor plan, represent the door as a thin line within the wall cavity, with an arc indicating the sliding direction inside the wall. Guarantee the pocket cavity length matches the door width for accurate depiction. By carefully placing pocket doors in strategic locations, you harness their space-saving advantages while maintaining aesthetic freedom and practical circulation in your design.
Space Efficiency Considerations
Properly representing sliding and pocket doors on a floor plan demands attention to their impact on space efficiency and movement flow. You’ll want to clearly illustrate how these doors optimize space utilization by eliminating the swing radius typical of hinged doors, thereby enhancing access flow within confined areas. When drawing these doors, consider:
- Indicating the door’s sliding path with dashed lines to show clear movement zones.
- Marking the pocket cavity within the wall thickness to convey hidden door storage.
- Ensuring door dimensions align with ergonomic standards for unobstructed passage.
Incorporating Double and French Doors
Although incorporating double and French doors into your floor plan requires careful attention to hinge placement and swing direction, doing so enhances both functionality and aesthetic appeal. When drafting double door designs, guarantee each leaf’s width and swing arc are accurately represented, typically mirroring each other for balance. For French door styles, detail multiple panes per door leaf, emphasizing their symmetrical alignment. Position hinges to allow doors to open fully without obstruction, considering adjoining walls and furniture placement. Use precise arc lines to indicate the swing path clearly, avoiding overlap with adjacent elements. By accurately depicting these aspects, you maintain the freedom to visualize spatial flow and light distribution, vital for open, inviting interiors. This approach guarantees your floor plan communicates both practical use and stylistic intent effectively.
Tips for Maintaining Scale and Proportion
When drawing doors on a floor plan, you’ll need to confirm that every element is to scale so that the design accurately reflects real-world dimensions. Achieving scale accuracy is essential for functional and aesthetic integrity. To maintain correct proportion, apply these techniques:
- Use consistent units and verify measurements before drawing.
- Employ proportion techniques such as ratio comparison to guarantee door dimensions align with wall thickness and room size.
- Utilize drafting tools or digital software with built-in scale functions to minimize human error.
Reviewing and Editing Your Door Drawings
Before finalizing your floor plan, you should carefully review and edit your door drawings to guarantee accuracy and functionality. Start by verifying door alignment, ensuring each door fits precisely within its designated wall space without overlapping or misplacement. Check swing direction and clearance to prevent interference with adjacent elements. Next, assess design consistency by confirming that door symbols, sizes, and styles remain uniform throughout the plan, reflecting the intended architectural style. Pay attention to hardware placement and annotations to enhance clarity. Use scaled measurements to reconfirm proportions, avoiding deviations that could affect construction. Finally, cross-check your revisions against the overall layout for seamless integration, ensuring freedom in spatial flow and user movement. This meticulous review prevents costly errors and supports a coherent, professional floor plan presentation.