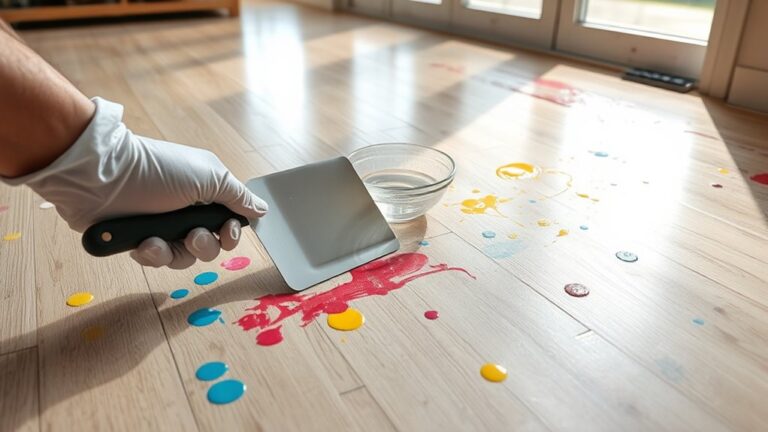
To clean grout in floor tiles, first gather supplies like a bucket, grout brush, gloves, and cleaning solution. Mix a grout-safe cleaner (baking soda and vinegar or commercial product), then apply it evenly to grout lines. Scrub firmly with a stiff brush, rinse thoroughly with clean water, and dry with a microfiber cloth. For stubborn stains, use a paste of baking soda and water. Finish by sealing grout to protect it from future dirt. Follow these steps to keep grout bright and durable.
Raccogli i tuoi prodotti per la pulizia
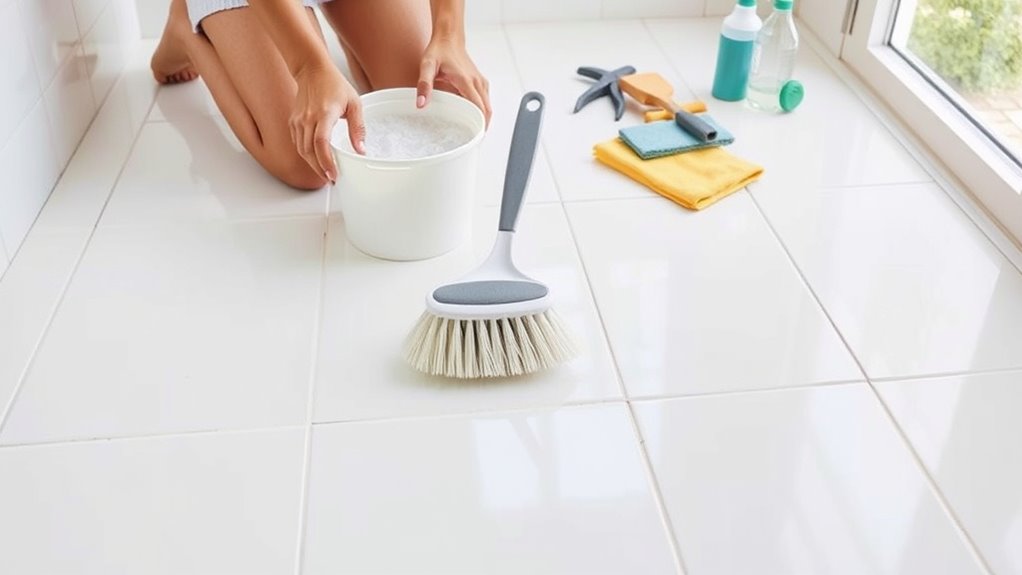
Before you start cleaning grout in your pavimento tiles, gather all necessary supplies to guarantee a smooth process. You’ll need effective cleaning tools designed to tackle grout’s texture without damaging your tiles. Start with a sturdy bucket to mix solutions and collect dirty water. Select grout brushes with firm bristles; these allow you to scrub deeply into grout lines, loosening dirt and stains efficiently. Add microfiber cloths or sponges for wiping surfaces clean after scrubbing. Gloves protect your skin during cleaning, so don’t forget them. Have a spray bottle handy if you prefer applying cleaners evenly. Organizing these cleaning tools beforehand saves time and effort, letting you focus on the task. With the right supplies ready, you maintain control and freedom throughout your grout cleaning project.
Preparare una soluzione detergente
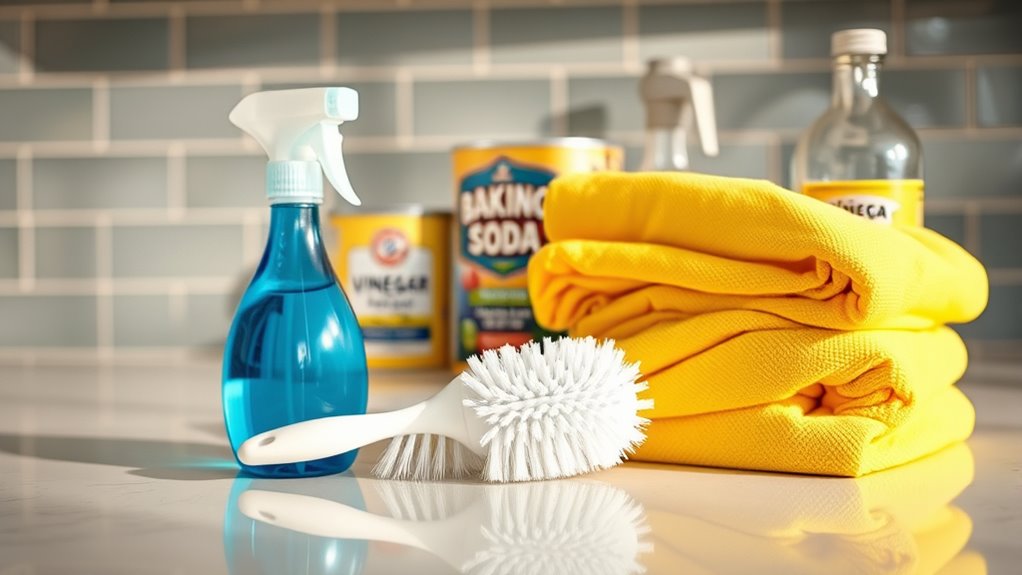
To prepare an effective cleaning solution, you’ll need to select ingredients known for breaking down dirt and mildew, such as baking soda and vinegar or a commercial grout cleaner. Be certain to measure and mix these components in the correct ratios to avoid damaging your tiles or grout. Mixing the solution thoroughly guarantees even cleaning power across all grout lines.
Choosing Effective Ingredients
Selecting the right ingredients is essential for an effective grout cleaning solution that won’t damage your tiles. You want to balance power with safety, especially if you prefer to avoid harsh chemicals. Natural alternatives like baking soda, vinegar, or hydrogen peroxide offer strong cleaning capabilities without risking tile discoloration or deterioration. These ingredients also give you control and freedom from relying on potentially harmful substances. On the other hand, commercial cleaners are formulated for specific grout types and stains, often delivering fast results. However, they may contain strong acids or bleach, so you must choose products labeled as safe for your tile material. Ultimately, picking ingredients depends on your tile type, stain severity, and preference for natural versus chemical solutions. This guarantees an efficient, damage-free grout cleaning process.
Mixing Proper Ratios
A proper grout cleaning solution relies on mixing the right ratios of ingredients to maximize effectiveness without causing damage. Start by choosing a base—usually water or vinegar—and add your cleaning agent, like baking soda or hydrogen peroxide, in precise amounts. For light grout colors, a gentler mix—1 part cleaner to 4 parts water—prevents discoloration. Darker grout can handle stronger blends, such as equal parts water and cleaner, but don’t overdo it. Your cleaning frequency affects this too; frequent cleaning allows milder ratios to work effectively, preserving grout integrity. Always stir the mixture thoroughly to guarantee even distribution. By tailoring your solution’s strength to grout color and cleaning frequency, you maintain grout longevity and achieve a thorough, efficient clean without risking damage.
Apply the Cleaning Solution to the Grout
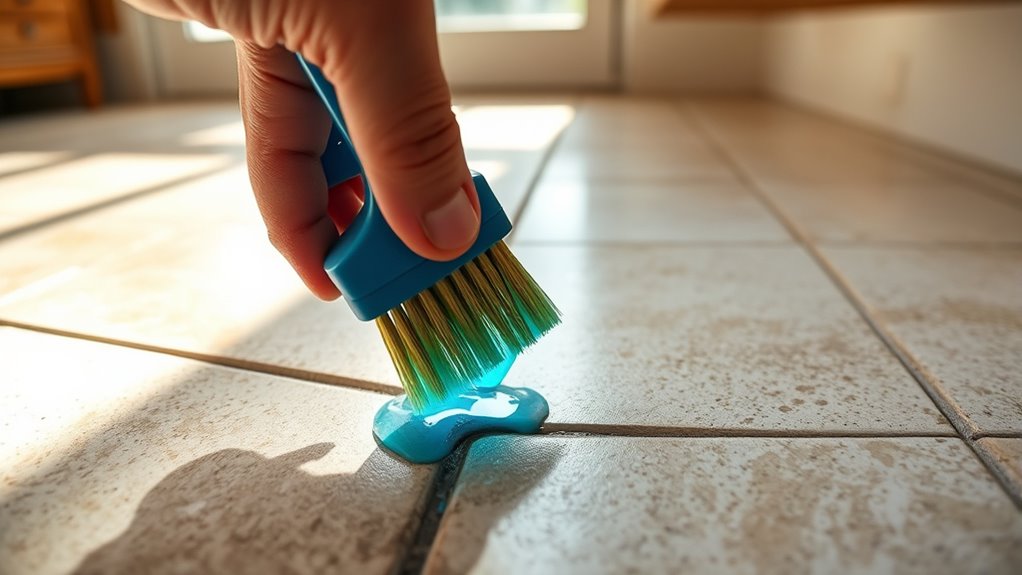
You’ll want to select a cleaner that targets grout stains without damaging your tiles. Apply the solution directly onto the grout lines using a spray bottle or a small brush for even coverage. Make certain to saturate the grout thoroughly but avoid excess pooling to guarantee effective cleaning.
Choosing Effective Cleaners
Choosing the right cleaner is essential for effectively loosening dirt and stains without damaging your grout. You can opt for natural cleaners like baking soda mixed with vinegar or hydrogen peroxide, which are gentle yet effective. These choices give you control over ingredients and reduce exposure to harsh chemicals. If you prefer commercial products, look for those specifically formulated for grout cleaning; they often contain stronger agents for tough stains but can be harsher on grout if misused. Always check the label to verify compatibility with your tile type and grout material. Selecting a cleaner that balances effectiveness with safety lets you maintain your floors freely without worry about damage or residue. This step sets the foundation for a thorough, hassle-free cleaning process.
Proper Application Techniques
Start by applying your chosen cleaning solution directly onto the grout lines, ensuring even coverage without oversaturating the area. Use a small brush or applicator designed for grout application methods to target the narrow spaces precisely. Avoid applying the cleaner on tile surfaces to prevent residue buildup. Let the solution sit as directed to maximize effectiveness. When rinsing, use minimal water to avoid diluting the cleaner prematurely. After cleaning, consider grout sealing techniques to protect your grout from future stains and moisture. Applying a high-quality sealant evenly over dry grout lines will extend cleanliness and reduce maintenance. By mastering these grout application methods and sealing techniques, you gain control over your tile’s appearance while maintaining freedom from frequent, intensive cleanings.
Scrub the Grout Lines Thoroughly
Grab a stiff-bristled brush to target the grout lines effectively. Using the right scrub brushes is key to grout cleaning techniques that free you from stubborn dirt. Apply firm, consistent pressure and work in small sections to avoid missing spots. Circular motions help dislodge grime trapped deep in the porous grout. Below is a quick reference for choosing and using scrub brushes:
| Brush Type | Ideale per | Pressure Level |
|---|---|---|
| Nylon | Regular dirt | Medio |
| Wire | Heavy stains | Alto |
| Toothbrush | Tight corners | Basso |
| Sponge Brush | Delicate grout | Gentle |
| Electric Scrubber | Grandi aree | Adjustable |
Stick to these guidelines, and your grout lines will regain their clean, fresh look.
Rinse the Floor Tiles and Grout
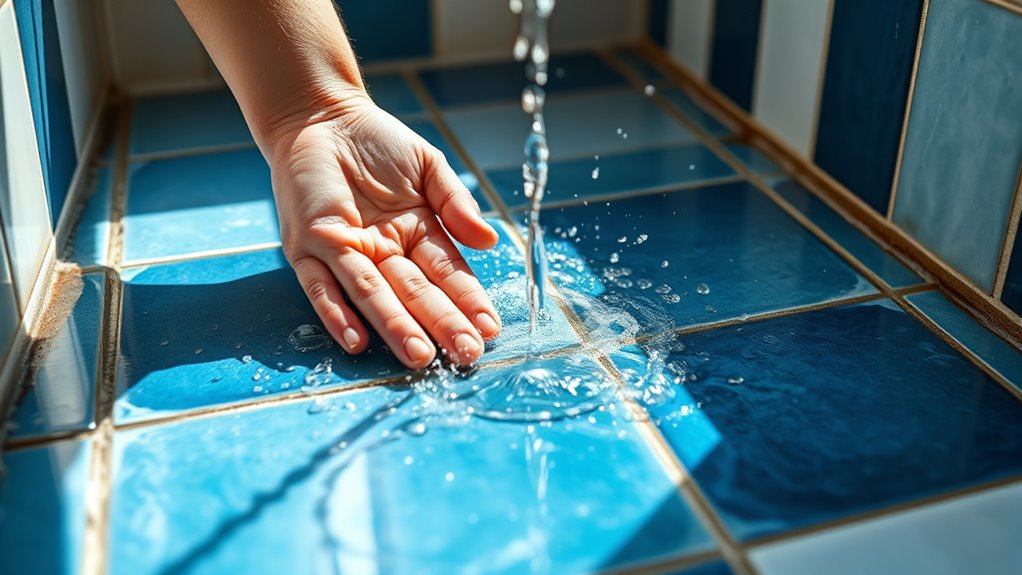
Flush away the loosened dirt and cleaning solution by rinsing the floor tiles and grout thoroughly with clean water. Use a mop or a clean sponge soaked in water, ensuring you cover all areas evenly. Change the rinse water frequently to avoid redepositing grime. This step is essential in grout maintenance tips, as leftover cleaner can attract dirt quickly. After rinsing, dry the floor with a microfiber cloth or towel to prevent water spots and mold growth. Maintaining a consistent tile cleaning frequency—ideally once a week—helps keep grout lines bright and prevents buildup. Rinsing properly after each cleaning session not only enhances the grout’s appearance but also extends its lifespan, giving you more freedom from frequent deep cleans.
Remove Stubborn Stains With a Paste
Although regular cleaning removes most dirt, stubborn stains in grout often require a stronger approach. To tackle these, create a paste that supports grout restoration and aids in stain prevention:
- Mix baking soda and water until it forms a thick paste.
- Apply the paste directly onto the stained grout lines using a small brush.
- Let it sit for 10-15 minutes to penetrate and break down the grime.
- Scrub gently with a toothbrush, then rinse thoroughly with warm water.
This method not only removes tough stains but also prepares the grout for longer-lasting cleanliness. By regularly addressing stubborn spots with this paste, you maintain your grout’s integrity and freedom from discoloration, ensuring your floor tiles look fresh and cared for without harsh chemicals.
Seal the Grout to Protect It
One essential step to guarantee your grout stays clean and durable is to seal it properly after cleaning. Applying a grout sealant creates a protective barrier that repels moisture, dirt, and stains, extending the life of your grout. To get the best grout sealant benefits, choose a high-quality, penetrating sealant designed for your grout type. Before sealing, verify the grout is completely dry to maximize adhesion. Apply the sealant evenly with a small brush or applicator bottle, focusing on grout lines without flooding the tiles. After allowing it to penetrate for 5–10 minutes, wipe off any excess. Depending on the product, a second coat might be necessary. Following these sealing techniques regularly will keep your grout looking fresh and reduce maintenance efforts over time.