To clean your floor fan, first unplug it and remove the front grill and blades by loosening screws or clips. Next, wipe the blades and scrub the grill with a damp cloth and mild soap, avoiding soaking them, then dry thoroughly. Finally, reattach the blades and grill securely before plugging it back in to test for smooth airflow. Want to keep your fan running longer and safer? There’s more you can do to maintain it properly.
Disassemble the Fan for Easy Access
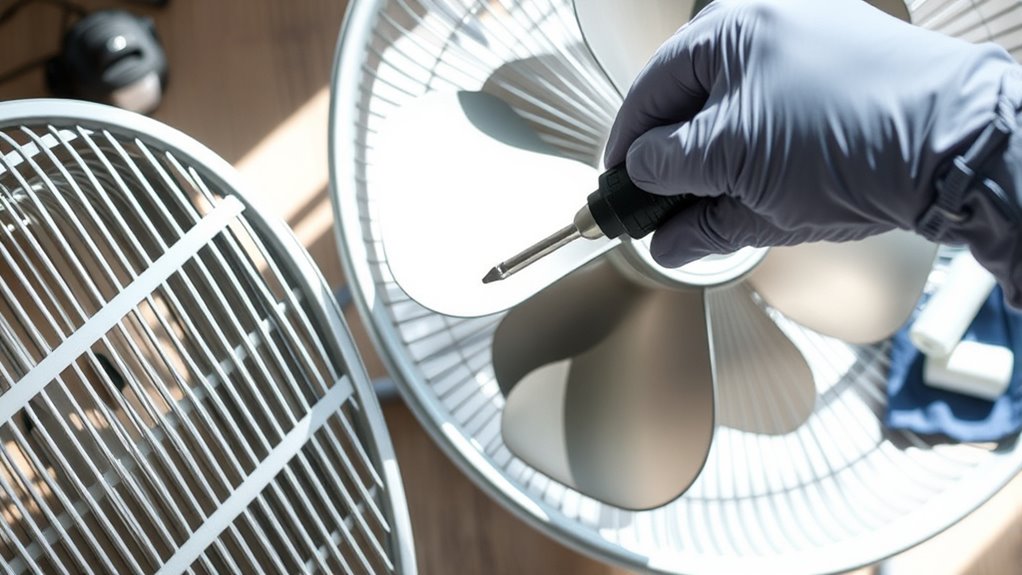
To clean your pavimento fan thoroughly, the first step is to disassemble it for easy access to all parts. Before you start, make certain you unplug the fan to follow basic safety precautions and avoid any electrical hazards. Gather the tools needed, like a screwdriver and a soft cloth, to make the process smooth and efficient. Begin by removing the front grill, which is usually held in place by clips or screws—use your screwdriver carefully. Next, detach the fan blades by loosening the center screw or pressing the release button, depending on your model. Keep all parts organized so you can reassemble easily. Taking these steps guarantees you reach every corner, giving you the freedom to maintain your fan properly and extend its life.
Clean the Blades and Grill Thoroughly
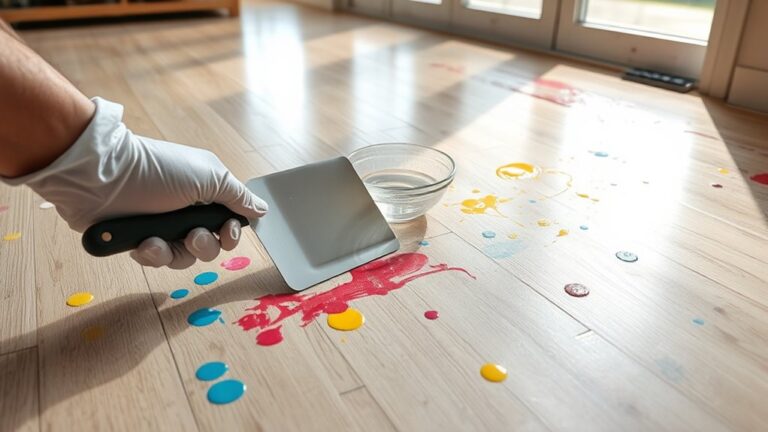
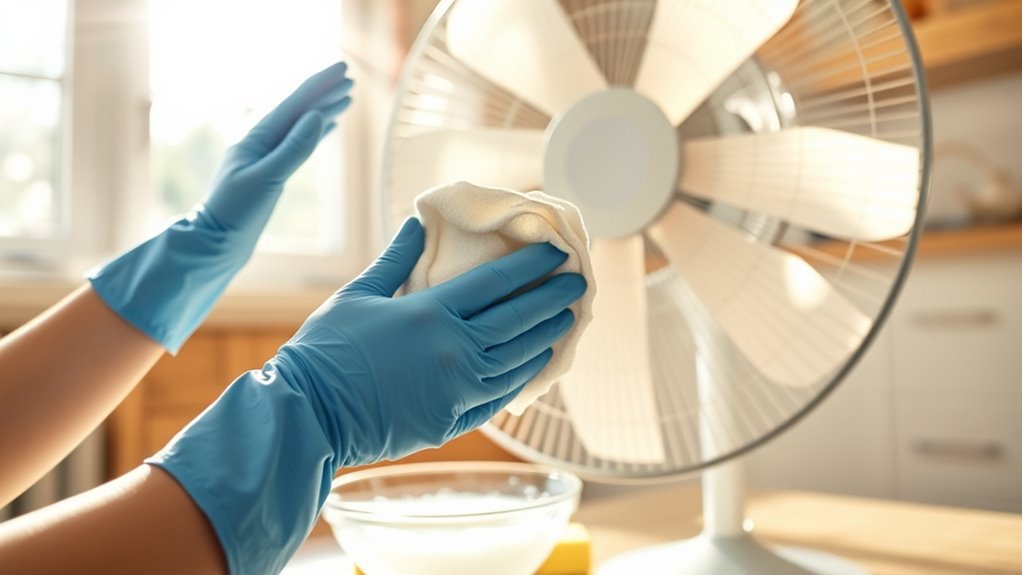
One of the most important steps in cleaning your floor fan is thoroughly wiping down the blades and grill. Proper blade maintenance guarantees your fan runs smoothly and extends its life. Use a soft cloth dampened with mild soap and water to remove dust and grime from each blade. Avoid soaking the blades to prevent damage. Next, focus on grill cleaning. The grill collects a lot of dust, which can reduce airflow and efficiency. Use a brush or cloth to scrub the grill carefully, reaching all the nooks and crannies. After cleaning, dry both blades and grill completely to prevent rust. Taking your time with this step not only improves performance but also keeps your fan looking fresh and functioning freely without restrictions.
Reassemble and Test the Fan

After guaranteeing all parts are completely dry, you can start reassembling your floor fan. Begin by attaching the blades back onto the motor shaft securely, following fan assembly tips like aligning the blade holes with the shaft and tightening screws firmly. Next, snap or screw the grill back into place, making sure it’s stable and properly aligned for safety. Once reassembled, plug in the fan and turn it on to test its effectiveness. Check for smooth operation, minimal noise, and consistent airflow. If anything feels off or the fan wobbles, double-check your assembly steps and tighten any loose parts. Proper reassembly guarantees your fan runs efficiently, giving you the freedom to enjoy cool, fresh air without hassle.