To build a second floor in Bloxburg, start by reinforcing your foundation to support the extra weight. Next, raise your walls carefully, choosing materials that suit your style. Then, install a staircase for smooth access between floors, paying attention to placement and clearance. After that, design the interior thoughtfully, balancing furniture and light. Finally, add a roof that complements your home and finish with trims or skylights. Keep exploring to master each step with ease.
Preparing Your Foundation for Expansion
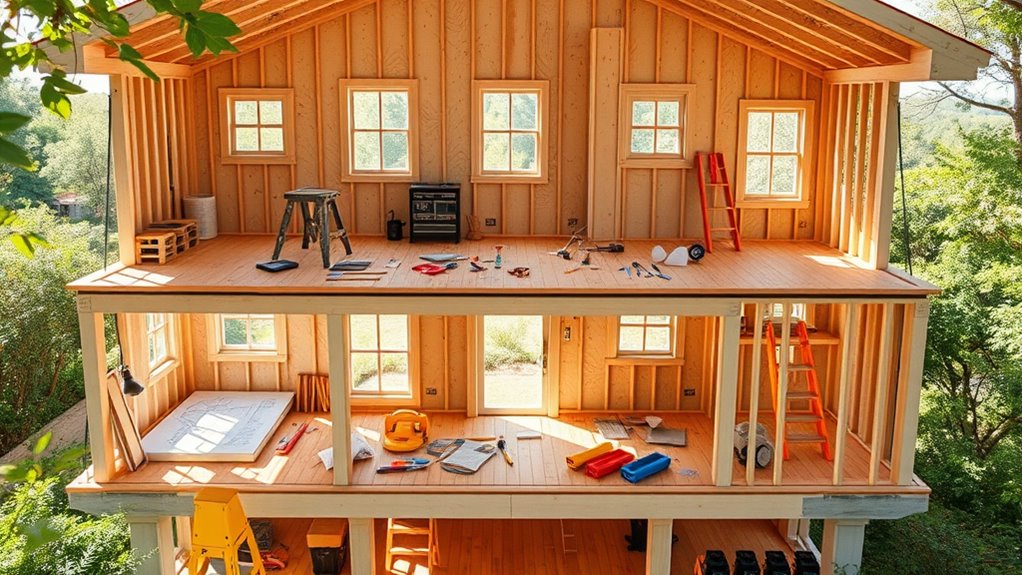
Before adding a second pavimento in Bloxburg, you’ll need to confirm your foundation can support the expansion. Start by evaluating your current foundation materials to verify they’re sturdy enough; wood and concrete are common choices, but concrete offers better support for multi-level builds. Use building tools to measure the load capacity and stability of your base carefully. If your foundation is weak, reinforce it by adding extra beams or replacing weaker materials. Double-check the layout to align perfectly with your planned second floor to avoid structural issues later. Taking these precise steps guarantees your foundation is secure, giving you the freedom to design upward without limitations. Proper preparation here saves time and effort, making your building process smooth and reliable.
Raising the Walls for Your Second Floor
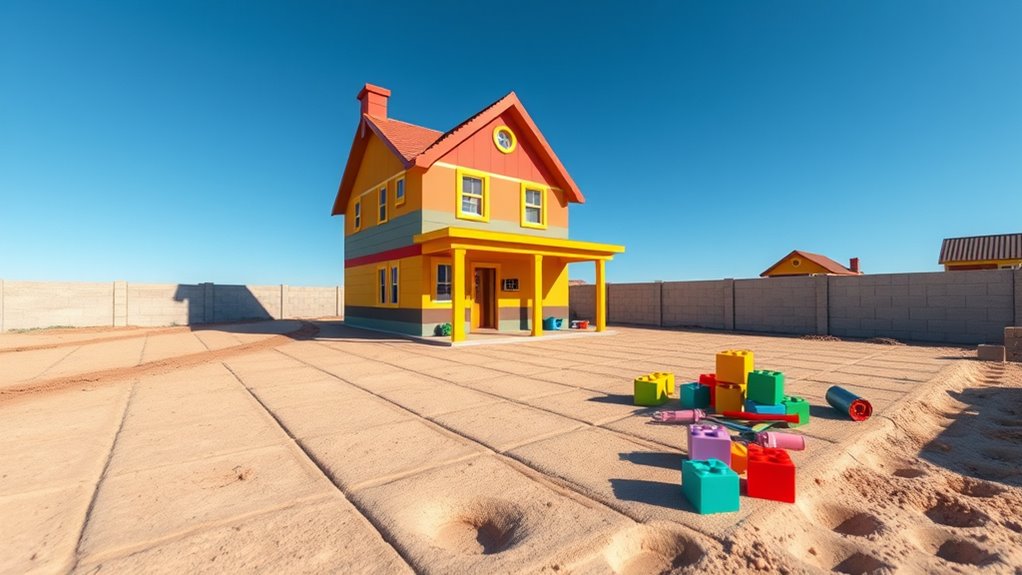
Three key steps will guide you as you start raising the walls for your second floor in Bloxburg. First, select the appropriate wall height to guarantee your new level matches your design goals and maintains proportionality with the first floor. Next, choose your wall materials wisely—consider durability and style to reflect your personal taste while fitting the house’s overall look. Finally, carefully place each wall segment along the foundation outline you prepared earlier, assuring alignment and structural integrity. Pay close attention to connecting corners and adjoining walls to avoid gaps or misplacements. By controlling wall height and material choices, you gain full freedom to shape your second floor’s aesthetic and function exactly as you envision it, setting a solid base for further customization.
Installing the Staircase to Connect Floors
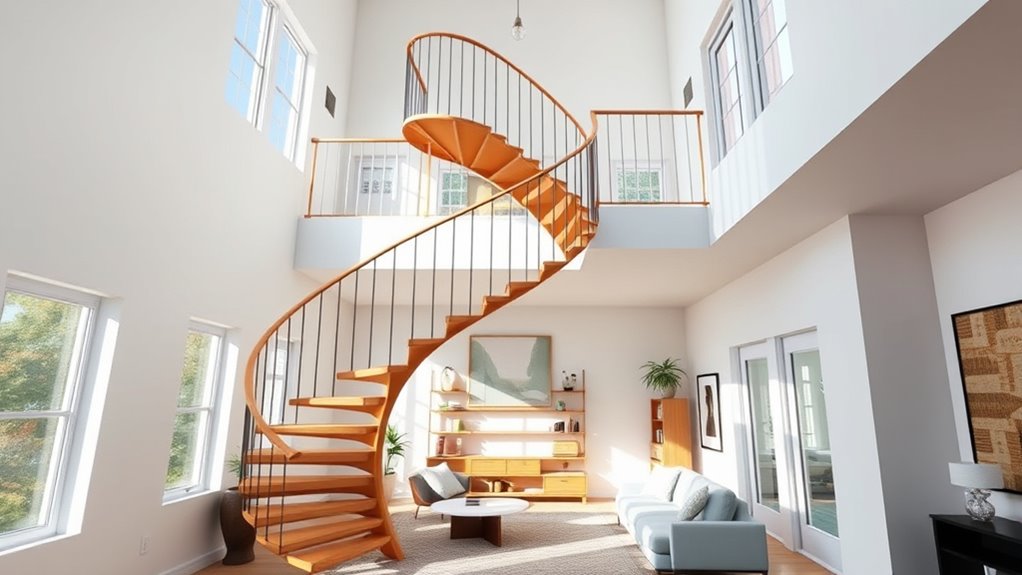
Since the staircase is the key connection between your first and second floors, installing it correctly is crucial for smooth navigation and overall design flow. Start by choosing from various staircase types—spiral, straight, or L-shaped—each offering different space and style advantages. Consider placement options carefully; central locations provide easy access, while corner placements maximize open floor areas. Use the build mode to position your staircase precisely, making sure it aligns with floor openings on both levels. Check that there’s enough headroom and that the staircase doesn’t obstruct windows or doors. Take your time to test different configurations, as the right staircase not only connects your floors but also complements your home’s freedom of movement and aesthetic. This step guarantees your second floor feels integrated and accessible.
Designing the Interior of Your New Level
Once you’ve secured your staircase, you’ll want to focus on designing the interior of your new level to make it both functional and visually appealing. Start by choosing interior themes that reflect your style—whether modern, cozy, or minimalist. This sets a clear direction for your furniture placement. Arrange furniture to maximize space and flow; avoid overcrowding by leaving enough room for movement. Prioritize essential pieces first, then add decor that complements your theme without cluttering. Consider natural light sources and how furniture interacts with them to enhance comfort. Use walls wisely for shelving or artwork to free floor space. By thoughtfully selecting interior themes and strategically planning furniture placement, you’ll create a second floor that feels inviting and suits your personal freedom to customize without restrictions.
Adding the Roof and Final Touches
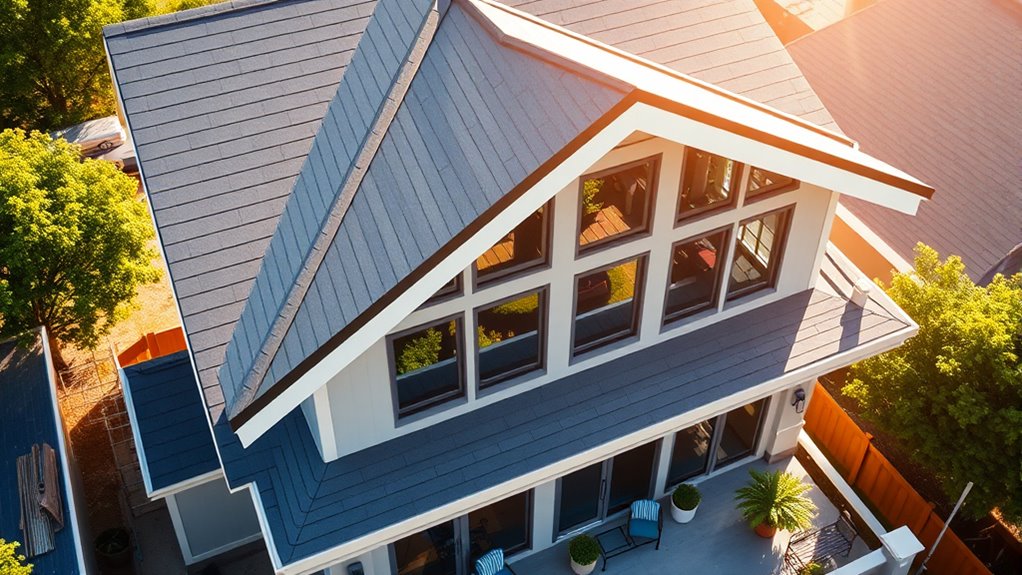
After arranging your interior, it’s time to focus on protecting your new level by adding a roof. Start by choosing from various roof styles that match your home’s aesthetic—gable, hip, or flat roofs all offer different looks and functions. Use the roof tool to carefully place each section, ensuring no gaps or overlaps. Once the roof is secure, move on to finishing touches like trimming edges, adding gutters, or installing skylights to enhance both appearance and functionality. Don’t forget to customize exterior walls and windows to complement the roof style. These final steps not only seal your second floor but give your home a polished, cohesive look. Take your time here; a well-executed roof and finishing touches provide durability and style, letting your creativity truly shine.