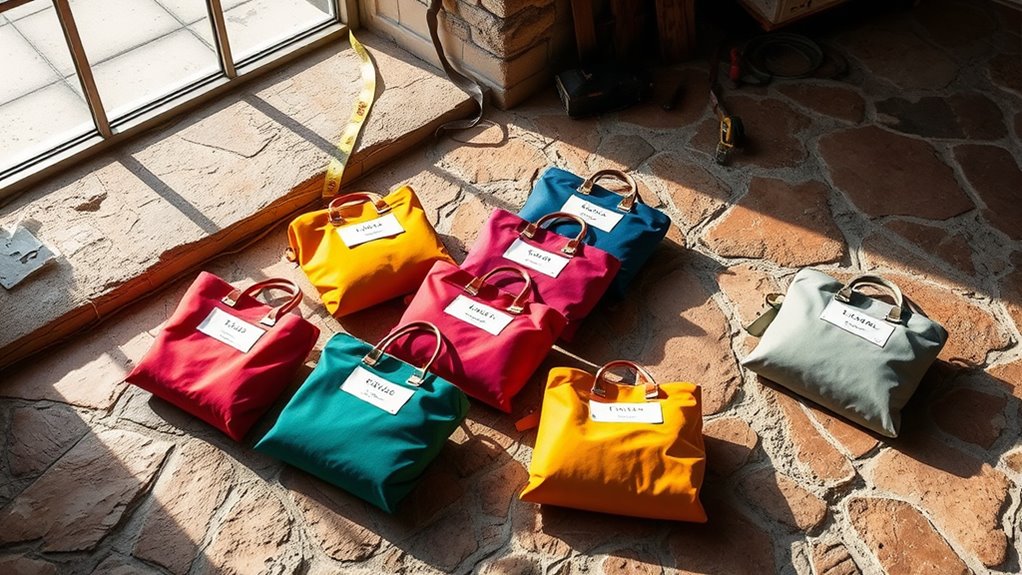
To estimate adhesive and grout satchels for your stone floor, first measure the area accurately, considering tile size and joint width. Calculate adhesive satchels by dividing the total square meters by the coverage rate (typically 4-5 m² per satchel), adding about 10% for waste. For grout, factor in joint depth and width with a similar buffer. Proper subfloor prep and product choice also impact consumption. Understanding these details guarantees efficient use and durability—you’ll find more insights on optimizing your installation ahead.
Understanding Stone Floor Adhesives and Grouts
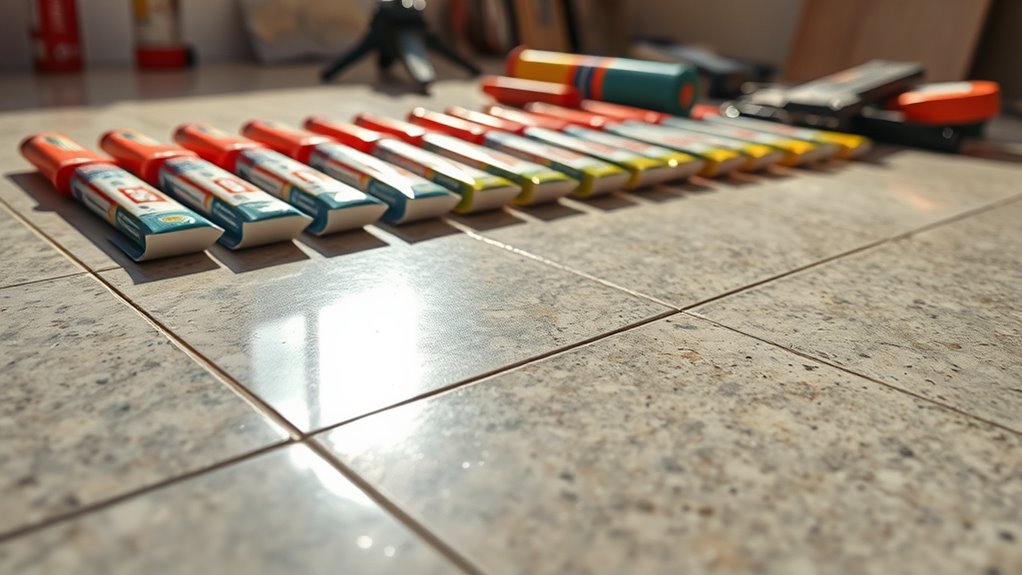
Before you begin installing stone floors, you’ll need to understand the specific types of adhesives and grouts suitable for these materials. Adhesive types vary based on stone porosity and location; cement-based adhesives work well for most natural stones, while epoxy adhesives offer superior bond strength for heavy-traffic or wet areas. Selecting the right adhesive guarantees durability and freedom from future repairs. For grout, color selection isn’t merely aesthetic—grout colors affect the visual continuity and highlight individual stones. Choose grout colors that complement the stone, balancing contrast and blending. Additionally, consider grout formulations: sanded grout suits wider joints, whereas unsanded grout fits narrow gaps. Understanding these technical details allows you to optimize installation quality and enjoy your stone pavimento without constraints.
Measuring Your Floor Area Accurately
When preparing to install a stone floor, accurately measuring your floor area is essential to confirm you purchase the correct amount of materials. Employ reliable floor measurement techniques such as using a laser measure or tape measure for precise length and width readings. Calculate the area by multiplying length by width, adjusting for irregular shapes by dividing the floor into measurable sections. Document all measurements carefully.
| Forma della stanza | Measurement Method | Calculation Tip |
|---|---|---|
| Rectangle | Length × Width | Straightforward multiplication |
| L-shape | Divide into rectangles | Sum individual areas |
| Circular | π × radius² | Use radius from center point |
| Irregular | Break into standard shapes | Sum all calculated areas |
Accurate area calculations confirm you buy enough adhesive satchels without excess waste.
Calculating Adhesive Satchels Needed per Square Meter
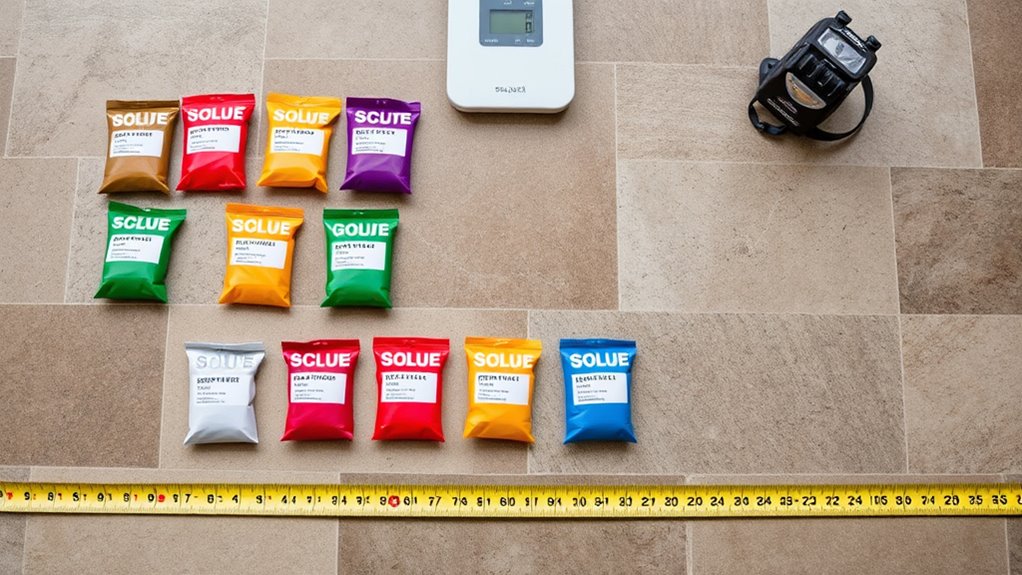
Although you’ve measured your floor area accurately, determining the exact number of adhesive satchels needed per square meter is essential to confirm a secure stone installation without overspending. Start by identifying the adhesive types suitable for your stone and substrate, as coverage rates vary considerably. For example, polymer-modified thinset generally covers around 4–5 square meters per satchel with standard installation techniques, while epoxy adhesives may cover less due to their thickness. Next, assess your chosen installation technique—trowel size and notch shape directly affect adhesive consumption. A 10mm x 10mm notched trowel typically requires more adhesive than smaller notches. Calculate your total floor area, then divide by the coverage per satchel based on your adhesive type and technique. Always add a 10% buffer to account for waste and surface absorption variations. This approach guarantees you buy just enough adhesive, avoiding costly shortages or surpluses.
Determining Grout Satchels Required for Your Project
To determine how many grout satchels you’ll need, start by calculating the total area and factoring in grout line width and depth. Remember to follow the grout mixing ratios specified by the manufacturer for accurate coverage estimates. Also, consider the type of stone you’re using, as porous or uneven surfaces may require more grout.
Calculating Area Coverage
Calculating the exact number of grout satchels needed starts with accurately measuring the total square footage of your stone floor. Measure length and width, then multiply to find the area. Keep in mind, grout coverage varies based on grout types and joint widths. Some grout types have enhanced adhesive properties, affecting how much material you’ll use per square foot. After determining the area, consult the manufacturer’s coverage chart on the satchel packaging—this accounts for grout density and typical joint sizes. It’s wise to add a 10% buffer for cuts and waste. By precisely calculating area coverage with these factors in mind, you’ll avoid ordering too little or excess grout, ensuring a smooth, efficient installation process while maintaining your freedom to focus on the project’s creative aspects.
Grout Mixing Ratios
Understanding grout mixing ratios is essential for accurately determining how many satchels you’ll need for your stone floor project. Different grout types require specific water-to-powder ratios, directly impacting the volume of grout produced per satchel. For example, cementitious grout typically mixes at a 3:1 powder-to-water ratio, while epoxy grout demands precise resin-to-hardener proportions. Adhering to recommended mixing techniques guarantees consistent grout consistency and performance, reducing waste and rework. Before mixing, check your grout satchel’s label for exact ratios and adjust water quantities carefully. By mastering these ratios, you’ll calculate satchels needed with confidence, avoiding shortages or excess. This approach grants you the freedom to manage materials efficiently, streamlining your installation without compromising quality or structural integrity.
Stone Type Considerations
Since different stone types vary in porosity, size, and surface texture, they directly influence the amount and type of grout you’ll need. For instance, marble characteristics such as higher porosity and softer texture require careful grout selection to prevent staining and guarantee adhesion without damage. Conversely, granite durability allows for more standard grout applications, as its dense, less porous nature resists moisture penetration and wear. When calculating satchels, factor in stone size and joint width—larger, irregular stones need more grout. Also, consider surface finish; polished stones often need finer grout to avoid visible residue. By matching grout type and quantity to your stone’s specific traits, you’ll guarantee a durable, aesthetically pleasing floor installation that maximizes your freedom to customize without compromising quality.
Factors Affecting Adhesive and Grout Consumption
You’ll need to adjust adhesive and grout quantities based on tile size, as larger tiles typically require more material to guarantee proper coverage. The condition of your subfloor also plays a critical role; uneven or porous surfaces can increase absorption, leading to higher consumption. Accounting for these factors helps you estimate the right amount of satchels for your stone floor installation accurately.
Tile Size Impact
How does tile size affect the amount of adhesive and grout you’ll need for stone floor installation? Larger tile dimensions generally reduce grout consumption since fewer joints exist per square foot, but they may require a thicker adhesive bed to guarantee proper bonding. Conversely, smaller tiles increase grout volume due to more grout lines, yet often demand less adhesive thickness. Your choice of installation patterns also plays an essential role: intricate patterns with many cuts raise both adhesive and grout usage, while straightforward layouts optimize material efficiency. Accurately measuring tile dimensions and planning installation patterns will help you estimate adhesive and grout quantities more precisely, minimizing waste. Keep these factors in mind to maintain control over material costs and guarantee a durable, high-quality stone floor installation.
Condizioni del sottopavimento
Beyond tile size and layout, the condition of your subfloor directly influences the quantity of adhesive and grout required for stone floor installation. Different subfloor materials—such as plywood, concrete, or cement backer board—absorb adhesives differently, affecting consumption rates. Proper subfloor preparation is essential; uneven or porous surfaces demand more adhesive to guarantee full coverage and secure bonding. If your subfloor isn’t level or has gaps, you’ll likely use additional grout to fill joints properly and prevent future cracking. Moisture content and surface texture also impact adhesive curing and grout adhesion, further altering material needs. By thoroughly evaluating and preparing your subfloor, you optimize adhesive and grout use, avoiding waste while guaranteeing a durable, long-lasting stone floor installation.
Tips for Minimizing Waste and Overuse
Reducing waste during stone floor installation starts with accurate measurement and careful planning. You’ll want to calculate the exact square footage and add a minimal contingency—typically 5-10%—to cover cuts and breakage. Avoid ordering excess satchels; too much adhesive leads to waste and added cost. Prepare your workspace by cleaning and leveling the subfloor, ensuring installation efficiency and better adhesion. Mix only the amount of adhesive you can use within its working time to prevent hardening before application. Use appropriate tools to spread adhesive evenly, reducing overuse. Keep unused adhesive sealed and stored correctly for future touch-ups. By focusing on these strategies, you’ll maximize material use, minimize waste, and maintain freedom in your project budget and timeline.
Choosing the Right Products for Your Stone Floor Installation
When selecting products for your stone floor installation, you’ll want to focus on compatibility, durability, and performance to guarantee a lasting result. Start with a quality adhesive or thinset mortar specifically designed for natural stone, ensuring it matches the stone’s porosity and density. Sealers should be chosen based on the stone type and the floor’s exposure to moisture or traffic. Your product selection directly impacts installation techniques, so understand manufacturer guidelines for mixing, application, and curing times. Avoid generic materials that may compromise bond strength or aesthetic finish. Additionally, select grout that complements both the stone’s color and resilience needs. By prioritizing these factors, you maintain control over the installation process, preventing costly repairs and preserving the freedom to enjoy your stone floor without restrictions.

