To clean stained concrete floors, start by gathering supplies like a stiff brush, pH-neutral cleaner, gloves, and proper ventilation. Clear the area of furniture and debris, then sweep thoroughly. Apply an appropriate cleaning solution to stains, letting it sit briefly. Scrub gently, rinse well, and dry completely using fans or dehumidifiers to prevent moisture issues. Optionally, apply a sealer for protection and maintain cleanliness regularly. Following precise steps guarantees effective stain removal and lasting pavimento care—further details can help refine your approach.
Raccogli i prodotti necessari per la pulizia

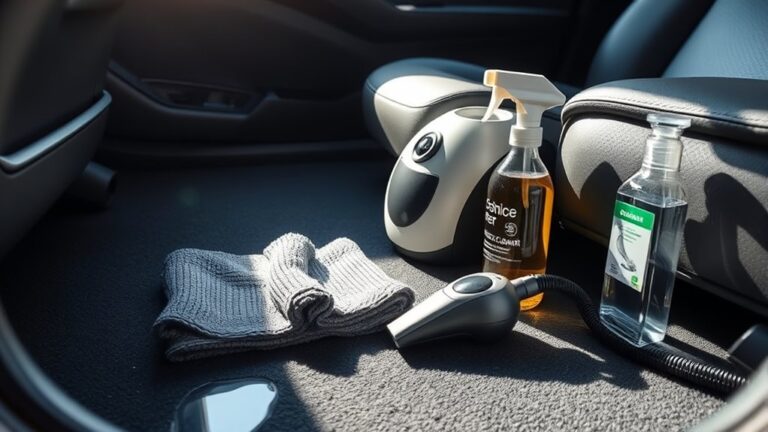
Before you begin cleaning stained concrete floors, you’ll need to gather specific supplies to guarantee effective stain removal. Start with essential cleaning tools: a stiff-bristle brush, a mop, and a bucket for solutions. Select a pH-neutral concrete cleaner or a specialized stain remover suited to the stain type. Don’t forget protective gear—gloves, goggles, and a respirator mask—to adhere to safety precautions and prevent exposure to harsh chemicals and dust. Confirm proper ventilation in your workspace. Having absorbent materials like microfiber cloths or rags on hand enables prompt blotting of spills. By assembling these precise tools and observing safety precautions, you’ll maintain control over the cleaning process and protect yourself while achieving ideal stain removal results. This preparation sets the foundation for efficient and safe concrete floor restoration.
Clear the Concrete Floor Area
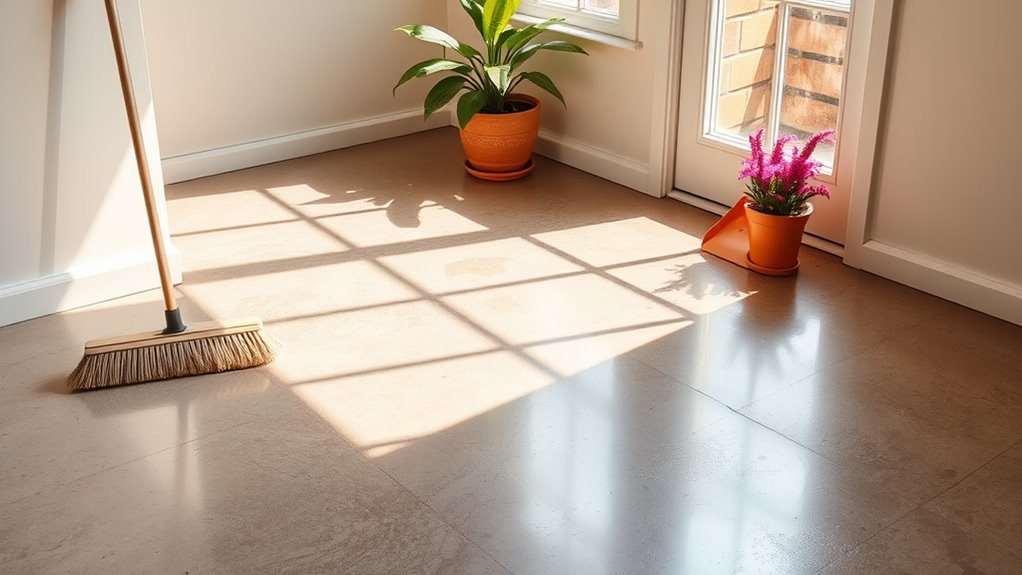
Start by removing all furniture, rugs, and loose debris from the concrete floor to guarantee unobstructed access to the stained areas. This initial step guarantees no floor furniture obstructs your cleaning process, allowing you to target every stain effectively. Prioritize space organization by temporarily relocating items to a designated area, maintaining a clutter-free environment that promotes efficient movement and safety. If you’re dealing with heavy or bulky pieces, enlist help to avoid injury and protect both the furniture and floor. Clearing the floor area thoroughly not only facilitates an extensive cleaning but also prevents the redistribution of dirt during the process. Remember, a well-organized space sets the foundation for achieving a spotless concrete surface, giving you the freedom to restore your floor’s original appearance with precision.
Sweep and Dust the Surface
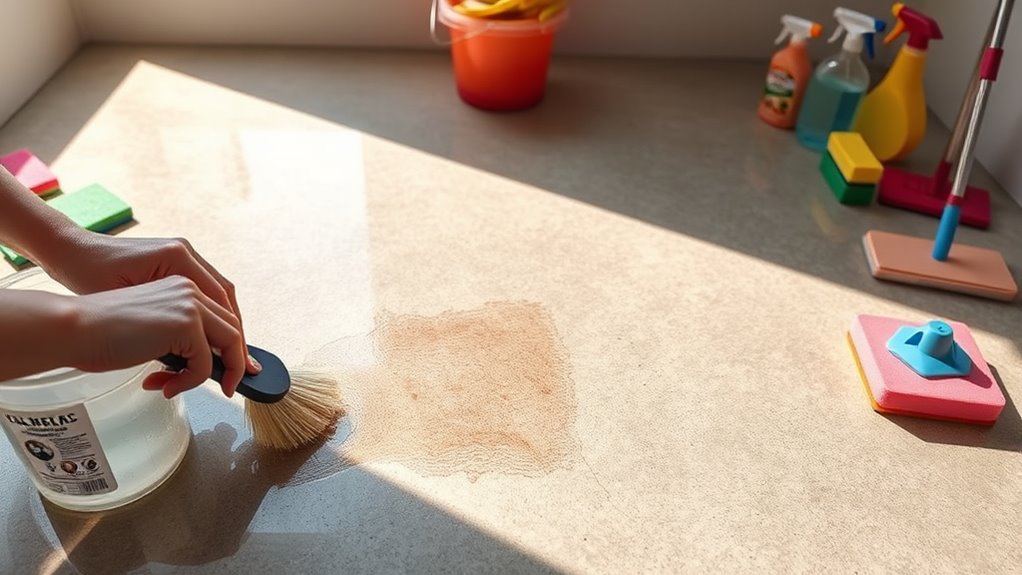
Begin by thoroughly sweeping the concrete floor to remove dust, dirt, and loose particles that could interfere with the cleaning process. This essential step in floor maintenance guarantees your cleaning techniques work effectively, preventing scratches and streaks. Use a stiff-bristled broom or a dust mop for best results. Pay close attention to corners and edges where debris accumulates.
| Freedom to Clean | Precision Matters | Effortless Care |
|---|---|---|
| Clear debris fast | Target dust spots | Save your energy |
| Enhance surface life | Maintain floor integrity | Enjoy spotless floors |
| Prevenire i danni | Achieve flawless finish | Control your environment |
Prepare a Mild Cleaning Solution
One effective approach to cleaning stained concrete floors involves mixing a mild cleaning solution that balances strength and safety. Start by selecting mild detergent options like pH-neutral cleaners or diluted dish soap, which won’t damage the concrete’s surface. Accurate mixing ratios are essential: typically, combine one to two tablespoons of detergent per gallon of warm water. Avoid overly concentrated solutions to prevent residue buildup or surface etching. Use a clean container to guarantee no chemical interactions occur. Stir gently until the detergent fully dissolves, creating a consistent solution. This preparation grants you control over the cleaning process, enabling effective stain removal without compromising the floor’s integrity. By carefully adhering to recommended mixing ratios and choosing appropriate mild detergents, you maintain both cleanliness and the freedom to reuse your concrete floor confidently.
Apply the Cleaning Solution to Stains
You’ll want to select a cleaner specifically suited for your stain type to guarantee effective removal without damaging the concrete. Apply the solution evenly across the affected area using a brush or sprayer for consistent coverage. After application, allow the cleaner to sit for the recommended time to penetrate and break down the stain before scrubbing.
Choosing the Right Cleaner
Selecting the right cleaner is essential for effectively removing stains without damaging your concrete floor. You want a solution that balances power and safety, especially if you prefer eco friendly options or need heavy-duty commercial cleaners. Consider the stain type and environmental impact when choosing.
| Cleaner Type | Ideale per | Note |
|---|---|---|
| Eco Friendly | Light stains | Biodegradable, safe for pets |
| Commercial Cleaners | Oil, grease stains | Strong, may require protective gear |
| DIY Solutions | Pulizia generale | Cost-effective, varies in strength |
Applying Solution Evenly
After choosing the appropriate cleaner for your specific stain, the next step is to apply the solution evenly across the affected area. Mastering an effective applying technique guarantees even distribution, which maximizes stain removal and prevents patchy results. To achieve this, consider the following:
- Use a low-pressure sprayer or a clean, soft-bristle brush to distribute the cleaner uniformly without oversaturating.
- Work systematically from one edge of the stain to the other, maintaining consistent coverage to avoid missed spots.
- Avoid pouring the solution directly in one concentrated area to prevent uneven application and potential damage.
Letting Cleaner Sit
Once the cleaning solution has been applied evenly, it’s crucial to let it sit for the recommended duration to maximize its effectiveness. The best cleaning duration depends on the stain types you’re addressing; for example, oil-based stains may require a longer dwell time than rust or organic stains. During this period, the chemical agents penetrate and break down the stain molecules without premature removal. Avoid rushing this step, as disturbing the solution too soon can reduce cleaning efficiency. Guarantee proper ventilation and follow manufacturer guidelines to prevent damage to your concrete surface. By respecting the specified cleaning duration tailored to your stain types, you guarantee thorough stain removal while preserving the integrity of your concrete floor, granting you the freedom to maintain a spotless and durable surface.
Scrub the Stained Areas Gently
Begin by applying a gentle scrubbing motion to the stained areas using a soft-bristle brush or a non-abrasive pad. Employing appropriate scrubbing techniques guarantees you remove stains effectively without damaging the concrete surface. Focus on gentle abrasives to preserve the floor’s integrity while loosening embedded dirt and discoloration. Avoid harsh scrubbing, which can etch or wear down the concrete.
Key points for effective scrubbing include:
- Use circular motions to maximize contact with stained spots.
- Apply consistent but light pressure to avoid surface degradation.
- Select brushes or pads designed specifically for concrete cleaning to optimize results.
Rinse the Floor Thoroughly
Properly rinsing the floor is the next step to guarantee all loosened dirt, cleaning agents, and residue are completely removed. Using appropriate rinse techniques guarantees no film remains that could attract more dirt or cause discoloration. Pay close attention to water temperature; lukewarm water typically performs best, balancing effective residue removal without damaging the concrete’s integrity.
| Rinse Technique | Ideal Water Temperature |
|---|---|
| Hose Down | 75°F – 90°F (24°C – 32°C) |
| Mop with Bucket | 70°F – 85°F (21°C – 29°C) |
| Pressure Washer | 80°F – 95°F (27°C – 35°C) |
Select a technique that suits your floor’s condition and avoid extremes in water temperature to maintain surface durability and cleanliness.
Dry the Concrete Surface Completely
You need to dry the concrete surface completely to prevent moisture from compromising sealants or finishes. Use tools like wet vacuums, fans, or dehumidifiers to accelerate the drying process. You’ll know the floor is dry when there’s no visible dampness or coolness to the touch.
Importance of Drying
Although cleaning removes most contaminants, failing to dry the concrete surface completely can lead to lingering moisture that compromises the effectiveness of stain removal and promotes mold or mildew growth. You need to prioritize moisture control to maintain the integrity of your floor and prevent future staining. Effective drying techniques guarantee that no residual dampness remains, which could weaken sealants or coatings applied afterward. Remember, moisture trapped beneath the surface can cause structural issues over time.
Key reasons to focus on thorough drying include:
- Preventing microbial growth that deteriorates concrete
- Enhancing adhesion of protective coatings and sealants
- Avoiding reactivation of stains caused by residual moisture
Mastering drying techniques grants you freedom from recurring problems and extends the lifespan of your clean concrete floors.
Methods for Quick Drying
Ensuring the concrete surface dries completely requires employing targeted techniques that accelerate moisture evaporation. Proper fan placement is critical; position fans to maximize airflow across the entire floor, avoiding stagnant zones. You’ll also want to control ambient moisture by using dehumidifiers if necessary, maintaining low humidity to speed drying. Here’s a quick reference for effective drying:
| Tecnica | Scopo |
|---|---|
| Fan Placement | Enhance airflow, reduce drying time |
| Dehumidifier Use | Lower humidity, improve moisture control |
| Ventilazione | Exchange moist indoor air with dry outdoor air |
Signs of Complete Dryness
Anyone working with stained concrete floors should be able to identify clear indicators that the surface is completely dry before proceeding. Accurate moisture detection is vital to guarantee your cleaning or sealing steps don’t trap residual dampness, which can damage the finish or promote mold growth. Effective drying techniques, such as using fans or dehumidifiers, help expedite this process, but confirming dryness is your responsibility.
Look for these signs of complete dryness:
- No visible damp spots or dark patches on the surface
- A consistent surface temperature without cool, moist areas
- Absence of moisture readings on a reliable moisture meter
Apply a Concrete Sealer (Optional)
One key step you might consider after cleaning stained concrete floors is applying a concrete sealer. Sealers protect the surface from moisture, stains, and wear, preserving your floor’s appearance and longevity. You’ll find various sealer types: penetrating sealers, which soak into pores for protection without altering texture, and film-forming sealers, which create a durable surface coating. Choosing the right type depends on your floor’s use and desired finish. For application techniques, verify the floor is completely dry; then apply evenly using a roller or sprayer, avoiding pooling or streaks. Multiple thin coats often yield better results than one thick layer. Following manufacturer instructions precisely guarantees ideal adhesion and durability, giving you the freedom to enjoy a cleaner, protected concrete floor with minimal upkeep.
Maintain Cleanliness With Regular Care
Although applying a sealer provides significant protection, maintaining the cleanliness of your concrete floors requires consistent care. Establishing effective cleaning routines helps prevent stains and preserves the floor’s integrity. You’ll want to implement maintenance tips that optimize longevity without restricting your lifestyle. Focus on these key practices:
- Regularly sweep or vacuum to remove abrasive debris that can degrade the surface.
- Use a pH-neutral cleaner diluted appropriately to avoid damaging the concrete or sealer.
- Address spills immediately to prevent deep staining and maintain appearance.