Are you tired of looking at your dull, stained garage floor? Imagine transforming it into a sleek, polished surface that not only enhances the look of your space but also protects it from wear and tear.
“Do It Yourself Garage Floor Coating” is your ticket to achieving a stunning floor makeover without breaking the bank. This guide will walk you through the process, step by step, so you can confidently tackle the project yourself. With a bit of elbow grease and the right tools, you’ll soon have a garage floor that’s the envy of the neighborhood.
Ready to roll up your sleeves and get started? Let’s dive in!

Benefits Of Garage Floor Coating
Garage floor coating makes floors strong. It helps protect against cracks and stains. Oil spills and heavy tools can’t damage it easily. This coating can last for many years. Floors stay clean and neat.
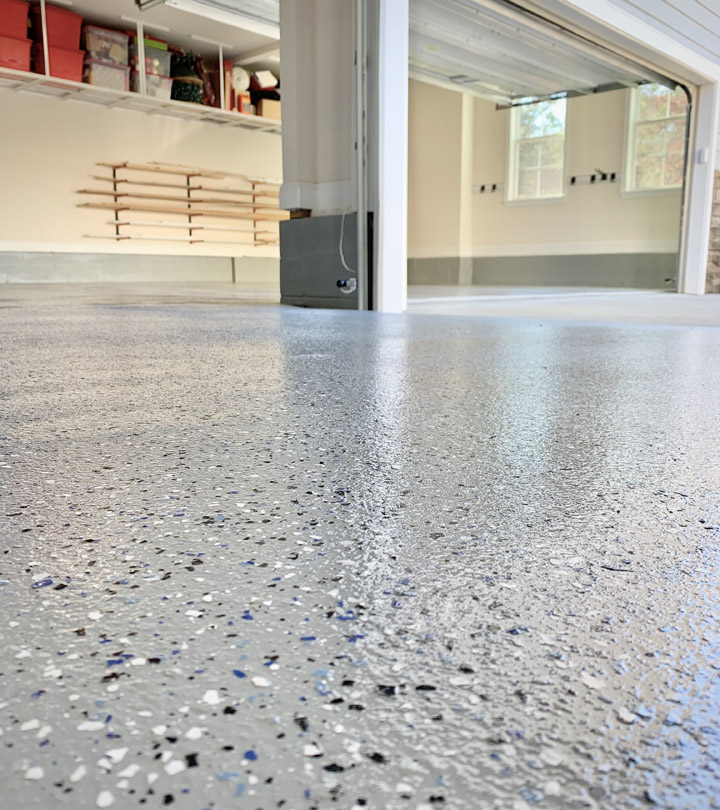
Coated floors look very nice. They shine and have a smooth finish. Many colors are available. Choose the one you like most. Your garage will feel new and fresh.
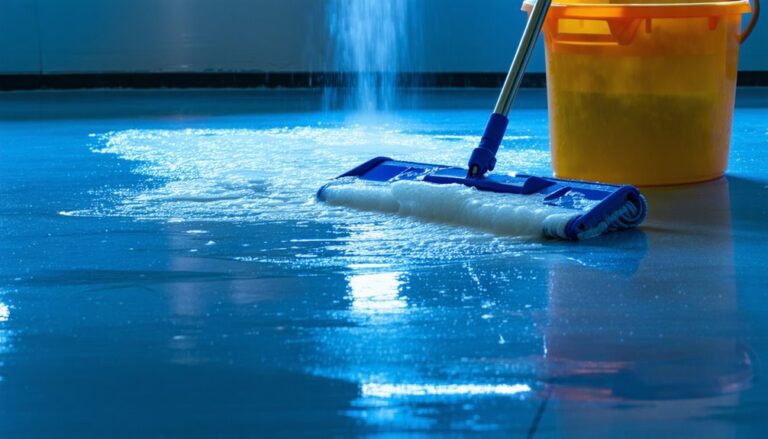
Cleaning coated floors is very simple. Wipe spills with a cloth. Dirt and dust are easy to remove. No need for hard scrubbing. It saves time and effort.
Doing it yourself saves money. No need to hire workers. Materials are affordable. The coating lasts a long time. This means fewer repairs in the future.
Types Of Coating Materials
Epoxy is a strong choice for garage floors. It’s durable E long-lasting. This coating resists macchie E chemicals. Easy to clean. It also gives a shiny look. Mixing two parts creates the epoxy. This creates a hard layer. Many people like its finitura liscia.
Polyurethane is flexible E UV resistant. It protects floors from yellowing. This coating is good for heavy traffic areas. Less likely to chip or scratch. It dries clear, showing the floor’s color. It’s also water-resistant and easy to clean.
Acrylic is quick to dry. It adds a protective layer. Not as strong as epoxy. But it’s cheaper. Good for light-use areas. It can enhance colors. Offers a matte O glossy finish. Easy for DIY projects. It can be re-applied easily.
Concrete stains penetrate the floor. They add color without peeling. Stains give a natural look. They are not a coating. They don’t protect much. But they add beauty. They are great for decorative floors. Easy to apply with brushes or rollers.
Essential Tools And Supplies
A good garage floor needs quality supplies. Start with epoxy coating kits. These include base and top coats. Use a paint roller for smooth application. Brushes help in tight spots. A paint tray is also useful. For prep work, have a broom to clean the floor. Concrete cleaner removes dirt and grease. Patch kits fill any cracks. Safety gear is important too. Use guanti to protect hands. Goggles keep eyes safe. Masks help with dust and fumes.
Nastro di misurazione is handy. It helps in planning your work. Use a drop cloth to protect nearby areas. Mixing tools ensure even coating. Finally, have plenty of patience. Each step needs care and time. With the right tools, coating is easy. Your garage will look great.
Preparation Steps
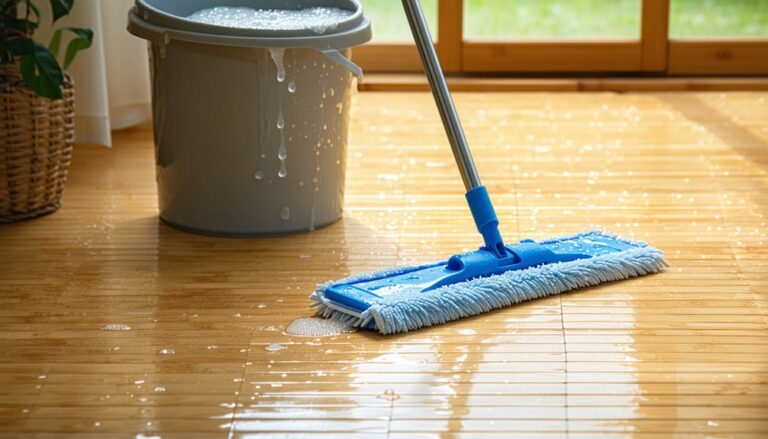
Start by sweeping the garage floor. Remove all dust and dirt. Use a strong cleaner to remove oil stains. Scrub the floor well. Rinse with clean water. Make sure the floor is dry before moving to the next step.
Ispezionare il pavimento for any cracks or holes. Use a concrete patching compound. Fill each crack and hole carefully. Smooth the surface with a trowel. Let it dry completely. Ensure repairs are solid prima di procedere.
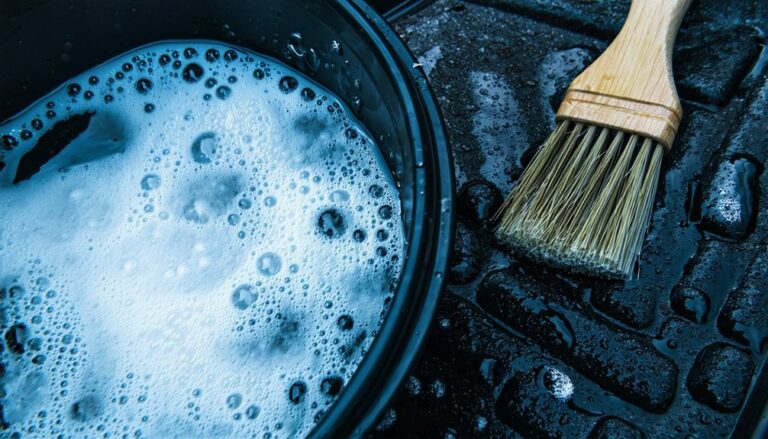
Etching helps the coating stick better. Use a commercial etching solution. Follow instructions on the package. Apply the solution evenly on the surface. Scrub with a stiff brush. Risciacquare abbondantemente and let it dry. The concrete should feel rough.
Tecniche di applicazione
Pour the coating into a large bucket. Use a sturdy stick to mix. Stir until smooth. Watch for lumps. Lumps are bad. They make the floor uneven. Some coatings need a special mixer. Follow instructions on the box. Mix slowly. Fast mixing can make bubbles. Bubbles are not good.
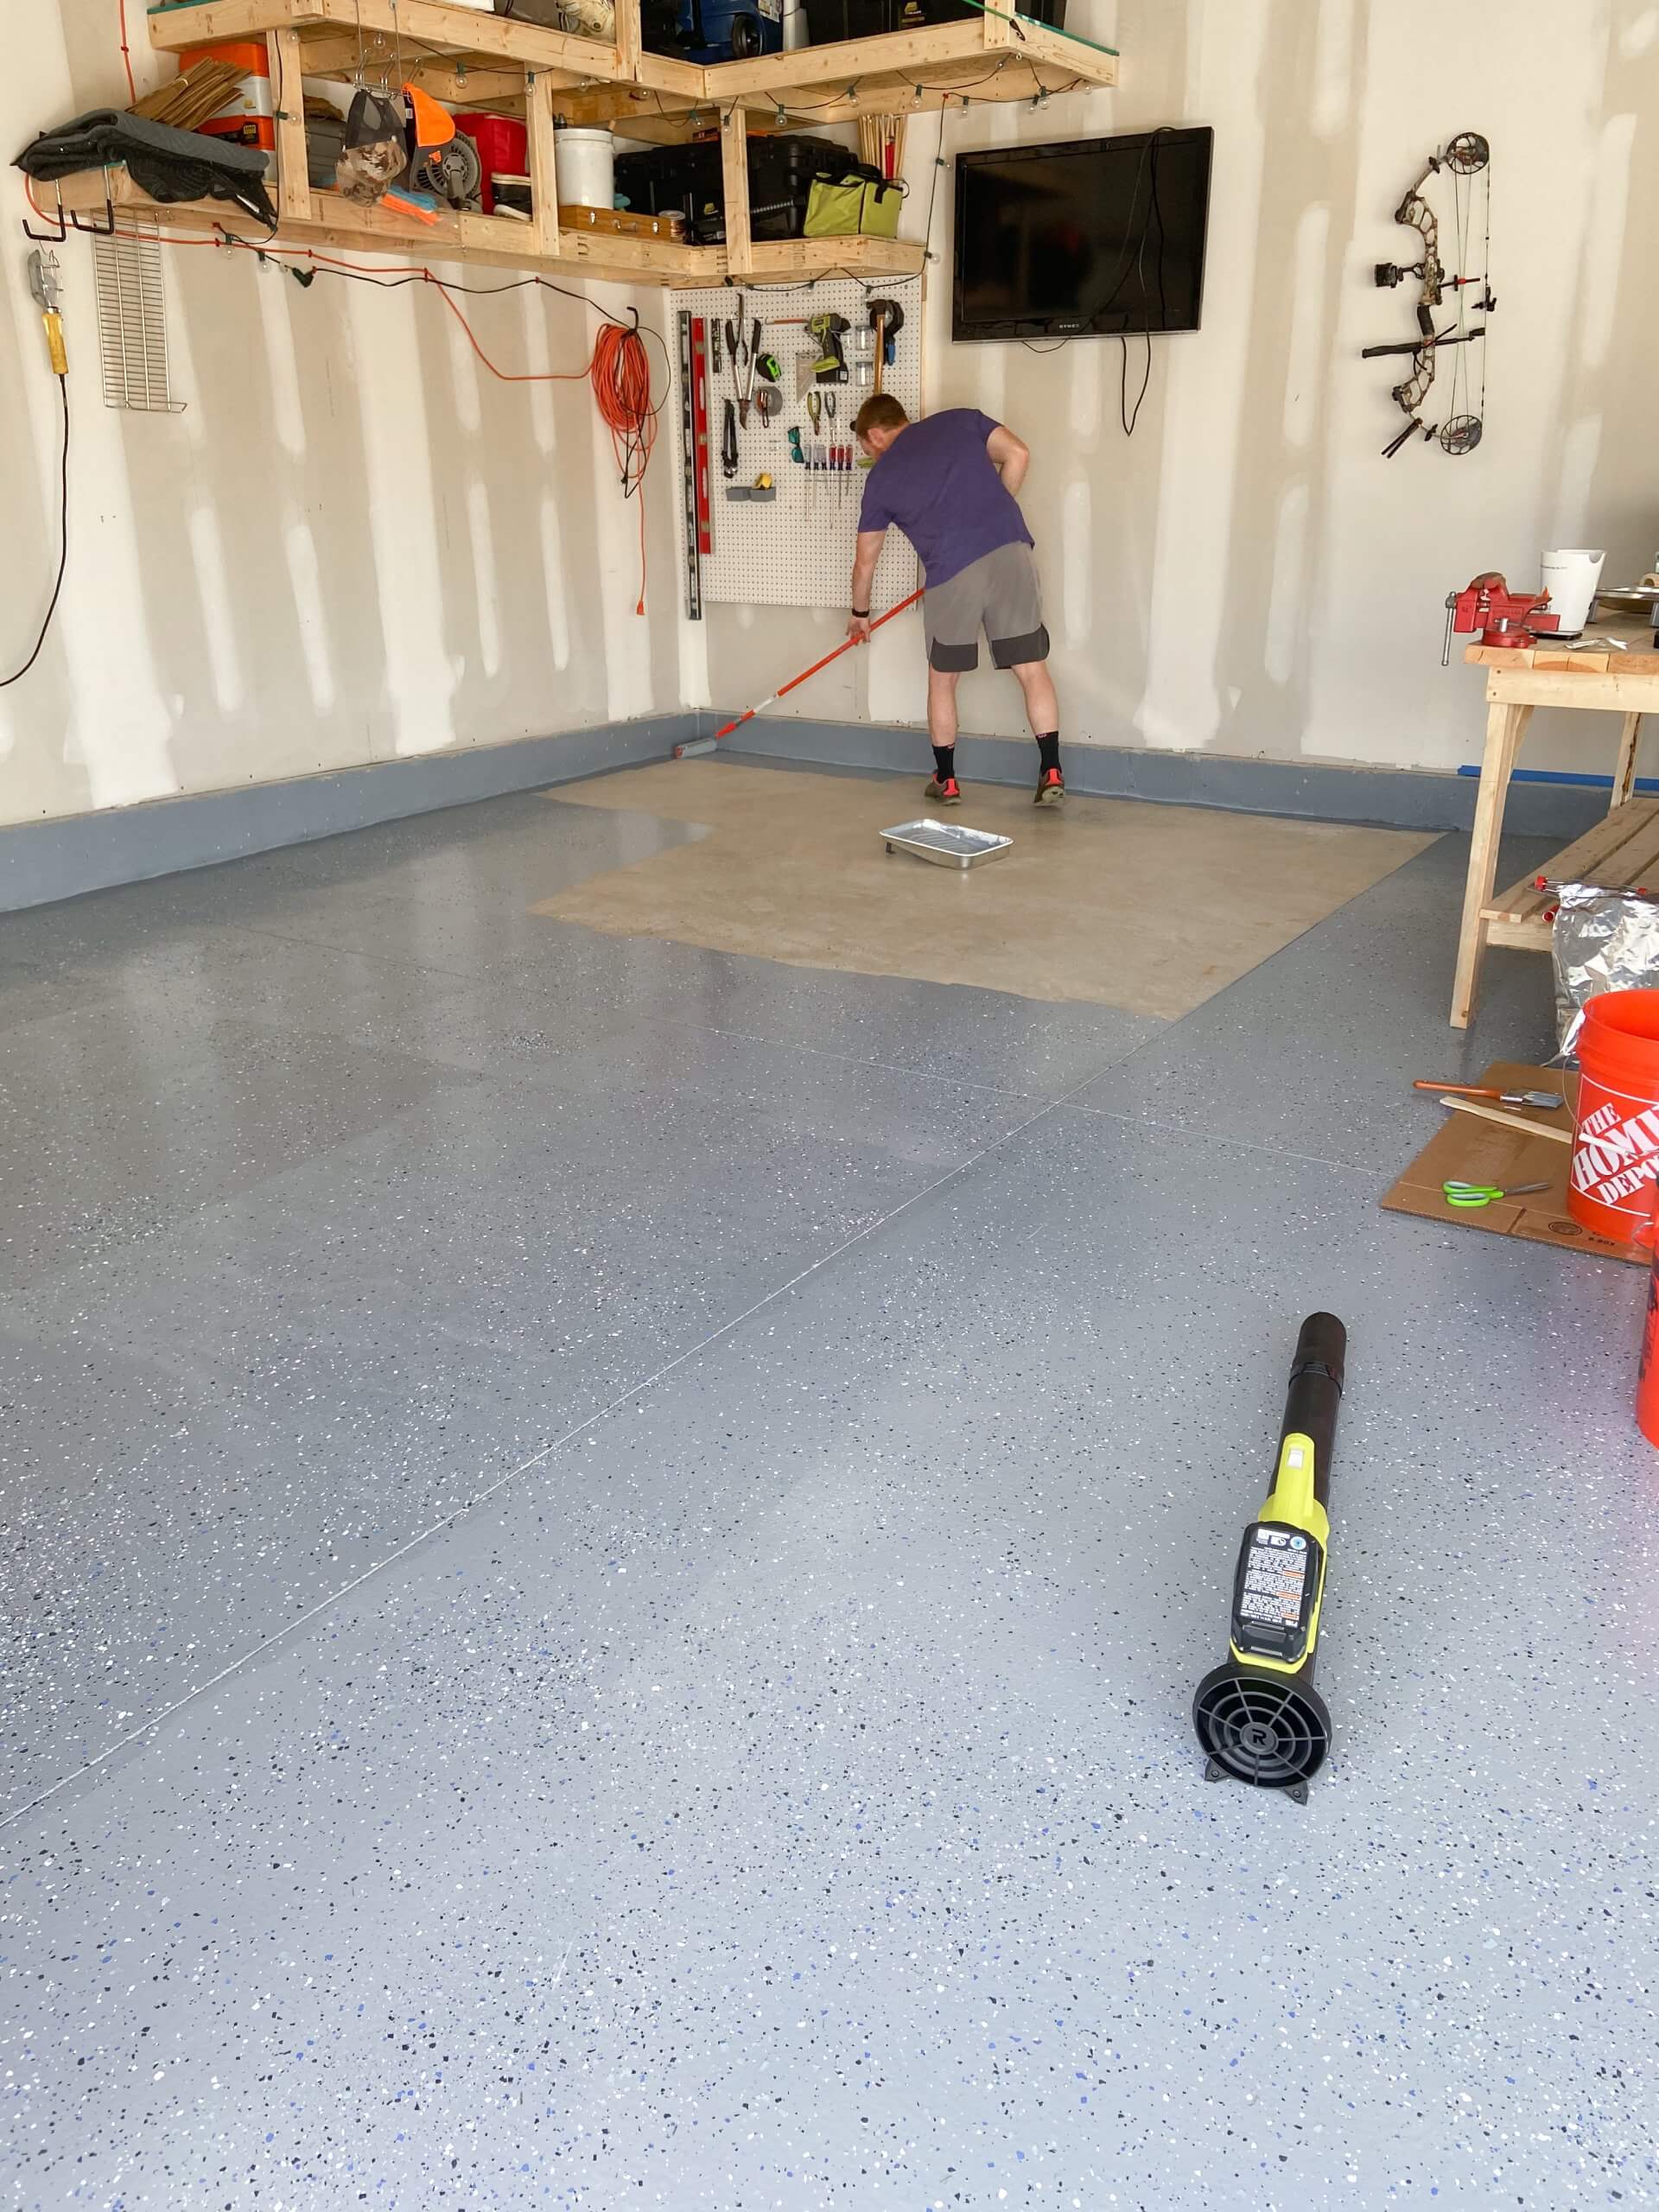
Start at a corner. Use a roller or brush. Move in straight lines. Keep strokes even. Thick coats take longer to dry. Thin coats dry fast. Let the base coat dry. Drying takes a few hours. Check if it’s dry. Touch the corner. Feel if it’s sticky.
Add decorative chips for style. Sprinkle chips while the coat is wet. Chips stick better to wet paint. Choose colors you like. Spread chips evenly. Use your hand to sprinkle. Let the floor dry. Drying takes time. Chips add fun. They make the floor unique.
Drying And Curing Process
Drying and curing are important steps. Asciugatura means the floor is not wet anymore. Curing takes longer. The floor becomes strong and hard. This is very important for a good finish.
Keep the garage clean during this time. No cars or heavy items should be on the floor. Temperature E humidity affect the drying. Make sure the area is not too cold or too hot.
Ventilazione helps a lot. Open windows and doors. Let fresh air in. This makes drying faster. Check the floor every day. Make sure it is drying well.
Maintenance And Care Tips
Clean the garage floor often. Use a soft broom or a mop. Evitare prodotti chimici aggressivi. They can damage the coating. Warm water works best for cleaning. Mild soap can help remove stains. Rinse the floor well to avoid soap marks. Dry the floor with a clean cloth. This keeps the shine intact.
Small cracks may appear over time. Fill them with epoxy. It’s strong and quick to use. Sand the area to make it smooth. Paint over the repair for a fresh look. For larger issues, seek expert help. Always check your floor for damages. Regular checks ensure a long-lasting floor.
Common Mistakes To Avoid
Many people rush the pulizia step. A clean floor is very important. Dirt and grease can ruin the coating. Spend time scrubbing and rinsing well. Another mistake is not mixing the rivestimento correctly. Follow the instructions on the package. Use the right amount of hardener and resin. Some people forget to fill in cracks. This leaves the floor looking uneven. Always patch holes before starting. Incorrect drying times are also common. Let the floor dry fully before adding a second coat. Check the temperature in your garage. Too hot or cold can affect drying.
Sicurezza is often overlooked. Wear gloves and a mask while working. Keep the area ventilated to avoid breathing in fumes. Make sure to proteggere your skin. Be careful and take your time. These tips help ensure a smooth finish.
Considerazioni sui costi
Epoxy kits are popular for garage floors. Prices range from $50 to $200. Concrete sealers can cost between $30 and $100. Paints are cheaper, often under $50. Quality products may cost more but last longer. Consider the amount of coating needed. Larger areas need more material.
Some tools are necessary for the coating process. Rollers E brushes are basic tools. They are often cheap. Sanding machines might be needed for rough surfaces. These can be pricey. You might also need equipaggiamento protettivo. This includes gloves and goggles. Buying these tools can be a one-time cost.
DIY garage floor coating can save money over time. Professional services can cost much more. The initial cost might seem high. But maintenance costs are lower. Durable coatings last for years. This reduces the need for frequent repairs. A well-coated floor can also increase property value.
Success Stories And Inspirations
Many people have tried coating their garage floors. Some had great success. One man from Ohio shared his story. He turned his old floor into something new. It looked shiny and clean. His neighbors were amazed. They asked him how he did it. He said it was easy. He followed simple steps. No special tools were needed.
Another family in Texas also shared their experience. They wanted a better garage space. They decided to coat their floor. It took them a weekend to complete. The result was amazing. Their garage looked like a showroom. They were proud of their work. They even shared photos online. Many people liked their photos.
Domande frequenti
How Do I Prepare My Garage Floor?
Start by cleaning the floor thoroughly, removing oil and debris. Repair any cracks or damages using a patching product. Ensure the surface is dry and free from moisture. Finally, apply an etching solution to roughen the surface for better adhesion of the coating.
What Type Of Garage Floor Coating Is Best?
Epoxy is a popular choice for its durability and glossy finish. Polyurethane offers UV resistance and flexibility. Acrylic coatings are easy to apply and cost-effective. Choose based on your specific needs, budget, and desired finish.
How Long Does Garage Floor Coating Last?
A well-applied garage floor coating can last 5-10 years. Maintenance and environmental factors may affect longevity. Regular cleaning and avoiding heavy impacts can extend its lifespan. Proper preparation and quality materials enhance durability.
Can I Apply Garage Floor Coating Myself?
Yes, DIY application is possible with proper preparation and instructions. Follow manufacturer guidelines carefully. Ensure you have the necessary tools and materials. Take safety precautions during application. If unsure, consider professional help for best results.
Conclusione
A DIY garage floor coating can transform your space. It’s cost-effective and gives a fresh look. You can choose colors and designs yourself. The process is straightforward with the right tools. Preparation is key for a smooth finish. Follow steps carefully for best results.
Enjoy a cleaner, more appealing garage floor. Invite friends to admire your work. A personal touch adds pride. Now, your garage feels welcoming and organized. Ready to start your project? Remember, patience and effort pay off. Your garage floor can look great with your own skills.