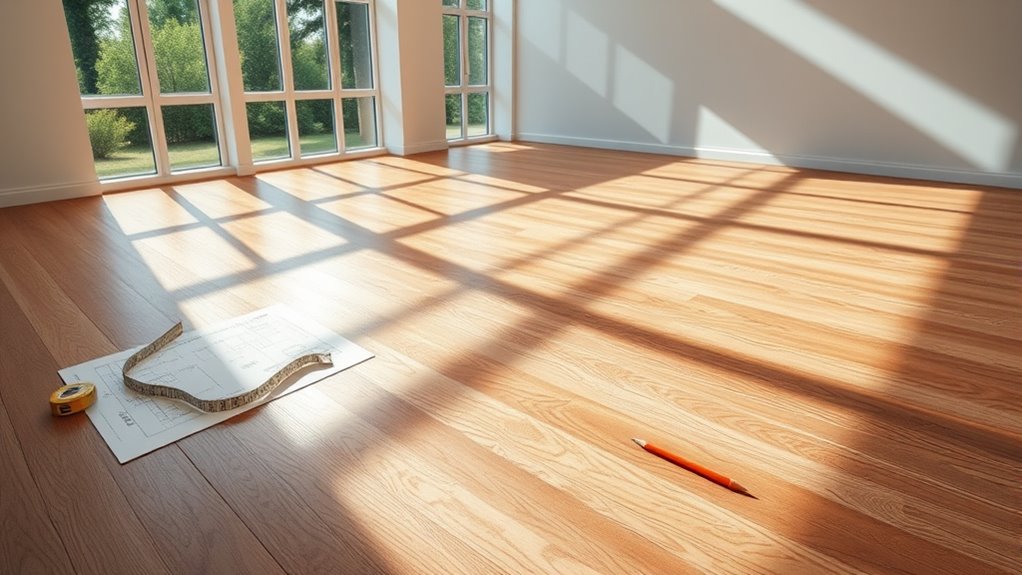
You should run your flooring parallel to the longest wall or main natural light source to visually expand the space and highlight wood grain. Start by measuring the room and gathering essential tools like spacers and a tapping block. Lay down underlayment if needed, then begin installing planks from one corner, securing them tightly and staggering seams away from high-traffic areas. Following these steps guarantees a professional finish. Keep going to understand how room shape and pavimentazione type influence your layout choices.
Factors to Consider When Choosing Flooring Direction
Before you begin laying your flooring, you’ll need to carefully consider the direction in which the planks or tiles will be installed. Flooring aesthetics hinge largely on this choice, impacting the room’s flow and perceived space. Start by evaluating the longest wall or the main light source but avoid jumping to conclusions; instead, assess how the direction complements your room’s layout. Installation tips suggest running planks parallel to the longest wall for a natural visual extension, enhancing openness. You should also avoid placing seams in high-traffic zones to maintain durability. Keep in mind, the chosen direction affects how your flooring interacts with furniture placement and architectural features. Taking these factors into account guarantees a seamless, visually pleasing result that aligns with your style and freedom in design.
How Natural Light Influences Flooring Orientation
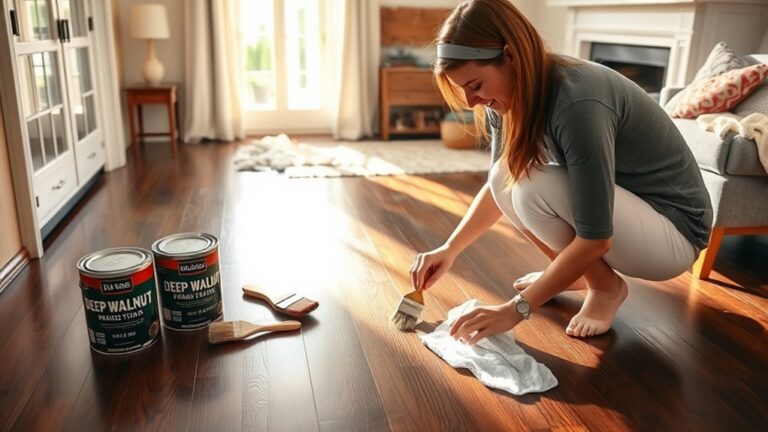
When natural light floods a room, it greatly affects how your flooring looks and feels throughout the day, so you’ll want to orient your flooring to maximize this effect. Start by observing the light direction—note where sunlight enters and how it moves. Running your flooring parallel to the main source of natural light enhances the wood grain’s visibility and depth, boosting the aesthetic appeal. This alignment also reduces harsh shadows and glare, creating a balanced, inviting atmosphere. Avoid orienting flooring perpendicular to the light direction, as it can emphasize seams and imperfections. By thoughtfully positioning your flooring in relation to natural light, you guarantee the space feels open and vibrant, giving you the freedom to enjoy a dynamic, visually pleasing environment that evolves with the daylight.
Impact of Room Shape and Size on Flooring Layout
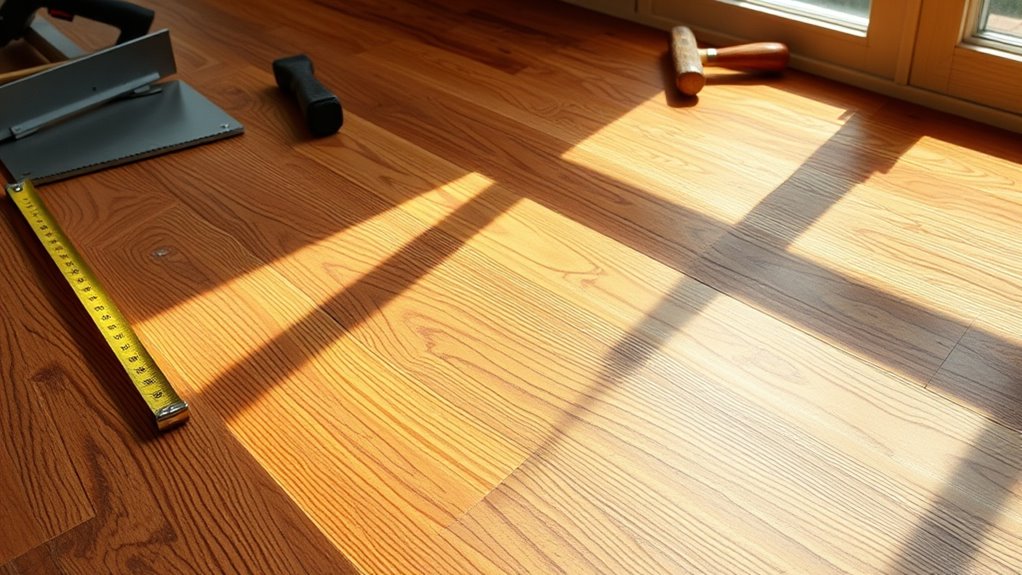
Although the shape and size of your room might seem straightforward, they greatly influence how you should plan your flooring layout. Start by measuring your room dimensions accurately; this guarantees your layout patterns align well with the space. In smaller or irregularly shaped rooms, consider using diagonal or herringbone patterns to create a sense of openness and flow. For larger rectangular rooms, running flooring parallel to the longest wall enhances the room’s natural lines, maximizing visual spaciousness. Don’t forget to factor in alcoves or nooks, as these can disrupt patterns if overlooked. By tailoring your layout patterns to your room dimensions, you gain control over the final appearance and avoid awkward cuts or mismatched sections — giving you the freedom to create a seamless, professional finish.
Selecting the Right Direction for Different Flooring Types
Since the direction you choose for your flooring can impact both the room’s appearance and the installation process, it’s crucial to understand how different flooring types respond to orientation. For hardwood, running boards parallel to the longest wall enhances natural light flow and boosts aesthetic appeal. Laminate flooring often follows the same rule but allows more flexibility with flooring patterns like diagonal or herringbone to add visual interest. Vinyl and tile flooring give you freedom to experiment with various patterns, but aligning them with room entrances or the main light source creates a balanced look. Carpet tiles can be oriented to highlight room shape or focal points. By selecting the right direction for your flooring type, you guarantee both a smoother installation and a visually cohesive result.
Tools and Materials Needed for Flooring Installation
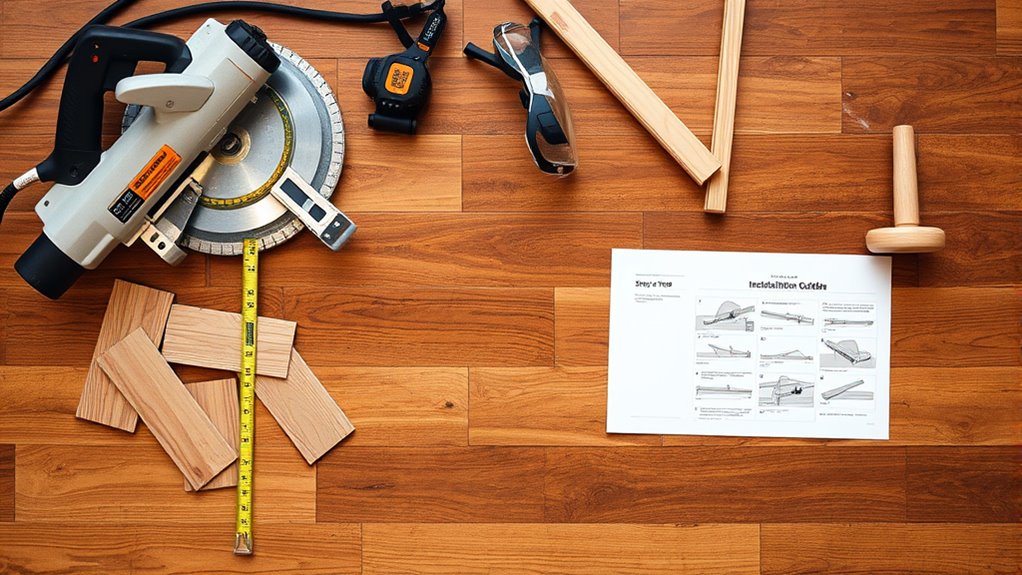
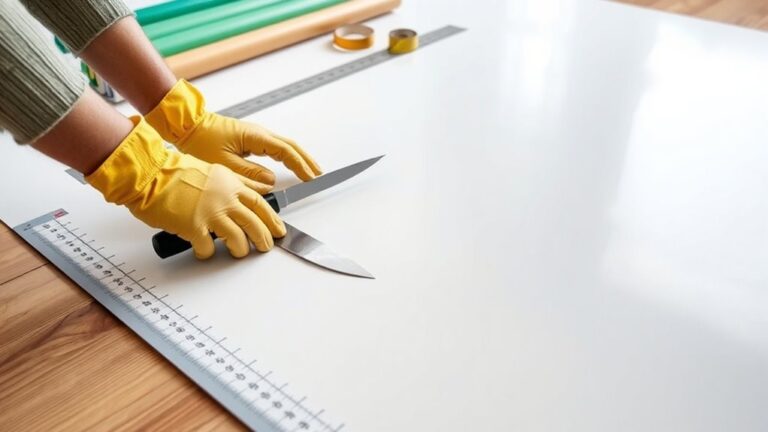
Proper tools and materials are essential for a successful flooring installation. You’ll need specific flooring tools like a tape measure, utility knife, spacers, a tapping block, and a rubber mallet to guarantee precise cuts and snug fits. Depending on the flooring type—whether hardwood, laminate, vinyl, or tile—the material types vary, so gather the appropriate adhesive, underlayment, or moisture barriers. Don’t forget safety gear like knee pads and gloves to protect yourself during the process. Organize all your tools and materials before starting to maintain workflow freedom and avoid interruptions. Having the right flooring tools and material types at hand lets you work efficiently, ensuring your floor runs smoothly and looks flawless once installed.
Step-by-Step Guide to Running Flooring Correctly
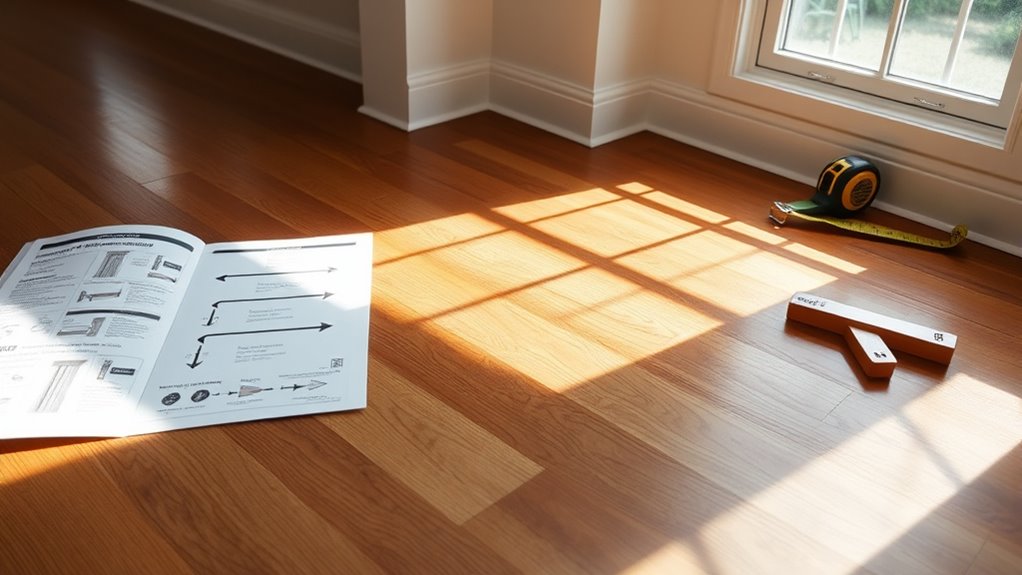
Start by aligning each plank carefully to guarantee a straight, even floor surface. Be sure to stagger the seams at least 6 inches apart to enhance stability and create a natural look. Following these steps will help you run the flooring correctly and avoid common installation issues.
Aligning Planks Properly
Before you begin laying the planks, you’ll want to make certain they’re aligned accurately to prevent gaps and uneven edges. Start by setting a straight chalk line along the starting wall as your guide for plank alignment. Place the first plank squarely against the wall, guaranteeing it’s perfectly parallel to the chalk line. Use spacers between the wall and the plank to maintain an expansion gap. As you continue, check each plank’s edge against the previous one to maintain tight seams and consistent alignment. Installation precision is key—regularly verify with a straightedge or level to avoid any drift. Taking these careful steps guarantees a smooth, professional finish and lets you enjoy the freedom of a flawless floor.
Staggering Seams Effectively
While aligning your planks is essential, staggering seams effectively is just as crucial to guarantee structural stability and an appealing appearance. Proper staggering patterns prevent weak spots and create a natural look. Here’s how to master seam alignment:
- Start the first row with a full plank; for the second row, use a plank cut at least 6-8 inches shorter to offset seams.
- Alternate staggering lengths in subsequent rows to avoid aligning seams vertically.
- Check each row’s seam alignment against the previous one, ensuring seams never line up directly.
- Use leftover plank pieces strategically to maintain consistent staggering patterns without wasting material.