To cut vinyl flooring around objects, you’ll need a sharp utility knife, extra blades, a straight edge, and precise measurements. First, measure the obstacle’s dimensions, mark the vinyl with a pencil or chalk, and add clearance for fittings like pipes. Drill a pilot hole for curves, then carefully cut along your marks. Stabilize the vinyl on a flat surface and score multiple times for clean edges. Mastering these techniques guarantees a professional fit, and there’s more to explore for perfect results.
Tools Needed for Cutting Vinyl Flooring
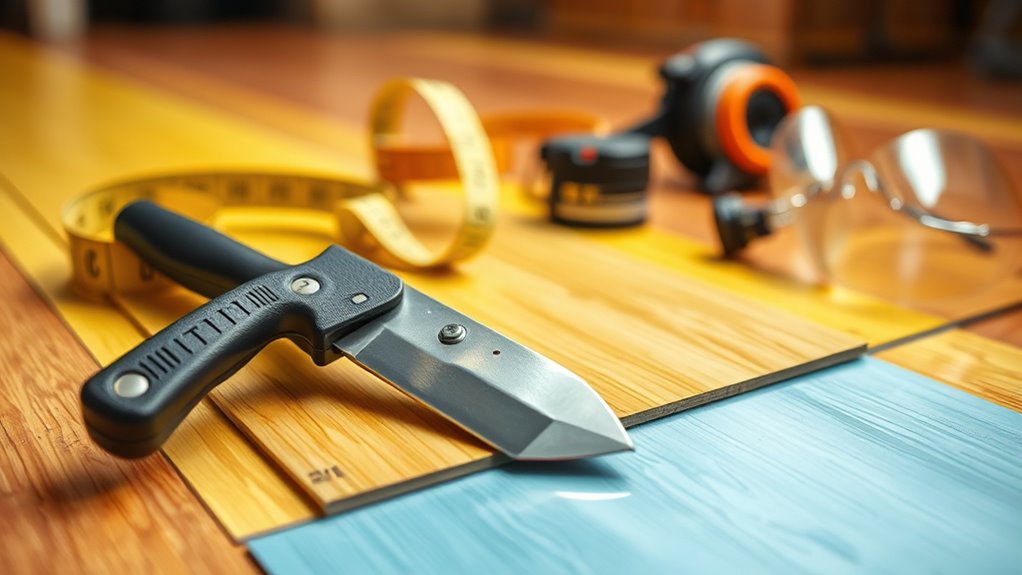
Before you begin cutting vinyl pavimentazione, you’ll need a specific set of tools to secure clean, accurate cuts. First, a sharp utility knife is essential; it provides control and precision when scoring and cutting through vinyl layers. Always have extra blades on hand to maintain cutting efficiency. Next, a straight edge is vital for guiding your cuts. Use a metal ruler or a carpenter’s square to guarantee perfectly straight lines, preventing jagged edges or uneven cuts. Additionally, a measuring tape helps you mark exact dimensions before cutting, while a pencil or chalk marker allows for clear, visible guidelines on the flooring. These tools empower you to make precise cuts confidently, giving you the freedom to customize your vinyl installation without errors or wasted material.
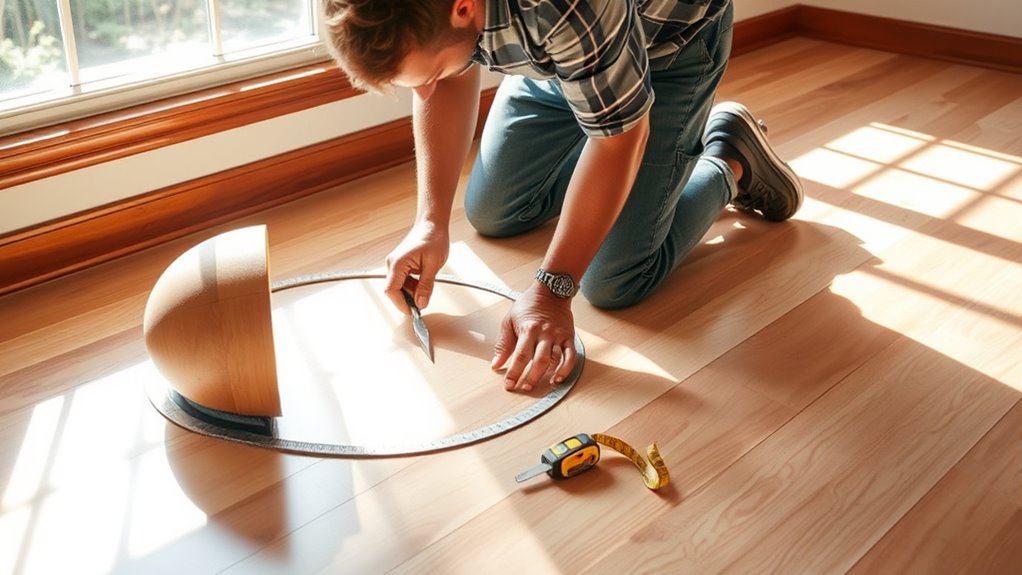
Preparing the Vinyl and Measuring Obstacles
Accurate preparation of your vinyl flooring starts with thoroughly inspecting and acclimating the material to the room’s environment to prevent expansion or contraction after installation. Lay the vinyl flat for at least 48 hours to adjust to temperature and humidity. Next, focus on obstacle considerations by identifying all objects around which you must cut. Use precise measuring techniques, such as a tape measure combined with a carpenter’s square, to record exact dimensions and distances from walls or other fixed points. Mark these measurements directly on the vinyl with a pencil or chalk, ensuring lines are crisp and clear. Double-check all measurements before proceeding. Accurate preparation and careful measuring techniques will give you the freedom to make flawless cuts, ensuring your vinyl fits perfectly around obstacles without the need for adjustments later.
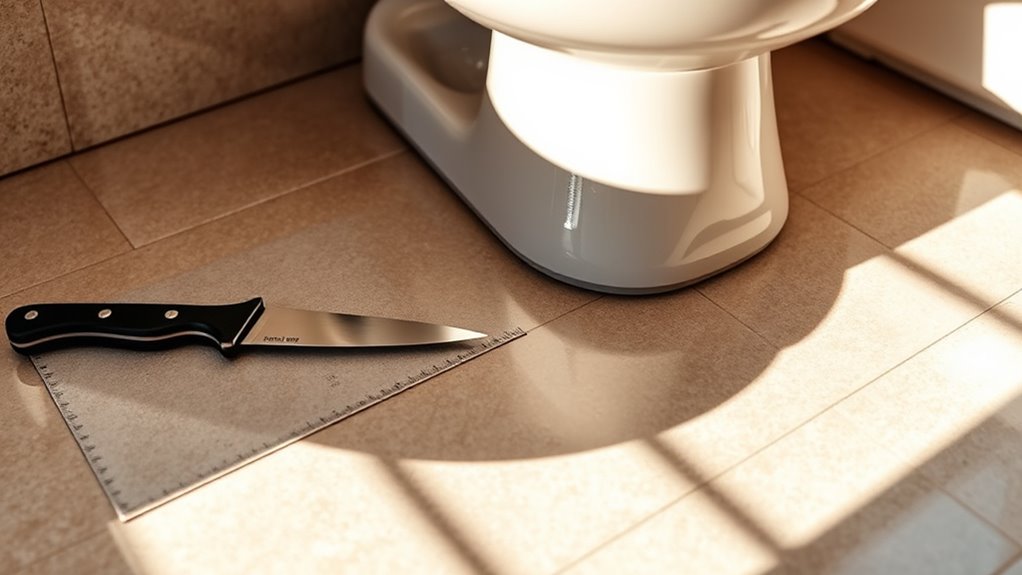
Techniques for Cutting Around Pipes and Fixtures
When cutting vinyl around pipes and fixtures, you’ll need to create precise openings that allow for a snug fit without compromising the flooring’s integrity. Start by marking the exact pipe fitting location on the vinyl, accounting for fixture clearance. Use these steps to guarantee accuracy:
- Measure the pipe diameter and add at least 1/8″ clearance to allow for easy installation and expansion.
- Drill a pilot hole at the center of the marked circle to insert a jigsaw or utility knife blade.
- Carefully cut around the pipe, maintaining smooth edges to prevent tearing or lifting of vinyl.
Following these techniques, you’ll achieve a clean, professional fit that maintains the flooring’s durability and aesthetic, giving you freedom to work confidently around obstacles.
How to Cut Vinyl Flooring for Doorways and Cabinets
Cutting vinyl flooring to fit around doorways and cabinets requires careful measurement and precise cuts to guarantee a seamless fit. Start by measuring the exact width and length of the doorway changes and the cabinet edges. Use a straightedge and utility knife to score along your measurements, as vinyl responds well to controlled scoring and snapping. For cabinet edges, measure the base accurately and cut the vinyl slightly larger to tuck neatly beneath the cabinet lip if possible. When addressing doorway changes, account for any height differences and allow for transition strips. Always dry-fit pieces before final installation to confirm alignment and fit. This approach gives you freedom to work efficiently while achieving professional results without gaps or uneven edges.
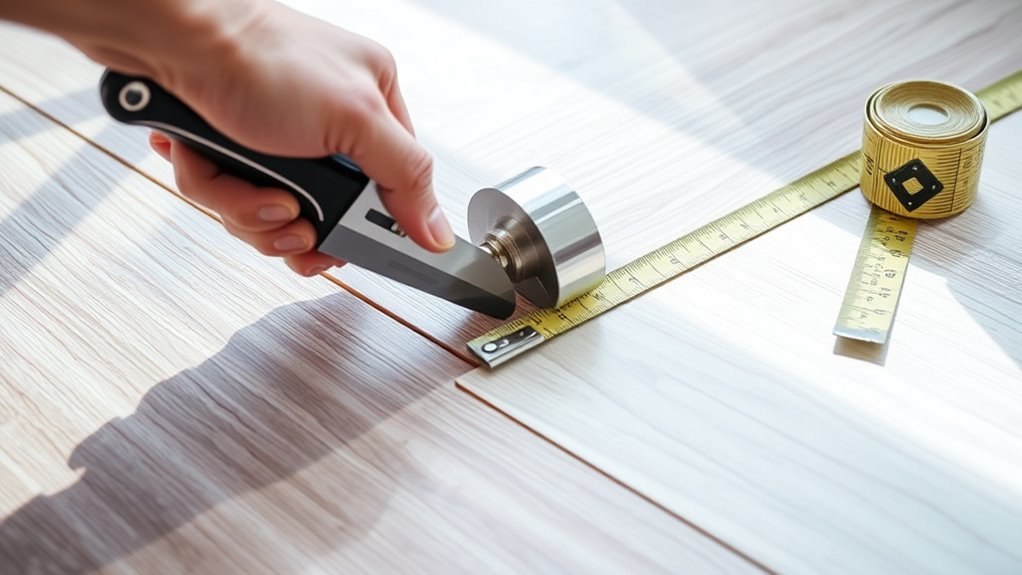
Tips for Achieving Clean and Accurate Cuts
Although vinyl is a forgiving material, you’ll need sharp tools and steady hands to achieve clean, precise cuts. Mastering cutting techniques is essential for a flawless vinyl installation. Follow these steps to guarantee accuracy:
- Use a sharp utility knife: Dull blades cause jagged edges. Replace blades frequently to maintain clean cuts.
- Score before cutting: Lightly score the vinyl along your marked line multiple times before applying pressure to snap it cleanly.
- Stabilize the vinyl: Secure the flooring on a flat surface to prevent slipping, which can distort your cut.


